fuse Hyundai Elantra Coupe 2014 Owner's Manual
[x] Cancel search | Manufacturer: HYUNDAI, Model Year: 2014, Model line: Elantra Coupe, Model: Hyundai Elantra Coupe 2014Pages: 550, PDF Size: 45.11 MB
Page 7 of 550
1
2
3
4
5
6
7
8
I
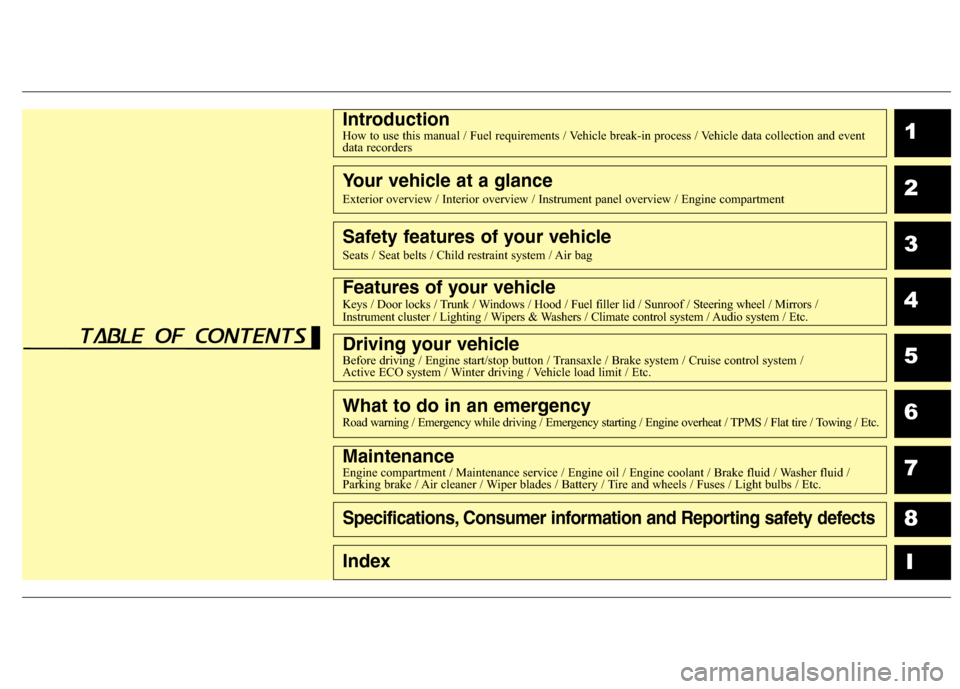
IntroductionHow to use this manual / Fuel requirements / Vehicle break-in process / Vehicle data collection and event
data recorders
Your vehicle at a glance
Exterior overview / Interior overview / Instrument panel overview / Engine compartment
Safety features of your vehicle
Seats / Seat belts / Child restraint system / Air bag
Features of your vehicleKeys / Door locks / Trunk / Windows / Hood / Fuel filler lid / Sunroof / Steering wheel / Mirrors /
Instrument cluster / Lighting / Wipers & Washers / Climate control system / Audio system / Etc.
Driving your vehicleBefore driving / Engine start/stop button / Transaxle / Brake system / Cruise control system /
Active ECO system / Winter driving / Vehicle load limit / Etc.
What to do in an emergencyRoad warning / Emergency while driving / Emergency starting / Engine overheat / TPMS / Flat tire / Towing / Etc.
MaintenanceEngine compartment / Maintenance service / Engine oil / Engine coolant / Brake fluid / Washer fluid /
Parking brake / Air cleaner / Wiper blades / Battery / Tire and wheels / Fuses / Light bulbs / Etc.
Specifications, Consumer information and Reporting safety defects
Index
table of contents
Page 17 of 550
Your vehicle at a glance
4 2
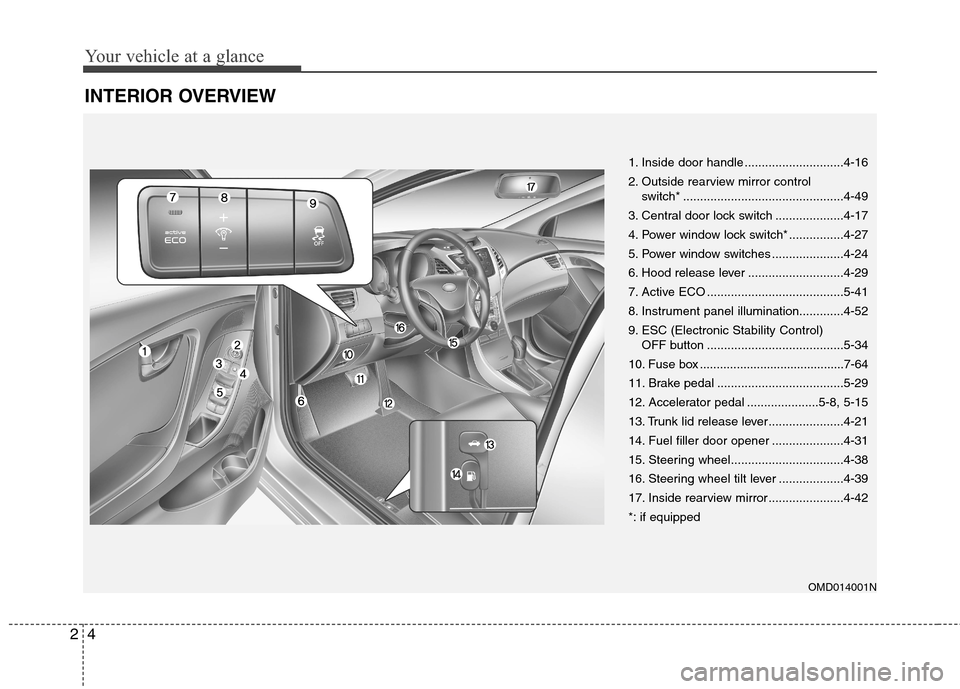
INTERIOR OVERVIEW
OMD014001N
1. Inside door handle .............................4-16
2. Outside rearview mirror control
switch* ...............................................4-49
3. Central door lock switch ....................4-17
4. Power window lock switch* ................4-27
5. Power window switches .....................4-24
6. Hood release lever ............................4-29
7. Active ECO ........................................5-41
8. Instrument panel illumination.............4-52
9. ESC (Electronic Stability Control)
OFF button ........................................5-34
10. Fuse box ...........................................7-64
11. Brake pedal .....................................5-29
12. Accelerator pedal .....................5-8, 5-15
13. Trunk lid release lever......................4-21
14. Fuel filler door opener .....................4-31
15. Steering wheel.................................4-38
16. Steering wheel tilt lever ...................4-39
17. Inside rearview mirror ......................4-42
*: if equipped
Page 19 of 550
Your vehicle at a glance
6 2
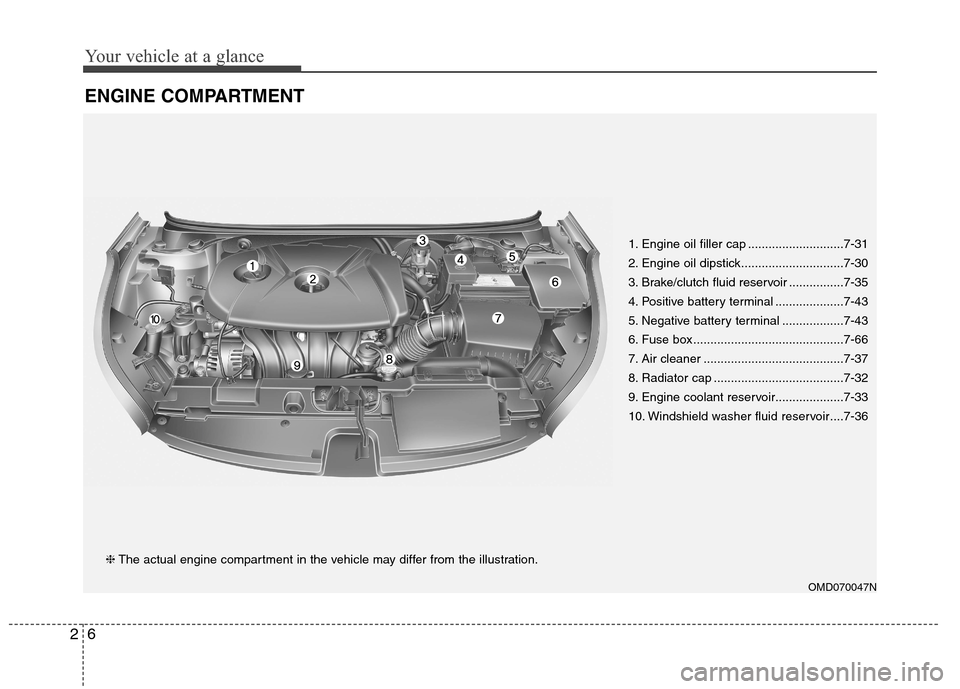
ENGINE COMPARTMENT
OMD070047N
❈The actual engine compartment in the vehicle may differ from the illustration.1. Engine oil filler cap ............................7-31
2. Engine oil dipstick..............................7-30
3. Brake/clutch fluid reservoir ................7-35
4. Positive battery terminal ....................7-43
5. Negative battery terminal ..................7-43
6. Fuse box ............................................7-66
7. Air cleaner .........................................7-37
8. Radiator cap ......................................7-32
9. Engine coolant reservoir....................7-33
10. Windshield washer fluid reservoir ....7-36
Page 114 of 550
Features of your vehicle
28 4
WARNING - Windows
NEVER leave the keys in your
vehicle with unsupervised
children, when the engine is
running.
NEVER leave any child unat-
tended in the vehicle. Even
very young children may inad-
vertently cause the vehicle to
move, entangle themselves in
the windows, or otherwise
injure themselves or others.
Always double check to make
sure all arms, hands, head
and other obstructions are
safely out of the way before
closing a window.
Do not allow children to play
with the power windows. Keep
the driver’s door power window
lock switch in the LOCK posi-
tion (pressed). Serious injury
can result from unintentional
window operation by the child.
Do not extend your head,
arms or body outside the win-
dows while driving.CAUTION
To prevent possible damage
to the power window system,
do not open or close two win-
dows or more at the same
time. This will also ensure the
longevity of the fuse.
Never try to operate the main
switch on the driver's door
and the individual door win-
dow switch in opposite direc-
tions at the same time. If this is
done, the window will stop and
cannot be opened or closed.
Page 123 of 550
437
Features of your vehicle
To reset the sunroof
If the battery has been discharged or
disconnected, or if the related fuse
has been replaced or disconnected,
reset the Sunroof as follows:
1. The ignition switch must be in the
ON position.
2. Close the sunroof completely.
3. Release the control lever.
4. Push the control lever forward until
the sunroof tilts and slightly moves
up and down. Then, release the
lever.
5. Push the control lever forward until
the sunroof is operated as follows:
TILT OPEN →SLIDE OPEN →
SLIDE CLOSE
Then, release the control lever.
If the sunroof does not operate prop-
erly after resetting, have the system
checked by an authorized HYUNDAI
dealer.
Page 138 of 550
Features of your vehicle
52 4
Instrument Cluster Control
Adjusting Instrument Cluster
Illumination
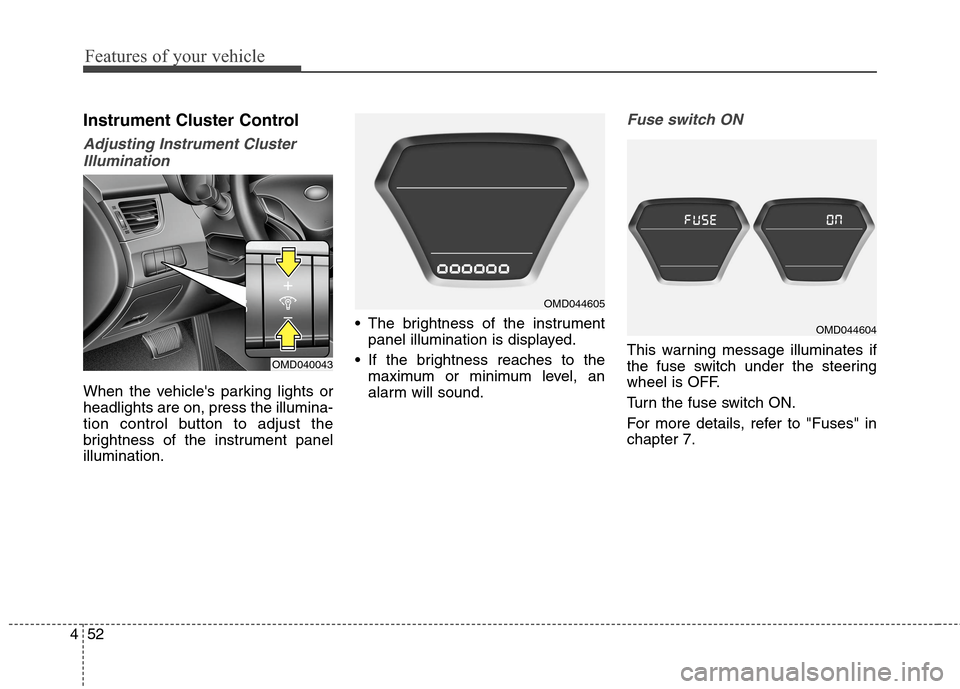
When the vehicle's parking lights or
headlights are on, press the illumina-
tion control button to adjust the
brightness of the instrument panel
illumination. The brightness of the instrument
panel illumination is displayed.
If the brightness reaches to the
maximum or minimum level, an
alarm will sound.
Fuse switch ON
This warning message illuminates if
the fuse switch under the steering
wheel is OFF.
Turn the fuse switch ON.
For more details, refer to "Fuses" in
chapter 7.OMD040043
OMD044605
OMD044604
Page 199 of 550
4113
Features of your vehicle
INTERIOR FEATURES
Clock
With Audio system
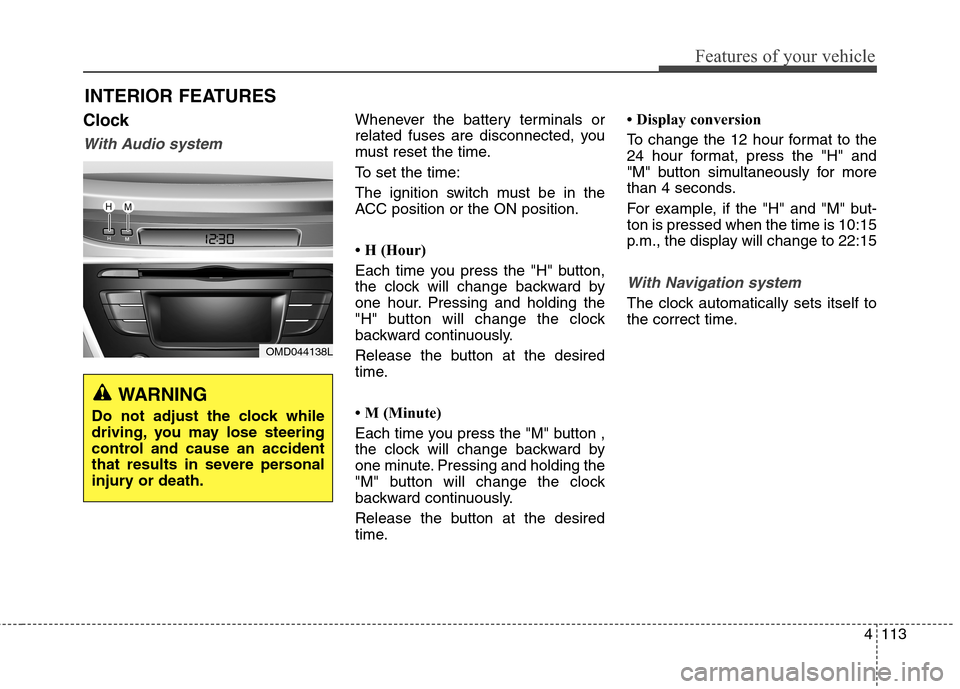
Whenever the battery terminals or
related fuses are disconnected, you
must reset the time.
To set the time:
The ignition switch must be in the
ACC position or the ON position.
• H (Hour)
Each time you press the "H" button,
the clock will change backward by
one hour. Pressing and holding the
"H" button will change the clock
backward continuously.
Release the button at the desired
time.
• M (Minute)
Each time you press the "M" button ,
the clock will change backward by
one minute. Pressing and holding the
"M" button will change the clock
backward continuously.
Release the button at the desired
time.• Display conversion
To change the 12 hour format to the
24 hour format, press the "H" and
"M" button simultaneously for more
than 4 seconds.
For example, if the "H" and "M" but-
ton is pressed when the time is 10:15
p.m., the display will change to 22:15
With Navigation system
The clock automatically sets itself to
the correct time.
OMD044138L
WARNING
Do not adjust the clock while
driving, you may lose steering
control and cause an accident
that results in severe personal
injury or death.
Page 203 of 550
4117
Features of your vehicle
Clothes hanger (if equipped)
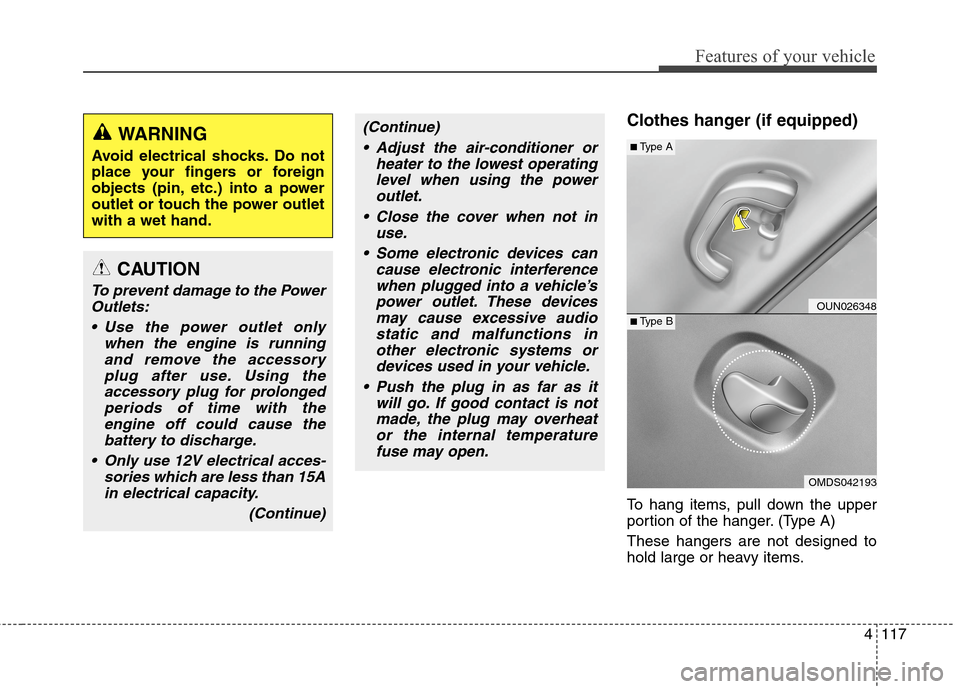
To hang items, pull down the upper
portion of the hanger. (Type A)
These hangers are not designed to
hold large or heavy items.
CAUTION
To prevent damage to the Power
Outlets:
Use the power outlet only
when the engine is running
and remove the accessory
plug after use. Using the
accessory plug for prolonged
periods of time with the
engine off could cause the
battery to discharge.
Only use 12V electrical acces-
sories which are less than 15A
in electrical capacity.
(Continue)
(Continue)
Adjust the air-conditioner or
heater to the lowest operating
level when using the power
outlet.
Close the cover when not in
use.
Some electronic devices can
cause electronic interference
when plugged into a vehicle’s
power outlet. These devices
may cause excessive audio
static and malfunctions in
other electronic systems or
devices used in your vehicle.
Push the plug in as far as it
will go. If good contact is not
made, the plug may overheat
or the internal temperature
fuse may open.WARNING
Avoid electrical shocks. Do not
place your fingers or foreign
objects (pin, etc.) into a power
outlet or touch the power outlet
with a wet hand.
OUN026348
OMDS042193
■Type A
■Type B
Page 355 of 550
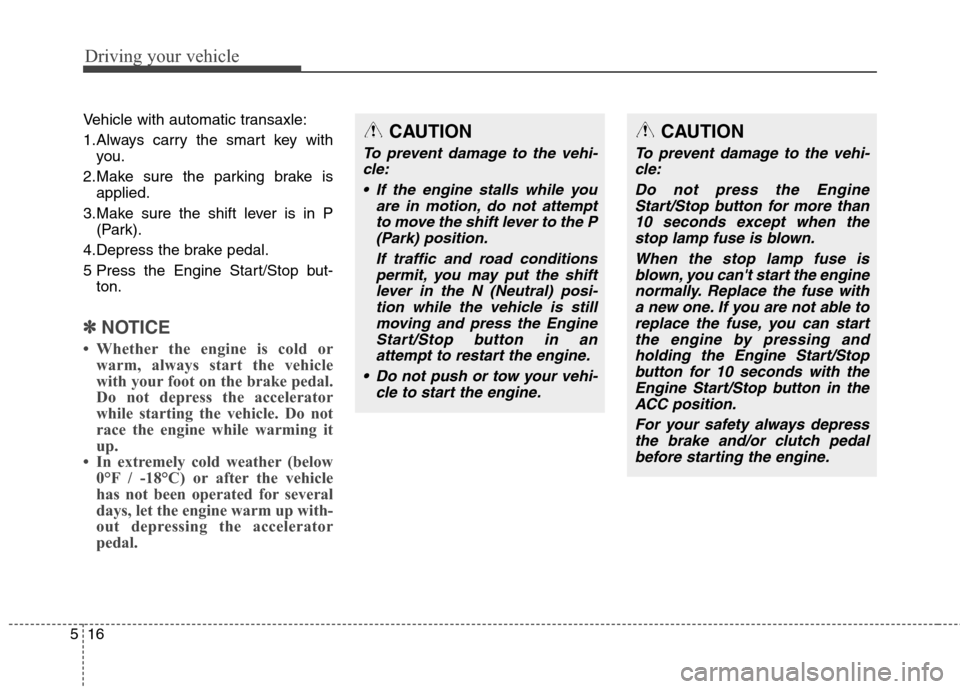
Driving your vehicle
16 5
Vehicle with automatic transaxle:
1.Always carry the smart key with
you.
2.Make sure the parking brake is
applied.
3.Make sure the shift lever is in P
(Park).
4.Depress the brake pedal.
5 Press the Engine Start/Stop but-
ton.
✽ ✽
NOTICE
• Whether the engine is cold or
warm, always start the vehicle
with your foot on the brake pedal.
Do not depress the accelerator
while starting the vehicle. Do not
race the engine while warming it
up.
• In extremely cold weather (below
0°F / -18°C) or after the vehicle
has not been operated for several
days, let the engine warm up with-
out depressing the accelerator
pedal.
CAUTION
To prevent damage to the vehi-
cle:
If the engine stalls while you
are in motion, do not attempt
to move the shift lever to the P
(Park) position.
If traffic and road conditions
permit, you may put the shift
lever in the N (Neutral) posi-
tion while the vehicle is still
moving and press the Engine
Start/Stop button in an
attempt to restart the engine.
Do not push or tow your vehi-
cle to start the engine.
CAUTION
To prevent damage to the vehi-
cle:
Do not press the Engine
Start/Stop button for more than
10 seconds except when the
stop lamp fuse is blown.
When the stop lamp fuse is
blown, you can't start the engine
normally. Replace the fuse with
a new one. If you are not able to
replace the fuse, you can start
the engine by pressing and
holding the Engine Start/Stop
button for 10 seconds with the
Engine Start/Stop button in the
ACC position.
For your safety always depress
the brake and/or clutch pedal
before starting the engine.
Page 432 of 550
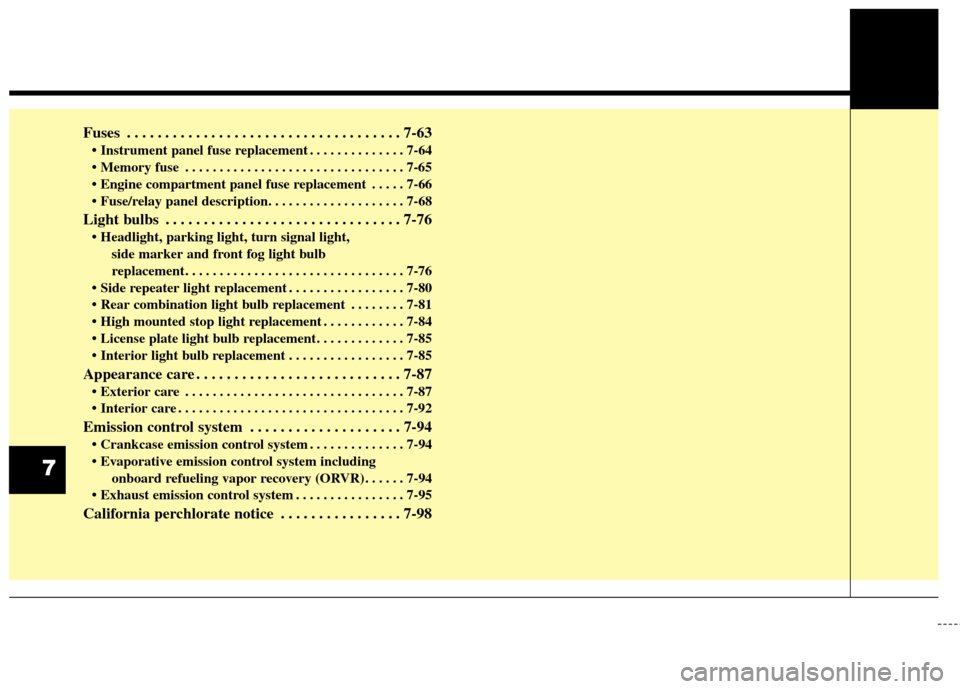
Fuses . . . . . . . . . . . . . . . . . . . . . . . . . . . . . . . . . . . . 7-63
. . . . . . . . . . . . . . 7-64
. . . . . . . . . . . . . . . . . . . . . . . . . . . . . . . . 7-65
. . . . . 7-66
Light bulbs . . . . . . . . . . . . . . . . . . . . . . . . . . . . . . . 7-76
parking light, turn signal light,
side marker and front fog light bulb
replacement. . . . . . . . . . . . . . . . . . . . . . . . . . . . . . . . 7-76
. . . . . . . . . . . . . . . . . 7-80
. . . . . . . . 7-81
. . . . . . . . . . . . 7-84
. . . . . . . . . . . . . 7-85
. . . . . . . . . . . . . . . . . 7-85
Appearance care . . . . . . . . . . . . . . . . . . . . . . . . . . . 7-87
. . . . . . . . . . . . . . . . . . . . . . . . . . . . . . . . 7-87
. . . . . . . . . . . . . . . . . . . . . . . . . . . . . . . . . 7-92
Emission control system . . . . . . . . . . . . . . . . . . . . 7-94
. . . . . . . . . . . . . . 7-94
onboard refueling vapor recovery (ORVR) . . . . . . 7-94
. . . . . . . . . . . . . . . . 7-95
California perchlorate notice . . . . . . . . . . . . . . . . 7-98
7