Eco driving HYUNDAI ELANTRA GT 2014 Owners Manual
[x] Cancel search | Manufacturer: HYUNDAI, Model Year: 2014, Model line: ELANTRA GT, Model: HYUNDAI ELANTRA GT 2014Pages: 476, PDF Size: 31.71 MB
Page 6 of 476
1
2
3
4
5
6
7
8
I
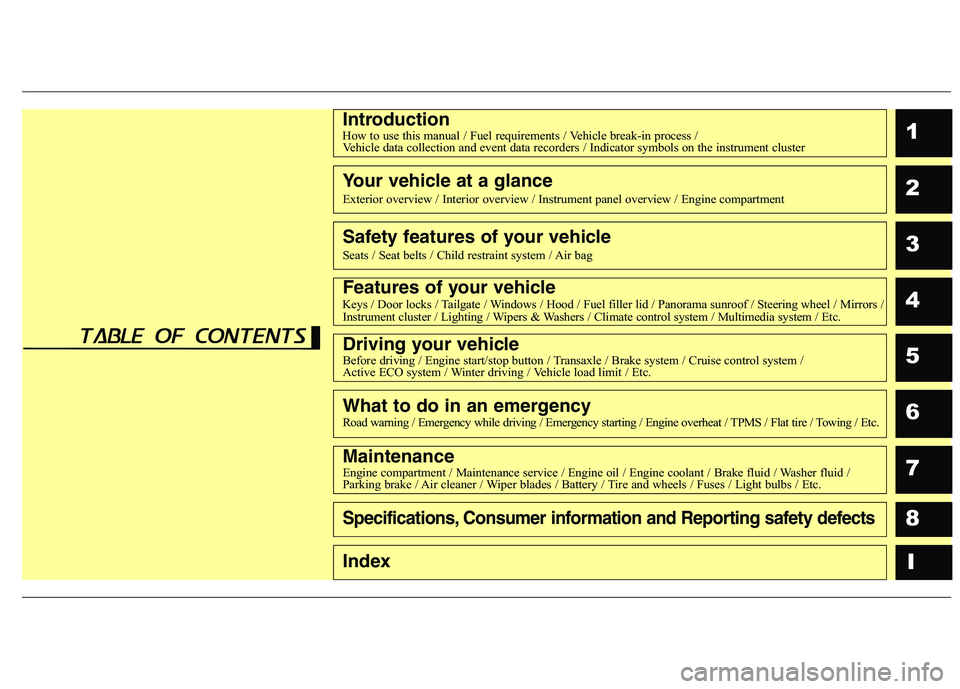
IntroductionHow to use this manual / Fuel requirements / Vehicle break-in process /
Vehicle data collection and event data recorders / Indicator symbols on the instrument cluster
Your vehicle at a glance
Exterior overview / Interior overview / Instrument panel overview / Engine compartment
Safety features of your vehicle
Seats / Seat belts / Child restraint system / Air bag
Features of your vehicleKeys / Door locks / Tailgate / Windows / Hood / Fuel filler lid / Panorama sunroof / Steering wheel / Mirrors /
Instrument cluster / Lighting / Wipers & Washers / Climate control system / Multimedia system / Etc.
Driving your vehicleBefore driving / Engine start/stop button / Transaxle / Brake system / Cruise control system /
Active ECO system / Winter driving / Vehicle load limit / Etc.
What to do in an emergencyRoad warning / Emergency while driving / Emergency starting / Engine overheat / TPMS / Flat tire / Towing / Etc.
MaintenanceEngine compartment / Maintenance service / Engine oil / Engine coolant / Brake fluid / Washer fluid /
Parking brake / Air cleaner / Wiper blades / Battery / Tire and wheels / Fuses / Light bulbs / Etc.
Specifications, Consumer information and Reporting safety defects
Index
table of contents
Page 8 of 476
Introduction
2 1
We want to help you get the greatest
possible driving experience from
your vehicle. Your Owner’s Manual
can assist you in many ways. We
strongly recommend that you read
the entire manual. In order to mini-
mize the chance of death or injury,
you must read the WARNING and
CAUTION sections in the manual.
Illustrations complement the text in
this manual to best explain how to
use your vehicle. By reading your
manual, you will learn about fea-
tures, important safety information,
and driving tips under various road
conditions.The general layout of the manual is
provided in the Table of Contents. A
good place to start is the index; it has
an alphabetical listing of all informa-
tion in your manual.
Sections: This manual has eight sec-
tions plus an index. Each section
begins with a brief list of contents so
you can tell at a glance if that section
has the information you want.
You will find various WARNINGS,
CAUTIONS, and NOTICES in this
manual. These WARNINGS were pre-
pared to enhance your personal safe-
ty. You should carefully read and fol-
low ALL procedures and recommen-
dations provided in these WARN-
INGS, CAUTIONS and NOTICES.Symbols used in this manual
Warnings, Cautions and Notices
✽ ✽
NOTICE
A NOTICE indicates interesting or
helpful information is being provided.
Safety symbol in illustrations
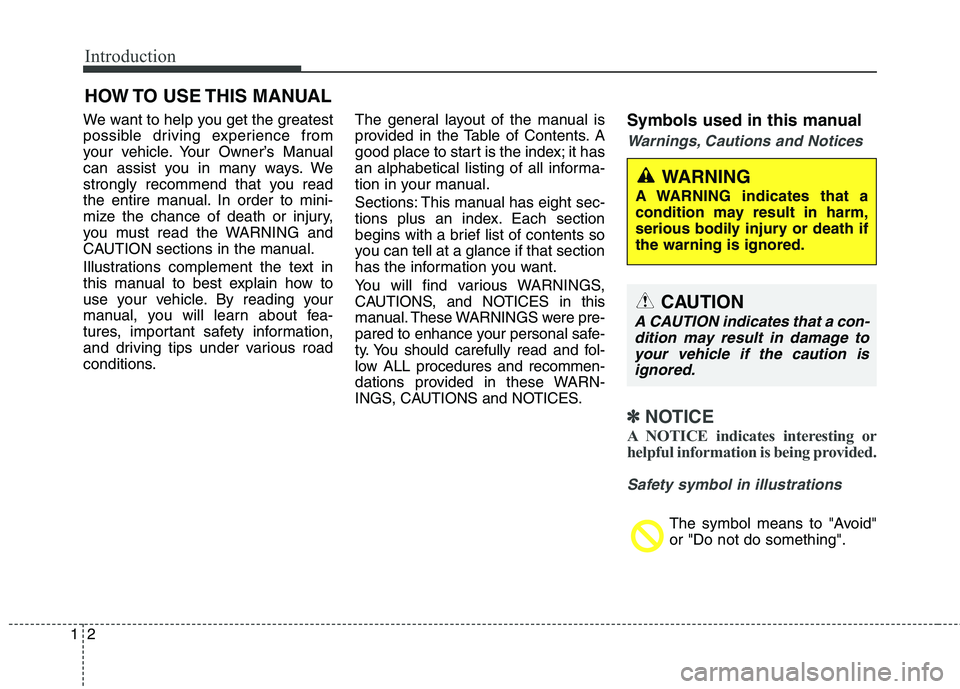
The symbol means to "Avoid"
or "Do not do something".
HOW TO USE THIS MANUAL
WARNING
A WARNING indicates that a
condition may result in harm,
serious bodily injury or death if
the warning is ignored.
CAUTION
A CAUTION indicates that a con-
dition may result in damage to
your vehicle if the caution is
ignored.
Page 11 of 476
15
Introduction
VEHICLE BREAK-IN PROCESS
No special break-in period is needed.
By following a few simple precautions
for the first 600 miles (1,000 km) you
may add to the performance, econo-
my and life of your vehicle.
Do not race the engine.
While driving, keep your engine
speed (rpm, or revolutions per
minute) between 2,000 rpm and
4,000 rpm.
Do not maintain a single speed for
long periods of time, either fast or
slow. Varying engine speed is
needed to properly break-in the
engine.
Avoid hard stops, except in emer-
gencies, to allow the brakes to seat
properly.
Do not let the engine idle longer
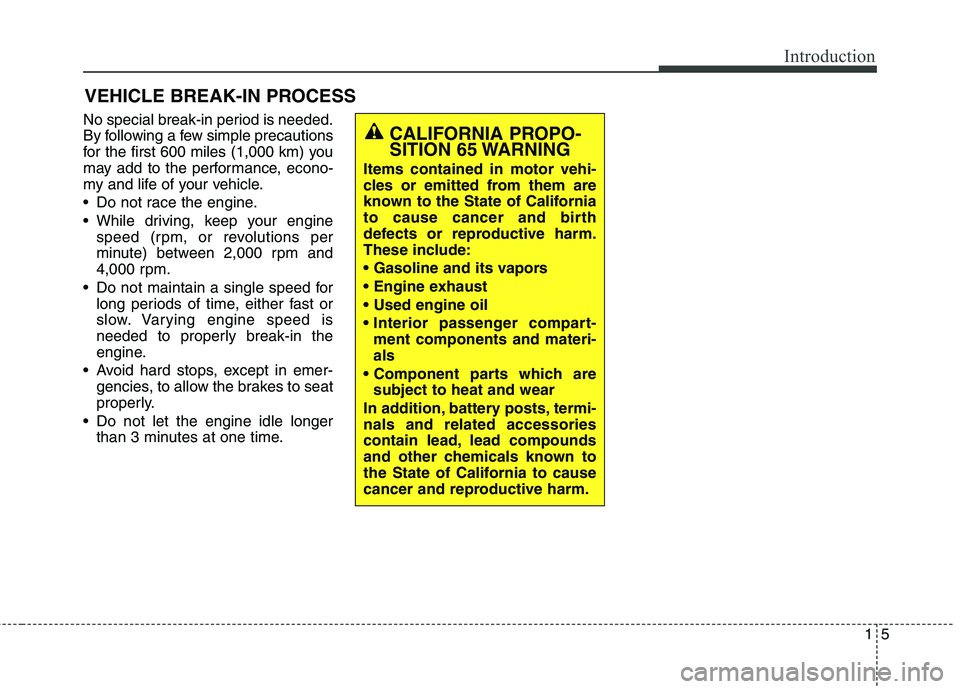
than 3 minutes at one time.CALIFORNIA PROPO-
SITION 65 WARNING
Items contained in motor vehi-
cles or emitted from them are
known to the State of California
to cause cancer and birth
defects or reproductive harm.
These include:
ment components and materi-
als
subject to heat and wear
In addition, battery posts, termi-
nals and related accessories
contain lead, lead compounds
and other chemicals known to
the State of California to cause
cancer and reproductive harm.
Page 12 of 476
Introduction
6 1
This vehicle is equipped with an
event data recorder (EDR). The
main purpose of an EDR is to
record, in certain crash or near
crash-like situations, such as an
air bag deployment or hitting a
road obstacle, data that will assist
in understanding how a vehicle's
systems performed. The EDR is
designed to record data related to
vehicle dynamics and safety sys-
tems for a short period of time,
typically 30 seconds or less. The
EDR in this vehicle is designed to
record such data as:
How various systems in your
vehicle were operating;
Whether or not the driver and
passenger safety belts were
buckled/fastened;
How far (if at all) the driver was
depressing the accelerator
and/or brake pedal; and,
How fast the vehicle was travel-
ing.These data can help provide a bet-
ter understanding of the circum-
stances in which crashes and
injuries occur. NOTE: EDR data are
recorded by your vehicle only if a
nontrivial crash situation occurs;
no data are recorded by the EDR
under normal driving conditions
and no personal data (e.g., name,
gender, age, and crash location)
are recorded. However, other par-
ties, such as law enforcement,
could combine the EDR data with
the type of personally identifying
data routinely acquired during a
crash investigation.To read data recorded by an EDR,
special equipment is required, and
access to the vehicle or the EDR is
needed.
In addition to the vehicle manufac-
turer, other parties, such as law
enforcement, that have the special
equipment, can read the informa-
tion if they have access to the
vehicle or the EDR.
VEHICLE DATA COLLECTION AND EVENT DATA RECORDERS
Page 37 of 476
Safety features of your vehicle
18 3
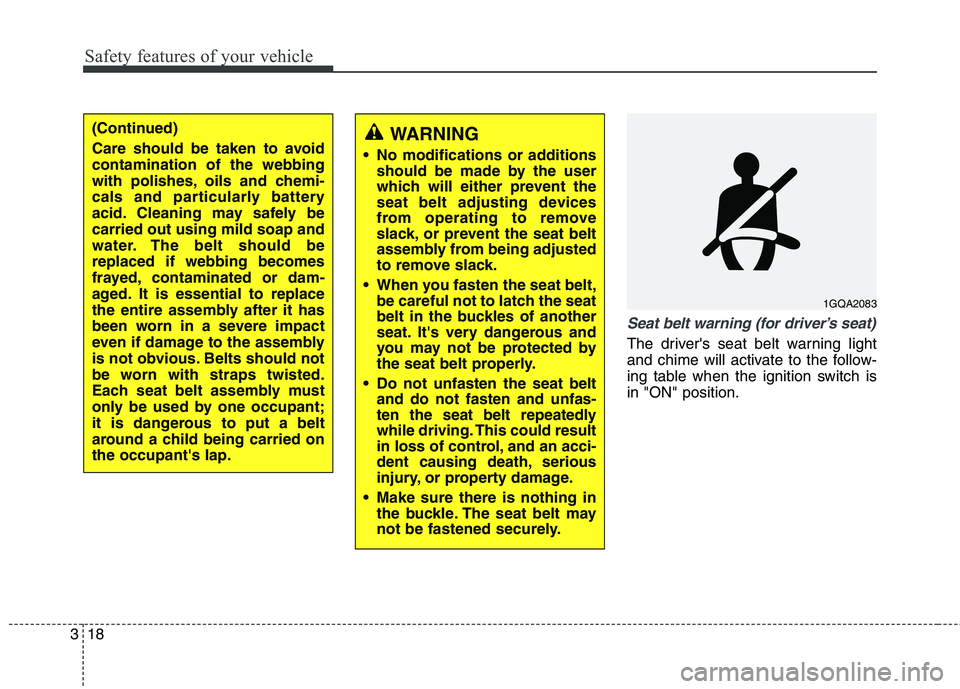
Seat belt warning (for driver’s seat)
The driver's seat belt warning light
and chime will activate to the follow-
ing table when the ignition switch is
in "ON" position.
WARNING
No modifications or additions
should be made by the user
which will either prevent the
seat belt adjusting devices
from operating to remove
slack, or prevent the seat belt
assembly from being adjusted
to remove slack.
When you fasten the seat belt,
be careful not to latch the seat
belt in the buckles of another
seat. It's very dangerous and
you may not be protected by
the seat belt properly.
Do not unfasten the seat belt
and do not fasten and unfas-
ten the seat belt repeatedly
while driving. This could result
in loss of control, and an acci-
dent causing death, serious
injury, or property damage.
Make sure there is nothing in
the buckle. The seat belt may
not be fastened securely.
1GQA2083
(Continued)
Care should be taken to avoid
contamination of the webbing
with polishes, oils and chemi-
cals and particularly battery
acid. Cleaning may safely be
carried out using mild soap and
water. The belt should be
replaced if webbing becomes
frayed, contaminated or dam-
aged. It is essential to replace
the entire assembly after it has
been worn in a severe impact
even if damage to the assembly
is not obvious. Belts should not
be worn with straps twisted.
Each seat belt assembly must
only be used by one occupant;
it is dangerous to put a belt
around a child being carried on
the occupant's lap.
Page 110 of 476
425
Features of your vehicle
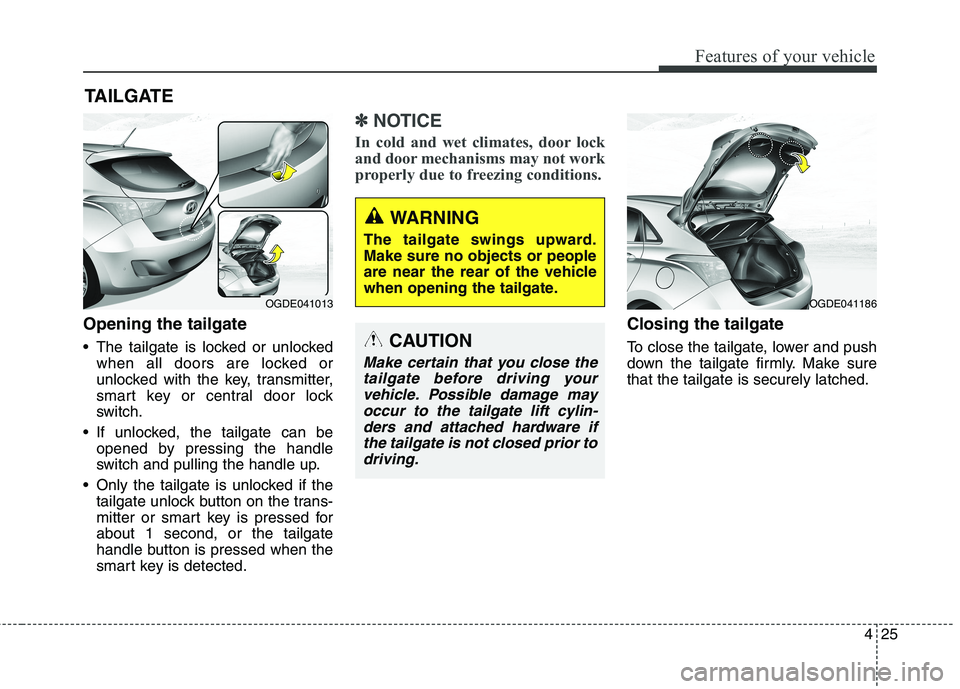
Opening the tailgate
The tailgate is locked or unlocked
when all doors are locked or
unlocked with the key, transmitter,
smart key or central door lock
switch.
If unlocked, the tailgate can be
opened by pressing the handle
switch and pulling the handle up.
Only the tailgate is unlocked if the
tailgate unlock button on the trans-
mitter or smart key is pressed for
about 1 second, or the tailgate
handle button is pressed when the
smart key is detected.
✽ ✽
NOTICE
In cold and wet climates, door lock
and door mechanisms may not work
properly due to freezing conditions.
Closing the tailgate
To close the tailgate, lower and push
down the tailgate firmly. Make sure
that the tailgate is securely latched.
TAILGATE
OGDE041013OGDE041186
WARNING
The tailgate swings upward.
Make sure no objects or people
are near the rear of the vehicle
when opening the tailgate.
CAUTION
Make certain that you close the
tailgate before driving your
vehicle. Possible damage may
occur to the tailgate lift cylin-
ders and attached hardware if
the tailgate is not closed prior to
driving.
Page 113 of 476
Features of your vehicle
28 4
Power windows
The ignition switch must be in the ON
position for power windows to operate.
Each door has a power window
switch that controls that door's win-
dow. The driver has a power window
lock switch which can block the oper-
ation of passenger windows. The dri-
ver’s door has a master power win-
dow switch that controls all the win-
dows in the vehicle. The power win-
dows can be operated for approxi-
mately 30 seconds after the ignition
key is removed or turned to the ACC
or LOCK position. However, if the
front doors open, the power windows
cannot be operated within the 30
second period.
✽ ✽
NOTICE
While driving with the rear windows
down or with the sunroof (if
equipped) in an open (or partially
open) position, your vehicle may
demonstrate a wind buffeting or
pulsation noise. This noise is a nor-
mal occurrence and can be reduced
or eliminated by taking the follow-
ing actions. If the noise occurs with
one or both of the rear windows
down, partially lower both front
windows approximately one inch. If
you experience the noise with the
sunroof open, slightly reduce the
size of the sunroof opening.
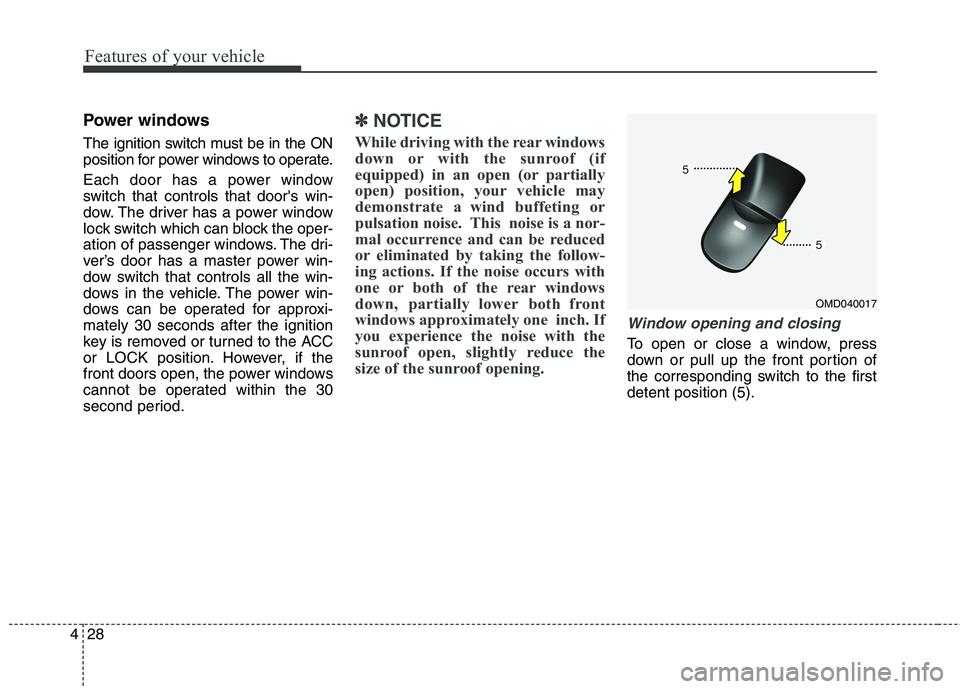
Window opening and closing
To open or close a window, press
down or pull up the front portion of
the corresponding switch to the first
detent position (5).
OMD040017
Page 128 of 476
443
Features of your vehicle
Electric power steering (EPS)
The power steering uses an electric
motor to assist you in steering the
vehicle. If the engine is off or if the
power steering system becomes
inoperative, the vehicle may still be
steered, but it will require increased
steering effort.
The motor driven power steering is
controlled by a power steering con-
trol unit which senses the steering
wheel torque and vehicle speed to
command the motor.
The steering becomes slightly heav-
ier as the vehicle’s speed increases
and becomes lighter as the vehicle’s
speed decreases for optimum steer-
ing control.
Should you notice any change in the
effort required to steer during normal
vehicle operation, have the power
steering checked by an authorized
HYUNDAI dealer.
✽ ✽
NOTICE
The following may occur during
normal vehicle operation:
• The EPS warning light does not
illuminate when turning the igni-
tion to the ON position.
• The steering gets heavy immedi-
ately after turning the ignition
switch on. This happens as the sys-
tem performs the EPS system
diagnostics. When the diagnostics
are completed, the steering wheel
will return to its normal condition.
• A click noise may be heard from
the EPS relay after the ignition
switch is turned to the ON or
LOCK (OFF) position.
• A motor noise may be heard when
the vehicle is at a stop or at a low
driving speed.
• When the vehicle is stationary, if
you turn the steering wheel all the
way to the left or right repeatedly,
the steering wheel assist may tem-
porarily be reduced, not a system
malfunction. As time passes. The
steering wheel return to normal
operation.
(Continued)(Continued)
• When you operate the steering
wheel in very low temperatures,
system noise may occur. When the
temperature rises, the noise will dis-
appear. This is a normal condition.
• When the charging system warn-
ing light comes on or the system
voltage is low, the steering wheel
assist may be reduced.
STEERING WHEEL
Page 138 of 476
453
Features of your vehicle
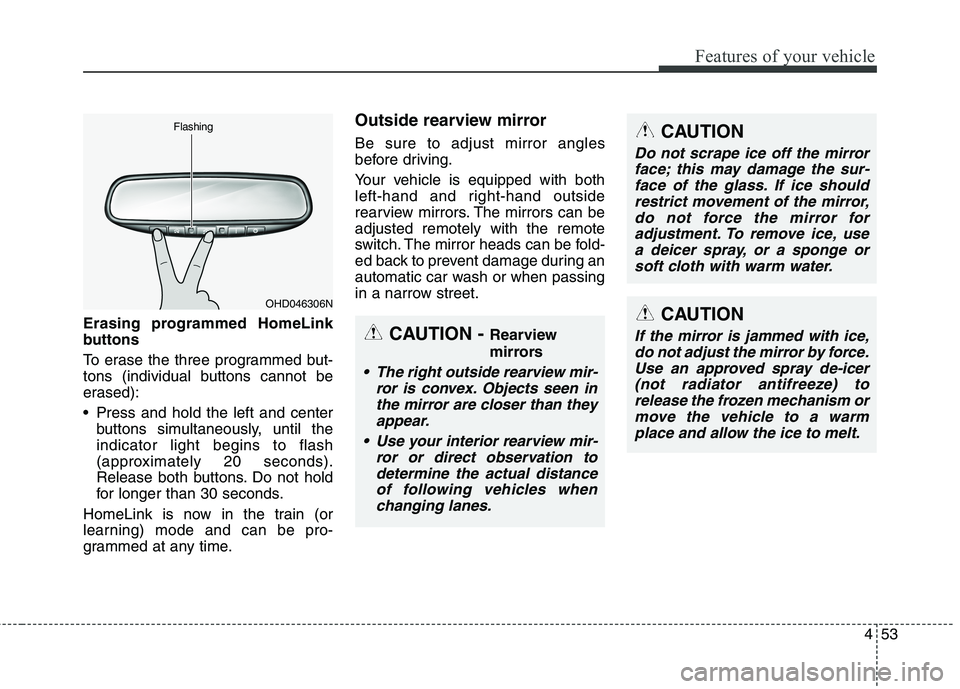
Erasing programmed HomeLink
buttons
To erase the three programmed but-
tons (individual buttons cannot be
erased):
Press and hold the left and center
buttons simultaneously, until the
indicator light begins to flash
(approximately 20 seconds).
Release both buttons. Do not hold
for longer than 30 seconds.
HomeLink is now in the train (or
learning) mode and can be pro-
grammed at any time.
Outside rearview mirror
Be sure to adjust mirror angles
before driving.
Your vehicle is equipped with both
left-hand and right-hand outside
rearview mirrors. The mirrors can be
adjusted remotely with the remote
switch. The mirror heads can be fold-
ed back to prevent damage during an
automatic car wash or when passing
in a narrow street.
OHD046306N Flashing
CAUTION - Rearview
mirrors
The right outside rearview mir-
ror is convex. Objects seen in
the mirror are closer than they
appear.
Use your interior rearview mir-
ror or direct observation to
determine the actual distance
of following vehicles when
changing lanes.
CAUTION
Do not scrape ice off the mirror
face; this may damage the sur-
face of the glass. If ice should
restrict movement of the mirror,
do not force the mirror for
adjustment. To remove ice, use
a deicer spray, or a sponge or
soft cloth with warm water.
CAUTION
If the mirror is jammed with ice,
do not adjust the mirror by force.
Use an approved spray de-icer
(not radiator antifreeze) to
release the frozen mechanism or
move the vehicle to a warm
place and allow the ice to melt.
Page 148 of 476
463
Features of your vehicle
• When the “AVG Fuel Economy” of
“User Setting” is in the “Auto Reset”
If the vehicle speed exceeds 1.6
MPH (1 km/h) after refueling more
than 1.6 gallons (6 l), the average
fuel consumption will be cleared to
zero (---).
• When the “AVG Fuel Economy” of
“User Setting” is in the “Manual
Reset”
Pressing the RESET button for more
than 1 second when the average fuel
consumption is displayed clears the
average fuel consumption to zero (--.-).
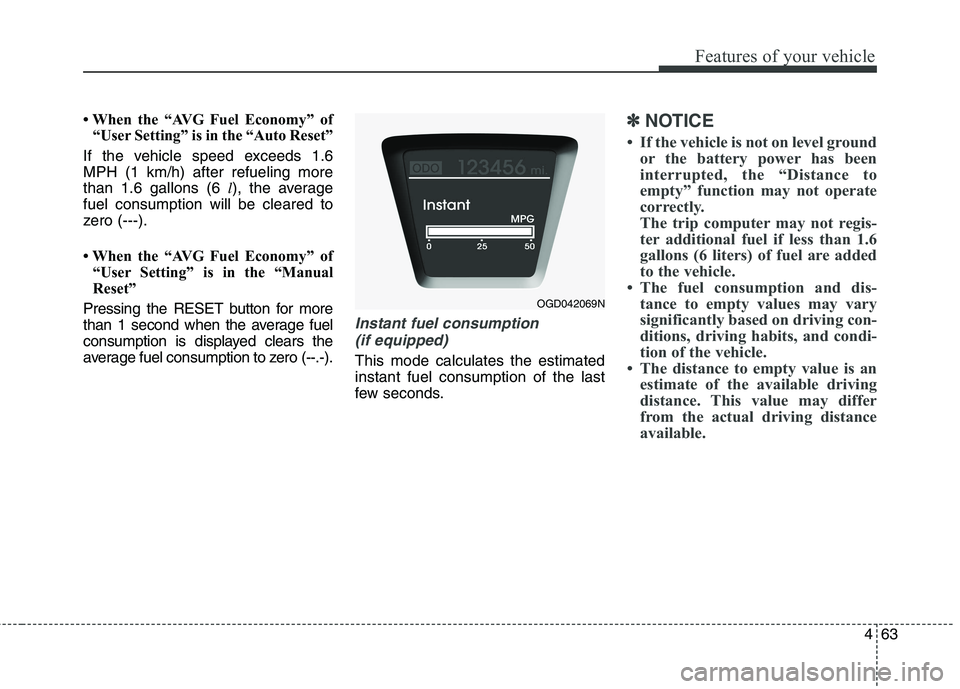
Instant fuel consumption
(if equipped)
This mode calculates the estimated
instant fuel consumption of the last
few seconds.
✽ ✽
NOTICE
• If the vehicle is not on level ground
or the battery power has been
interrupted, the “Distance to
empty” function may not operate
correctly.
The trip computer may not regis-
ter additional fuel if less than 1.6
gallons (6 liters) of fuel are added
to the vehicle.
• The fuel consumption and dis-
tance to empty values may vary
significantly based on driving con-
ditions, driving habits, and condi-
tion of the vehicle.
• The distance to empty value is an
estimate of the available driving
distance. This value may differ
from the actual driving distance
available.
OGD042069N