tow Hyundai Elantra GT 2017 User Guide
[x] Cancel search | Manufacturer: HYUNDAI, Model Year: 2017, Model line: Elantra GT, Model: Hyundai Elantra GT 2017Pages: 493, PDF Size: 11.53 MB
Page 97 of 493
Features of your vehicle
10
4
Loss of the smart key
A maximum of 2 smart keys can be
registered to a single vehicle.
If you happen to lose your smart key,
you will not be able to start the
engine. You should immediately take
the vehicle and remaining key to your
authorized HYUNDAI dealer(tow the
vehicle, if necessary) to protect it
from potential theft.
Smart key precautions
The smart key may not work if any
of the following occur:
- The smart key is close to a radio transmitter such as a radio sta-
tion or an airport which can inter-
fere with normal operation of the
smart key.
- The smart key is near a mobile two way radio system or a cellu-
lar phone.
- Another vehicle’s smart key is being operated close to your
vehicle.
When the smart key does not work correctly, open and close the door
with the mechanical key and contact
an authorized HYUNDAI dealer. If the smart key is in close proximi-
ty to your cell phone or smart
phone, the signal from the smart
key could be blocked by normal
operation of your cell phone or
smart phone. This is especially
important when the phone is active
such as making a call, receiving
calls, text messaging, and/or send-
ing/receiving emails. Avoid placing
the smart key and your cell phone
or smart phone in the same pants
or jacket pocket and maintain ade-
quate distance between the two
devices.
CAUTION
Keep the smart key away fromwater or any liquid and fire. Ifthe inside of the smart key getsdamp (due to drinks or mois-ture), or is heated, internal cir-cuit may malfunction, excludingthe car from the warranty.
Page 100 of 493
413
Features of your vehicle
1. Pry open the rear cover of thesmart key.
2. Replace the battery with a new battery (CR2032). When replacing
the battery, make sure the battery
position.
3. Install the battery in the reverse order of removal.
you years of trouble-free use, how-
ever it can malfunction if exposed
to moisture or static electricity. If
you are unsure how to use or
replace the battery, contact an
authorized HYUNDAI dealer.
the smart key to malfunction. Be
sure to use the correct battery.
don't drop it, get it wet, or expose it
to heat or sunlight.
An inappropriately dis- posed battery can be harm-
ful to the environment and
human health. Dispose the
battery according to your
local law(s) or regulation.
Door lock/unlock in an emer-
gency situation
If the smart key does not operate
normally, you can lock or unlock the
doors by using the mechanical key.
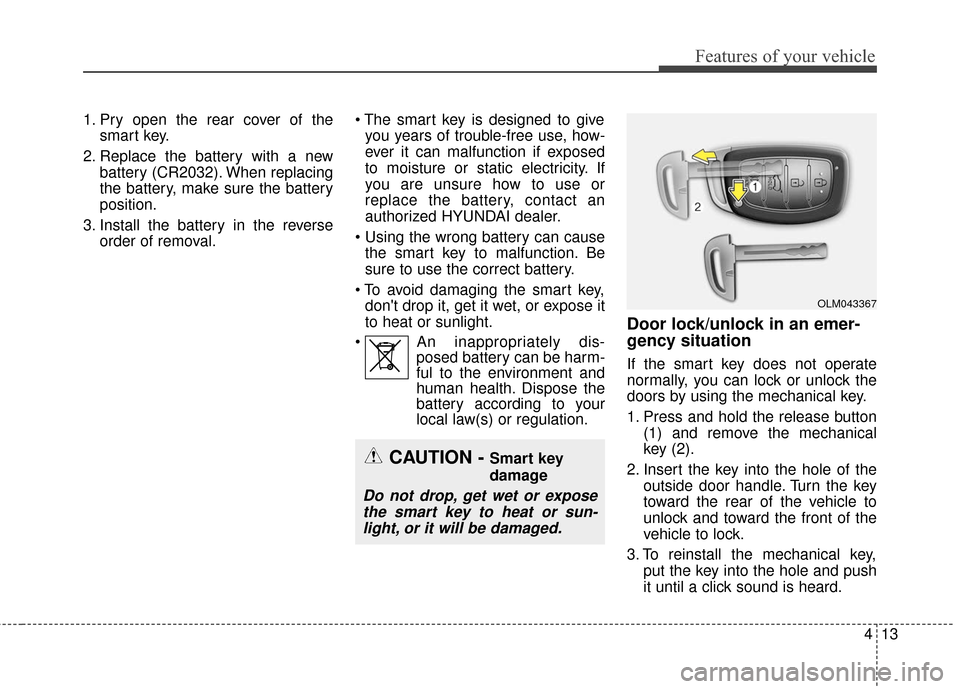
1. Press and hold the release button
(1) and remove the mechanical
key (2).
2. Insert the key into the hole of the outside door handle. Turn the key
toward the rear of the vehicle to
unlock and toward the front of the
vehicle to lock.
3. To reinstall the mechanical key, put the key into the hole and push
it until a click sound is heard.
OLM043367
CAUTION - Smart key
damage
Do not drop, get wet or exposethe smart key to heat or sun-light, or it will be damaged.
Page 105 of 493
Features of your vehicle
18
4
Using the transmitter (if equipped)
Park the vehicle and stop the engine.
Arm the system as described below.
1. Turn off the engine and remove
the ignition key from the ignition
switch.
2. Make sure that all doors, the engine hood and tailgate are
closed and latched.
3. Lock the doors by pressing the lock button on the transmitter.
After completion of the steps above,
the hazard warning lights will blink
once to indicate that the system is
armed.
If any door, tailgate or engine hood
remains open, the hazard warning
lights won't operate and theft-alarm
will not arm. After you close all doors,
tailgate and engine hood, the hazard
warning lights blink once.
Using the mechanical key
Park the vehicle and stop the engine.
Arm the system as described below.
1. Turn off the engine and remove the key from the ignition switch(if
equipped).
2. Make sure that all doors, the engine hood and tailgate are
closed and latched.
3. Lock the doors by inserting the key into the key hole on the front out-
side door handle and turning the
key toward the front of the vehicle.
If any door, tailgate or engine hood
remains open, the theft-alarm will not
arm.
✽ ✽ NOTICE
If you lock or unlock the doors by
using the mechanical key, the haz-
ard warning light won't operate.
Do not arm the system until all
passengers have left the vehicle. If
the system is armed while a pas-
senger(s) remains in the vehicle,
the alarm may be activated when
the remaining passenger(s) leave
the vehicle. If any door (or trunk)
or engine hood is opened within
30 seconds after the system
enters the armed stage, the sys-
tem is disarmed to prevent an
unnecessary alarm.
Page 108 of 493
421
Features of your vehicle
Operating door locks from
outside the vehicle
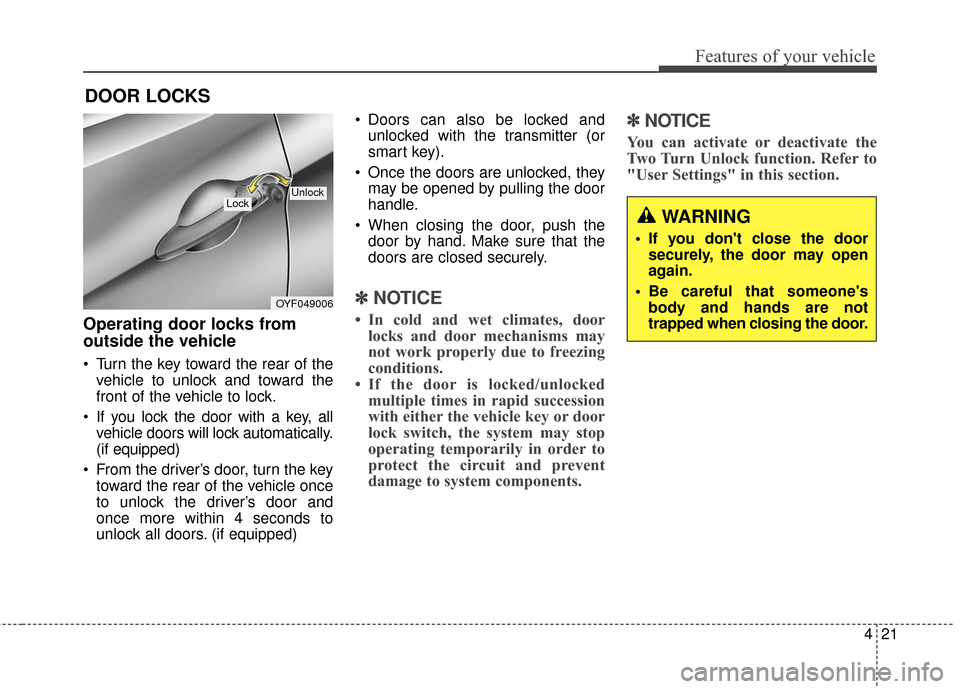
Turn the key toward the rear of thevehicle to unlock and toward the
front of the vehicle to lock.
If you lock the door with a key, all vehicle doors will lock automatically.
(if equipped)
From the driver’s door, turn the key toward the rear of the vehicle once
to unlock the driver’s door and
once more within 4 seconds to
unlock all doors. (if equipped) Doors can also be locked and
unlocked with the transmitter (or
smart key).
Once the doors are unlocked, they may be opened by pulling the door
handle.
When closing the door, push the door by hand. Make sure that the
doors are closed securely.
✽ ✽ NOTICE
• In cold and wet climates, door
locks and door mechanisms may
not work properly due to freezing
conditions.
• If the door is locked/unlocked multiple times in rapid succession
with either the vehicle key or door
lock switch, the system may stop
operating temporarily in order to
protect the circuit and prevent
damage to system components.
✽ ✽ NOTICE
You can activate or deactivate the
Two Turn Unlock function. Refer to
"User Settings" in this section.
DOOR LOCKS
OYF049006
LockUnlock
WARNING
If you don't close the door
securely, the door may open
again.
Be careful that someone's body and hands are not
trapped when closing the door.
Page 133 of 493
Features of your vehicle
46
4
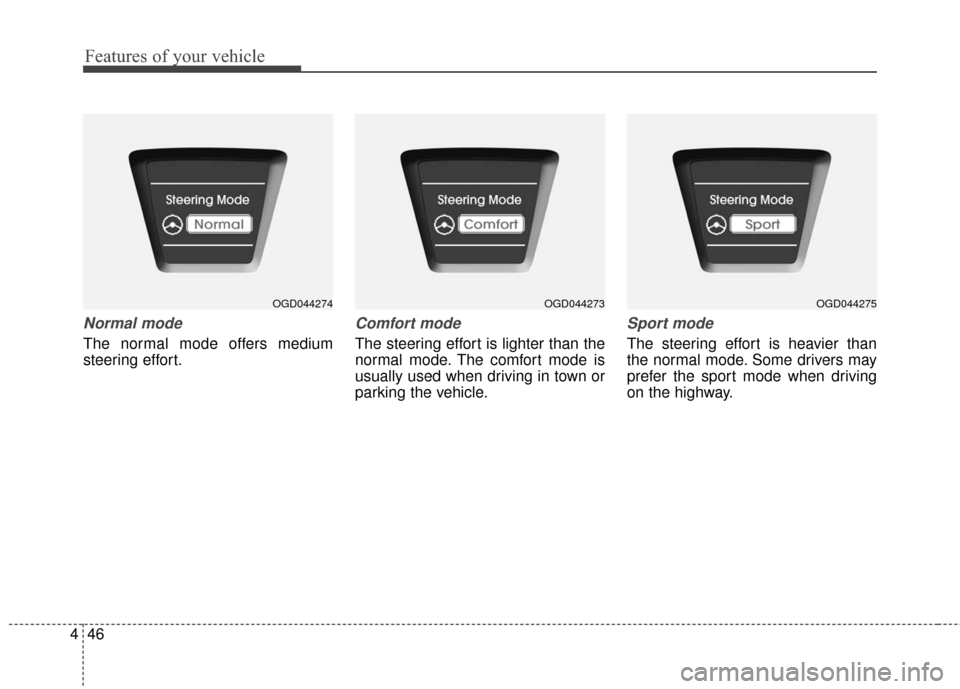
Normal mode
The normal mode offers medium
steering effort.
Comfort mode
The steering effort is lighter than the
normal mode. The comfort mode is
usually used when driving in town or
parking the vehicle.
Sport mode
The steering effort is heavier than
the normal mode. Some drivers may
prefer the sport mode when driving
on the highway.
OGD044273OGD044275OGD044274
Page 135 of 493
Features of your vehicle
48
4
Inside rearview mirror
Adjust the rearview mirror so that the
center view through the rear window
is seen. Make this adjustment before
you start driving.
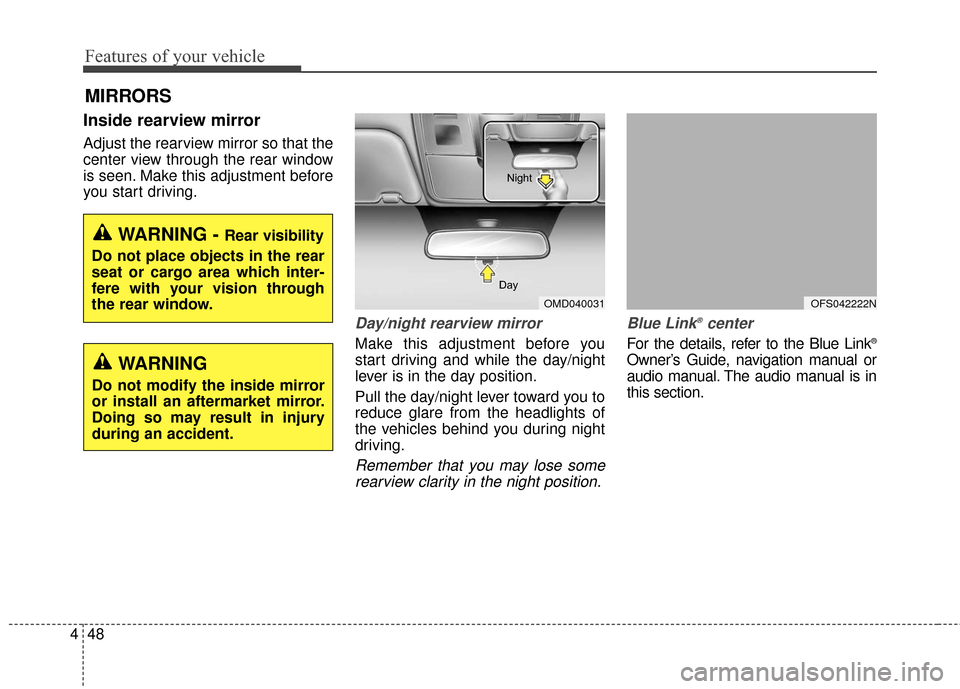
Day/night rearview mirror
Make this adjustment before you
start driving and while the day/night
lever is in the day position.
Pull the day/night lever toward you to
reduce glare from the headlights of
the vehicles behind you during night
driving.
Remember that you may lose some
rearview clarity in the night position. Blue Link
®center
For the details, refer to the Blue Link®
Owner’s Guide, navigation manual or
audio manual. The audio manual is in
this section.
MIRRORS
WARNING - Rear visibility
Do not place objects in the rear
seat or cargo area which inter-
fere with your vision through
the rear window.
OMD040031
Day Night
WARNING
Do not modify the inside mirror
or install an aftermarket mirror.
Doing so may result in injury
during an accident.
OFS042222N
Page 142 of 493
455
Features of your vehicle
To adjust the position of the mirrors:
1. Place the ignition switch in theACC position.
2. Move the lever(1) to R (right) or L (left) to select the right side mirror
or the left side mirror.
3. Press a corresponding point on the mirror adjustment control to
position the selected mirror up,
down, left or right.
4. After the adjustment, position the lever in the center to prevent inad-
vertent movement.
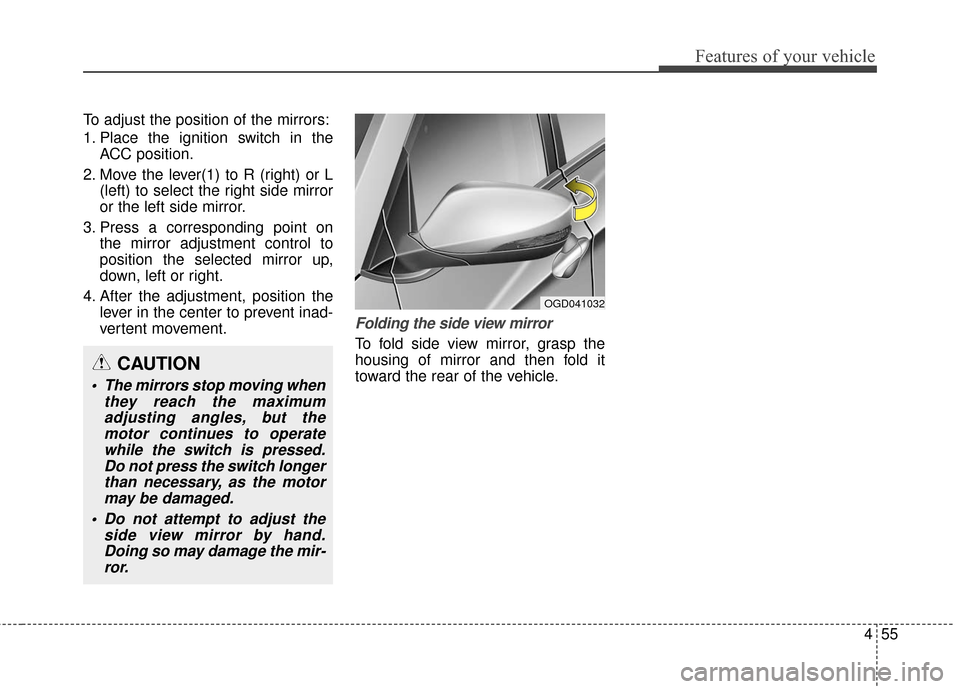
Folding the side view mirror
To fold side view mirror, grasp the
housing of mirror and then fold it
toward the rear of the vehicle.
OGD041032
CAUTION
The mirrors stop moving whenthey reach the maximumadjusting angles, but themotor continues to operatewhile the switch is pressed.Do not press the switch longerthan necessary, as the motormay be damaged.
Do not attempt to adjust the side view mirror by hand.Doing so may damage the mir-ror.
Page 145 of 493
Features of your vehicle
58
4
When the door is open, or if the
engine is not started within 1 minute,
the tachometer pointer may move
slightly with the ignition in the ON
position with the engine OFF. This
movement is normal and will not
affect the accuracy of the tachometer
once the engine is running.
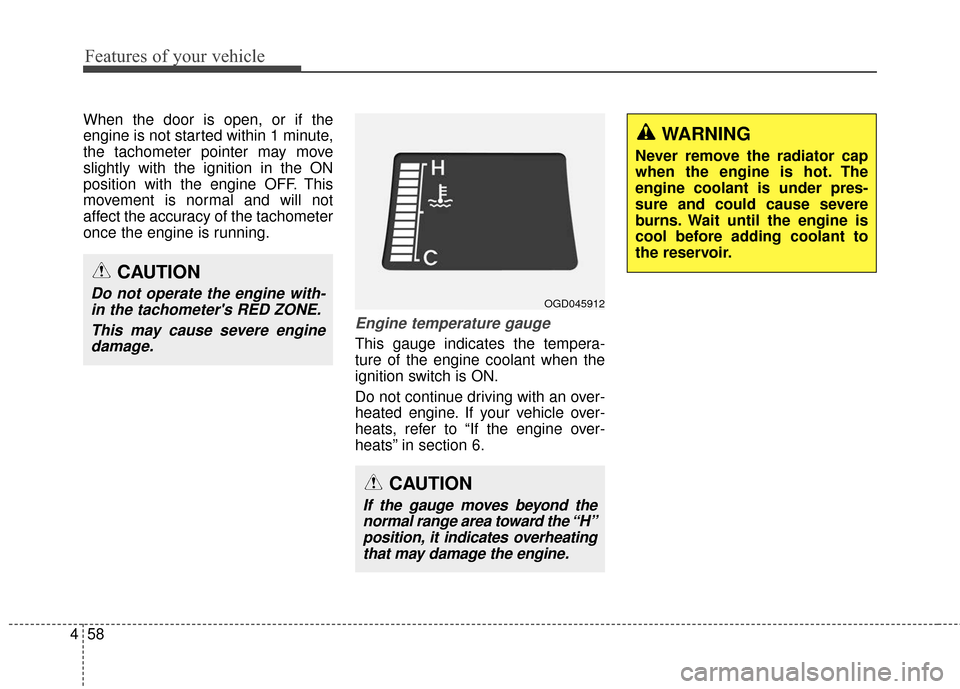
Engine temperature gauge
This gauge indicates the tempera-
ture of the engine coolant when the
ignition switch is ON.
Do not continue driving with an over-
heated engine. If your vehicle over-
heats, refer to “If the engine over-
heats” in section 6.
WARNING
Never remove the radiator cap
when the engine is hot. The
engine coolant is under pres-
sure and could cause severe
burns. Wait until the engine is
cool before adding coolant to
the reservoir.
CAUTION
If the gauge moves beyond the
normal range area toward the “H”position, it indicates overheatingthat may damage the engine.
CAUTION
Do not operate the engine with-in the tachometer's RED ZONE.
This may cause severe enginedamage.OGD045912
Page 162 of 493
475
Features of your vehicle
Parking brake & brakefluid warning light
Parking brake warning
This light is illuminated when the
parking brake is applied with the igni-
tion switch in the START or ON posi-
tion. The warning light should go off
when the parking brake is released.
Low brake fluid level warning
If the warning light remains on, it may
indicate that the brake fluid level in
the reservoir is low.
If the warning light remains on:
1. Drive carefully to the nearest safe location and stop your vehicle.
2. With the engine stopped, check the brake fluid level immediately and
add fluid as required. Then check all
brake components for fluid leaks.
3. Do not drive the vehicle if leaks are found, the warning light remains on
or the brakes do not operate prop-
erly. Have the vehicle towed to any
authorized HYUNDAI dealer for a
brake system inspection and nec-
essary repairs. Your vehicle is equipped with a dual-
diagonal braking system. This means
you still have braking on two wheels
even if one of the brake circuits is
damaged or malfunctions. With only
one of the circuits working, more
than normal pedal travel and greater
pedal pressure are required to stop
the car. Also, the car will not stop in
as short a distance with only a por-
tion of the brake system working. If
the brakes fail while you are driving,
shift to a lower gear for additional
engine braking and stop the car as
soon as it is safe to do so.
To check bulb operation, check
whether the parking brake and brake
fluid warning light illuminates when the
ignition switch is in the ON position.
CAUTION
If the oil pressure warning light
stays on while the engine is run-ning, serious engine damage mayresult. The oil pressure warninglight comes on whenever there isinsufficient oil pressure. In nor-mal operation, it should come onwhen the ignition switch is turnedon, then go out when the engineis started. If the oil pressure warn-ing light stays on while theengine is running, there is a seri-ous malfunction.
If this happens, stop the car assoon as it is safe to do so, turnoff the engine and check the oillevel. If the oil level is low, fill theengine oil to the proper leveland start the engine again. If thelight stays on with the enginerunning, turn the engine offimmediately. In any instancewhere the oil light stays onwhen the engine is running, theengine should be checked by anauthorized HYUNDAI dealerbefore the car is driven again.
WARNING
Driving the vehicle with a warn-
ing light on is dangerous. If the
brake warning light remains on,
have the brakes checked and
repaired immediately by an
authorized HYUNDAI dealer.
Page 179 of 493
Features of your vehicle
92
4
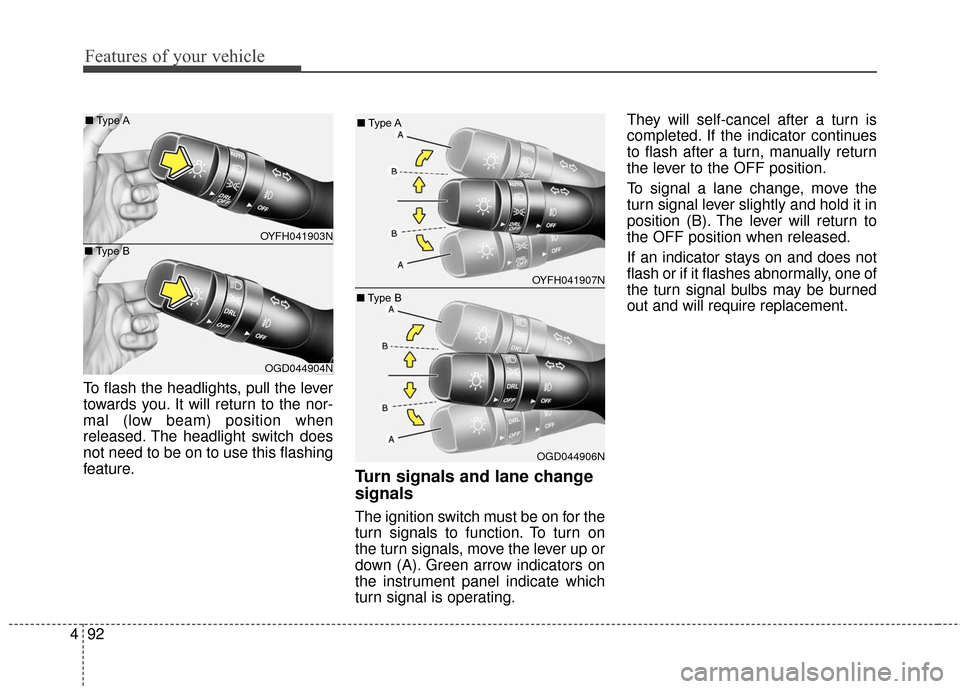
To flash the headlights, pull the lever
towards you. It will return to the nor-
mal (low beam) position when
released. The headlight switch does
not need to be on to use this flashing
feature.
Turn signals and lane change
signals
The ignition switch must be on for the
turn signals to function. To turn on
the turn signals, move the lever up or
down (A). Green arrow indicators on
the instrument panel indicate which
turn signal is operating. They will self-cancel after a turn is
completed. If the indicator continues
to flash after a turn, manually return
the lever to the OFF position.
To signal a lane change, move the
turn signal lever slightly and hold it in
position (B). The lever will return to
the OFF position when released.
If an indicator stays on and does not
flash or if it flashes abnormally, one of
the turn signal bulbs may be burned
out and will require replacement.
OYFH041903N
■
Type A
OGD044904N
■
Type B
OYFH041907N
■
Type A
OGD044906N
■
Type B