Manual start Hyundai Genesis 2010 Owner's Manual
[x] Cancel search | Manufacturer: HYUNDAI, Model Year: 2010, Model line: Genesis, Model: Hyundai Genesis 2010Pages: 399, PDF Size: 10 MB
Page 9 of 399

Introduction
2 1
A010000AHM
We want to help you get the greatest
possible driving pleasure from your vehi-
cle. Your Owner’s Manual can assist you
in many ways. We strongly recommend
that you read the entire manual. In order
to minimize the chance of death or injury,
you must read the WARNING and CAU-
TION sections in the manual.
Illustrations complement the words in this
manual to best explain how to enjoy your
vehicle. By reading your manual, you will
learn about features, important safety
information, and driving tips under vari-
ous road conditions.The general layout of the manual is pro-
vided in the Table of Contents. A good
place to start is the index; it has an alpha-
betical listing of all information in your
manual.
Sections: This manual has eight sections
plus an index. Each section begins with a
brief list of contents so you can tell at a
glance if that section has the information
you want.You will find various WARNINGS, CAU-
TIONS, and NOTICES in this manual.
These WARNINGS were prepared to
enhance your personal safety. You should
carefully read and follow ALL procedures
and recommendations provided in these
WARNINGS, CAUTIONS and NOTICES.
✽ ✽
NOTICE
A NOTICE indicates interesting or help-
ful information is being provided.
HOW TO USE THIS MANUAL
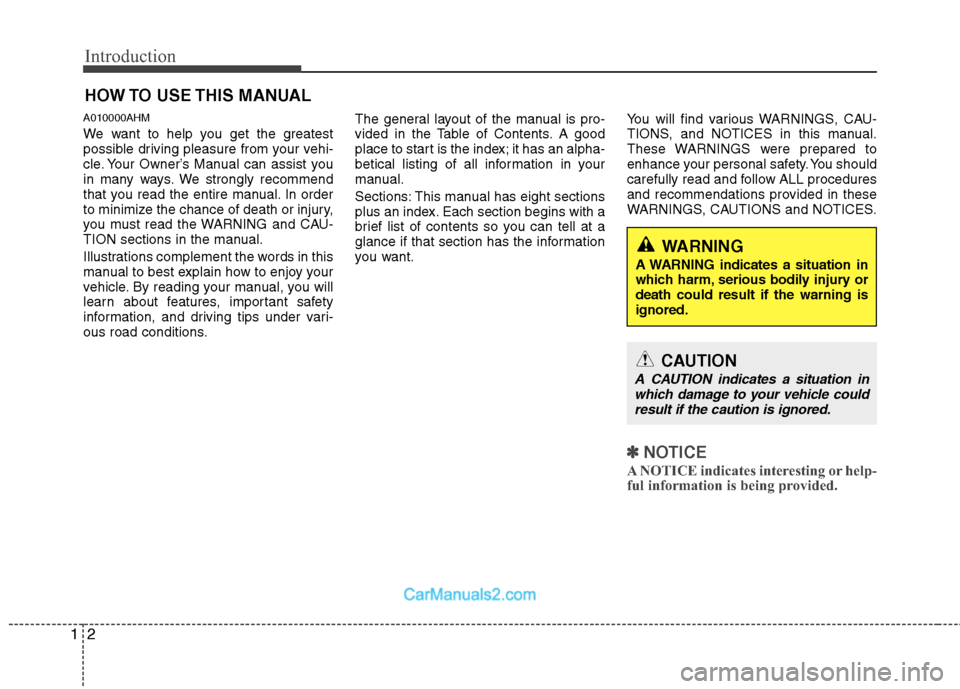
WARNING
A WARNING indicates a situation in
which harm, serious bodily injury or
death could result if the warning is
ignored.
CAUTION
A CAUTION indicates a situation in
which damage to your vehicle could
result if the caution is ignored.
Page 112 of 399

435
Features of your vehicle
D120102ABH
Recalling positions from memory
1. Shift the shift lever into P while the
ignition switch is ON.
2. To recall the position in memory, press
the desired memory button (1 or 2).
The system will beep once, then the
driver seat, outside rearview mirror
and steering wheel will automatically
adjust to the stored positions.
Adjusting one of the control knobs for the
driver seat, outside rearview mirror and
steering wheel while the system is recall-
ing the stored positions will cause the
movement for that component to stop
and move in the direction that the control
knob is moved. Other components will
continue to the recalled position.
D120300BBH
Easy access function
(if equipped)
With the shift lever in the P position, the
system will move the steering wheel for-
ward and driver’s seat rearward automat-
ically so you can comfortably enter and
exit the vehicle.
Without smart key system
- It will move the steering wheel away
from the driver and the driver’s seat
rearward when the ignition key is
removed.
-
It will move the steering wheel toward
the driver and the driver’s seat for-
ward when the ignition key is inserted.
With smart key system
- It will move the steering wheel away
from the driver and the driver’s seat
rearward when the engine start/stop
button is turned to the OFF position
or the smart key is removed from the
smart key holder with engine
start/stop button in OFF position.
- It will move the steering wheel toward
the driver and the driver’s seat for-
ward when the engine start/stop but-
ton is turned to the ACC position or
the smart key is inserted to the smart
key holder with engine start/stop but-
ton in OFF position.
✽ ✽
NOTICE
You can activate or deactivate the easy
access function in the INFO menu of
DIS (Driver Information System, if
equipped) as follows;
• Seat easy access
• Steering easy access
If you want detailed informations, refer
to the DIS manual supplied separately.
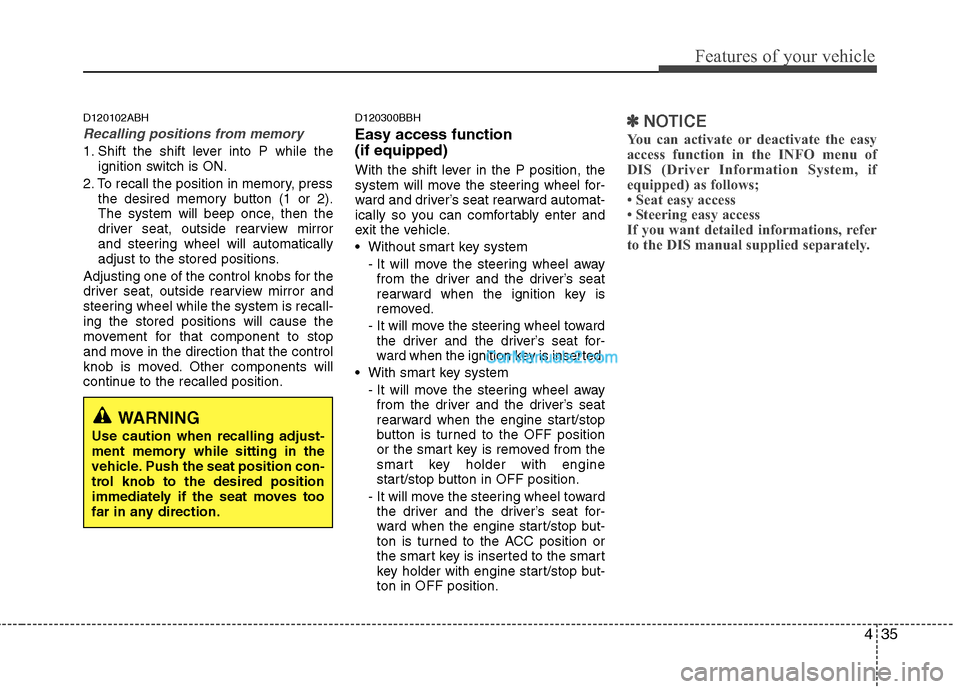
WARNING
Use caution when recalling adjust-
ment memory while sitting in the
vehicle. Push the seat position con-
trol knob to the desired position
immediately if the seat moves too
far in any direction.
Page 164 of 399

487
Features of your vehicle
D240200ABH
Manual heating and air condition-
ing
The heating and cooling system can be
controlled manually by pushing buttons
other than the AUTO button. In this case,
the system works sequentially according
to the order of buttons selected.
When pressing any button except the
AUTO button while using automatic oper-
ation, the functions not selected will be
controlled automatically.
1. Start the engine.
2. Set the mode to the desired position.
For improving the effectiveness of
heating and cooling;
- Heating:
- Cooling:
3. Set the temperature control to the
desired position.
4. Set the air intake control to the outside
(fresh) air position.
5. Set the fan speed control to the
desired speed.
6. If air conditioning is desired, turn the
air conditioning system on.
Press the AUTO button in order to con-
vert to full automatic control of the sys-
tem.
OBH048093L
Page 241 of 399

WARNING
Always fully depress the brake
pedal before and while shifting out
of the P (Park) position into anoth-
er position to avoid inadvertent
motion of the vehicle which could
injure persons in or around the car.
Driving your vehicle
14 5
Sports mode
Whether the vehicle is stationary or in
motion, sports mode is selected by push-
ing the shift lever from the D (Drive) posi-
tion into the manual gate. To return to D
(Drive) range operation, push the shift
lever back into the main gate.
In sports mode, moving the shift lever
backwards and forwards will allow you to
make gearshifts rapidly.
Up (+) : Push the lever forward once to
shift up one gear.
Down (-) : Pull the lever backwards once
to shift down one gear.
✽ ✽
NOTICE
• In sports mode, the driver must exe-
cute upshifts in accordance with road
conditions, taking care to keep the
engine speed below the red zone.
• In sports mode, only the 6 forward
gears can be selected. To reverse or
park the vehicle, move the shift lever
to the R (Reverse) or P (Park) position
as required.
• In sports mode, downshifts are made
automatically when the vehicle slows
down. When the vehicle stops, 1st gear
is automatically selected.
• In sports mode, when the engine rpm
approaches the red zone shift points
are varied to upshift automatically.
• To maintain the required levels of
vehicle performance and safety, the
system may not execute certain
gearshifts when the shift lever is oper-
ated.
• When driving on a slippery road,
push the shift lever forward into the
+(up) position. This causes the trans-
mission to shift into the 2nd (or 3rd)
gear which is better for smooth driv-
ing on a slippery road. Push the shift
lever to the -(down) side to shift back
to the 1st gear.
E060102BBH
Shift lock system
For your safety, the automatic transmis-
sion has a shift lock system which pre-
vents shifting the transmission from P
(Park) or N (Neutral) into R (Reverse)
unless the brake pedal is depressed.
To shift the transmission from P (Park) or
N (Neutral) into R (Reverse):
1. Depress and hold the brake pedal.
2. Start the engine or turn the ignition
switch to the ON position.
3. Move the shift lever.
If the brake pedal is repeatedly
depressed and released with the shift
lever in the P (Park) position, a chattering
noise near the shift lever may be heard.
This is a normal condition.
OBH059006 + (UP)
- (DOWN)
Sports mode
Page 253 of 399

Driving your vehicle
26 5
In these cases, the brake warning light
comes on, the AUTO HOLD indicator
changes from green to white, and
warning sounds and a message will
appear to inform you that EPB has
been automatically engaged.
Before driving again, press the foot
brake pedal, check the surrounding
area near your vehicle and release the
parking brake manually with the EPB
switch.
• When AUTO HOLD is ON and the
vehicle comes to a stop on a steep
slope (about 25% gradient or more),
the EPB will be automatically
engaged. In this case, when you
release EPB manually by pulling the
EPB switch with the foot brake pedal
pressed, AUTO HOLD will hold the
vehicle for 3 seconds in order to pre-
vent the vehicle from rolling back
during the launch.
• If the AUTO HOLD malfunction indi-
cator lights up yellow on the LCD
screen, the AUTO HOLD is not work-
ing properly. Take your vehicle to an
authorized HYUNDAI dealer and
have the system checked.E070300AEN-EE
Anti-lock brake system (ABS)
WARNING
ABS (or ESC) will not prevent acci-
dents due to improper or danger-
ous driving maneuvers. Even
though vehicle control is improved
during emergency braking, always
maintain a safe distance between
you and objects ahead. Vehicle
speeds should always be reduced
during extreme road conditions.
The braking distance for cars
equipped with an anti-lock braking
system (or Electronic Stability
Control system) may be longer than
for those without it in the following
road conditions.
During these conditions the vehicle
should be driven at reduced
speeds:
Rough, gravel or snow-covered
roads.
With tire chains installed.
(Continued)
WARNING
Press the accelerator pedal slow-
ly when you start the vehicle.
For your safety, cancel the AUTO
HOLD when you drive downhill or
back up the vehicle or park the
vehicle.
CAUTION
If there is a malfunction with the dri-
ver’s door, hood or trunk open
detection system, the AUTO HOLD
may not work properly.
Take your vehicle to an authorized
HYUNDAI dealer and have the sys-
tem checked.
Page 395 of 399

I3
Index
Defroster ······································································ 4-84
Dimensions ···································································· 8-2
Door locks ··································································· 4-16
Central door lock switch ··········································· 4-17
Child-protector rear door lock ··································· 4-19
Driver position memory system ·································· 4-34
Economical operation ·················································· 5-48
Emergency starting ························································ 6-4
Jump starting ······························································· 6-4
Push starting ································································ 6-5
Emission control system ·············································· 7-65
Crankcase emission control system ·························· 7-65
Evaporative emission control (including ORVR:
Onboard Refueling Vapor Recovery) System ········· 7-65
Exhaust emission control system ······························ 7-66
Engine compartment ·············································· 2-4, 7-2
Engine coolant ····························································· 7-16
Engine number ······························································· 8-7
Engine oil ····································································· 7-15
Engine start/stop button ················································· 5-7
Engine start/stop button position ································· 5-7
Starting the engine ······················································· 5-9
Explanation of scheduled maintenance items ············· 7-12Foot parking brake ·························································7-22
Fuel filler lid ································································ 4-28
Emergency fuel filer lid release ································ 4-30
Fuel requirements ·························································· 1-3
Fuses ············································································ 7-44
Fuse/relay panel description ······································ 7-48
Main fuse ··································································· 7-47
Memory fuse ····························································· 7-46
Hazard warning flasher ················································ 4-72
Hood ············································································ 4-27
How to use this manual ················································· 1-2
If the engine overheats ·················································· 6-6
If the engine will not start ············································· 6-3
If you have a flat tire ··················································· 6-12
Changing tires ··························································· 6-13
Compact spare tire ····················································· 6-18
Jack and tools ···························································· 6-12
Removing and storing the spare tire ························· 6-13
In case of an emergency while driving ·························· 6-2
Indicator symbols on the instrument cluster ················· 1-7
D
E
F
H
I