warning light Hyundai Genesis Coupe 2011 Owner's Guide
[x] Cancel search | Manufacturer: HYUNDAI, Model Year: 2011, Model line: Genesis Coupe, Model: Hyundai Genesis Coupe 2011Pages: 343, PDF Size: 34.28 MB
Page 101 of 343
433
Features of your vehicle
D140100AUN
Inside rearview mirror
Adjust the rearview mirror to center on
the view through the rear window. Make
this adjustment before you start driving.D140101AUN
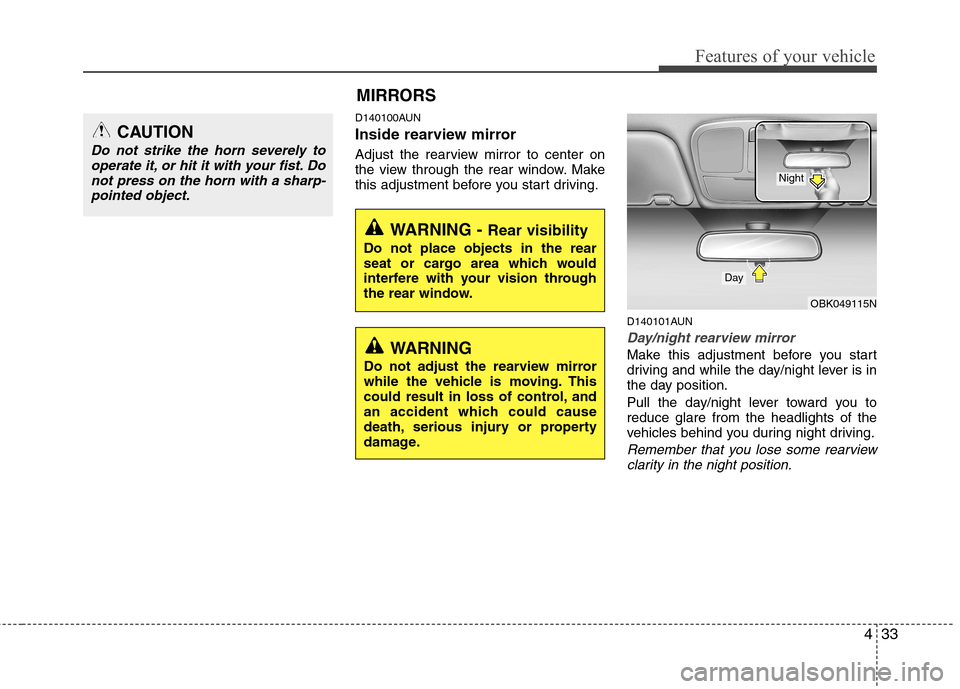
Day/night rearview mirror
Make this adjustment before you start
driving and while the day/night lever is in
the day position.
Pull the day/night lever toward you to reduce glare from the headlights of the
vehicles behind you during night driving.
Remember that you lose some rearviewclarity in the night position.
CAUTION
Do not strike the horn severely to operate it, or hit it with your fist. Do
not press on the horn with a sharp-pointed object.
MIRRORS
WARNING - Rear visibility
Do not place objects in the rear
seat or cargo area which would
interfere with your vision through
the rear window.
OBK049115N
Day
Night
WARNING
Do not adjust the rearview mirror
while the vehicle is moving. This
could result in loss of control, and
an accident which could cause
death, serious injury or property
damage.
Page 102 of 343
Features of your vehicle
34
4
D140102AUN
Electric chromic mirror (ECM)
(if equipped)
The electric chromic mirror automatically controls the glare from the headlights of
the car behind you in nighttime or low
light driving conditions. The sensormounted in the mirror senses the light
level around the vehicle, and automati-cally controls the headlight glare from
vehicles behind you.
When the engine is running, the glare is
automatically controlled by the sensor
mounted in the rearview mirror.
Whenever the shift lever is shifted into R
(Reverse), the mirror will automatically
go to the brightest setting in order to
improve the drivers view behind the vehi-
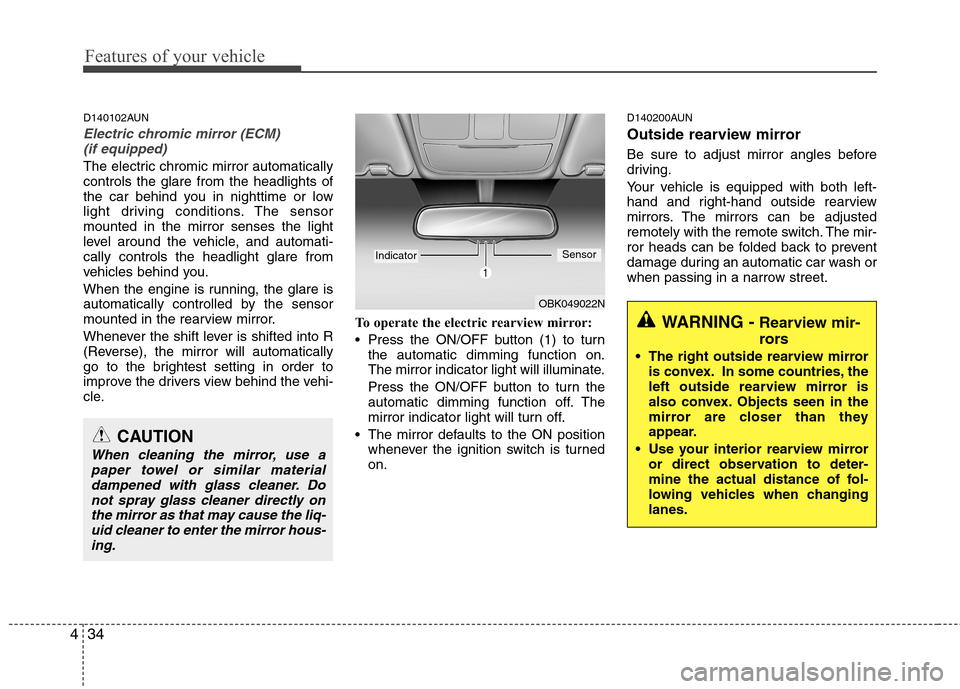
cle. To operate the electric rearview mirror:
Press the ON/OFF button (1) to turn
the automatic dimming function on.
The mirror indicator light will illuminate.
Press the ON/OFF button to turn the
automatic dimming function off. The
mirror indicator light will turn off.
The mirror defaults to the ON position whenever the ignition switch is turnedon. D140200AUN
Outside rearview mirror
Be sure to adjust mirror angles before
driving.
Your vehicle is equipped with both left-
hand and right-hand outside rearview
mirrors. The mirrors can be adjusted
remotely with the remote switch. The mir-
ror heads can be folded back to prevent
damage during an automatic car wash or
when passing in a narrow street.
CAUTION
When cleaning the mirror, use a
paper towel or similar materialdampened with glass cleaner. Donot spray glass cleaner directly on
the mirror as that may cause the liq-uid cleaner to enter the mirror hous-ing.
WARNING - Rearview mir-
rors
The right outside rearview mirror is convex. In some countries, the
left outside rearview mirror is
also convex. Objects seen in the
mirror are closer than they
appear.
Use your interior rearview mirror or direct observation to deter-
mine the actual distance of fol-
lowing vehicles when changinglanes.
OBK049022N
IndicatorSensor
Page 105 of 343
437
Features of your vehicle
INSTRUMENT CLUSTER
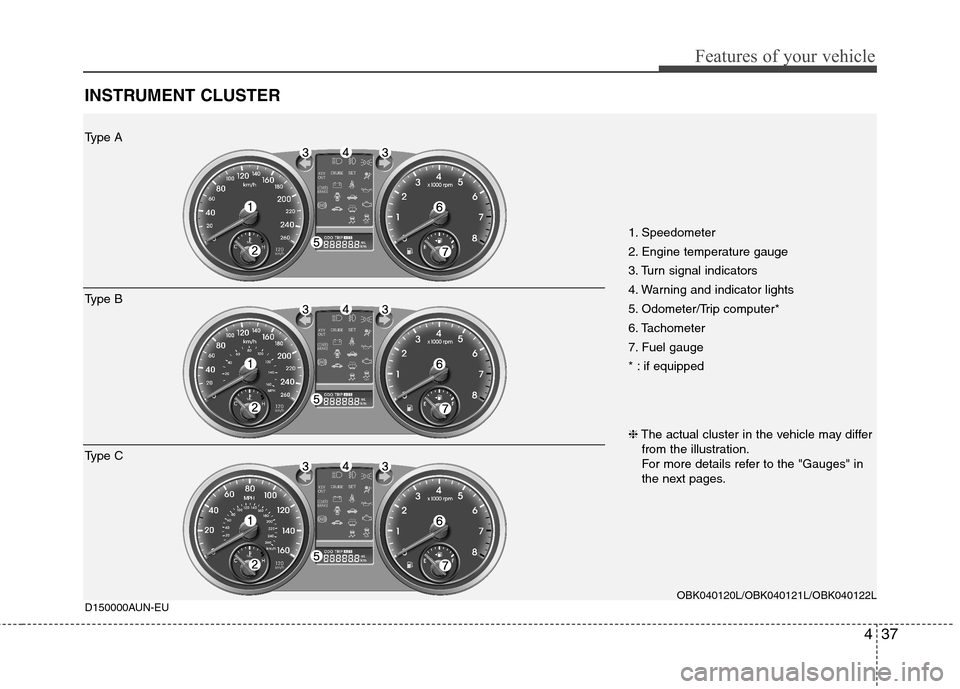
1. Speedometer
2. Engine temperature gauge
3. Turn signal indicators
4. Warning and indicator lights
5. Odometer/Trip computer*
6. Tachometer
7. Fuel gauge
* : if equippedOBK040120L/OBK040121L/OBK040122L
D150000AUN-EU
Type A
Type B
Type C ❈
The actual cluster in the vehicle may differ
from the illustration.
For more details refer to the "Gauges" in
the next pages.
Page 106 of 343
Features of your vehicle
38
4
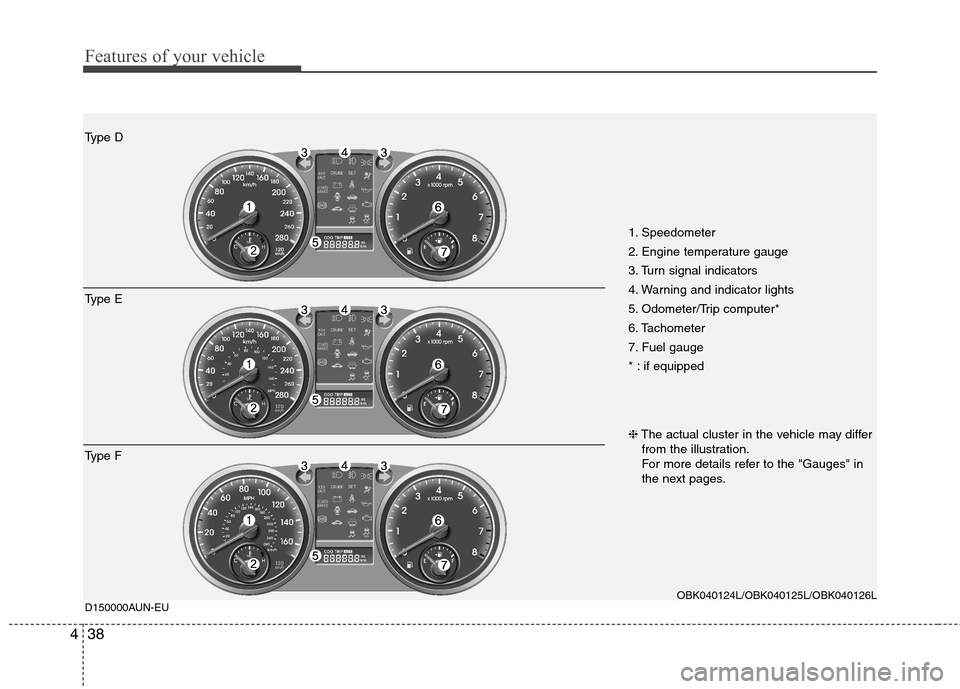
1. Speedometer
2. Engine temperature gauge
3. Turn signal indicators
4. Warning and indicator lights
5. Odometer/Trip computer*
6. Tachometer
7. Fuel gauge
* : if equipped
OBK040124L/OBK040125L/OBK040126L
D150000AUN-EU
Type D
Type E
Type F ❈
The actual cluster in the vehicle may differ
from the illustration.
For more details refer to the "Gauges" in
the next pages.
Page 109 of 343
441
Features of your vehicle
D150203AUN
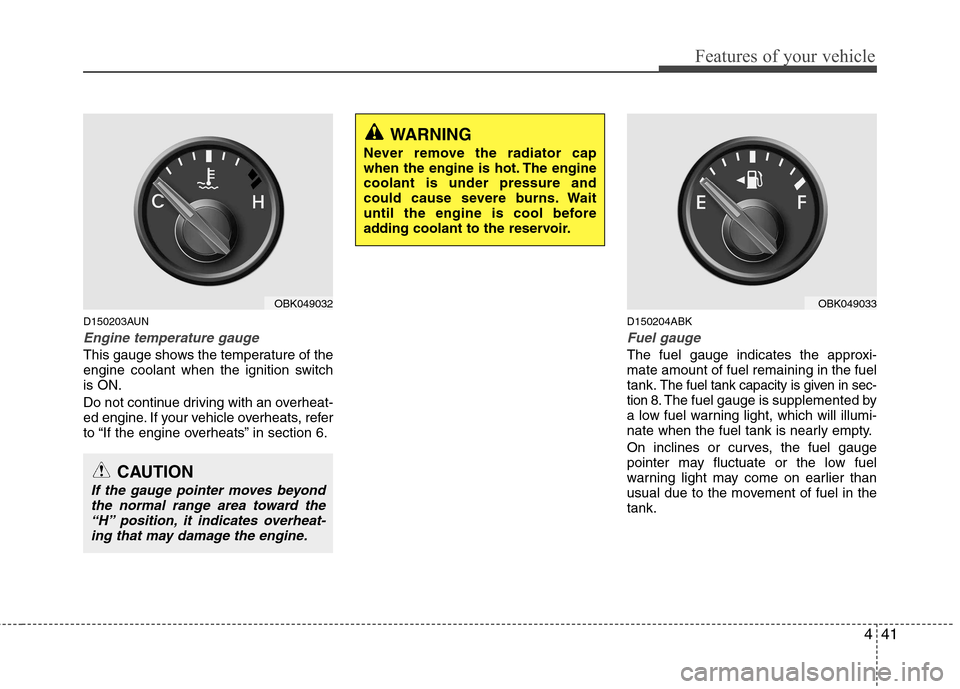
Engine temperature gauge
This gauge shows the temperature of the
engine coolant when the ignition switchis ON.
Do not continue driving with an overheat-
ed engine. If your vehicle overheats, refer
to “If the engine overheats” in section 6.D150204ABK
Fuel gauge
The fuel gauge indicates the approxi- mate amount of fuel remaining in the fueltank.
The fuel tank capacity is given in sec-
tion 8.The fuel gauge is supplemented by
a low fuel warning light, which will illumi-
nate when the fuel tank is nearly empty.
On inclines or curves, the fuel gauge
pointer may fluctuate or the low fuel
warning light may come on earlier than
usual due to the movement of fuel in thetank.
OBK049032
CAUTION
If the gauge pointer moves beyond
the normal range area toward the“H” position, it indicates overheat-
ing that may damage the engine.
WARNING
Never remove the radiator cap
when the engine is hot. The enginecoolant is under pressure and
could cause severe burns. Wait
until the engine is cool before
adding coolant to the reservoir.
OBK049033
Page 110 of 343
Features of your vehicle
42
4
D150205AEN
Odometer/Tripmeter (if equipped)
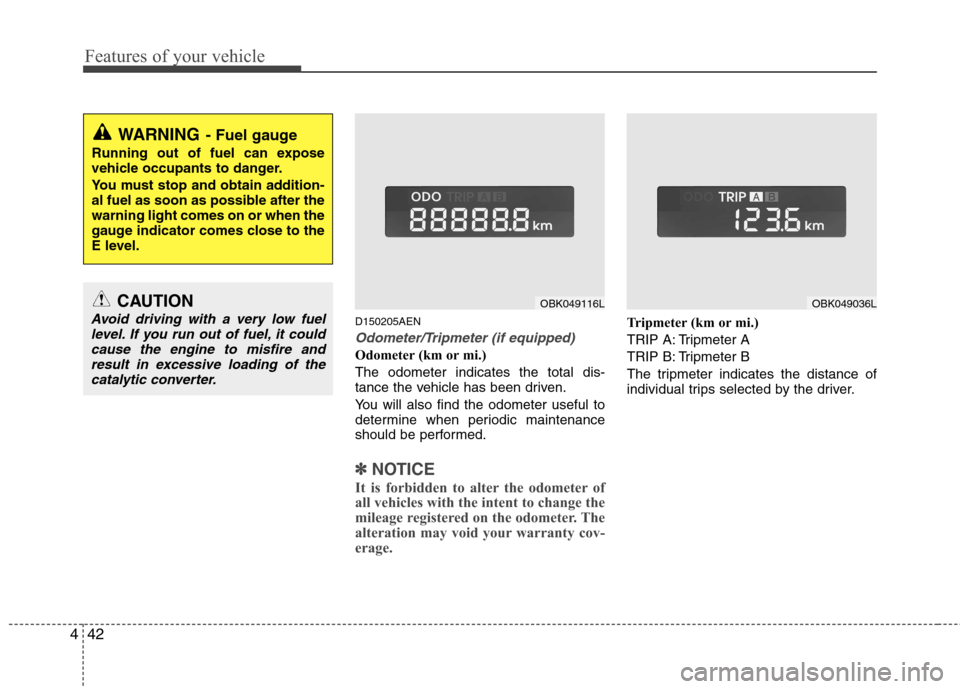
Odometer (km or mi.) The odometer indicates the total dis-
tance the vehicle has been driven.
You will also find the odometer useful to
determine when periodic maintenance
should be performed.
✽✽
NOTICE
It is forbidden to alter the odometer of
all vehicles with the intent to change the
mileage registered on the odometer. The
alteration may void your warranty cov-
erage.
Tripmeter (km or mi.)
TRIP A: Tripmeter A
TRIP B: Tripmeter B
The tripmeter indicates the distance of
individual trips selected by the driver.
WARNING - Fuel gauge
Running out of fuel can expose
vehicle occupants to danger.
You must stop and obtain addition-
al fuel as soon as possible after thewarning light comes on or when the
gauge indicator comes close to the
E level.
OBK049116LOBK049036LCAUTION
Avoid driving with a very low fuel level. If you run out of fuel, it couldcause the engine to misfire andresult in excessive loading of the
catalytic converter.
Page 114 of 343
Features of your vehicle
46
4
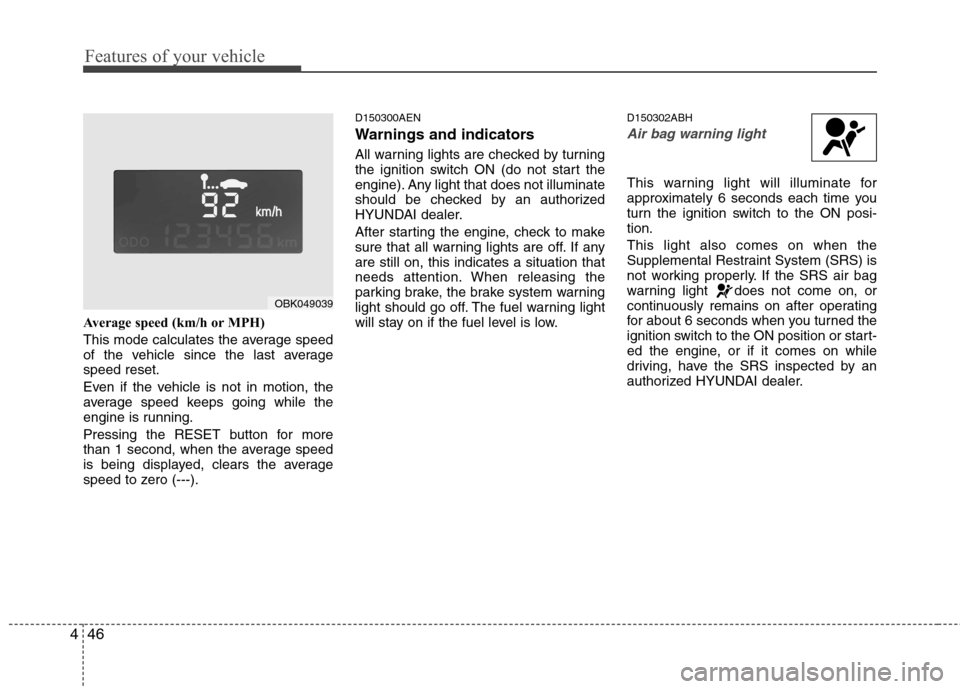
Average speed (km/h or MPH)
This mode calculates the average speed
of the vehicle since the last averagespeed reset.
Even if the vehicle is not in motion, the
average speed keeps going while the
engine is running.
Pressing the RESET button for more
than 1 second, when the average speed
is being displayed, clears the average
speed to zero (---). D150300AEN
Warnings and indicators
All warning lights are checked by turning
the ignition switch ON (do not start the
engine). Any light that does not illuminate
should be checked by an authorized
HYUNDAI dealer.
After starting the engine, check to make
sure that all warning lights are off. If anyare still on, this indicates a situation that
needs attention. When releasing the
parking brake, the brake system warning
light should go off. The fuel warning light
will stay on if the fuel level is low.
D150302ABH
Air bag warning light
This warning light will illuminate for
approximately 6 seconds each time you
turn the ignition switch to the ON posi-tion. This light also comes on when the
Supplemental Restraint System (SRS) is
not working properly. If the SRS air bag
warning light does not come on, or
continuously remains on after operating
for about 6 seconds when you turned the
ignition switch to the ON position or start-
ed the engine, or if it comes on while
driving, have the SRS inspected by an
authorized HYUNDAI dealer.
OBK049039
Page 115 of 343
447
Features of your vehicle
D150303AEN
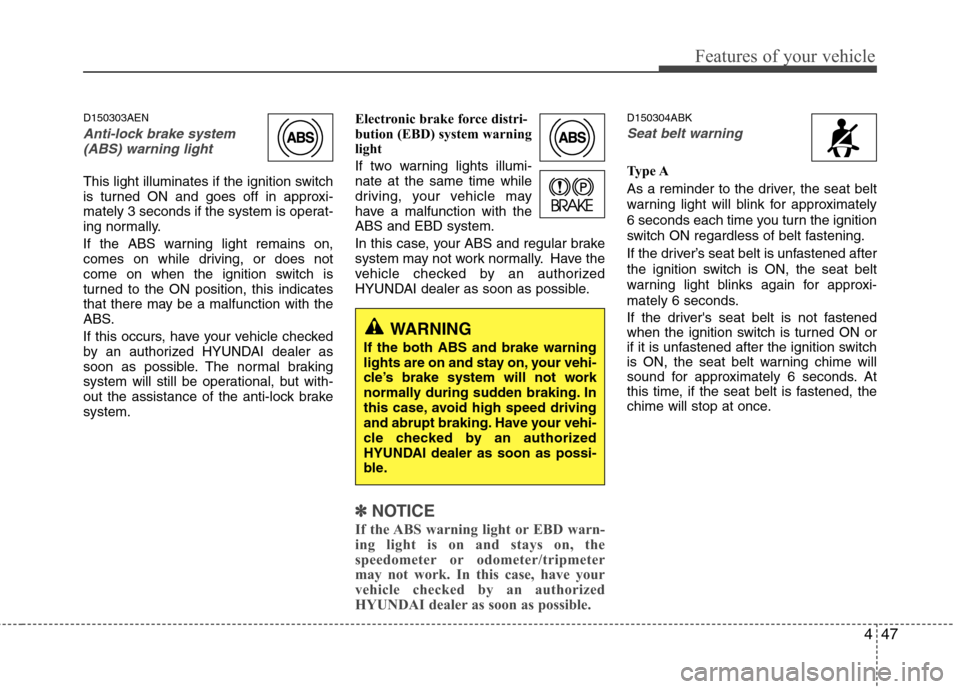
Anti-lock brake system(ABS) warning light
This light illuminates if the ignition switch
is turned ON and goes off in approxi-
mately 3 seconds if the system is operat-
ing normally.
If the ABS warning light remains on,
comes on while driving, or does not
come on when the ignition switch is
turned to the ON position, this indicates
that there may be a malfunction with the
ABS.
If this occurs, have your vehicle checked
by an authorized HYUNDAI dealer as
soon as possible. The normal braking
system will still be operational, but with-
out the assistance of the anti-lock brakesystem. Electronic brake force distri-
bution (EBD) system warning
light
If two warning lights illumi- nate at the same time while
driving, your vehicle may
have a malfunction with theABS and EBD system.
In this case, your ABS and regular brake
system may not work normally. Have the
vehicle checked by an authorized
HYUNDAI dealer as soon as possible.
✽✽
NOTICE
If the ABS warning light or EBD warn-
ing light is on and stays on, the
speedometer or odometer/tripmeter
may not work. In this case, have your
vehicle checked by an authorized
HYUNDAI dealer as soon as possible.
D150304ABK
Seat belt warning
Type A
As a reminder to the driver, the seat belt
warning light will blink for approximately
6 seconds each time you turn the ignition
switch ON regardless of belt fastening.
If the driver’s seat belt is unfastened after
the ignition switch is ON, the seat belt
warning light blinks again for approxi-
mately 6 seconds.
If the driver's seat belt is not fastened
when the ignition switch is turned ON or
if it is unfastened after the ignition switch
is ON, the seat belt warning chime will
sound for approximately 6 seconds. At
this time, if the seat belt is fastened, the
chime will stop at once.
WARNING
If the both ABS and brake warning
lights are on and stay on, your vehi-
cle’s brake system will not work
normally during sudden braking. In
this case, avoid high speed driving
and abrupt braking. Have your vehi-
cle checked by an authorized
HYUNDAI dealer as soon as possi-
ble.
Page 116 of 343
Features of your vehicle
48
4
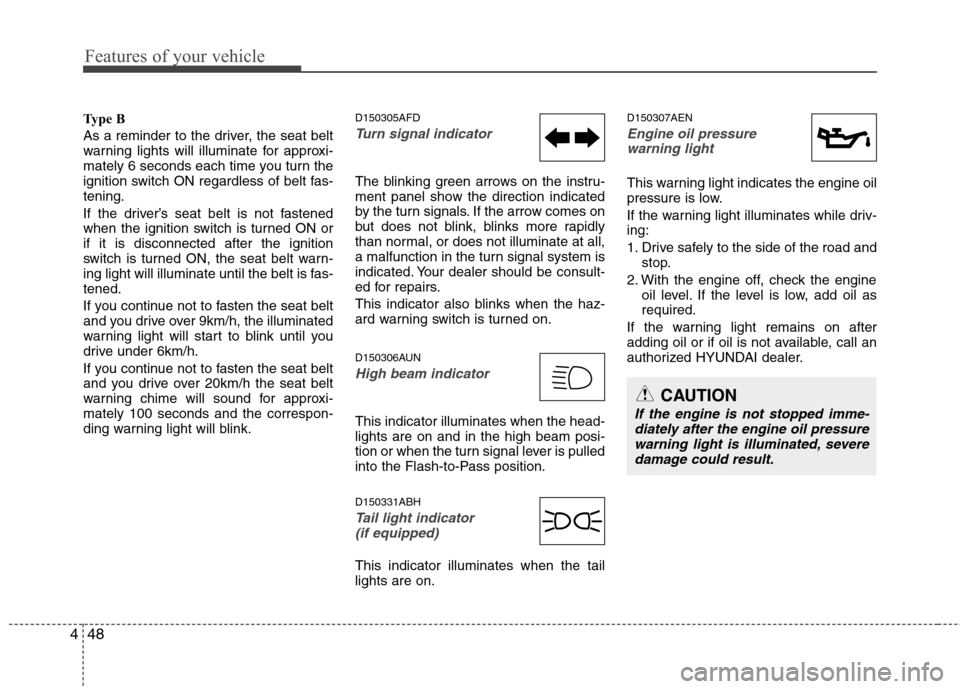
Type B
As a reminder to the driver, the seat belt
warning lights will illuminate for approxi-
mately 6 seconds each time you turn the
ignition switch ON regardless of belt fas-tening.
If the driver’s seat belt is not fastened
when the ignition switch is turned ON orif it is disconnected after the ignition
switch is turned ON, the seat belt warn-
ing light will illuminate until the belt is fas-tened.
If you continue not to fasten the seat belt
and you drive over 9km/h, the illuminated
warning light will start to blink until you
drive under 6km/h.
If you continue not to fasten the seat belt
and you drive over 20km/h the seat belt
warning chime will sound for approxi-mately 100 seconds and the correspon-
ding warning light will blink. D150305AFD
Turn signal indicator
The blinking green arrows on the instru-
ment panel show the direction indicated
by the turn signals. If the arrow comes on
but does not blink, blinks more rapidly
than normal, or does not illuminate at all,
a malfunction in the turn signal system is
indicated. Your dealer should be consult-
ed for repairs.
This indicator also blinks when the haz-
ard warning switch is turned on.
D150306AUN
High beam indicator
This indicator illuminates when the head- lights are on and in the high beam posi-
tion or when the turn signal lever is pulled
into the Flash-to-Pass position. D150331ABH
Tail light indicator
(if equipped)
This indicator illuminates when the tail lights are on. D150307AEN
Engine oil pressure
warning light
This warning light indicates the engine oil
pressure is low.
If the warning light illuminates while driv- ing:
1. Drive safely to the side of the road and stop.
2. With the engine off, check the engine oil level. If the level is low, add oil as required.
If the warning light remains on after
adding oil or if oil is not available, call an
authorized HYUNDAI dealer.
CAUTION
If the engine is not stopped imme- diately after the engine oil pressure
warning light is illuminated, severedamage could result.
Page 117 of 343
449
Features of your vehicle
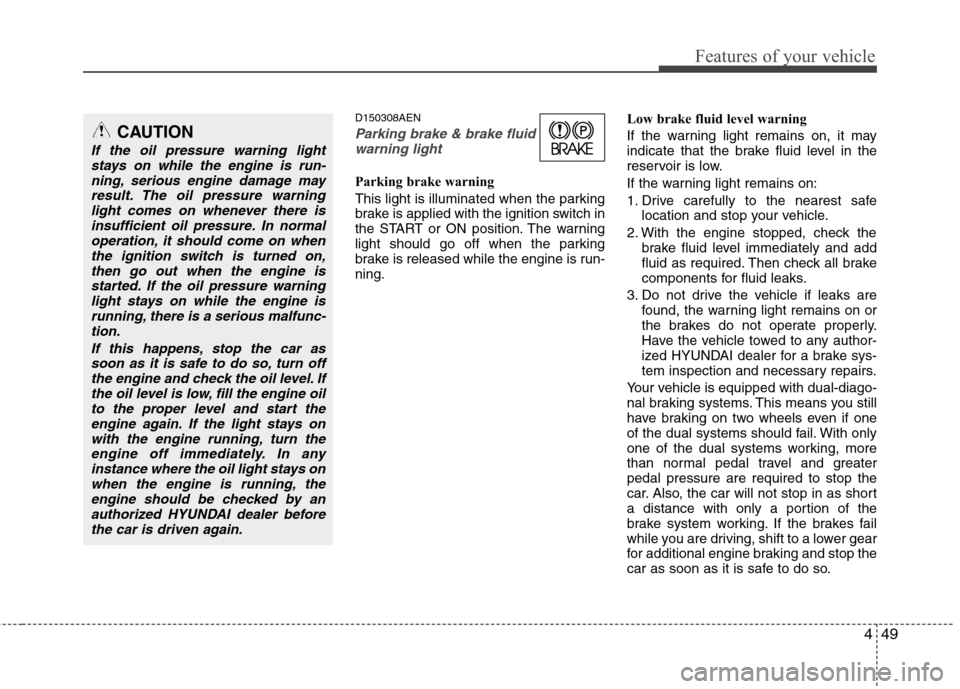
D150308AEN
Parking brake & brake fluidwarning light
Parking brake warning
This light is illuminated when the parking
brake is applied with the ignition switch in
the START or ON position. The warning
light should go off when the parking
brake is released while the engine is run-ning. Low brake fluid level warning
If the warning light remains on, it may
indicate that the brake fluid level in the
reservoir is low.
If the warning light remains on:
1. Drive carefully to the nearest safe
location and stop your vehicle.
2. With the engine stopped, check the brake fluid level immediately and add
fluid as required. Then check all brake
components for fluid leaks.
3. Do not drive the vehicle if leaks are found, the warning light remains on or
the brakes do not operate properly.
Have the vehicle towed to any author-
ized HYUNDAI dealer for a brake sys-
tem inspection and necessary repairs.
Your vehicle is equipped with dual-diago-
nal braking systems. This means you still
have braking on two wheels even if one
of the dual systems should fail. With only
one of the dual systems working, more
than normal pedal travel and greaterpedal pressure are required to stop the
car. Also, the car will not stop in as short
a distance with only a portion of the
brake system working. If the brakes fail
while you are driving, shift to a lower gear
for additional engine braking and stop the
car as soon as it is safe to do so.
CAUTION
If the oil pressure warning light stays on while the engine is run-
ning, serious engine damage mayresult. The oil pressure warninglight comes on whenever there is insufficient oil pressure. In normal
operation, it should come on whenthe ignition switch is turned on,then go out when the engine is
started. If the oil pressure warninglight stays on while the engine isrunning, there is a serious malfunc-tion.
If this happens, stop the car assoon as it is safe to do so, turn off the engine and check the oil level. Ifthe oil level is low, fill the engine oilto the proper level and start the
engine again. If the light stays onwith the engine running, turn theengine off immediately. In any instance where the oil light stays on
when the engine is running, theengine should be checked by an authorized HYUNDAI dealer beforethe car is driven again.