reset Hyundai Genesis Coupe 2012 Owner's Manual
[x] Cancel search | Manufacturer: HYUNDAI, Model Year: 2012, Model line: Genesis Coupe, Model: Hyundai Genesis Coupe 2012Pages: 391, PDF Size: 6.59 MB
Page 99 of 391
Features of your vehicle
22
4
If the power window is not operated cor-
rectly, the automatic power window sys-
tem must be reset as follows:
1. Turn the ignition switch to the ON posi-
tion.
2. Open the window fully by manual down(press the front portion of the
switch to the first detent position.).
3. Turn the ignition switch to the OFF position and to the ON position again
within 2 seconds.
4. Press the front portion of the switch 3 times within 5 seconds.
5. Close the window and continue pulling up on the power window switch for at
least 1 second after the window is
completely closed. Automatic reversal
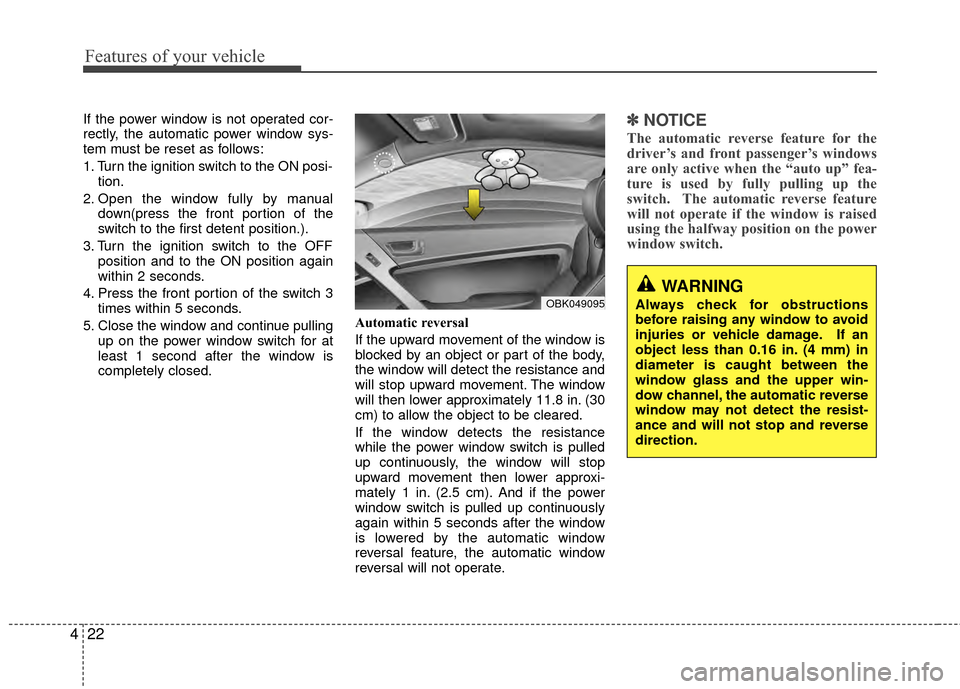
If the upward movement of the window is
blocked by an object or part of the body,
the window will detect the resistance and
will stop upward movement. The window
will then lower approximately 11.8 in. (30
cm) to allow the object to be cleared.
If the window detects the resistance
while the power window switch is pulled
up continuously, the window will stop
upward movement then lower approxi-
mately 1 in. (2.5 cm). And if the power
window switch is pulled up continuously
again within 5 seconds after the window
is lowered by the automatic window
reversal feature, the automatic window
reversal will not operate.✽ ✽
NOTICE
The automatic reverse feature for the
driver’s and front passenger’s windows
are only active when the “auto up” fea-
ture is used by fully pulling up the
switch. The automatic reverse feature
will not operate if the window is raised
using the halfway position on the power
window switch.
WARNING
Always check for obstructions
before raising any window to avoid
injuries or vehicle damage. If an
object less than 0.16 in. (4 mm) in
diameter is caught between the
window glass and the upper win-
dow channel, the automatic reverse
window may not detect the resist-
ance and will not stop and reverse
direction.OBK049095
Page 107 of 391
Features of your vehicle
30
4
D110500ABK
Resetting the sunroof
Whenever the vehicle battery is discon-
nected or discharged, you must reset
your sunroof system as follows:
1. Turn the ignition switch to the ON
position.
2. Close the sunroof completely.
3. Release the sunroof control switch.
4. Pull and hold the sunroof control switch downward until the sunroof has
returned to the original position of tilt
after it is raised a little higher than the
maximum tilt position. Then, release
the switch.
5. Pull and hold the sunroof control switch downward until the sunroof is
operated as follows;
TILT DOWN → SLIDE OPEN →
SLIDE CLOSE
Then, release the switch.
When this is complete, the sunroof sys-
tem is reset. ❈
For more detailed information, contact
an authorized HYUNDAI dealer.
CAUTION
If the sunroof is not reset when the
vehicle battery is disconnected or discharged, or related fuse isblown, the sunroof may operateimproperly.
Page 123 of 391
Features of your vehicle
46
4
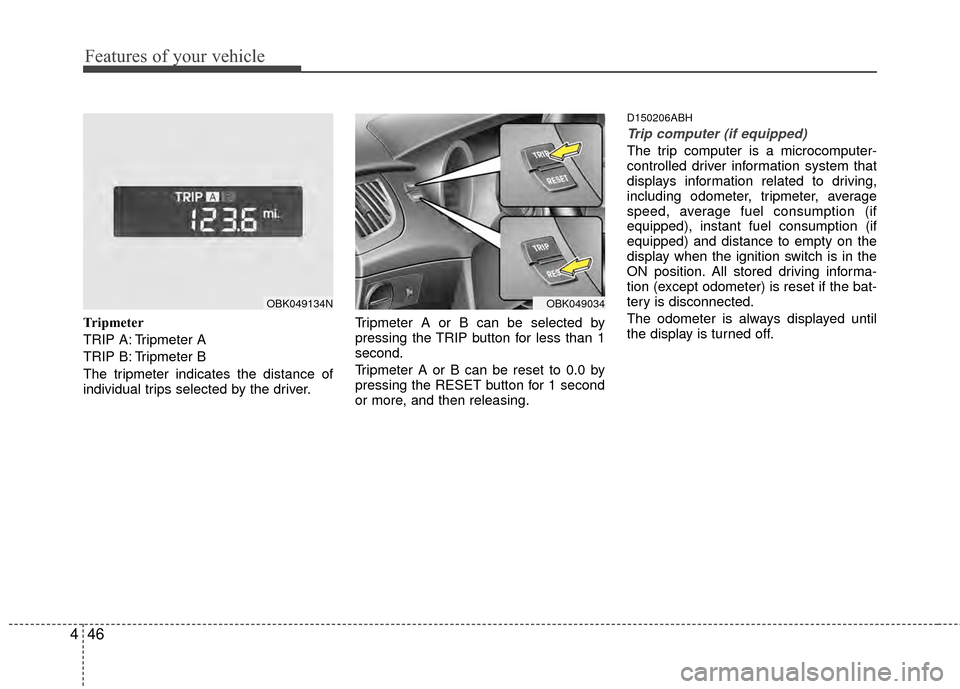
Tripmeter
TRIP A: Tripmeter A
TRIP B: Tripmeter B
The tripmeter indicates the distance of
individual trips selected by the driver. Tripmeter A or B can be selected by
pressing the TRIP button for less than 1
second.
Tripmeter A or B can be reset to 0.0 by
pressing the RESET button for 1 second
or more, and then releasing.
D150206ABH
Trip computer (if equipped)
The trip computer is a microcomputer-
controlled driver information system that
displays information related to driving,
including odometer, tripmeter, average
speed, average fuel consumption (if
equipped), instant fuel consumption (if
equipped) and distance to empty on the
display when the ignition switch is in the
ON position. All stored driving informa-
tion (except odometer) is reset if the bat-
tery is disconnected.
The odometer is always displayed until
the display is turned off.
OBK049134NOBK049034
Page 124 of 391
447
Features of your vehicle
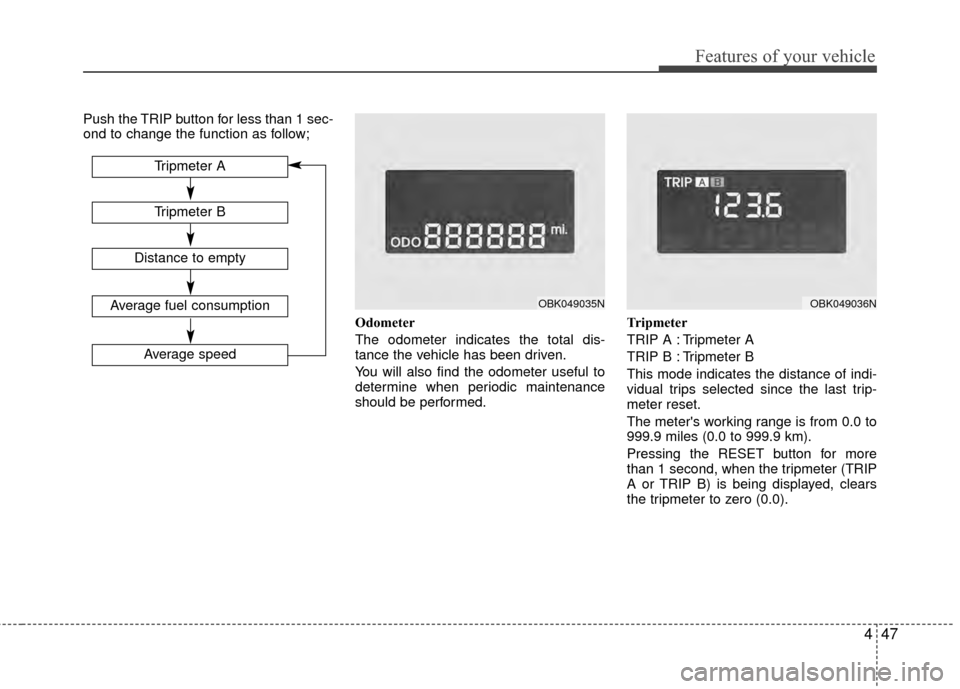
Push the TRIP button for less than 1 sec-
ond to change the function as follow;Odometer
The odometer indicates the total dis-
tance the vehicle has been driven.
You will also find the odometer useful to
determine when periodic maintenance
should be performed.Tripmeter
TRIP A : Tripmeter A
TRIP B : Tripmeter B
This mode indicates the distance of indi-
vidual trips selected since the last trip-
meter reset.
The meter's working range is from 0.0 to
999.9 miles (0.0 to 999.9 km).
Pressing the RESET button for more
than 1 second, when the tripmeter (TRIP
A or TRIP B) is being displayed, clears
the tripmeter to zero (0.0).
Tripmeter B
Tripmeter A
Distance to empty
Average fuel consumption
Average speed
OBK049035NOBK049036N
Page 125 of 391
Features of your vehicle
48
4
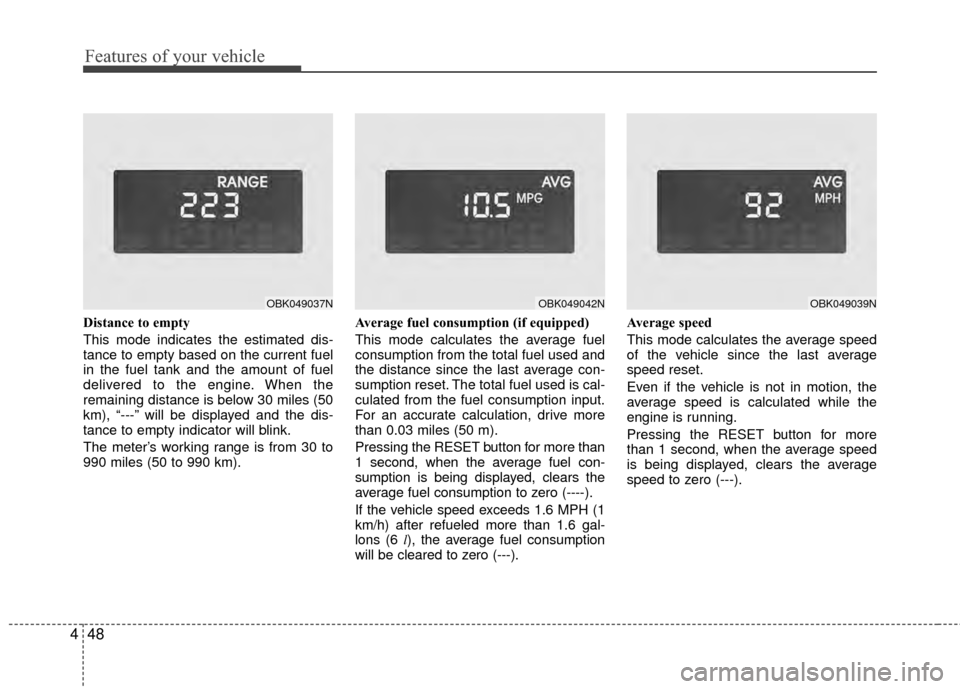
Distance to empty
This mode indicates the estimated dis-
tance to empty based on the current fuel
in the fuel tank and the amount of fuel
delivered to the engine. When the
remaining distance is below 30 miles (50
km), “---” will be displayed and the dis-
tance to empty indicator will blink.
The meter’s working range is from 30 to
990 miles (50 to 990 km). Average fuel consumption (if equipped)
This mode calculates the average fuel
consumption from the total fuel used and
the distance since the last average con-
sumption reset. The total fuel used is cal-
culated from the fuel consumption input.
For an accurate calculation, drive more
than 0.03 miles (50 m).
Pressing the RESET button for more than
1 second, when the average fuel con-
sumption is being displayed, clears the
average fuel consumption to zero (----).
If the vehicle speed exceeds 1.6 MPH (1
km/h) after refueled more than 1.6 gal-
lons (6 l
), the average fuel consumption
will be cleared to zero (---). Average speed
This mode calculates the average speed
of the vehicle since the last average
speed reset.
Even if the vehicle is not in motion, the
average speed is calculated while the
engine is running.
Pressing the RESET button for more
than 1 second, when the average speed
is being displayed, clears the average
speed to zero (---).
OBK049037NOBK049039NOBK049042N
Page 160 of 391
483
Features of your vehicle
Temperature conversion
If the battery has been discharged or dis-
connected, the temperature mode dis-
play will reset to Centigrade.
This is a normal condition. You can switch
the temperature mode between
Centigrade and Fahrenheit as follows;
1. Turn on the audio and press the[SETUP] button.
2. Select the [TEMP] mode by pressing the [∧ TURN FILE ∨] or [∧ SEEK ∨]
button, and pressing the [ENTER] but-
ton.
3. Select the [CELSIUS] or [FAHREN- HEIT] mode by pressing the [∧ TURN
FILE ∨] or [∧ SEEK ∨] button, and
pressing the [ENTER] button.
D240203AEN
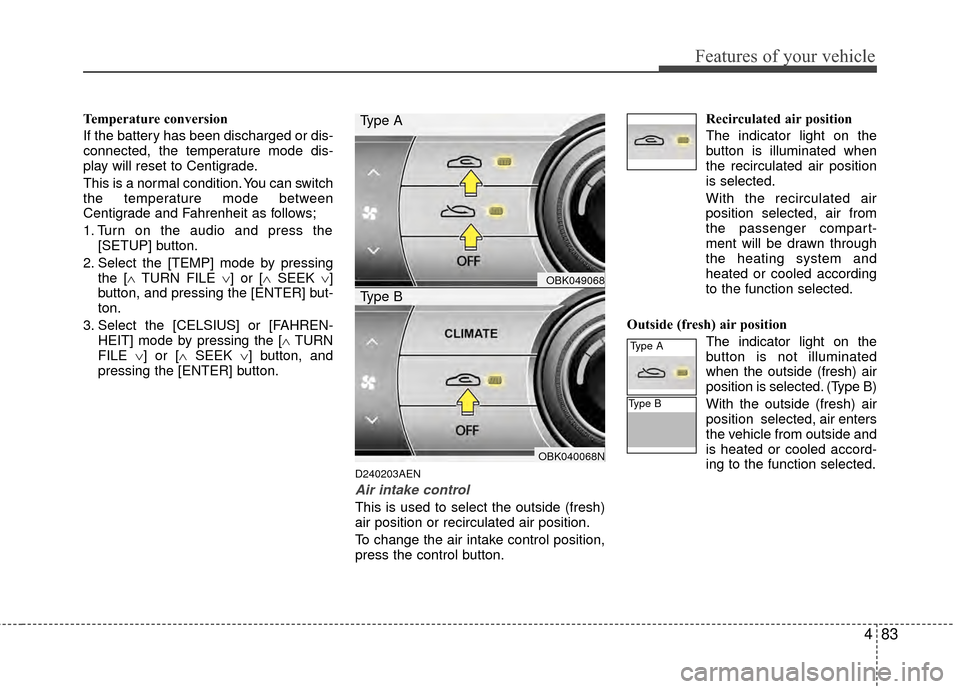
Air intake control
This is used to select the outside (fresh)
air position or recirculated air position.
To change the air intake control position,
press the control button. Recirculated air position
The indicator light on the
button is illuminated when
the recirculated air position
is selected.
With the recirculated air
position selected, air from
the passenger compart-
ment will be drawn through
the heating system and
heated or cooled according
to the function selected.
Outside (fresh) air position The indicator light on the
button is not illuminated
when the outside (fresh) air
position is selected. (Type B)
With the outside (fresh) air
position selected, air enters
the vehicle from outside and
is heated or cooled accord-
ing to the function selected.
OBK049068
OBK040068N
Type A
Type B
Type A
Type B
Page 168 of 391
491
Features of your vehicle
D250300AUN-EU
Defogging logic
To reduce the possibility of fogging up
the inside of the windshield, the air intake
is controlled automatically according to
certain conditions such as or
position. To cancel or return the defog-
ging logic, perform the following steps:
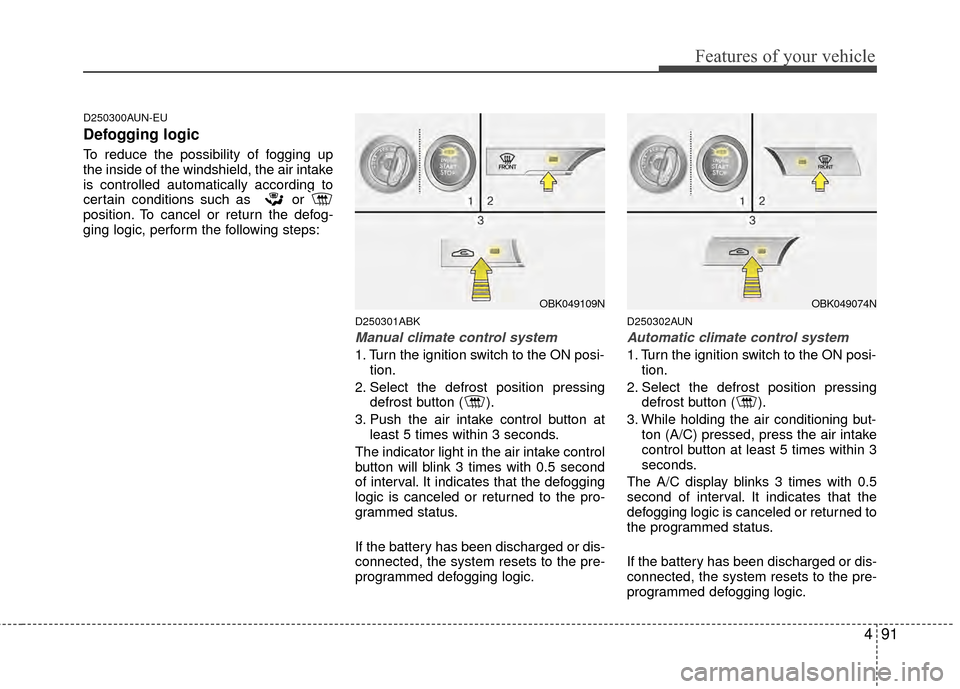
D250301ABK
Manual climate control system
1. Turn the ignition switch to the ON posi-tion.
2. Select the defrost position pressing defrost button ( ).
3. Push the air intake control button at least 5 times within 3 seconds.
The indicator light in the air intake control
button will blink 3 times with 0.5 second
of interval. It indicates that the defogging
logic is canceled or returned to the pro-
grammed status.
If the battery has been discharged or dis-
connected, the system resets to the pre-
programmed defogging logic.
D250302AUN
Automatic climate control system
1. Turn the ignition switch to the ON posi- tion.
2. Select the defrost position pressing defrost button ( ).
3. While holding the air conditioning but- ton (A/C) pressed, press the air intake
control button at least 5 times within 3
seconds.
The A/C display blinks 3 times with 0.5
second of interval. It indicates that the
defogging logic is canceled or returned to
the programmed status.
If the battery has been discharged or dis-
connected, the system resets to the pre-
programmed defogging logic.
OBK049109NOBK049074N
Page 173 of 391
Features of your vehicle
96
4
D280600AEN
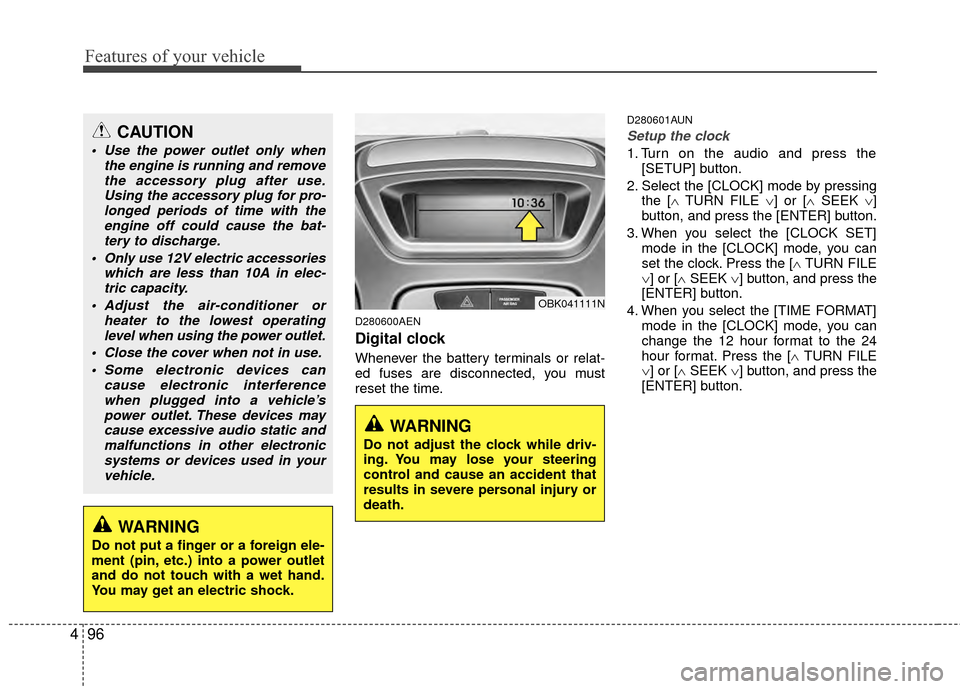
Digital clock
Whenever the battery terminals or relat-
ed fuses are disconnected, you must
reset the time.
D280601AUN
Setup the clock
1. Turn on the audio and press the
[SETUP] button.
2. Select the [CLOCK] mode by pressing the [∧ TURN FILE ∨] or [∧ SEEK ∨]
button, and press the [ENTER] button.
3. When you select the [CLOCK SET] mode in the [CLOCK] mode, you can
set the clock. Press the [∧ TURN FILE
∨] or [∧ SEEK ∨] button, and press the
[ENTER] button.
4. When you select the [TIME FORMAT] mode in the [CLOCK] mode, you can
change the 12 hour format to the 24
hour format. Press the [∧ TURN FILE
∨] or [∧ SEEK ∨] button, and press the
[ENTER] button.
OBK041111N
CAUTION
Use the power outlet only when the engine is running and removethe accessory plug after use.Using the accessory plug for pro-longed periods of time with the engine off could cause the bat-tery to discharge.
Only use 12V electric accessories which are less than 10A in elec-tric capacity.
Adjust the air-conditioner or heater to the lowest operatinglevel when using the power outlet.
Close the cover when not in use. Some electronic devices can cause electronic interferencewhen plugged into a vehicle’spower outlet. These devices maycause excessive audio static andmalfunctions in other electronicsystems or devices used in yourvehicle.
WARNING
Do not adjust the clock while driv-
ing. You may lose your steering
control and cause an accident that
results in severe personal injury or
death.
WARNING
Do not put a finger or a foreign ele-
ment (pin, etc.) into a power outlet
and do not touch with a wet hand.
You may get an electric shock.
Page 174 of 391
497
Features of your vehicle
D281200ABH
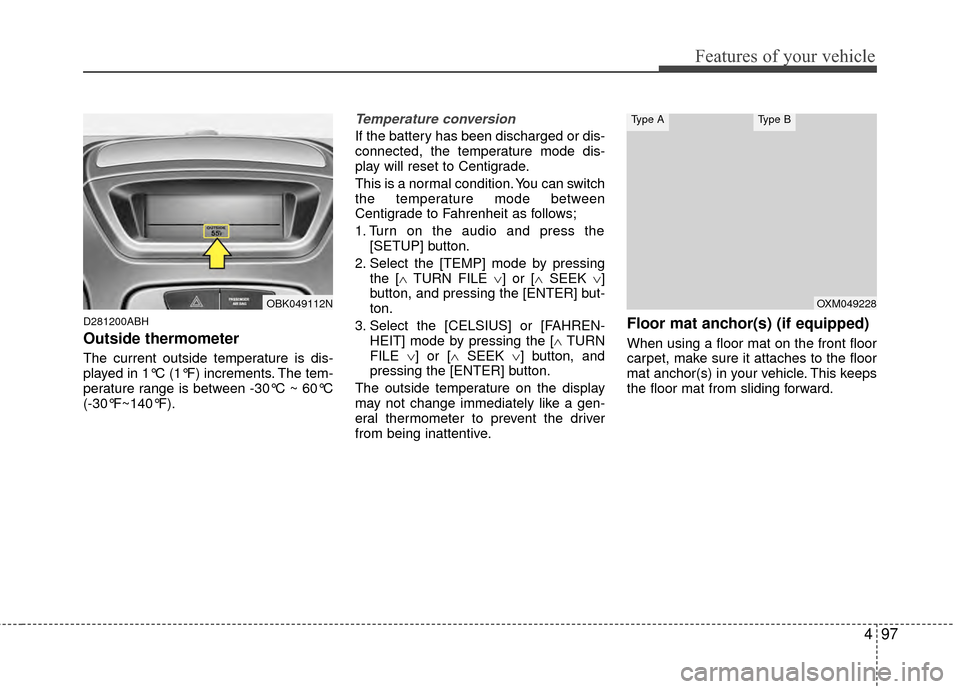
Outside thermometer
The current outside temperature is dis-
played in 1°C (1°F) increments. The tem-
perature range is between -30°C ~ 60°C
(-30°F~140°F).
Temperature conversion
If the battery has been discharged or dis-
connected, the temperature mode dis-
play will reset to Centigrade.
This is a normal condition. You can switch
the temperature mode between
Centigrade to Fahrenheit as follows;
1. Turn on the audio and press the[SETUP] button.
2. Select the [TEMP] mode by pressing the [∧ TURN FILE ∨] or [∧ SEEK ∨]
button, and pressing the [ENTER] but-
ton.
3. Select the [CELSIUS] or [FAHREN- HEIT] mode by pressing the [∧ TURN
FILE ∨] or [∧ SEEK ∨] button, and
pressing the [ENTER] button.
The outside temperature on the display
may not change immediately like a gen-
eral thermometer to prevent the driver
from being inattentive.
Floor mat anchor(s) (if equipped)
When using a floor mat on the front floor
carpet, make sure it attaches to the floor
mat anchor(s) in your vehicle. This keeps
the floor mat from sliding forward.
OBK049112NOXM049228
Type AType B
Page 177 of 391
Features of your vehicle
100
4
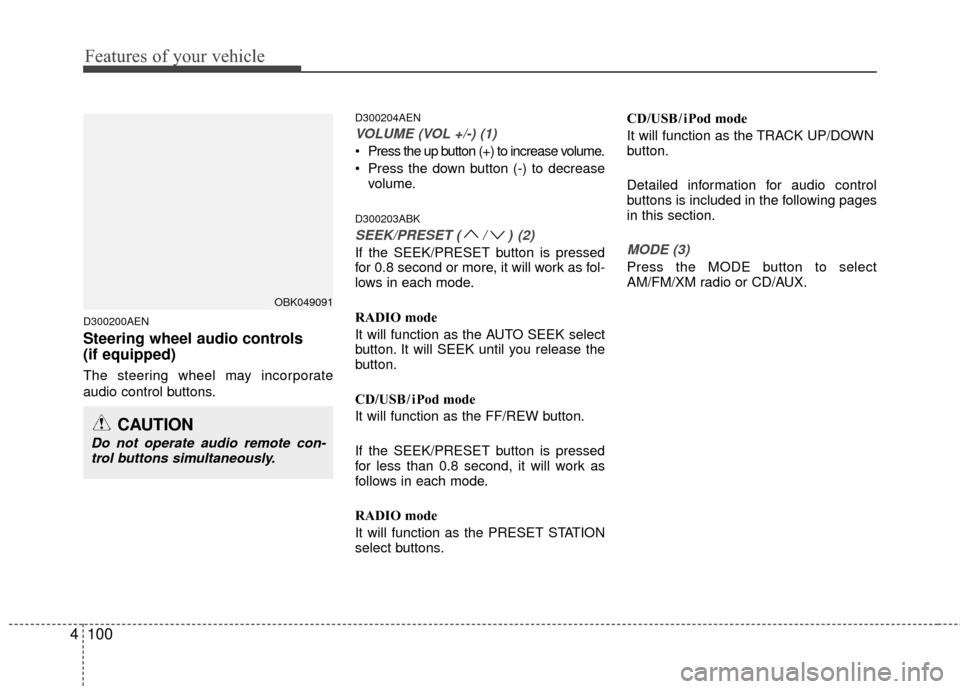
D300200AEN
Steering wheel audio controls
(if equipped)
The steering wheel may incorporate
audio control buttons.
D300204AEN
VOLUME (VOL +/-) (1)
Press the up button (+) to increase volume.
Press the down button (-) to decrease
volume.
D300203ABK
SEEK/PRESET (/)(2)
If the SEEK/PRESET button is pressed
for 0.8 second or more, it will work as fol-
lows in each mode.
RADIO mode
It will function as the AUTO SEEK select
button. It will SEEK until you release the
button.
CD/USB/ iPod mode
It will function as the FF/REW button.
If the SEEK/PRESET button is pressed
for less than 0.8 second, it will work as
follows in each mode.
RADIO mode
It will function as the PRESET STATION
select buttons. CD/USB/ iPod mode
It will function as the TRACK UP/DOWN
button.
Detailed information for audio control
buttons is included in the following pages
in this section.MODE (3)
Press the MODE button to select
AM/FM/XM radio or CD/AUX.
OBK049091
CAUTION
Do not operate audio remote con-
trol buttons simultaneously.