HYUNDAI GENESIS G80 2010 Owners Manual
Manufacturer: HYUNDAI, Model Year: 2010, Model line: GENESIS G80, Model: HYUNDAI GENESIS G80 2010Pages: 332, PDF Size: 20.46 MB
Page 91 of 332
Features of your vehicle
30
4
STEERING WHEEL
WARNING
Never adjust the angle of the steering wheel while driving. You
may lose steering control and
cause severe personal injury,death or accidents.
After adjusting, push the steering wheel both up and down to be
certain it is locked in position.
D130100ABH
Power steering
Power steering uses energy from the
engine to assist you in steering the vehi-
cle. If the engine is off or if the power
steering system becomes inoperative,
the vehicle may still be steered, but it will
require increased steering effort.
Should you notice any change in the
effort required to steer during normal
vehicle operation, have the power steer-
ing checked by an authorized HYUNDAI
dealer.✽✽ NOTICE
If the power steering drive belt breaks
or if the power steering pump malfunc-
tions, the steering effort will greatly
increase.
✽
✽ NOTICE
If the vehicle is parked for extended
periods outside in cold weather (below -
10°C/14°F), the power steering may
require increased effort when the engine
is first started. This is caused by
increased fluid viscosity due to the cold
weather and does not indicate a mal-function.
When this happens, increase the engine
RPM by depressing accelerator until the
RPM reaches 1,500 rpm then release or
let the engine idle for two or three min-utes to warm up the fluid.
D130300AEN Tilt steering
Tilt steering allows you to adjust the
steering wheel before you drive. You can
also raise it to give your legs more room
when you exit and enter the vehicle.
The steering wheel should be positioned
so that it is comfortable for you to drive,
while permitting you to see the instru-
ment panel warning lights and gauges.
CAUTION
Never hold the steering wheel against a stop (extreme right or leftturn) for more than 5 seconds with the engine running. Holding the
steering wheel for more than 5 sec-onds in either position may cause damage to the power steeringpump.
Page 92 of 332
431
Features of your vehicle
D130301ABK
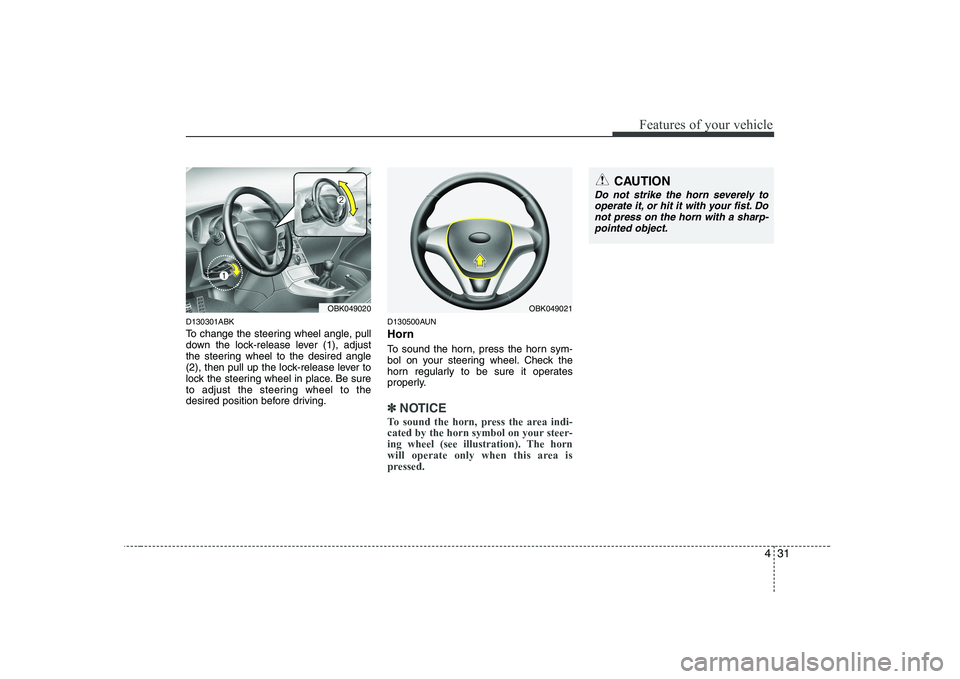
To change the steering wheel angle, pull
down the lock-release lever (1), adjust
the steering wheel to the desired angle
(2), then pull up the lock-release lever to
lock the steering wheel in place. Be sure
to adjust the steering wheel to the
desired position before driving.D130500AUN Horn
To sound the horn, press the horn sym-
bol on your steering wheel. Check the
horn regularly to be sure it operates
properly.
✽✽
NOTICE
To sound the horn, press the area indi-
cated by the horn symbol on your steer-
ing wheel (see illustration). The horn
will operate only when this area is
pressed.
OBK049020OBK049021
CAUTION
Do not strike the horn severely to operate it, or hit it with your fist. Do not press on the horn with a sharp- pointed object.
Page 93 of 332
Features of your vehicle
32
4
D140100AUN
Inside rearview mirror
Adjust the rearview mirror to center on
the view through the rear window. Make
this adjustment before you start driving.
D140101AUN
Day/night rearview mirror
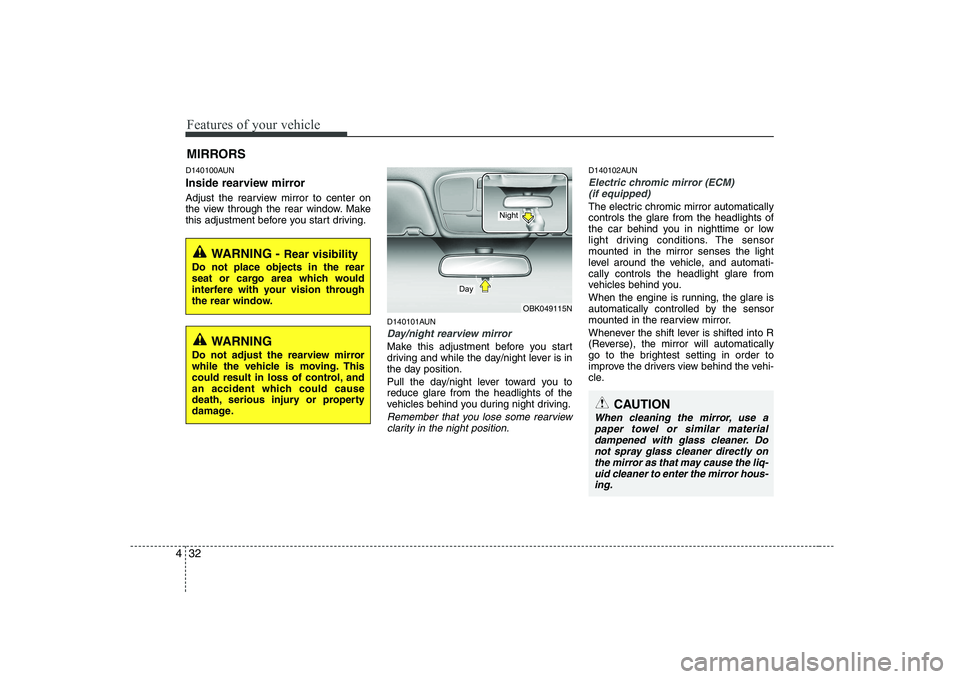
Make this adjustment before you start
driving and while the day/night lever is in
the day position.
Pull the day/night lever toward you to reduce glare from the headlights of the
vehicles behind you during night driving.
Remember that you lose some rearviewclarity in the night position.
D140102AUN
Electric chromic mirror (ECM) (if equipped)
The electric chromic mirror automatically controls the glare from the headlights of
the car behind you in nighttime or low
light driving conditions. The sensormounted in the mirror senses the light
level around the vehicle, and automati-cally controls the headlight glare from
vehicles behind you.
When the engine is running, the glare is
automatically controlled by the sensor
mounted in the rearview mirror.
Whenever the shift lever is shifted into R
(Reverse), the mirror will automatically
go to the brightest setting in order to
improve the drivers view behind the vehi-
cle.
MIRRORS
CAUTION
When cleaning the mirror, use a
paper towel or similar material
dampened with glass cleaner. Donot spray glass cleaner directly on the mirror as that may cause the liq-uid cleaner to enter the mirror hous-
ing.
WARNING - Rear visibility
Do not place objects in the rear
seat or cargo area which would
interfere with your vision through
the rear window.
OBK049115N
Day
Night
WARNING
Do not adjust the rearview mirror
while the vehicle is moving. This
could result in loss of control, and
an accident which could cause
death, serious injury or property
damage.
Page 94 of 332
433
Features of your vehicle
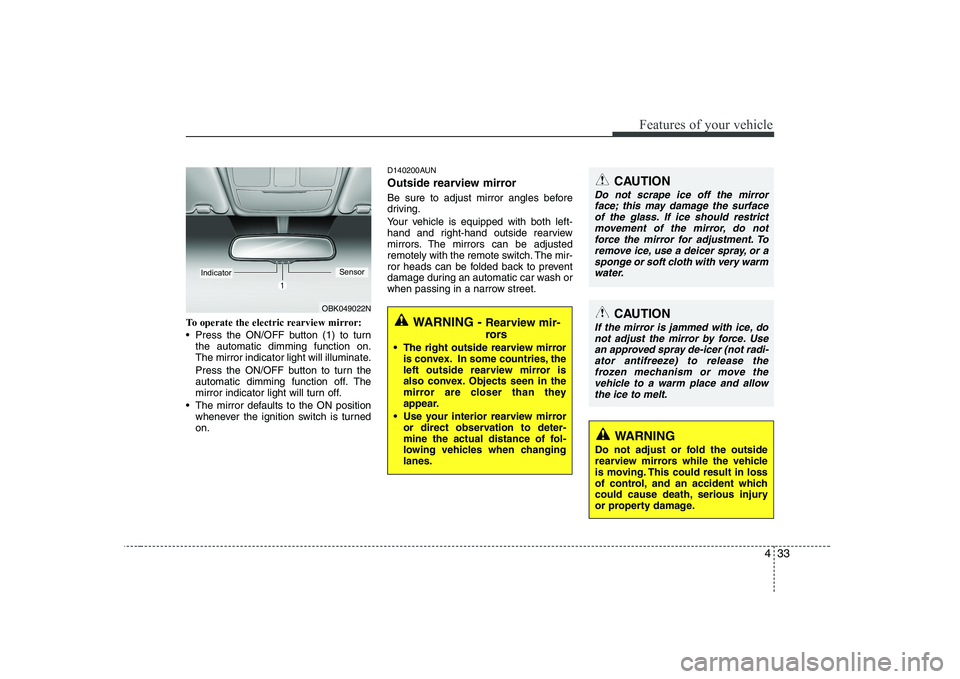
To operate the electric rearview mirror:
Press the ON/OFF button (1) to turnthe automatic dimming function on.
The mirror indicator light will illuminate.
Press the ON/OFF button to turn the
automatic dimming function off. The
mirror indicator light will turn off.
The mirror defaults to the ON position whenever the ignition switch is turnedon. D140200AUN
Outside rearview mirror
Be sure to adjust mirror angles before
driving.
Your vehicle is equipped with both left-
hand and right-hand outside rearview
mirrors. The mirrors can be adjusted
remotely with the remote switch. The mir-
ror heads can be folded back to prevent
damage during an automatic car wash or
when passing in a narrow street.
CAUTION
Do not scrape ice off the mirror
face; this may damage the surface of the glass. If ice should restrict movement of the mirror, do not
force the mirror for adjustment. To remove ice, use a deicer spray, or asponge or soft cloth with very warm water.
CAUTION
If the mirror is jammed with ice, donot adjust the mirror by force. Usean approved spray de-icer (not radi- ator antifreeze) to release the
frozen mechanism or move the vehicle to a warm place and allow the ice to melt.
WARNING
Do not adjust or fold the outside
rearview mirrors while the vehicle
is moving. This could result in loss
of control, and an accident which
could cause death, serious injury
or property damage.
WARNING - Rearview mir-
rors
The right outside rearview mirror is convex. In some countries, the
left outside rearview mirror is
also convex. Objects seen in the
mirror are closer than they
appear.
Use your interior rearview mirror or direct observation to deter-
mine the actual distance of fol-
lowing vehicles when changinglanes.
OBK049022N
IndicatorSensor
Page 95 of 332
Features of your vehicle
34
4
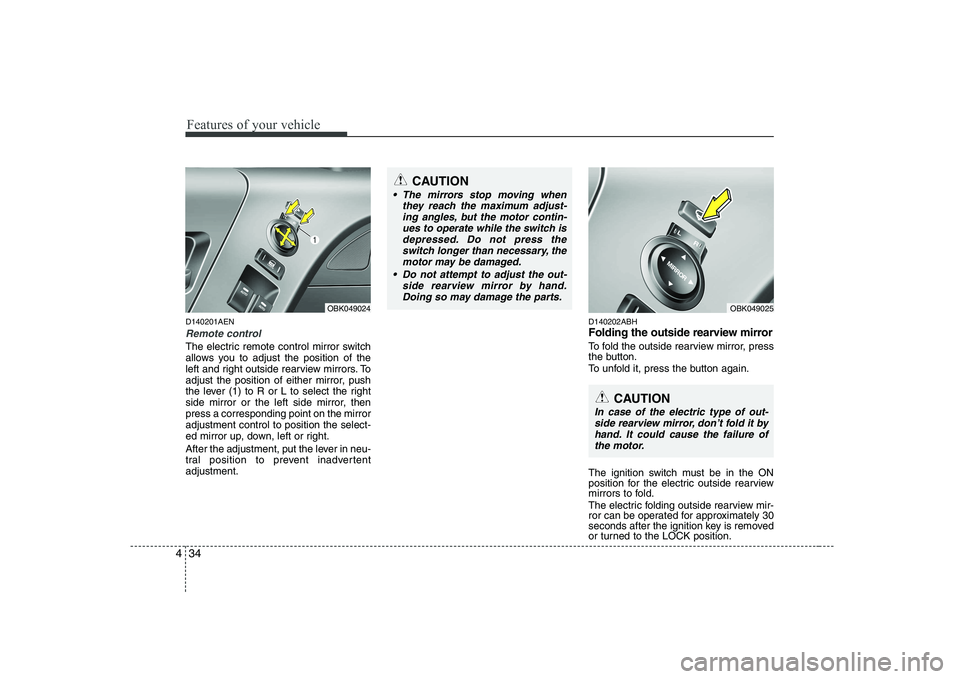
D140201AEN
Remote control
The electric remote control mirror switch
allows you to adjust the position of the
left and right outside rearview mirrors. To
adjust the position of either mirror, push
the lever (1) to R or L to select the right
side mirror or the left side mirror, thenpress a corresponding point on the mirroradjustment control to position the select-
ed mirror up, down, left or right.
After the adjustment, put the lever in neu-
tral position to prevent inadvertentadjustment. D140202ABH
Folding the outside rearview mirror
To fold the outside rearview mirror, press
the button.
To unfold it, press the button again.
The ignition switch must be in the ON
position for the electric outside rearview
mirrors to fold.
The electric folding outside rearview mir-
ror can be operated for approximately 30
seconds after the ignition key is removed
or turned to the LOCK position.
CAUTION
The mirrors stop moving when
they reach the maximum adjust-ing angles, but the motor contin-ues to operate while the switch is
depressed. Do not press the switch longer than necessary, themotor may be damaged.
Do not attempt to adjust the out- side rearview mirror by hand.
Doing so may damage the parts.
OBK049024OBK049025
CAUTION
In case of the electric type of out- side rearview mirror, don’t fold it byhand. It could cause the failure of the motor.
Page 96 of 332
435
Features of your vehicle
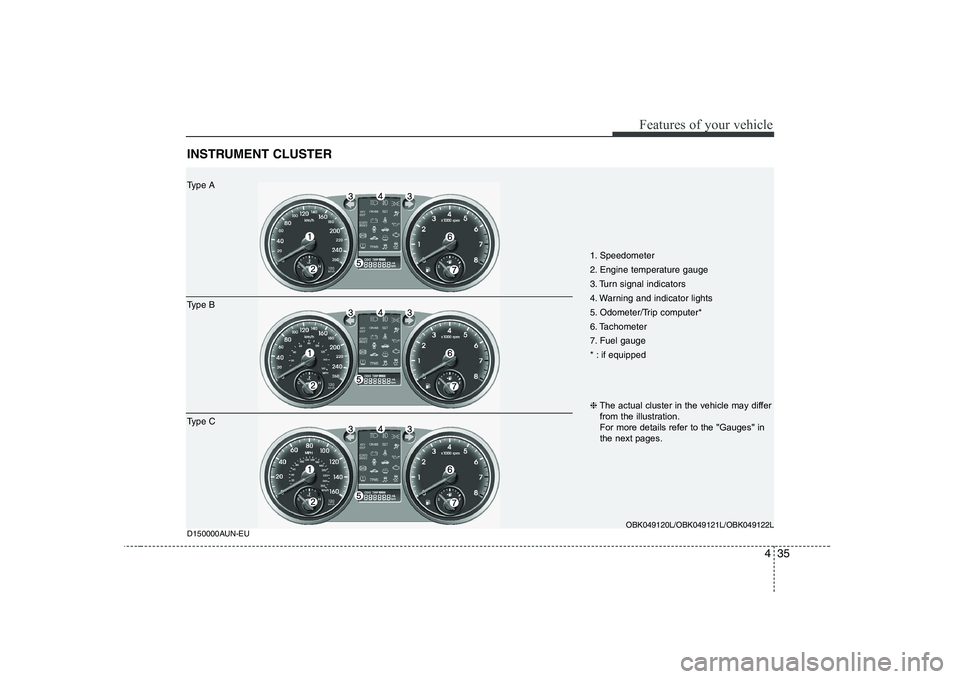
INSTRUMENT CLUSTER
1. Speedometer
2. Engine temperature gauge
3. Turn signal indicators
4. Warning and indicator lights
5. Odometer/Trip computer*
6. Tachometer
7. Fuel gauge
* : if equippedOBK049120L/OBK049121L/OBK049122L
D150000AUN-EU
Type A
Type B
Type C ❈
The actual cluster in the vehicle may differ
from the illustration.
For more details refer to the "Gauges" in
the next pages.
Page 97 of 332
Features of your vehicle
36
4
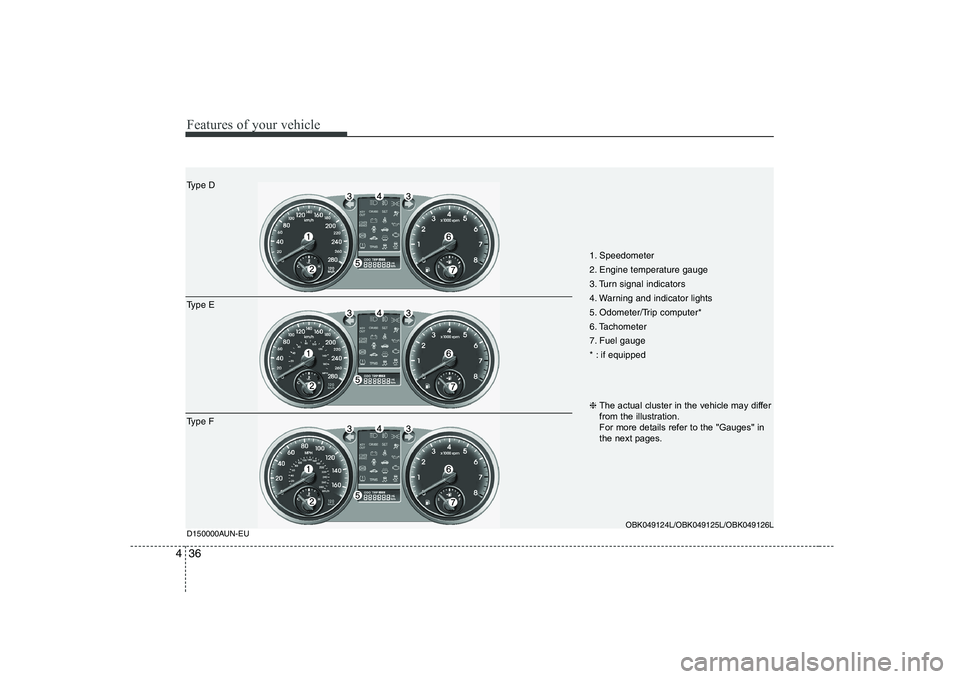
1. Speedometer
2. Engine temperature gauge
3. Turn signal indicators
4. Warning and indicator lights
5. Odometer/Trip computer*
6. Tachometer
7. Fuel gauge
* : if equipped
OBK049124L/OBK049125L/OBK049126L
D150000AUN-EU
Type D
Type E
Type F ❈
The actual cluster in the vehicle may differ
from the illustration.
For more details refer to the "Gauges" in
the next pages.
Page 98 of 332
437
Features of your vehicle
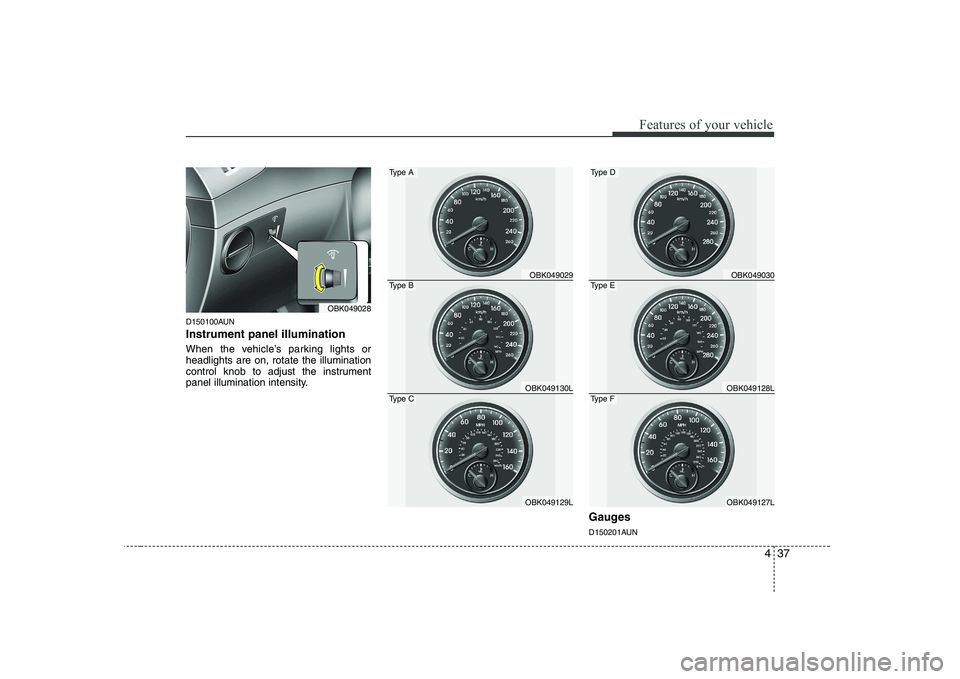
D150100AUN Instrument panel illumination
When the vehicle’s parking lights or headlights are on, rotate the illumination
control knob to adjust the instrument
panel illumination intensity.Gauges
D150201AUN
OBK049028
OBK049029
OBK049130L
OBK049129L
Type A
Type B
Type C
OBK049030
OBK049128L
OBK049127L
Type D
Type E
Type F
Page 99 of 332
Features of your vehicle
38
4
Speedometer
The speedometer indicates the forward
speed of the vehicle.
The speedometer is calibrated in miles
per hour and/or kilometers per hour.
D150202AUN
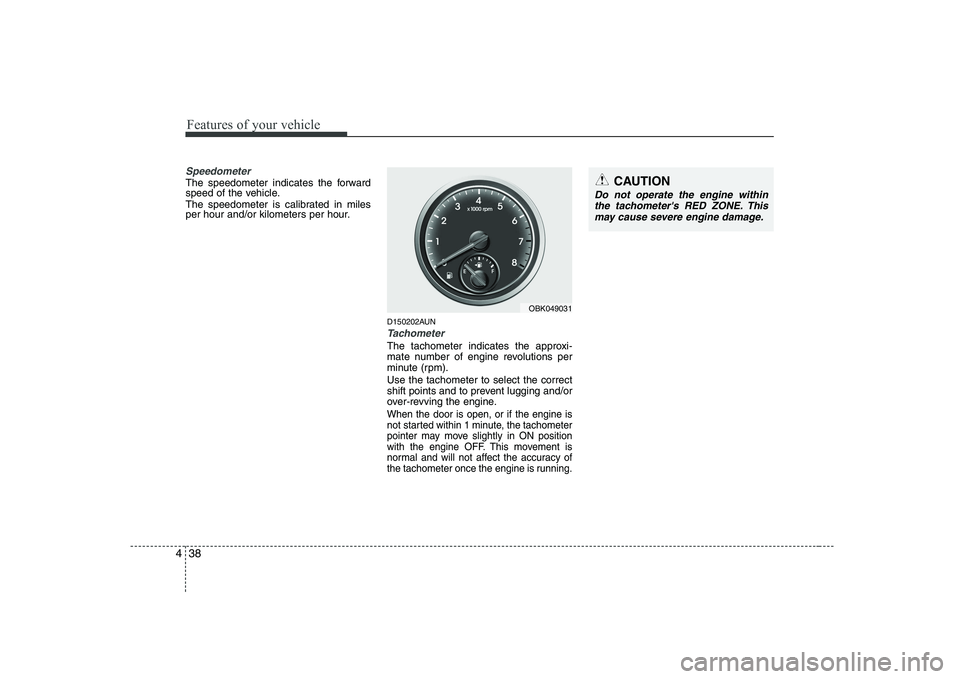
Tachometer
The tachometer indicates the approxi-
mate number of engine revolutions per
minute (rpm). Use the tachometer to select the correct
shift points and to prevent lugging and/or
over-revving the engine.
When the door is open, or if the engine is
not started within 1 minute, the tachometer
pointer may move slightly in ON position
with the engine OFF. This movement is
normal and will not affect the accuracy of
the tachometer once the engine is running.
CAUTION
Do not operate the engine withinthe tachometer's RED ZONE. Thismay cause severe engine damage.
OBK049031
Page 100 of 332
439
Features of your vehicle
D150203AUN
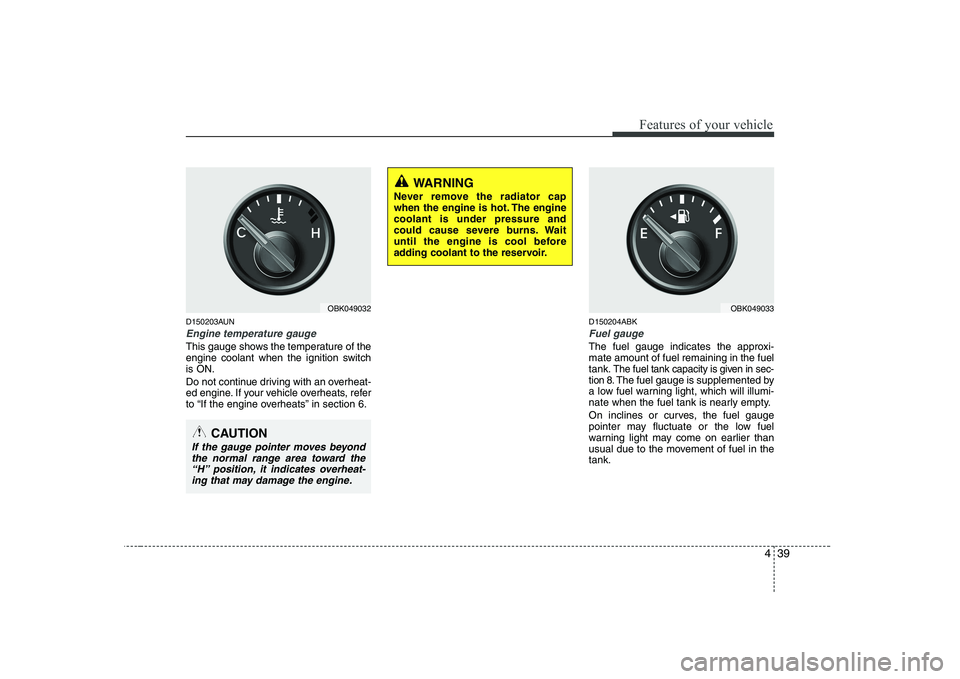
Engine temperature gauge
This gauge shows the temperature of the
engine coolant when the ignition switchis ON.
Do not continue driving with an overheat-
ed engine. If your vehicle overheats, refer
to “If the engine overheats” in section 6.D150204ABK
Fuel gauge
The fuel gauge indicates the approxi- mate amount of fuel remaining in the fueltank.
The fuel tank capacity is given in sec-
tion 8.The fuel gauge is supplemented by
a low fuel warning light, which will illumi-
nate when the fuel tank is nearly empty.
On inclines or curves, the fuel gauge
pointer may fluctuate or the low fuel
warning light may come on earlier than
usual due to the movement of fuel in thetank.
OBK049032
CAUTION
If the gauge pointer moves beyond
the normal range area toward the “H” position, it indicates overheat-ing that may damage the engine.
WARNING
Never remove the radiator cap
when the engine is hot. The enginecoolant is under pressure and
could cause severe burns. Wait
until the engine is cool before
adding coolant to the reservoir.
OBK049033