steering wheel HYUNDAI GENESIS G80 2013 User Guide
[x] Cancel search | Manufacturer: HYUNDAI, Model Year: 2013, Model line: GENESIS G80, Model: HYUNDAI GENESIS G80 2013Pages: 432, PDF Size: 29.24 MB
Page 80 of 432
4
Keys / 4-3
Smart key / 4-7
Remote keyless entry / 4-11
Theft-alarm system / 4-14
Door locks / 4-16
Trunk / 4-20
Windows / 4-23
Hood / 4-27
Fuel filler lid / 4-28
Sunroof / 4-31
Driver position memory system / 4-34
Steering wheel / 4-37
Mirrors / 4-39
Instrument cluster / 4-48
Parking assist system / 4-72
Rear view camera / 4-76
Hazard warning flasher / 4-76
Lighting / 4-77
Wipers and washers / 4-82
Interior light / 4-85
Defroster / 4-88
Automatic climate control system / 4-89
Features of your vehicle
Page 113 of 432
Features of your vehicle
34 4
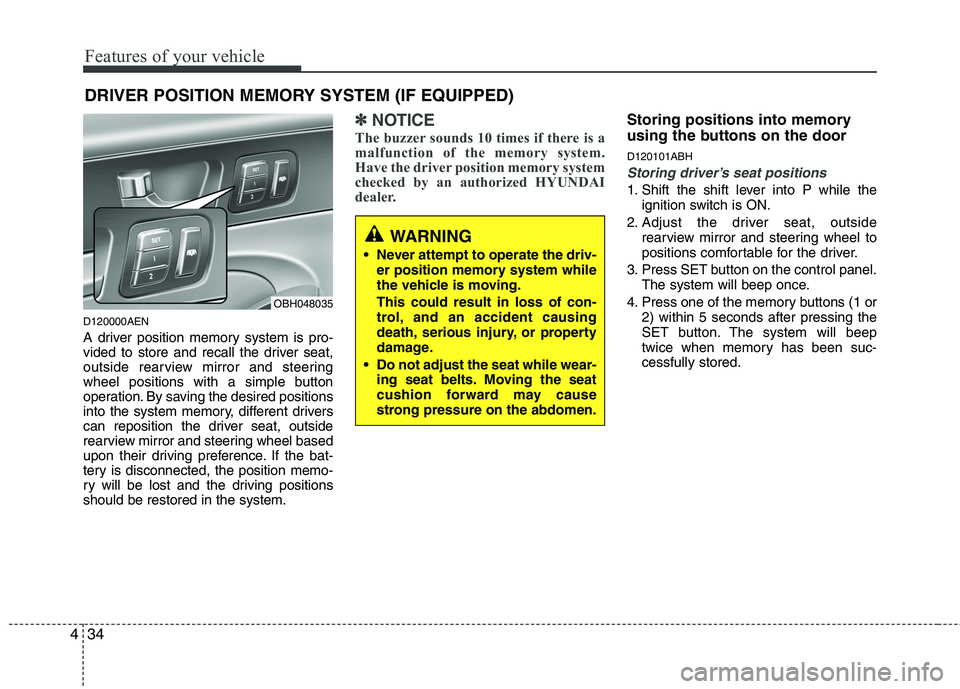
DRIVER POSITION MEMORY SYSTEM (IF EQUIPPED)
D120000AEN
A driver position memory system is pro-
vided to store and recall the driver seat,
outside rearview mirror and steering
wheel positions with a simple button
operation. By saving the desired positions
into the system memory, different drivers
can reposition the driver seat, outside
rearview mirror and steering wheel based
upon their driving preference. If the bat-
tery is disconnected, the position memo-
ry will be lost and the driving positions
should be restored in the system.
✽ ✽
NOTICE
The buzzer sounds 10 times if there is a
malfunction of the memory system.
Have the driver position memory system
checked by an authorized HYUNDAI
dealer.
Storing positions into memory
using the buttons on the door
D120101ABH
Storing driver’s seat positions
1. Shift the shift lever into P while the
ignition switch is ON.
2. Adjust the driver seat, outside
rearview mirror and steering wheel to
positions comfortable for the driver.
3. Press SET button on the control panel.
The system will beep once.
4. Press one of the memory buttons (1 or
2) within 5 seconds after pressing the
SET button. The system will beep
twice when memory has been suc-
cessfully stored.
WARNING
Never attempt to operate the driv-
er position memory system while
the vehicle is moving.
This could result in loss of con-
trol, and an accident causing
death, serious injury, or property
damage.
Do not adjust the seat while wear-
ing seat belts. Moving the seat
cushion forward may cause
strong pressure on the abdomen.
OBH048035
Page 114 of 432
435
Features of your vehicle
D120102ABH
Recalling positions from memory
1. Shift the shift lever into P while the
ignition switch is ON.
2. To recall the position in memory, press
the desired memory button (1 or 2).
The system will beep once, then the
driver seat, outside rearview mirror
and steering wheel will automatically
adjust to the stored positions.
Adjusting one of the control knobs for the
driver seat, outside rearview mirror and
steering wheel while the system is recall-
ing the stored positions will cause the
movement for that component to stop
and move in the direction that the control
knob is moved. Other components will
continue to the recalled position.
D120300BBH
Easy access function
(if equipped)
With the shift lever in the P position, the
system will move the steering wheel
upward and driver’s seat rearward auto-
matically so you can comfortably enter
and exit the vehicle.
Without smart key system
- It will move the steering wheel away
from the driver and the driver’s seat
rearward when the ignition key is
removed.
-
It will move the steering wheel toward
the driver and the driver’s seat for-
ward when the ignition key is inserted.
With smart key system
- It will move the steering wheel away
from the driver and the driver’s seat
rearward when the engine start/stop
button is turned to the OFF position.
- It will move the steering wheel toward
the driver and the driver’s seat for-
ward when the engine start/stop but-
ton is turned to the ACC position.
✽ ✽
NOTICE
You can activate or deactivate the easy
access function in the INFO menu of
DIS (Driver Information System, if
equipped) as follows;
• Seat easy access
• Steering easy access
If you want detailed informations, refer
to the DIS manual supplied separately.
WARNING
Use caution when recalling adjust-
ment memory while sitting in the
vehicle. Push the seat position con-
trol knob to the desired position
immediately if the seat moves too
far in any direction.
Page 116 of 432
437
Features of your vehicle
D130100ABH
Electronic Hydraulic Power
Steering (EHPS)
EHPS uses an electromotor to assist you
in steering the vehicle. It senses the vehi-
cle speed and road condition.
If the engine is off or if the power steer-
ing system becomes inoperative, the
vehicle may still be steered, but it will
require increased steering effort.
Should you notice any change in the
effort required to steer during normal
vehicle operation, have the power steer-
ing checked by an authorized HYUNDAI
dealer.
✽ ✽
NOTICE
If the power steering drive belt breaks
or if the power steering pump malfunc-
tions, the steering effort will greatly
increase.
✽ ✽
NOTICE
If the vehicle is parked for extended
periods outside in cold weather (below
14°F/-10°C), the power steering may
require increased effort when the engine
is first started. This is caused by
increased fluid viscosity due to the cold
weather and does not indicate a mal-
function.
When this happens, increase the engine
RPM by depressing accelerator until the
RPM reaches 1,500 rpm then release or
let the engine idle for two or three min-
utes to warm up the fluid.
D130300AEN
Tilt steering/Telescope steering
(if equipped)
Tilt steering allows you to adjust the
steering wheel before you drive. You can
also raise the steering wheel to give your
legs more room when you exit and enter
the vehicle.
The steering wheel should be positioned
so that it is comfortable for you to drive,
while permitting you to see the instru-
ment panel warning lights and gauges.
STEERING WHEEL
CAUTION
Never hold the steering wheel
against a stop (extreme right or left
turn) for more than 5 seconds with
the engine running. Holding the
steering wheel for more than 5 sec-
onds in either position may cause
damage to the power steering
pump.
WARNING
Never adjust the angle of the
steering wheel while driving. You
may lose steering control and
cause severe personal injury,
death or accidents.
After adjusting, push the steering
wheel both up and down to be
certain it is locked in position.
Page 117 of 432
Features of your vehicle
38 4
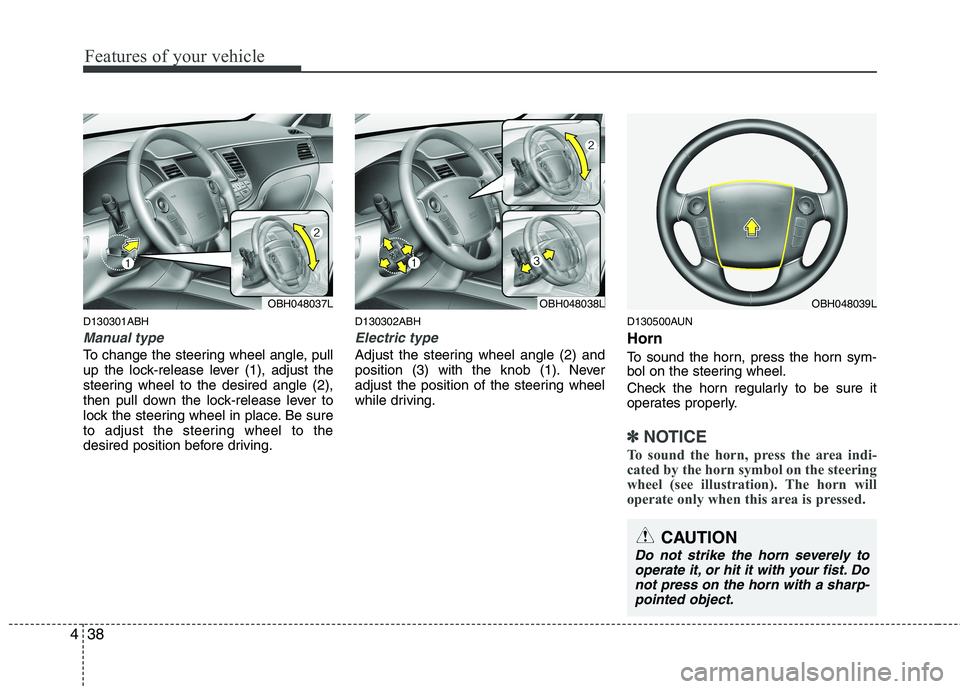
D130301ABH
Manual type
To change the steering wheel angle, pull
up the lock-release lever (1), adjust the
steering wheel to the desired angle (2),
then pull down the lock-release lever to
lock the steering wheel in place. Be sure
to adjust the steering wheel to the
desired position before driving.
D130302ABH
Electric type
Adjust the steering wheel angle (2) and
position (3) with the knob (1). Never
adjust the position of the steering wheel
while driving.
D130500AUN
Horn
To sound the horn, press the horn sym-
bol on the steering wheel.
Check the horn regularly to be sure it
operates properly.
✽ ✽
NOTICE
To sound the horn, press the area indi-
cated by the horn symbol on the steering
wheel (see illustration). The horn will
operate only when this area is pressed.
OBH048037LOBH048038LOBH048039L
CAUTION
Do not strike the horn severely to
operate it, or hit it with your fist. Do
not press on the horn with a sharp-
pointed object.
Page 141 of 432
Features of your vehicle
62 4
To check bulb operation, check whether
the parking brake and brake fluid warning
light illuminates when the ignition switch
is in the ON position.D150331ABH
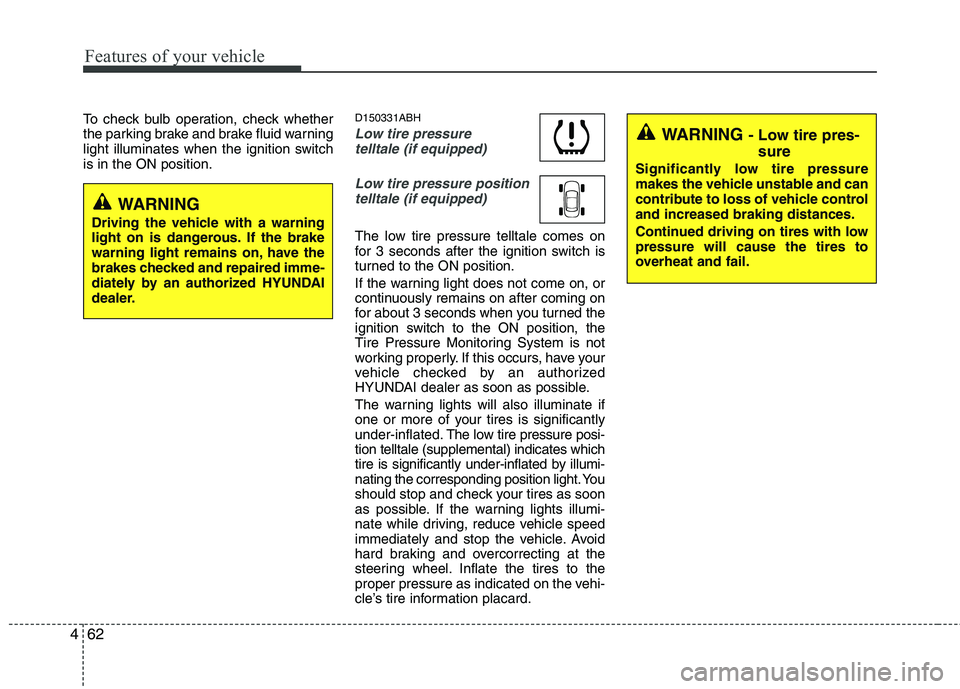
Low tire pressure
telltale (if equipped)
Low tire pressure position
telltale (if equipped)
The low tire pressure telltale comes on
for 3 seconds after the ignition switch is
turned to the ON position.
If the warning light does not come on, or
continuously remains on after coming on
for about 3 seconds when you turned the
ignition switch to the ON position, the
Tire Pressure Monitoring System is not
working properly. If this occurs, have your
vehicle checked by an authorized
HYUNDAI dealer as soon as possible.
The warning lights will also illuminate if
one or more of your tires is significantly
under-inflated.The low tire pressure posi-
tion telltale (supplemental) indicates which
tire is significantly under-inflated by illumi-
nating the corresponding position light. You
should stop and check your tires as soon
as possible. If the warning lights illumi-
nate while driving, reduce vehicle speed
immediately and stop the vehicle. Avoid
hard braking and overcorrecting at the
steering wheel. Inflate the tires to the
proper pressure as indicated on the vehi-
cle’s tire information placard.
WARNING - Low tire pres-
sure
Significantly low tire pressure
makes the vehicle unstable and can
contribute to loss of vehicle control
and increased braking distances.
Continued driving on tires with low
pressure will cause the tires to
overheat and fail.
WARNING
Driving the vehicle with a warning
light on is dangerous. If the brake
warning light remains on, have the
brakes checked and repaired imme-
diately by an authorized HYUNDAI
dealer.
Page 145 of 432
Features of your vehicle
66 4
D150323AUN-EU
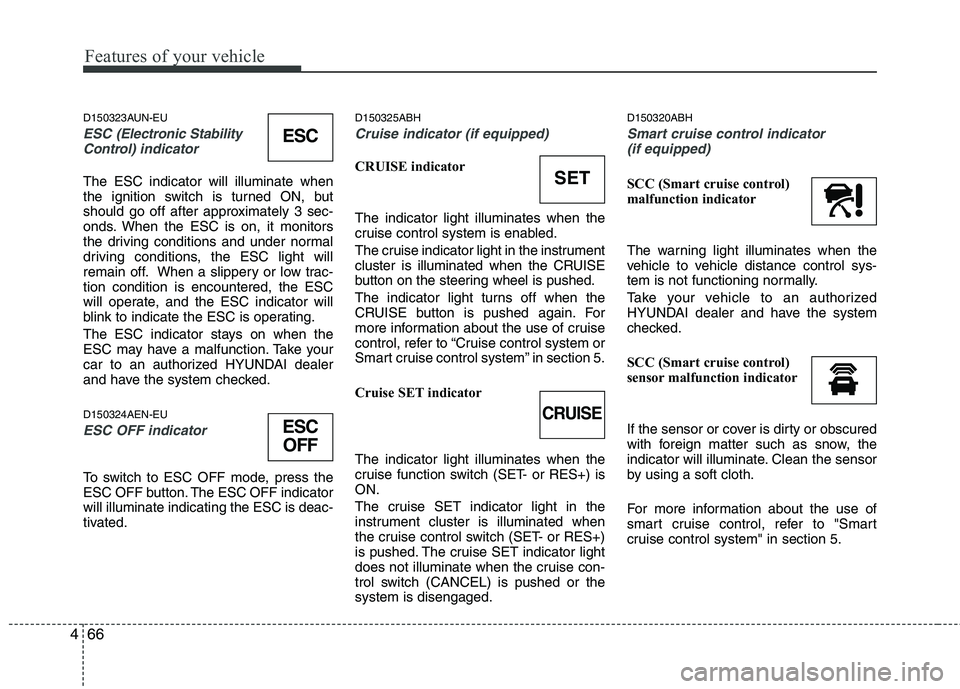
ESC (Electronic Stability
Control)indicator
The ESC indicator will illuminate when
the ignition switch is turned ON, but
should go off after approximately 3 sec-
onds. When the ESC is on, it monitors
the driving conditions and under normal
driving conditions, the ESC light will
remain off. When a slippery or low trac-
tion condition is encountered, the ESC
will operate, and the ESC indicator will
blink to indicate the ESC is operating.
The ESC indicator stays on when the
ESC may have a malfunction. Take your
car to an authorized HYUNDAI dealer
and have the system checked.
D150324AEN-EU
ESC OFF indicator
To switch to ESC OFF mode, press the
ESC OFF button. The ESC OFF indicator
will illuminate indicating the ESC is deac-
tivated.
D150325ABH
Cruise indicator (if equipped)
CRUISE indicator
The indicator light illuminates when the
cruise control system is enabled.
The cruise indicator light in the instrument
cluster is illuminated when the CRUISE
button on the steering wheel is pushed.
The indicator light turns off when the
CRUISE button is pushed again. For
more information about the use of cruise
control, refer to “Cruise control system or
Smart cruise control system” in section 5.
Cruise SET indicator
The indicator light illuminates when the
cruise function switch (SET- or RES+) is
ON.
The cruise SET indicator light in the
instrument cluster is illuminated when
the cruise control switch (SET- or RES+)
is pushed. The cruise SET indicator light
does not illuminate when the cruise con-
trol switch (CANCEL) is pushed or the
system is disengaged.
D150320ABH
Smart cruise control indicator
(if equipped)
SCC (Smart cruise control)
malfunction indicator
The warning light illuminates when the
vehicle to vehicle distance control sys-
tem is not functioning normally.
Take your vehicle to an authorized
HYUNDAI dealer and have the system
checked.
SCC (Smart cruise control)
sensor malfunction indicator
If the sensor or cover is dirty or obscured
with foreign matter such as snow, the
indicator will illuminate. Clean the sensor
by using a soft cloth.
For more information about the use of
smart cruise control, refer to "Smart
cruise control system" in section 5.SET
CRUISE
ESC
ESC
OFF
Page 194 of 432
4115
Features of your vehicle
✽
✽NOTICE
• If you install an aftermarket HID
headlamp, your vehicle's audio and
electronic device may malfunction.
• Prevent chemicals such as perfume, cosmetic oil, sun cream, hand cleaner,
and air freshener from contacting the
interior parts because they may cause
damage or discoloration.
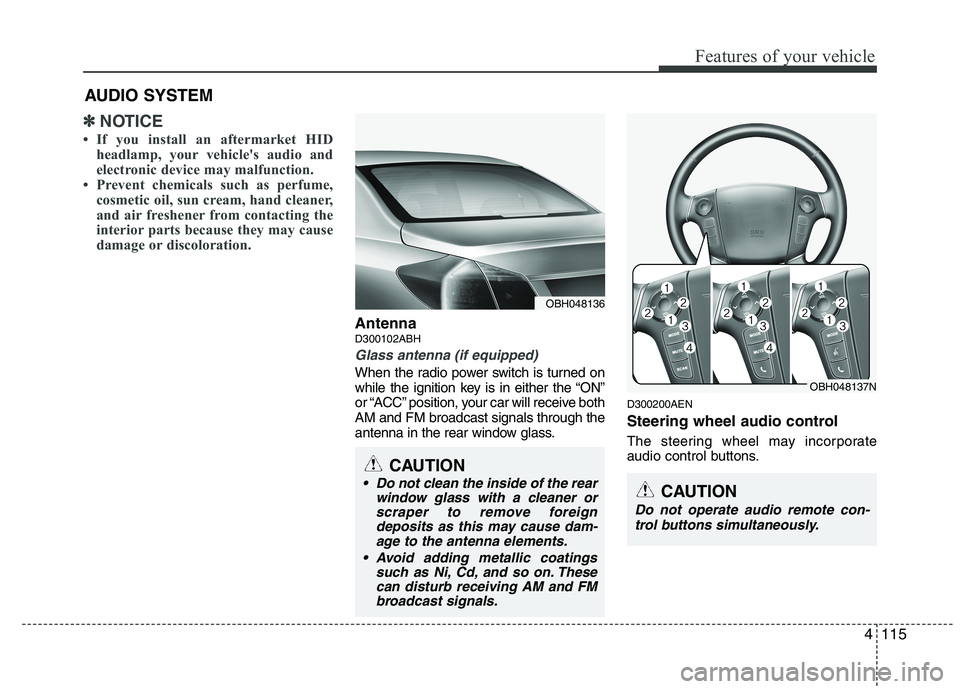
AntennaD300102ABH
Glass antenna (if equipped)
When the radio power switch is turned on
while the ignition key is in either the “ON”
or “ACC” position, your car will receive both
AM and FM broadcast signals through the
antenna in the rear window glass.
D300200AEN
Steering wheel audio control
The steering wheel may incorporate
audio control buttons.
AUDIO SYSTEM
OBH048136
CAUTION
• Do not clean the inside of the rear
window glass with a cleaner orscraper to remove foreigndeposits as this may cause dam-age to the antenna elements.
Avoid adding metallic coatings such as Ni, Cd, and so on. Thesecan disturb receiving AM and FMbroadcast signals.
OBH048137N
CAUTION
Do not operate audio remote con-
trol buttons simultaneously.
Page 230 of 432
4151
Features of your vehicle
BLUETOOTH®WIRELESS TECHNOLO-
GY PHONE OPERATION
(IF EQUIPPED)
■What is Bluetooth®Wireless
Technology?
Bluetooth®Wireless Technology allows
multiple short range, low-powered
devices like hands-free, stereo headset,
wireless remote control, etc. to be con-
nected. For more information, visit
theBluetooth®Wireless Technology website
at www.Bluetooth.com.
■ General Feature
Bluetooth®
Wireless Technology hands-free and
stereo-headset features.
- HANDS-FREE feature: Making or
receiving calls wirelessly through
voice recognition.
- STEREO-HEADSET feature: Playing
music from cellular phones (that sup-
ports A2DP feature) wirelessly.
Bluetooth®Wireless Technology system
supports 3 types of languages:
- English
- Canadian French
- US Spanish
✽ ✽
NOTICE
• The phone must be paired to the sys-
tem before using Bluetooth®Wireless
Technology features.
• Only one selected(linked) cellular
phone can be used with the system at
a time.
• Some phones are not fully compatible
with this system.
■Bluetooth®Wireless Technology
Language Setting
The system language can be changed by
the following steps:
1. Power on the audio system with the
volume set to an audible level.
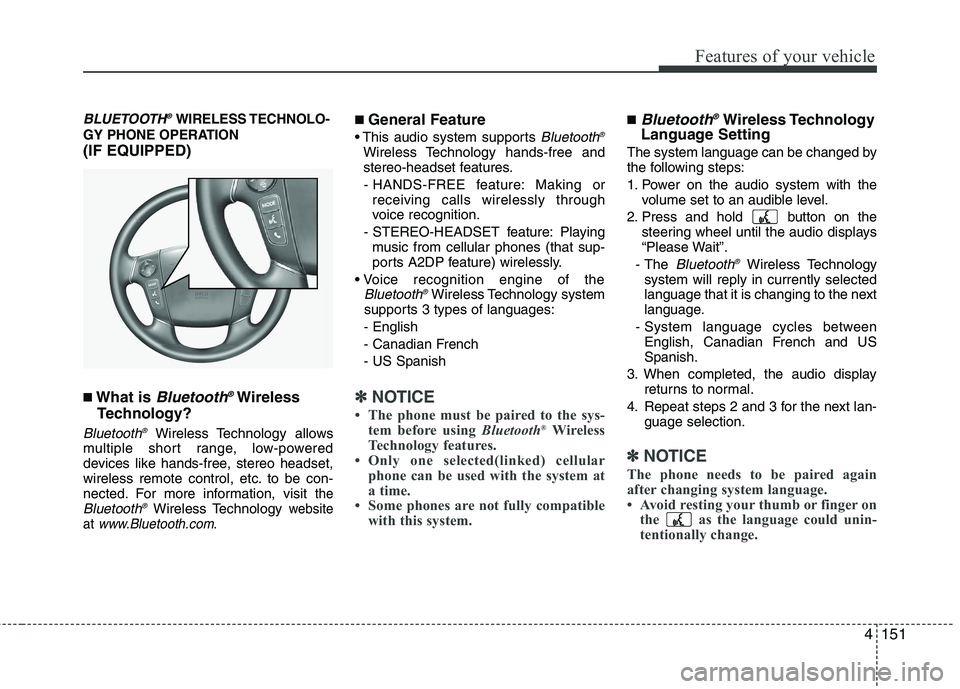
2. Press and hold button on the
steering wheel until the audio displays
“Please Wait”.
- The
Bluetooth®Wireless Technology
system will reply in currently selected
language that it is changing to the next
language.
- System language cycles between
English, Canadian French and US
Spanish.
3. When completed, the audio display
returns to normal.
4. Repeat steps 2 and 3 for the next lan-
guage selection.
✽ ✽
NOTICE
The phone needs to be paired again
after changing system language.
• Avoid resting your thumb or finger on
the as the language could unin-
tentionally change.
Page 232 of 432
4153
Features of your vehicle
■Phone Setup
All Bluetooth®Wireless Technology relat-
ed operations can be performed by voice
command or by manual operation.
Press button on the steering
wheel to activate voice recognition.
Push the TUNE/SETUP knob to enter
SETUP mode. Select “BLUETOOTH”
item by rotating the TUNE/SETUP
knob, then push the knob.
Before using
Bluetooth®Wireless
Technology features, the phone must be
paired (registered) to the audio system.
Up to 5 phones can be paired in the sys-
tem.
✽ ✽
NOTICE
• The pairing procedure of the phone
varies according to each phone model.
Before attempting to pair phone,
please see your phone’s User’s Guide
for instructions.
• Once pairing with the phone is com-
pleted, there is no need to pair with
that phone again unless the phone is
deleted manually from the audio sys-
tem (refer “Deleting Phone” section)
or the vehicle’s information is
removed from the phone.
• Need to confirm if pairing can be done
by voice. Need to confirm which sys-
tem can paired by voice, CDC, CDP.1. Press button.
2. Say “Set Up”.
- The system replies with available
commands.
- To skip the information message,
press again and then a beep is
heard.
3. Say “Pair Phone”
4. Say “Yes” to proceed.
5. Say the name of your phone when
prompted.
- Use any name to uniquely describe
your phone.
- Use Full name to voice tag.
- Do not use a short name or similar
name to voice command.
6.
Bluetooth®Wireless Technology sys-
tem will repeat the name you stated.
7. Say "Yes" to confirm.
8. The audio displays “searching
----
passkey: 0000” and asks you to initiate
pairing procedure from the phone.
9. Search the
Bluetooth®Wireless
Technology system on your phone.
Your phone should display your [vehi-
cle model name] on the
Bluetooth®
Wireless Technology device list. Then
attempt pairing on your phone.
10. After Pairing is completed, your phone
will start to transfer phone/contact list
to the audio system.