light Hyundai Getz 2003 Owner's Manual
[x] Cancel search | Manufacturer: HYUNDAI, Model Year: 2003, Model line: Getz, Model: Hyundai Getz 2003Pages: 444, PDF Size: 13.82 MB
Page 12 of 444
YOUR VEHICLE AT A GLANCE
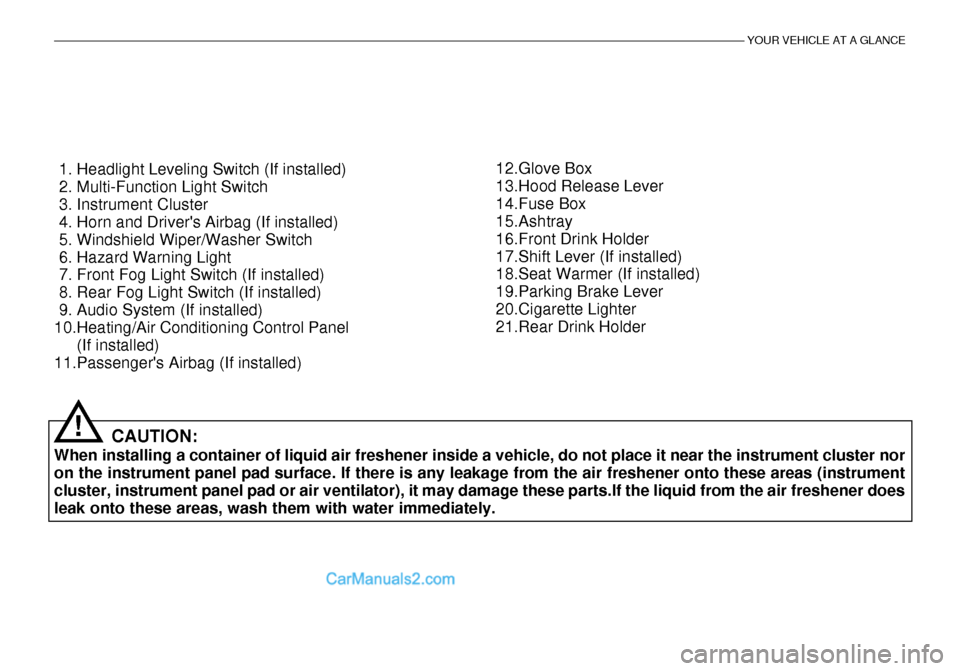
1. Headlight Leveling Switch (If installed)
2. Multi-Function Light Switch
3. Instrument Cluster
4. Horn and Driver's Airbag (If installed)
5. Windshield Wiper/Washer Switch
6. Hazard Warning Light
7. Front Fog Light Switch (If installed)
8. Rear Fog Light Switch (If installed)
9. Audio System (If installed)
10.Heating/Air Conditioning Control Panel(If installed)
11.Passenger's Airbag (If installed)
CAUTION:
When installing a container of liquid air freshener inside a vehicle, do not place it near the instrument cluster noron the instrument panel pad surface. If there is any leakage from the air freshener onto these areas (instrument cluster, instrument panel pad or air ventilator), it may damage these parts.If the liquid from the air freshener doesleak onto these areas, wash them with water immediately. 12.Glove Box
13.Hood Release Lever
14.Fuse Box
15.Ashtray
16.Front Drink Holder
17.Shift Lever (If installed)
18.Seat Warmer (If installed)
19.Parking Brake Lever
20.Cigarette Lighter
21.Rear Drink Holder
!
Page 14 of 444
YOUR VEHICLE AT A GLANCE
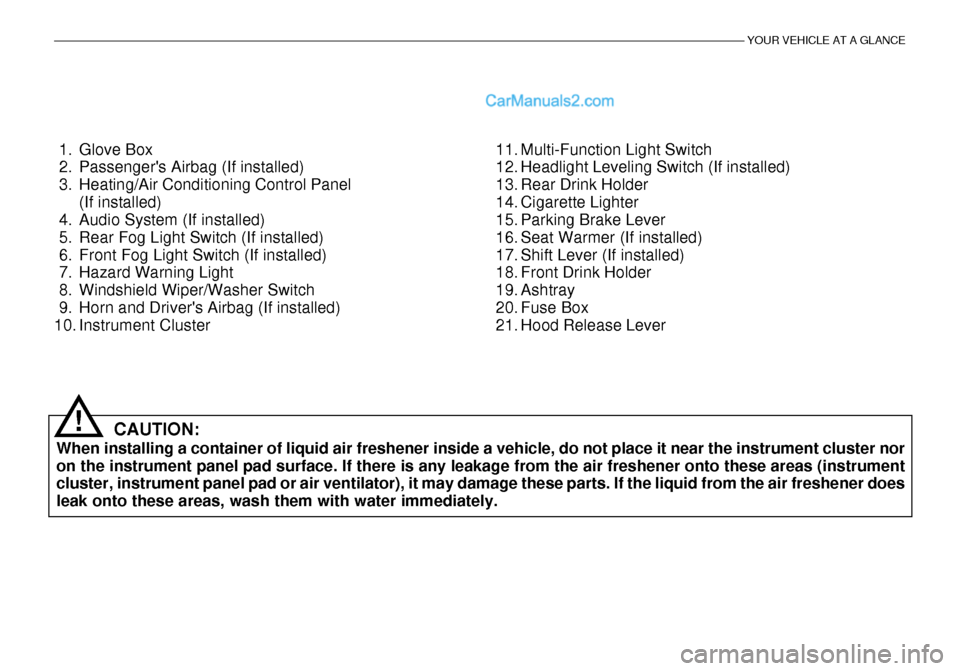
1. Glove Box
2. Passenger's Airbag (If installed)
3. Heating/Air Conditioning Control Panel(If installed)
4. Audio System (If installed)
5. Rear Fog Light Switch (If installed)
6. Front Fog Light Switch (If installed)
7. Hazard Warning Light
8. Windshield Wiper/Washer Switch
9. Horn and Driver's Airbag (If installed)
10. Instrument Cluster
CAUTION:
When installing a container of liquid air freshener inside a vehicle, do not place it near the instrument cluster nor on the instrument panel pad surface. If there is any leakage from the air freshener onto these areas (instrument cluster, instrument panel pad or air ventilator), it may damage these parts. If the liquid from the air freshener does leak onto these areas, wash them with water immediately. 11. Multi-Function Light Switch
12. Headlight Leveling Switch (If installed)
13. Rear Drink Holder
14. Cigarette Lighter
15. Parking Brake Lever
16. Seat Warmer (If installed)
17. Shift Lever (If installed)
18. Front Drink Holder
19. Ashtray
20. Fuse Box
21. Hood Release Lever
!
Page 15 of 444
YOUR VEHICLE AT A GLANCE
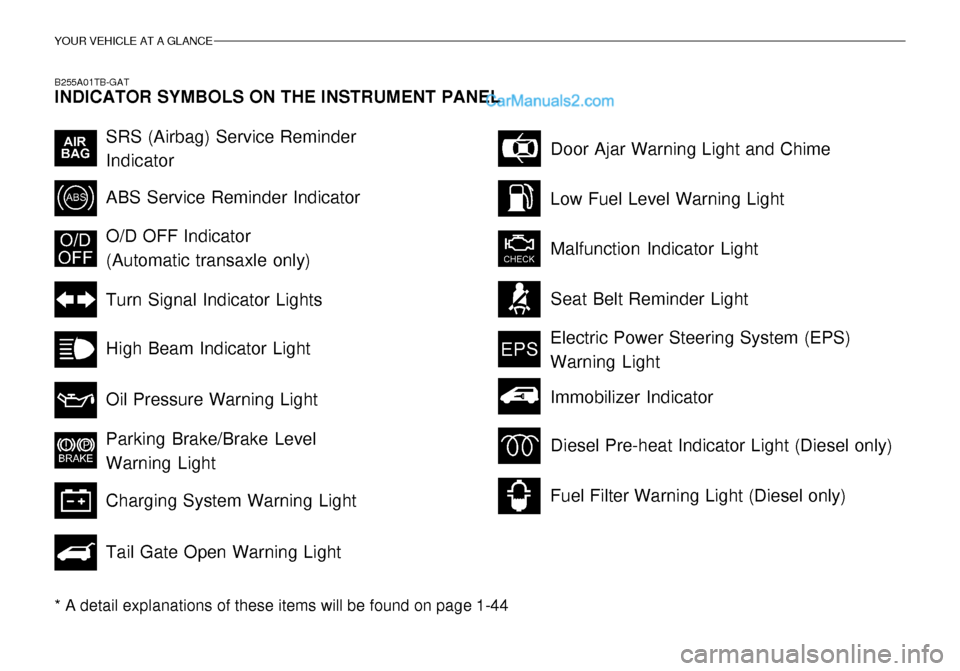
B255A01TB-GAT INDICATOR SYMBOLS ON THE INSTRUMENT PANEL * A detail explanations of these items will be found on page 1-44
SRS (Airbag) Service Reminder Indicator ABS Service Reminder Indicator Turn Signal Indicator Lights High Beam Indicator Light Oil Pressure Warning Light Parking Brake/Brake Level Warning Light Charging System Warning Light Tail Gate Open Warning LightDoor Ajar Warning Light and Chime
Low Fuel Level Warning Light Malfunction Indicator Light Seat Belt Reminder Light
O/D OFF Indicator (Automatic transaxle only)
Electric Power Steering System (EPS)Warning Light
Diesel Pre-heat Indicator Light (Diesel only)
Fuel Filter Warning Light (Diesel only)
Immobilizer Indicator
Page 16 of 444
1. FEATURES OF YOUR HYUNDAI
Fuel Recommendations ................................................................... 1-2
Breaking in Your New Hyundai ........................................................ 1-3
Key (Immobilizer system) ................................................................ 1-4
Door locks (Theft-alarm system) ..................................................... 1-7
Power windows .............................................................................. 1-12
Seat ................................................................................................ 1-13
Seat Belt ......................................................................................... 1-20
Child restraint system .................................................................... 1-26
Supplemental restraint (AIRBAG) system ..................................... 1-34
Instrument cluster and indicator lights ............................................ 1-41
Warning Light and Indicator ............................................................ 1-44
Trip computer ................................................................................. 1-51
Multi-Function Light Switch ............................................................ 1-53
Windshield wiper/Washer Switch ................................................... 1-54
Sunroof ........................................................................................... 1-60
Mirror .............................................................................................. 1-64
Hood Release ................................................................................ 1-67
How to use luggage Room ............................................................. 1-70
Heating and cooling control ............................................................ 1-75
Stereo sound system ..................................................................... 1-84
Audio system ................................................................................. 1-86
Antenna ........................................................................................ 1-120
1
Page 24 of 444
FEATURES OF YOUR HYUNDAI 1- 9
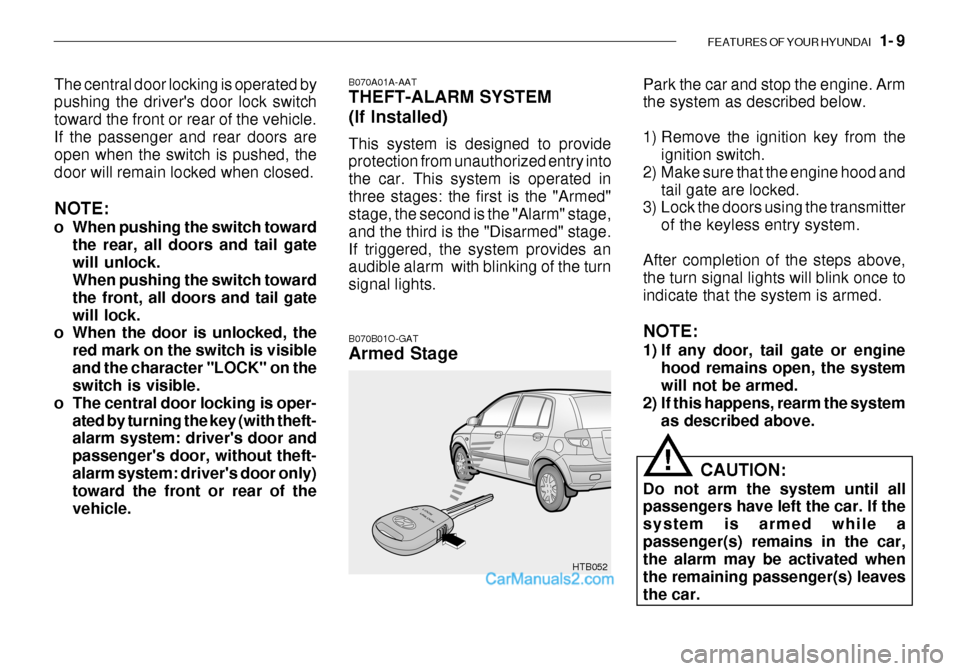
HTB052 Park the car and stop the engine. Arm the system as described below.
1) Remove the ignition key from the
ignition switch.
2) Make sure that the engine hood and tail gate are locked.
3) Lock the doors using the transmitter
of the keyless entry system.
After completion of the steps above, the turn signal lights will blink once toindicate that the system is armed. NOTE:
1) If any door, tail gate or engine hood remains open, the system will not be armed.
2) If this happens, rearm the system
as described above.
The central door locking is operated bypushing the driver's door lock switch toward the front or rear of the vehicle.If the passenger and rear doors are open when the switch is pushed, the door will remain locked when closed. NOTE:
o When pushing the switch toward
the rear, all doors and tail gate will unlock. When pushing the switch toward the front, all doors and tail gatewill lock.
o When the door is unlocked, the
red mark on the switch is visibleand the character "LOCK" on the switch is visible.
o The central door locking is oper-
ated by turning the key (with theft-alarm system: driver's door and passenger's door, without theft-alarm system: driver's door only) toward the front or rear of the vehicle. B070A01A-AAT THEFT-ALARM SYSTEM (If Installed) This system is designed to provide protection from unauthorized entry into the car. This system is operated inthree stages: the first is the "Armed" stage, the second is the "Alarm" stage, and the third is the "Disarmed" stage.If triggered, the system provides an audible alarm with blinking of the turn signal lights. B070B01O-GAT Armed Stage
CAUTION:
Do not arm the system until all passengers have left the car. If the system is armed while apassenger(s) remains in the car, the alarm may be activated when the remaining passenger(s) leavesthe car.
!
Page 25 of 444
1- 10 FEATURES OF YOUR HYUNDAI
HTB202
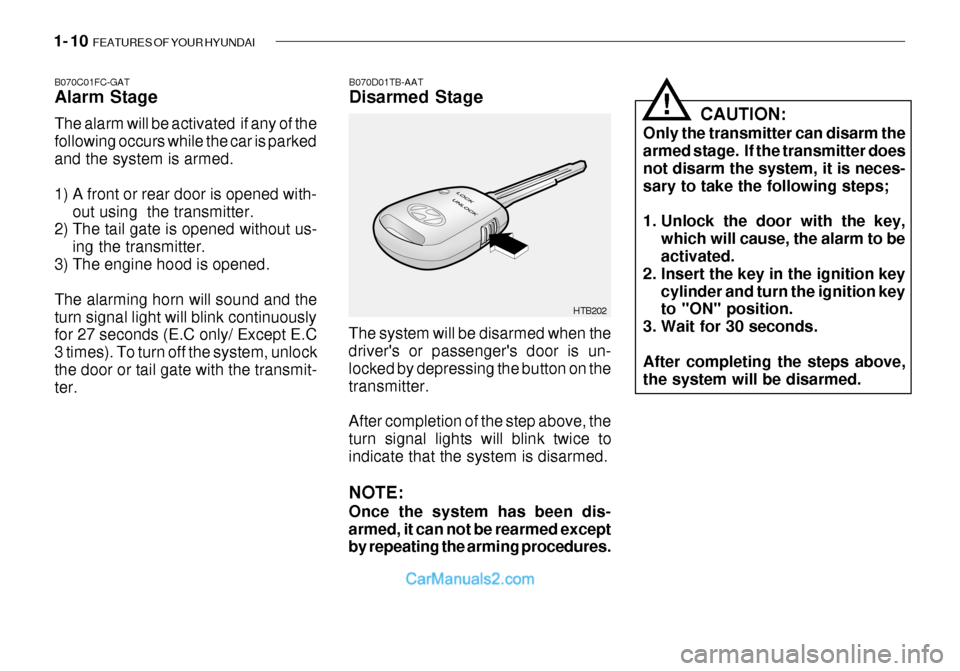
B070D01TB-AAT Disarmed Stage
B070C01FC-GATAlarm Stage The alarm will be activated if any of the following occurs while the car is parkedand the system is armed.
1) A front or rear door is opened with-
out using the transmitter.
2) The tail gate is opened without us-
ing the transmitter.
3) The engine hood is opened.The alarming horn will sound and the turn signal light will blink continuously for 27 seconds (E.C only/ Except E.C 3 times). To turn off the system, unlockthe door or tail gate with the transmit- ter. The system will be disarmed when thedriver's or passenger's door is un- locked by depressing the button on thetransmitter. After completion of the step above, the turn signal lights will blink twice to indicate that the system is disarmed. NOTE: Once the system has been dis- armed, it can not be rearmed except by repeating the arming procedures. CAUTION:
Only the transmitter can disarm thearmed stage. If the transmitter does not disarm the system, it is neces-sary to take the following steps;
1. Unlock the door with the key, which will cause, the alarm to be activated.
2. Insert the key in the ignition key cylinder and turn the ignition keyto "ON" position.
3. Wait for 30 seconds. After completing the steps above, the system will be disarmed.
!
Page 26 of 444
FEATURES OF YOUR HYUNDAI 1- 11
HTB053
B070F01TB-GAT Keyless Entry System (If Installed)Locking doors
1. Close all doors.
2. Push the button on the transmitter.
3. At the same time all doors lock, the
turn signal lights will blink once to indicate that the system is armed.
Unlocking doors
1. Push the button on the transmitter.
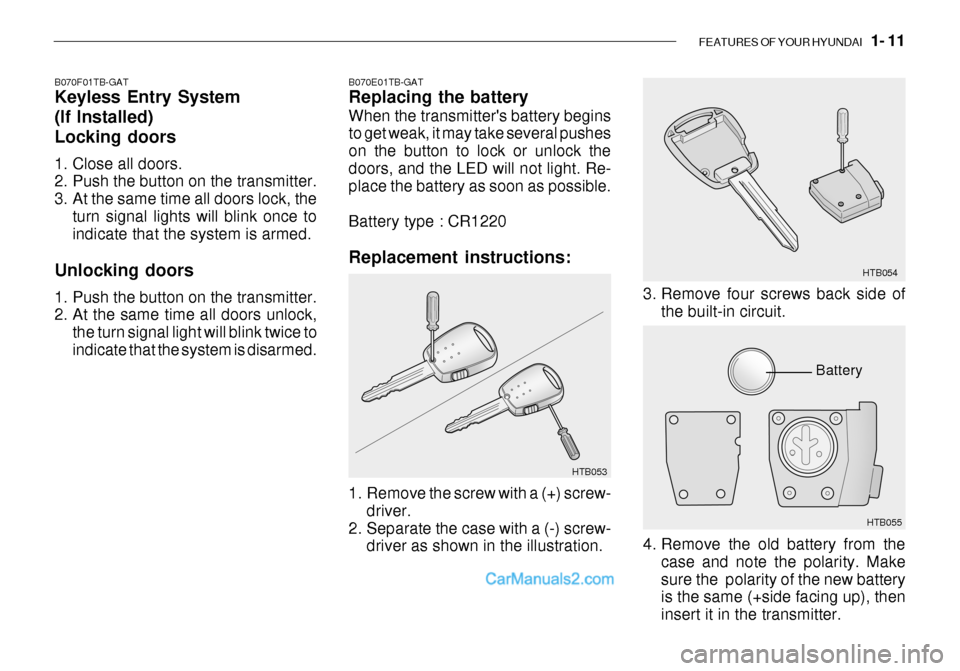
2. At the same time all doors unlock, the turn signal light will blink twice to indicate that the system is disarmed. B070E01TB-GAT Replacing the battery When the transmitter's battery begins to get weak, it may take several pushes on the button to lock or unlock thedoors, and the LED will not light. Re- place the battery as soon as possible. Battery type : CR1220 Replacement instructions:
1. Remove the screw with a (+) screw-
driver.
2. Separate the case with a (-) screw- driver as shown in the illustration. 3. Remove four screws back side of
the built-in circuit. HTB054
HTB055
Battery
4. Remove the old battery from the case and note the polarity. Make sure the polarity of the new battery is the same (+side facing up), then insert it in the transmitter.
Page 47 of 444
1- 32 FEATURES OF YOUR HYUNDAI
B180B01A-GAT Pre-tensioner Seat Belt (With A/BAG) (If Installed) Your Hyundai vehicle is equipped with driver's and front passenger's pre- tensioner seat belts. The purpose of the pre-tensioner is to make sure that the seat belts fit tightly against the occupant's body in certain frontal col-lisions. The pre-tensioner seat belts can be activated with the airbags. The pre-tensioner seat belt operates in the same way as an Emergency Lock- ing Retractor (ELR) type of seat belt. When the vehicle stops suddenly, or if the occupant tries to lean forward tooquickly, the seat belt retractor will lock into position. However, in certain frontal collisions, the pre-tensioner will acti-vate and pull the seat belt into tighter contact against the occupant's body.
WARNING:
If the pre-tensioner seat belt was activated, never attempt to replace it by yourself. It must be replaced by an authorized Hyundai Dealer.
!
HXG229
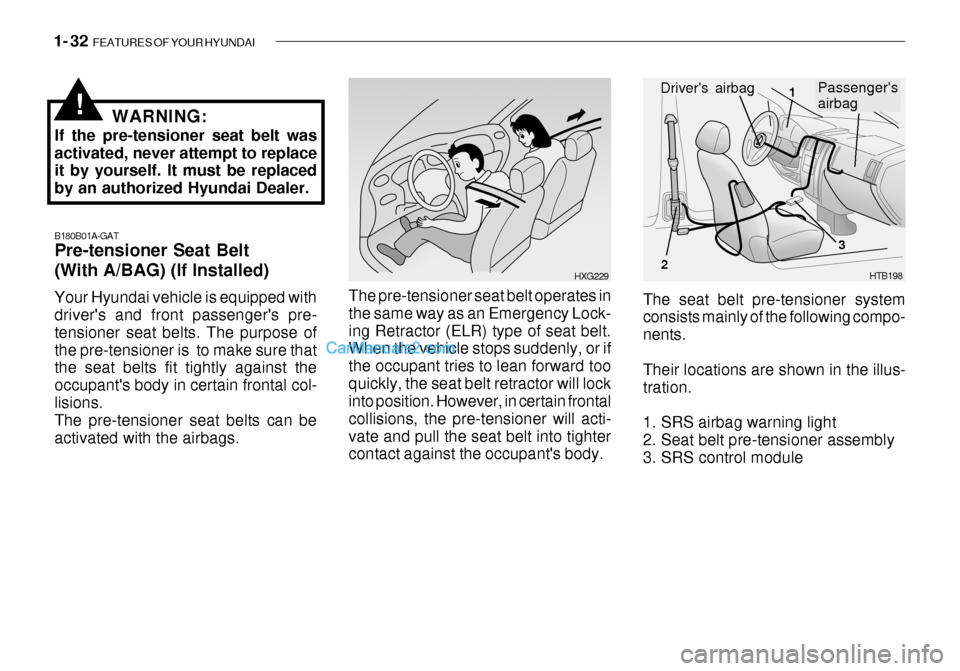
The seat belt pre-tensioner system consists mainly of the following compo- nents. Their locations are shown in the illus- tration.
1. SRS airbag warning light
2. Seat belt pre-tensioner assembly
3. SRS control module HTB198
Driver's airbag1
2 3Passenger's airbag
Page 48 of 444
FEATURES OF YOUR HYUNDAI 1- 33
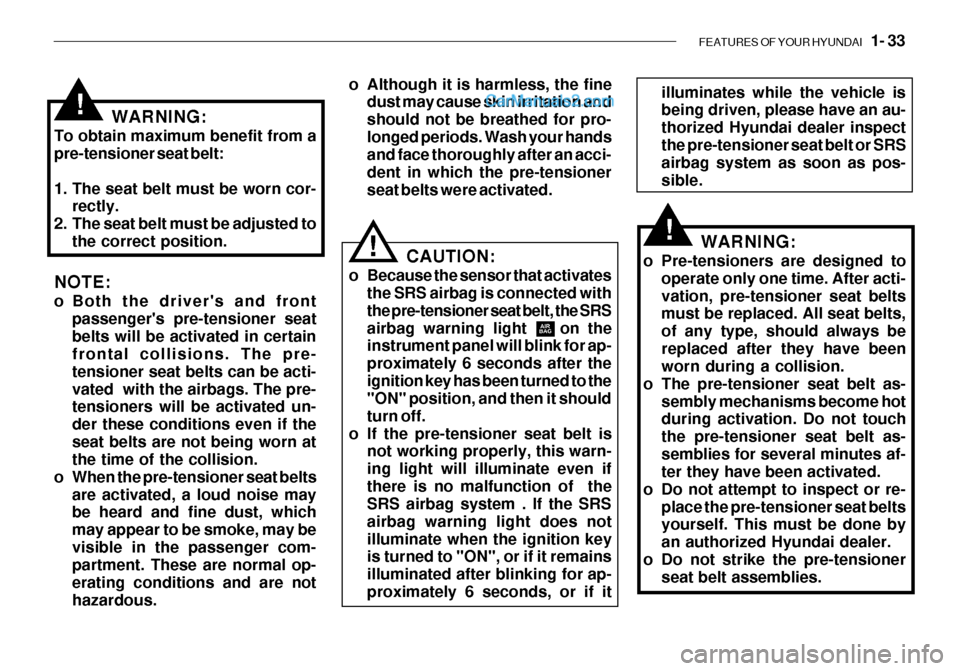
WARNING:
To obtain maximum benefit from a pre-tensioner seat belt:
1. The seat belt must be worn cor- rectly.
2. The seat belt must be adjusted to
the correct position.!
NOTE:
o Both the driver's and frontpassenger's pre-tensioner seat belts will be activated in certain frontal collisions. The pre- tensioner seat belts can be acti-vated with the airbags. The pre- tensioners will be activated un- der these conditions even if theseat belts are not being worn at the time of the collision.
o When the pre-tensioner seat belts
are activated, a loud noise maybe heard and fine dust, which may appear to be smoke, may bevisible in the passenger com- partment. These are normal op- erating conditions and are nothazardous. illuminates while the vehicle is being driven, please have an au- thorized Hyundai dealer inspectthe pre-tensioner seat belt or SRS airbag system as soon as pos- sible.
WARNING:
o Pre-tensioners are designed to operate only one time. After acti- vation, pre-tensioner seat belts must be replaced. All seat belts, of any type, should always bereplaced after they have been worn during a collision.
o The pre-tensioner seat belt as-
sembly mechanisms become hotduring activation. Do not touch the pre-tensioner seat belt as-semblies for several minutes af- ter they have been activated.
o Do not attempt to inspect or re-
place the pre-tensioner seat beltsyourself. This must be done by an authorized Hyundai dealer.
o Do not strike the pre-tensioner seat belt assemblies.!
o Although it is harmless, the finedust may cause skin irritation and should not be breathed for pro-longed periods. Wash your hands and face thoroughly after an acci- dent in which the pre-tensionerseat belts were activated.
! CAUTION:
o Because the sensor that activates the SRS airbag is connected with the pre-tensioner seat belt, the SRSairbag warning light on the instrument panel will blink for ap- proximately 6 seconds after theignition key has been turned to the "ON" position, and then it should turn off.
o If the pre-tensioner seat belt is not working properly, this warn-ing light will illuminate even ifthere is no malfunction of the SRS airbag system . If the SRS airbag warning light does notilluminate when the ignition key is turned to "ON", or if it remains illuminated after blinking for ap-proximately 6 seconds, or if it
Page 56 of 444
FEATURES OF YOUR HYUNDAI 1- 41
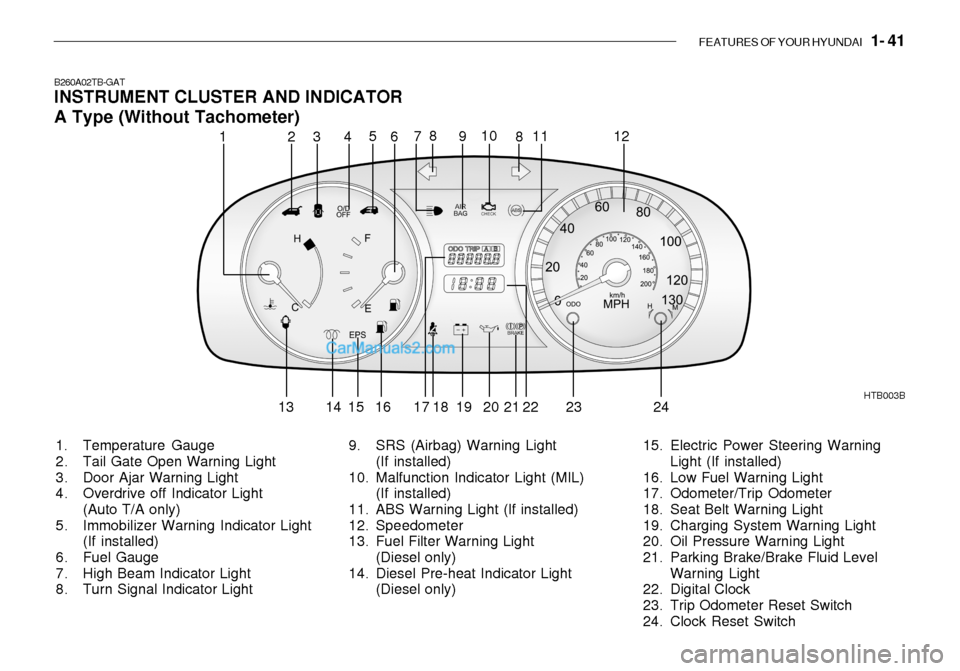
B260A02TB-GAT INSTRUMENT CLUSTER AND INDICATOR A Type (Without Tachometer)
1. Temperature Gauge
2. Tail Gate Open Warning Light
3. Door Ajar Warning Light
4. Overdrive off Indicator Light (Auto T/A only)
5. Immobilizer Warning Indicator Light (If installed)
6. Fuel Gauge
7. High Beam Indicator Light
8. Turn Signal Indicator Light HTB003B
9. SRS (Airbag) Warning Light (If installed)
10. Malfunction Indicator Light (MIL)
(If installed)
11. ABS Warning Light (If installed)
12. Speedometer
13. Fuel Filter Warning Light (Diesel only)
14. Diesel Pre-heat Indicator Light
(Diesel only) 15. Electric Power Steering Warning
Light (If installed)
16. Low Fuel Warning Light
17. Odometer/Trip Odometer
18. Seat Belt Warning Light
19. Charging System Warning Light
20. Oil Pressure Warning Light
21. Parking Brake/Brake Fluid Level Warning Light
22. Digital Clock
23. Trip Odometer Reset Switch
24. Clock Reset Switch
12 3
45
6 78
910
11
8 12
13 14 15 16 17 18 19 20 21 22 23 24