headrest Hyundai Grandeur 2002 Owner's Manual
[x] Cancel search | Manufacturer: HYUNDAI, Model Year: 2002, Model line: Grandeur, Model: Hyundai Grandeur 2002Pages: 230, PDF Size: 3.82 MB
Page 25 of 230
1- 12 FEATURES OF YOUR HYUNDAI
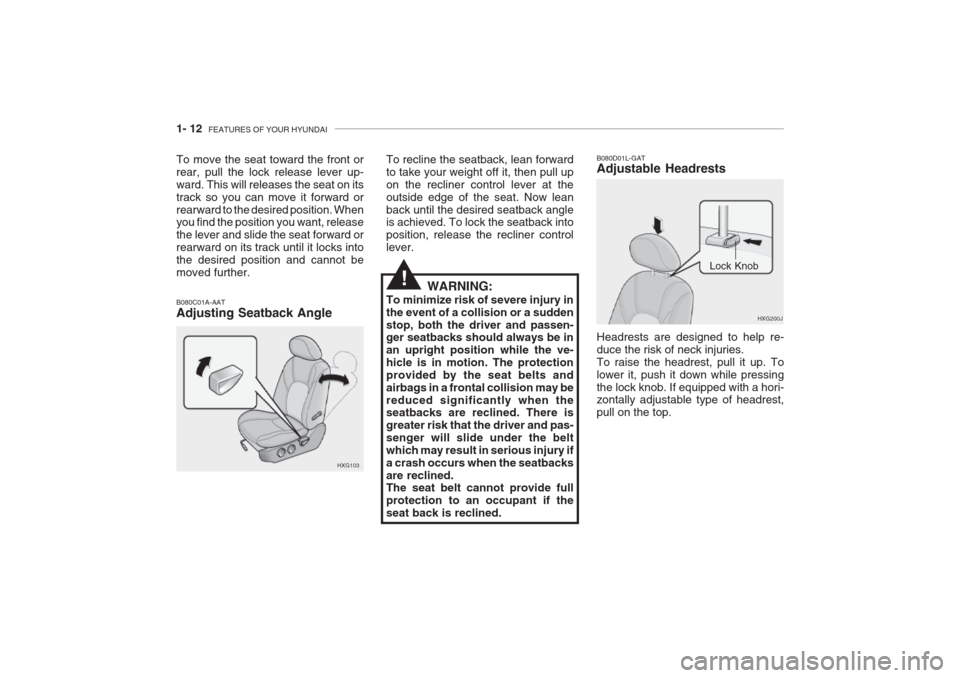
To move the seat toward the front or rear, pull the lock release lever up-ward. This will releases the seat on itstrack so you can move it forward orrearward to the desired position. When you find the position you want, release the lever and slide the seat forward orrearward on its track until it locks intothe desired position and cannot bemoved further.
HXG103
B080C01A-AAT Adjusting Seatback Angle
To recline the seatback, lean forward to take your weight off it, then pull upon the recliner control lever at theoutside edge of the seat. Now leanback until the desired seatback angle is achieved. To lock the seatback into position, release the recliner controllever.
WARNING:
To minimize risk of severe injury inthe event of a collision or a suddenstop, both the driver and passen- ger seatbacks should always be in an upright position while the ve-hicle is in motion. The protectionprovided by the seat belts andairbags in a frontal collision may bereduced significantly when the seatbacks are reclined. There is greater risk that the driver and pas-senger will slide under the beltwhich may result in serious injury ifa crash occurs when the seatbacksare reclined. The seat belt cannot provide full protection to an occupant if theseat back is reclined.
!
HXG200J
Lock Knob
B080D01L-GAT Adjustable Headrests Headrests are designed to help re- duce the risk of neck injuries.To raise the headrest, pull it up. Tolower it, push it down while pressingthe lock knob. If equipped with a hori- zontally adjustable type of headrest, pull on the top.
Page 26 of 230
FEATURES OF YOUR HYUNDAI 1- 13
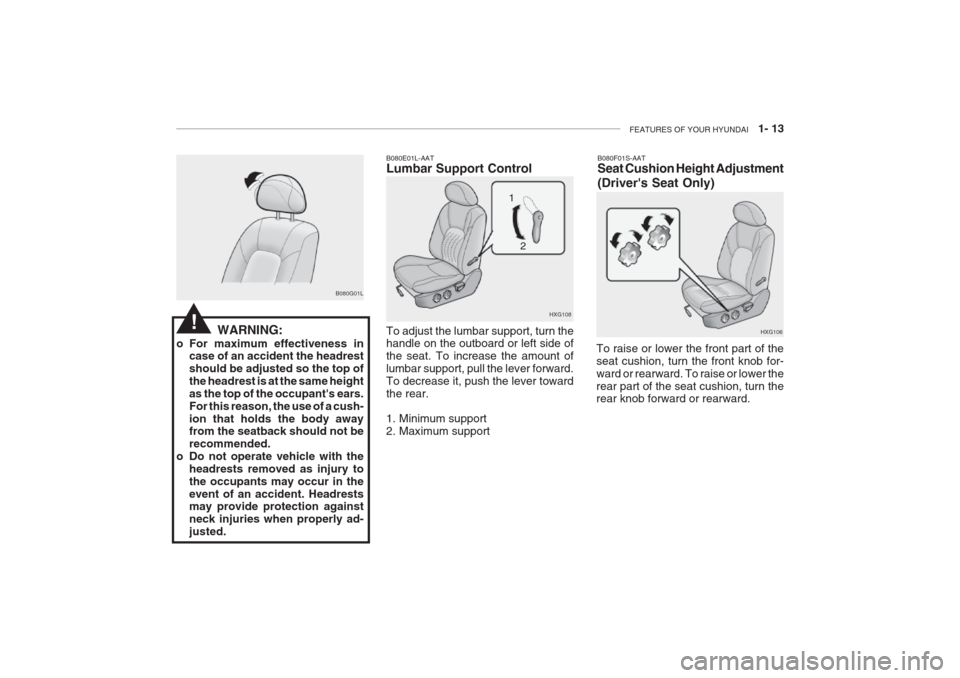
B080F01S-AAT Seat Cushion Height Adjustment (Driver's Seat Only)
To raise or lower the front part of the seat cushion, turn the front knob for-ward or rearward. To raise or lower therear part of the seat cushion, turn the rear knob forward or rearward. HXG106B080E01L-AAT Lumbar Support Control To adjust the lumbar support, turn the handle on the outboard or left side of the seat. To increase the amount oflumbar support, pull the lever forward.To decrease it, push the lever towardthe rear.
1. Minimum support
2. Maximum supportHXG108
2
1
B080G01L
WARNING:
o For maximum effectiveness in case of an accident the headrestshould be adjusted so the top ofthe headrest is at the same heightas the top of the occupant's ears.For this reason, the use of a cush-ion that holds the body away from the seatback should not be recommended.
o Do not operate vehicle with the headrests removed as injury tothe occupants may occur in theevent of an accident. Headrests may provide protection against neck injuries when properly ad-justed.
!
Page 39 of 230
1- 26 FEATURES OF YOUR HYUNDAI
Tether anchor cover
B230C03Y
Child restraint hook holder
REAR SEAT PACKAGE TRAY
B230C02A-E
Front of Vehicle Child restraint hook holders
Tether strap hook
Spacer (2mm), Child Restraint Hook Holder
B230B01TB
Attachment Bolt (5/16"-30 mm) Washer, Conical Spring Holder, Child Restraint Hook
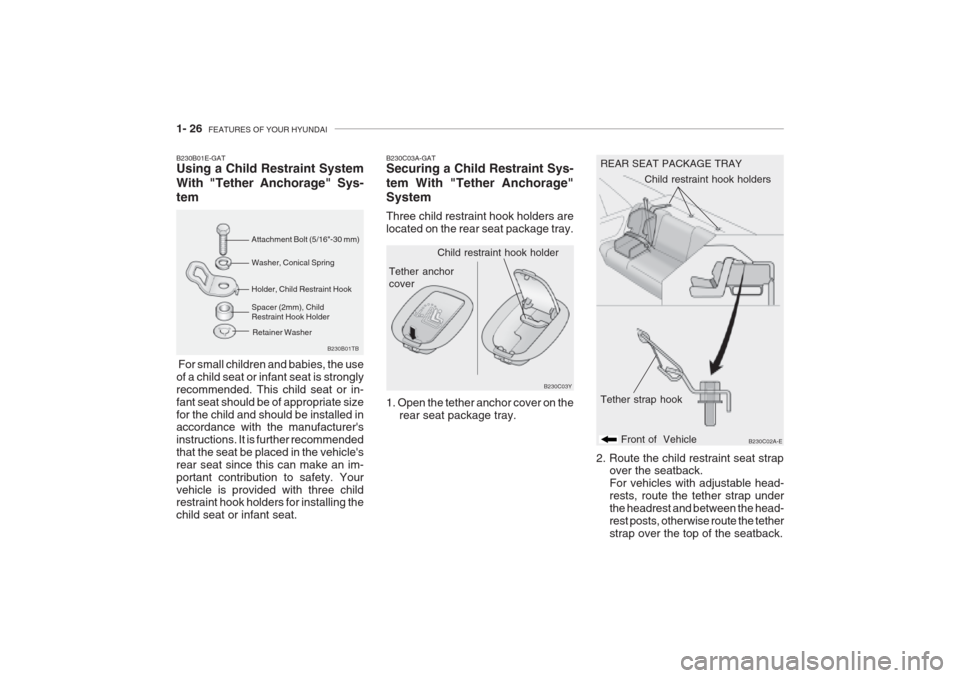
B230B01E-GAT Using a Child Restraint System With "Tether Anchorage" Sys- tem For small children and babies, the use of a child seat or infant seat is stronglyrecommended. This child seat or in-fant seat should be of appropriate sizefor the child and should be installed in accordance with the manufacturer's instructions. It is further recommendedthat the seat be placed in the vehicle'srear seat since this can make an im-portant contribution to safety. Yourvehicle is provided with three child restraint hook holders for installing the child seat or infant seat. B230C03A-GAT Securing a Child Restraint Sys- tem With "Tether Anchorage" System Three child restraint hook holders are located on the rear seat package tray.
2. Route the child restraint seat strapover the seatback.For vehicles with adjustable head-rests, route the tether strap underthe headrest and between the head-rest posts, otherwise route the tetherstrap over the top of the seatback.
1. Open the tether anchor cover on the
rear seat package tray.
Retainer Washer
Page 132 of 230
DRIVING YOUR HYUNDAI 2- 3
C020A01A-AAT BEFORE STARTING THE EN- GINE Before you start the engine, you should always:
1. Look around the vehicle to be sure
there are no flat tires, puddles of oil, water or other indications of pos- sible trouble.
2. After entering the car, check to be
sure the parking brake is engaged.
3. Check that all windows, and lights are clean.
4. Check that the interior and exterior
mirrors are clean and in position.
5. Check your seat, seatback and
headrest to be sure they are in theirproper positions.
6. Lock all the doors.
7. Fasten your seat belt and be sure
that all other occupants have fas- tened theirs.
8. Turn off all lights and accessories that are not needed.
9. When you turn the ignition switch to "ON", check that all appropriatewarning lights are operating andthat you have sufficient fuel. C030A01A-GAT COMBINATION IGNITION SWITCHTo Start the Engine
o If your Hyundai is equipped with a
manual transaxle, place the shift lever in neutral and depress the clutch pedal fully.
o If your Hyundai has an automatic
transaxle, place the shift lever in "P" (park).
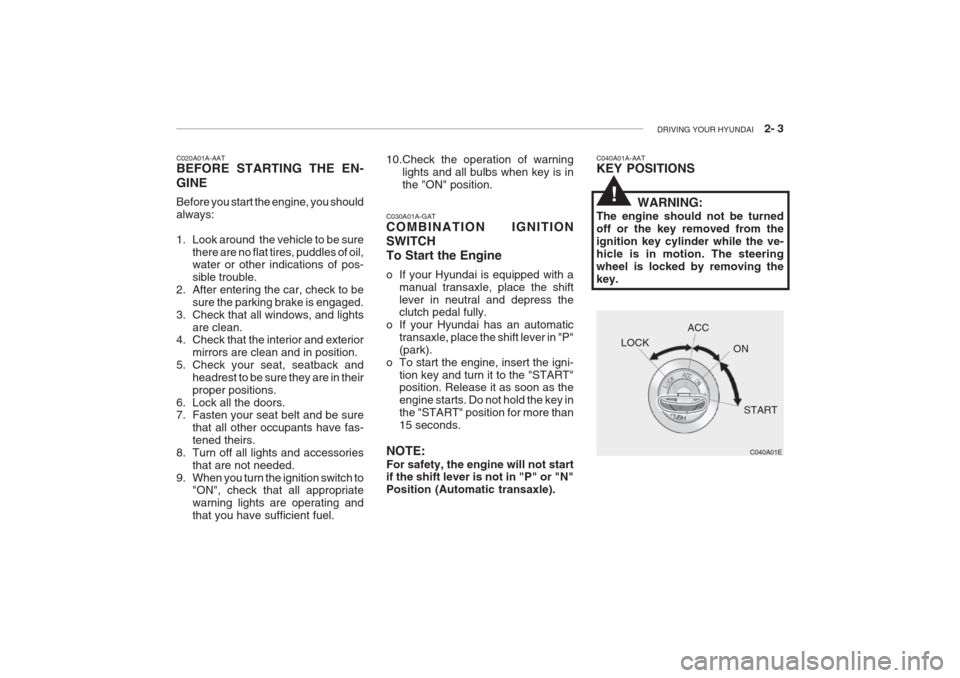
o To start the engine, insert the igni- tion key and turn it to the "START" position. Release it as soon as the engine starts. Do not hold the key inthe "START" position for more than15 seconds.
NOTE: For safety, the engine will not start if the shift lever is not in "P" or "N" Position (Automatic transaxle).
10.Check the operation of warning
lights and all bulbs when key is inthe "ON" position.C040A01A-AAT KEY POSITIONS
WARNING:
The engine should not be turned off or the key removed from theignition key cylinder while the ve-hicle is in motion. The steeringwheel is locked by removing thekey.
C040A01E
LOCK
ACC
ON
START
!
Page 227 of 230
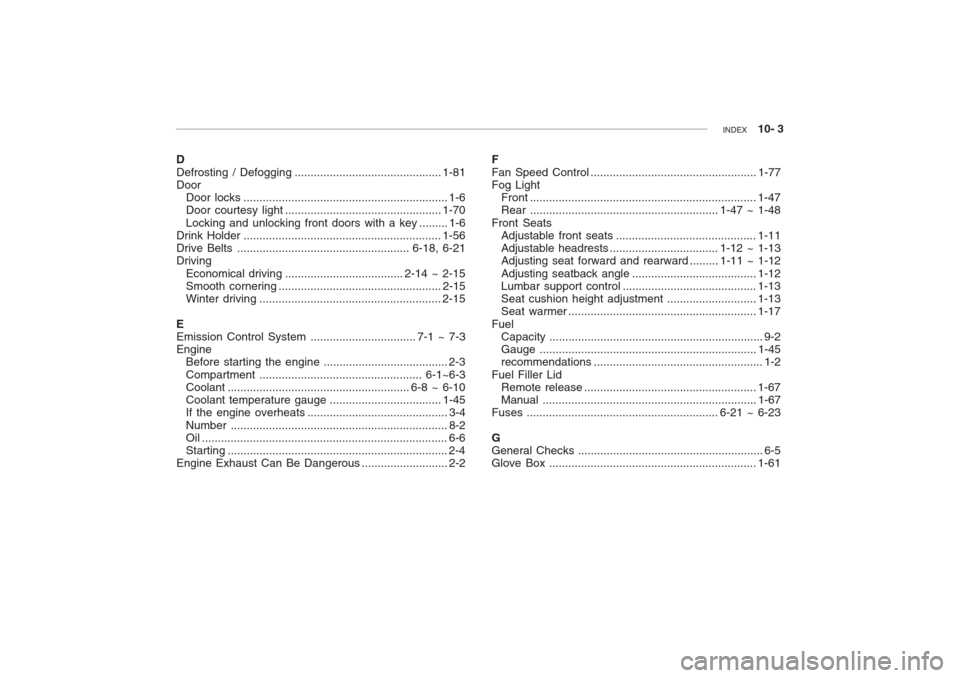
INDEX 10- 3
D Defrosting / Defogging .............................................. 1-81
Door Door locks ................................................................ 1-6
Door courtesy light ................................................. 1-70
Locking and unlocking front doors with a key ......... 1-6
Drink Holder .............................................................. 1-56
Drive Belts ...................................................... 6-18, 6-21
Driving
Economical driving ..................................... 2-14 ~ 2-15
Smooth cornering ................................................... 2-15
Winter driving ......................................................... 2-15
E Emission Control System ................................. 7-1 ~ 7-3
Engine Before starting the engine ....................................... 2-3
Compartment ................................................... 6-1~6-3 Coolant ......................................................... 6-8 ~ 6-10
Coolant temperature gauge ................................... 1-45
If the engine overheats ............................................ 3-4
Number .................................................................... 8-2
Oil ............................................................................. 6-6
Starting ..................................................................... 2-4
Engine Exhaust Can Be Dangerous ........................... 2-2F Fan Speed Control
.................................................... 1-77
Fog Light Front ....................................................................... 1-47
Rear ........................................................... 1-47 ~ 1-48
Front Seats Adjustable front seats ............................................ 1-11
Adjustable headrests .................................. 1-12 ~ 1-13
Adjusting seat forward and rearward ......... 1-11 ~ 1-12 Adjusting seatback angle ....................................... 1-12
Lumbar support control .......................................... 1-13 Seat cushion height adjustment............................ 1-13
Seat warmer ........................................................... 1-17
Fuel Capacity ................................................................... 9-2
Gauge .................................................................... 1-45
recommendations ..................................................... 1-2
Fuel Filler Lid Remote release ...................................................... 1-67
Manual ................................................................... 1-67
Fuses ............................................................ 6-21 ~ 6-23 G General Checks .......................................................... 6-5
Glove Box ................................................................. 1-61