belt Hyundai H-100 Truck 2010 s User Guide
[x] Cancel search | Manufacturer: HYUNDAI, Model Year: 2010, Model line: H-100 Truck, Model: Hyundai H-100 Truck 2010Pages: 207, PDF Size: 7.9 MB
Page 21 of 207
1FEATURES OF YOUR HYUNDAI
20
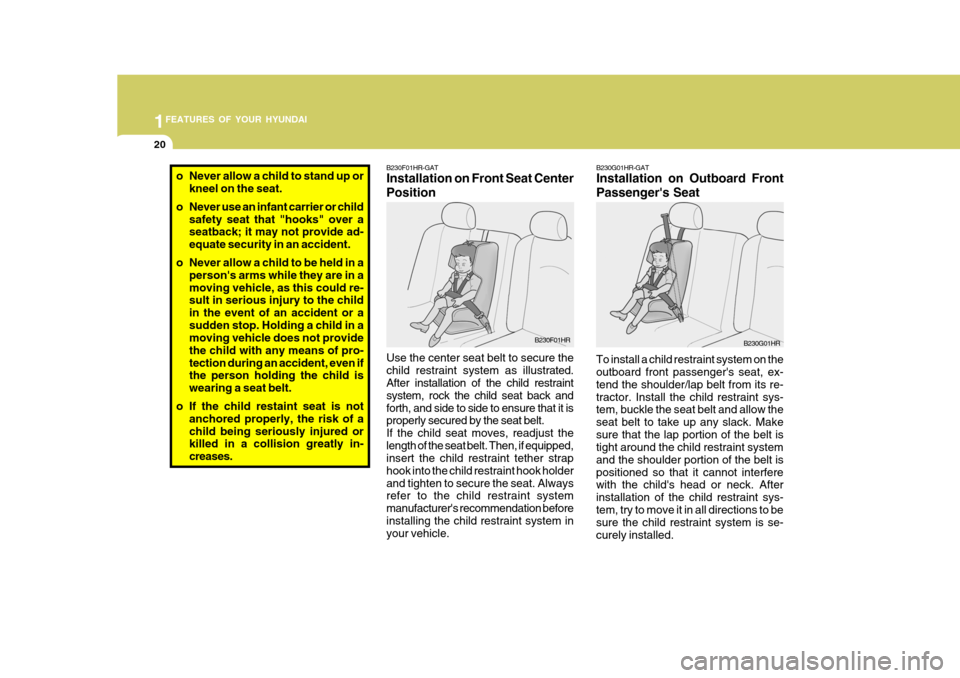
To install a child restraint system on the outboard front passenger's seat, ex- tend the shoulder/lap belt from its re-tractor. Install the child restraint sys- tem, buckle the seat belt and allow the seat belt to take up any slack. Makesure that the lap portion of the belt is tight around the child restraint system and the shoulder portion of the belt ispositioned so that it cannot interfere with the child's head or neck. After installation of the child restraint sys-tem, try to move it in all directions to be sure the child restraint system is se- curely installed.B230G01HR-GAT Installation on Outboard Front Passenger's Seat
B230G01HR
B230F01HR-GAT Installation on Front Seat Center Position Use the center seat belt to secure the child restraint system as illust rated.
After installation of the child restraintsystem, rock the child seat back andforth, and side to side to ensure that it is properly secured by the seat belt. If the child seat moves, readjust thelength of the seat belt. Then, if equipped, insert the child restraint tether strap hook into the child restraint hook holderand tighten to secure the seat. Always refer to the child restraint system manufacturer's recommendation beforeinstalling the child restraint system in your vehicle. B230F01HRo Never allow a child to stand up or
kneel on the seat.
o Never use an infant carrier or child safety seat that "hooks" over a seatback; it may not provide ad- equate security in an accident.
o Never allow a child to be held in a person's arms while they are in amoving vehicle, as this could re- sult in serious injury to the child in the event of an accident or asudden stop. Holding a child in a moving vehicle does not provide the child with any means of pro-tection during an accident, even if the person holding the child is wearing a seat belt.
o If the child restaint seat is not anchored properly, the risk of achild being seriously injured or killed in a collision greatly in- creases.
Page 22 of 207

1
FEATURES OF YOUR HYUNDAI
21
B230H01HR-GAT Child Seat Restraint Suitability For Seat Position Use child safety seats that have been officially approved and are appropriatefor your children. When using the child safety seats, refer to the following table.
PassengerCenter
Age Group Seating PositionPassenger
Outboard
0 : Up to 10 kg (0 ~ 9 months)0+ : Up to 13 kg(0 ~ 2 years)I : 9kg to 18kg(9 months ~4 years)II & III : 15kg to36kg (4 ~12 years) X
U
UF X X X
UF X
If you need to tighten the belt, pull more webbing toward the retractor. When youunbuckle the seat belt and allow it to retract, the retractor will automatically revert back to its normal seated pas-senger emergency locking usage con- dition. NOTE:
o Before installing the child re-
straint system, read the instruc- tions supplied by the child re- straint system manufacturer.
o If the seat belt does not operate as described, have the systemchecked immediately by yourauthorized Hyundai dealer. U : Suitable for "universal" category
restraints approved for use in thismass group (PEG-PEREGO E13 03 0010 083779)
UF: Suitable for forward-facing "univer- sal" category restraints approvedfor use in this mass group (ROMER E1 03301133)
X : Seat position not suitable for chil- dren in this mass group
Page 24 of 207

1
FEATURES OF YOUR HYUNDAI
23
1. Fuel Gauge
2. Coolant Temperature Gauge
3. Charging System Warning Light
4. Parking Brake/Low Brake Fluid Level Warning Light
5. Turn Signal Indicator Light
6. Seat Belt Warning Light
7. High Beam Indicator Light
8. Digital Clock
9. Malfunction Indicator Light (MIL) (If Installed) 10. Speedometer
11. Digital Clock Reset Switch
12. Door Ajar Warning Light
13. Low Oil Pressure Warning Light
14. Fuel Filter Warning Light
15. Odometer/Trip Odometer
16. Low Fuel Warning Light
17. Diesel Pre-heat Indicator Light
18. Trip Odometer Reset Switch
Page 26 of 207

1
FEATURES OF YOUR HYUNDAI
25
1. Tachometer
2. Charging System Warning Light
3. Parking Brake/Low Brake Fluid Level Warning Light
4. Turn Signal Indicator Light
5. Seat Belt Warning Light
6. High Beam Indicator Light
7. Digital Clock
8. Low Fuel Warning Light
9. Malfunction Indicator Light (MIL) (If Installed)
10. Speedometer 11. Digital Clock Reset Switch
12. Low Oil Pressure Warning Light
13. Door Ajar Warning Light
14. Fuel Filter Warning Light
15. Coolant Temperature Gauge
16. Odometer/Trip Odometer
17. Fuel Gauge
18. Diesel Pre-heat Indicator Light
19. Trip Odometer Reset Switch
Page 28 of 207
1
FEATURES OF YOUR HYUNDAI
27
! B260J01S-GAT
Charging System Warning Light
The charging system warning light should come on when the ignition isturned on, then go out when the engine is running. If the light stays on while the engine is running, there is a malfunc-tion in the electrical charging system. If the light comes on while you are driv- ing, stop, turn off the engine and checkunder the hood. First, make certain the generator drive belt is in place. If it is, check the tension of the belt.And then, have the system checked by your Hyundai dealer.
CAUTION:
If the drive belt (generator belt) is loosen, broken, or mission while the vehicle is driving, there may be a serious malfunction, engine couldoverheat because this belt also drives the water pump.!
time, you should slow the vehicle and bring it to a complete stop in a safelocation off the roadway. The brake fluid level warning light indi- cates that the brake fluid level in thebrake master cylinder is low and hy- draulic brake fluid conforming to DOT 3 or DOT 4 specifications should be added.After adding fluid, if no other trouble is found, the car should be immediately and carefully driven to a Hyundai dealerfor inspection. If further trouble is expe- rienced, the vehicle should not be driven at all but taken to a dealer by a profes-sional towing service or some other safe method. Your Hyundai is equipped with dual-diagonal braking systems. This means you still have braking on two wheels even if one of the dual systems shouldfail. With only one of the dual systems working, more than normal pedal travel and greater pedal pressure are requiredto stop the car. Also, the car will not stop in as short a distance with only half of the brake system working. If thebrakes fail while you are driving, shift to a lower gear for additional engine brak- ing and stop the car as soon as it is safeto do so. CAUTION:
The parking brake/low brake fluid warning light should also come on when the vacuum level in brakebooster descends to about 275 mmHg or below. The brake system is de- signed to stop the vehicle with re-serve assist if brake pedal is held down. This reserve is greatly reduced each time you release the brake.Without vacuum assist your vehicle can still be stopped by pushing much harder on brake pedal, however thestopping distance may be much longer. If the light comes on at any other time, you should slow the ve-hicle and bring it to a complete stop in a safe location off the roadway. After starting the engine, do not drivethe vehicle until the vacuum level is above 275 mmHg below atmosphere and warning light has turned off. Iffurther trouble is experienced, the vehicle should not be driven at all but taken to a dealer by a profes-sional towing service.
Page 29 of 207
1FEATURES OF YOUR HYUNDAI
28
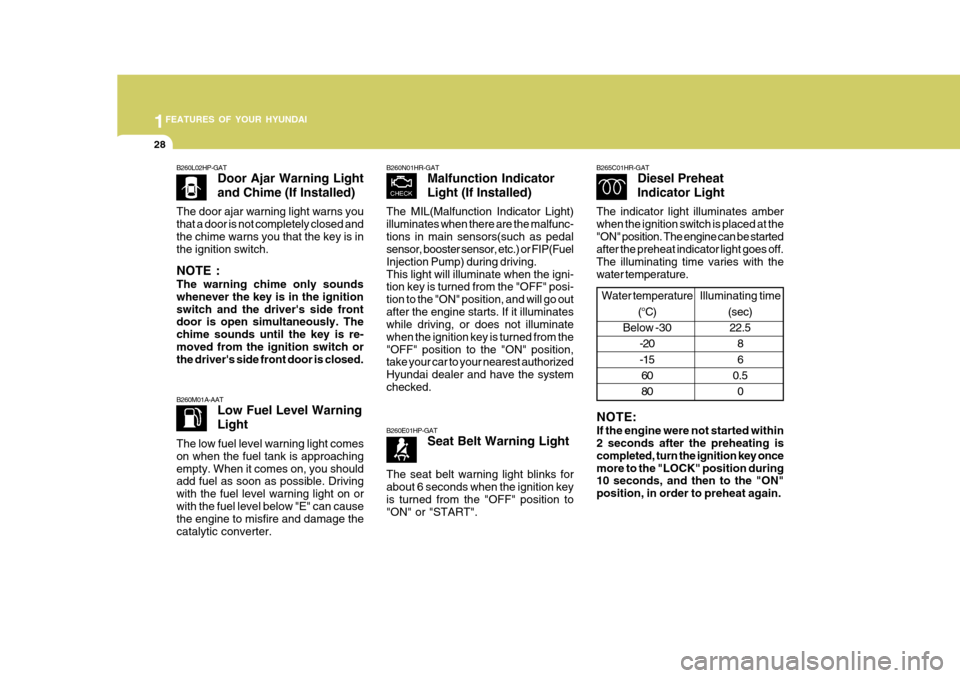
B260L02HP-GAT Door Ajar Warning Light and Chime (If Installed)
The door ajar warning light warns you that a door is not completely closed andthe chime warns you that the key is in the ignition switch. NOTE : The warning chime only sounds whenever the key is in the ignitionswitch and the driver's side front door is open simultaneously. The chime sounds until the key is re-moved from the ignition switch or the driver's side front door is closed. B260M01A-AAT Low Fuel Level Warning Light
The low fuel level warning light comes on when the fuel tank is approachingempty. When it comes on, you should add fuel as soon as possible. Driving with the fuel level warning light on orwith the fuel level below "E" can cause the engine to misfire and damage the catalytic converter.
B260N01HR-GAT Malfunction Indicator Light (If Installed)
The MIL(Malfunction Indicator Light) illuminates when there are the malfunc-tions in main sensors(such as pedal sensor, booster sensor, etc.) or FIP(Fuel Injection Pump) during driving.This light will illuminate when the igni- tion key is turned from the "OFF" posi- tion to the "ON" position, and will go outafter the engine starts. If it illuminates while driving, or does not illuminate when the ignition key is turned from the"OFF" position to the "ON" position, take your car to your nearest authorized Hyundai dealer and have the systemchecked. B260E01HP-GAT Seat Belt Warning Light
The seat belt warning light blinks for about 6 seconds when the ignition keyis turned from the "OFF" position to "ON" or "START".B265C01HR-GAT Diesel Preheat Indicator Light
The indicator light illuminates amber when the ignition switch is placed at the"ON" position. The engine can be started after the preheat indicator light goes off. The illuminating time varies with thewater temperature.
NOTE: If the engine were not started within 2 seconds after the preheating is completed, turn the ignition key oncemore to the "LOCK" position during 10 seconds, and then to the "ON" position, in order to preheat again.
Illuminating time (sec)22.5 8 6
0.5 0
Water temperature
(°C)
Below -30 -20-15
60 80
Page 31 of 207
1FEATURES OF YOUR HYUNDAI
30
!
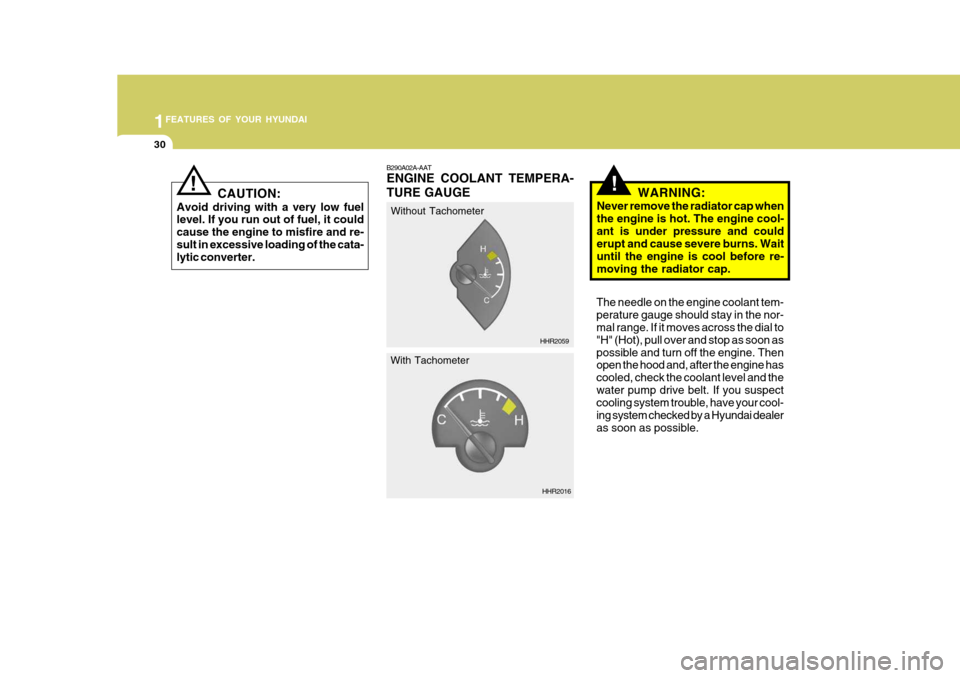
B290A02A-AAT ENGINE COOLANT TEMPERA- TURE GAUGE
WARNING:
Never remove the radiator cap when the engine is hot. The engine cool-ant is under pressure and could erupt and cause severe burns. Wait until the engine is cool before re-moving the radiator cap.
The needle on the engine coolant tem-perature gauge should stay in the nor-mal range. If it moves across the dial to "H" (Hot), pull over and stop as soon as possible and turn off the engine. Then open the hood and, after the engine has cooled, check the coolant level and thewater pump drive belt. If you suspect cooling system trouble, have your cool- ing system checked by a Hyundai dealeras soon as possible.
HHR2059
HHR2016
Without Tachometer
With Tachometer
CAUTION:
Avoid driving with a very low fuel level. If you run out of fuel, it could cause the engine to misfire and re-sult in excessive loading of the cata- lytic converter.
!
Page 106 of 207
2
DRIVING YOUR HYUNDAI
3
!
TO START THE ENGINEBEFORE STARTING THE EN- GINE
C020A02A-AAT Before you start the engine, you should always:
1. Look around the vehicle to be sure
there are no flat tires, puddles of oil, water or other indications of pos- sible trouble.
2. After entering the car, check to be sure the parking brake is engaged.
3. Check that all windows, and lights are clean.
4. Check that the interior and exterior
mirrors are clean and in position.
5. Check your seat, seatback and headrest to be sure they are in theirproper positions.
6. Lock all the doors.
7. Fasten your seat belt and be sure
that all other occupants have fas- tened theirs.
8. Turn off all lights and accessories
that are not needed.
9. When you turn the ignition switch to "ON", check that all appropriatewarning lights are operating andthat you have sufficient fuel.
10.Check the operation of warning
lights and all bulbs when key is inthe "ON" position. C030A03HR-GAT COMBINATION IGNITION SWITCH
o Place the shift lever in neutral and
depress the clutch pedal fully.
o To start the engine, insert the igni- tion key and turn it to the "START" position. Release it as soon as theengine starts. Do not hold the key in the "START" position for more than 15 seconds.
!WARNING:
To ensure that sufficient vacuum exists within the brake system dur-ing cold weather start-up condi- tions, it is necessary to run the engine at idle for several secondsafter starting the engine.
WARNING:
Always wear appropriate shoes when operating your vehicle. Unsuitable shoes (high heels, ski boots,etc.)may interfere with your ability to use the brake and accelerator pedal, and the clutch (if installed).
!WARNING:
When you intend to park or stop the vehicle with the engine on, be care- ful not to depress the acceleratorpedal for a long period of time. It may overheat the engine or exhaust sys- tem and cause fire.
Page 108 of 207
2
DRIVING YOUR HYUNDAI
5
!
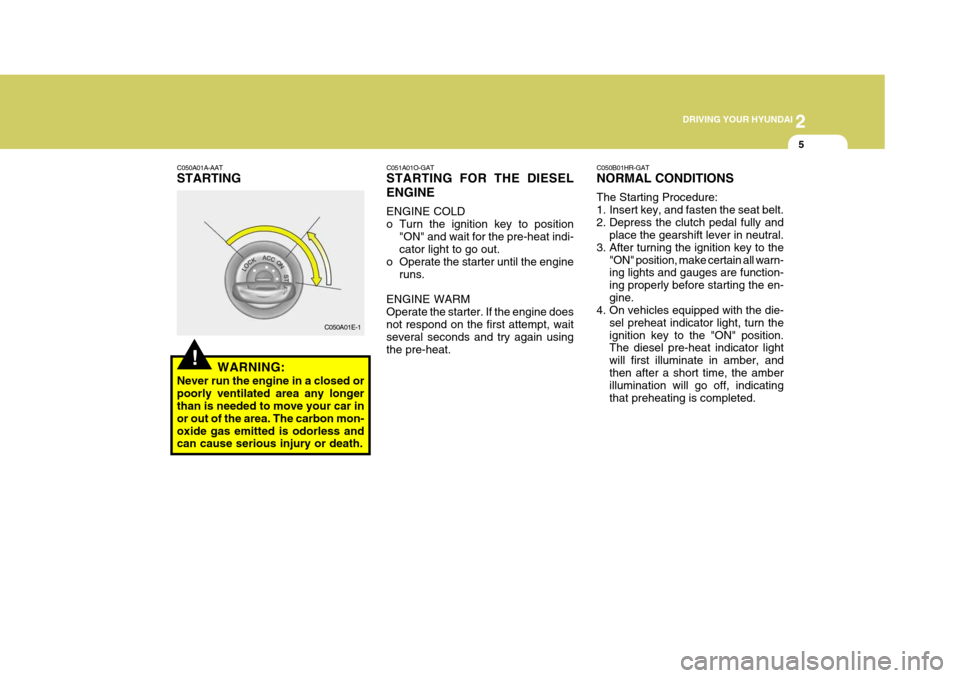
C050A01A-AAT STARTING
WARNING:
Never run the engine in a closed or poorly ventilated area any longer than is needed to move your car in or out of the area. The carbon mon-oxide gas emitted is odorless and can cause serious injury or death. C051A01O-GAT STARTING FOR THE DIESEL ENGINE ENGINE COLD
o Turn the ignition key to position
"ON" and wait for the pre-heat indi- cator light to go out.
o Operate the starter until the engine
runs.
ENGINE WARM Operate the starter. If the engine does not respond on the first attempt, wait several seconds and try again usingthe pre-heat. C050B01HR-GAT NORMAL CONDITIONS The Starting Procedure:
1. Insert key, and fasten the seat belt.
2. Depress the clutch pedal fully and
place the gearshift lever in neutral.
3. After turning the ignition key to the "ON" position, make certain all warn- ing lights and gauges are function- ing properly before starting the en-gine.
4. On vehicles equipped with the die-
sel preheat indicator light, turn theignition key to the "ON" position. The diesel pre-heat indicator light will first illuminate in amber, andthen after a short time, the amber illumination will go off, indicating that preheating is completed.
C050A01E-1
Page 112 of 207
2
DRIVING YOUR HYUNDAI
9LOCKING DIFFERENTIAL
!
cially careful when braking, acceler- ating or shifting gears. On a slipperysurface, an abrupt change in ve- hicle speed can cause the drive wheels to lose traction and the ve-hicle to go out of control.
WARNING:
o Avoid high cornering speeds.
o Do not make quick steering wheel movements, such as sharp lane changes or fast, sharp turns.
o Always wear your seat belts. In a collis ion crash, an unbelted person
is significantly more likely to die than a person wearing a seatbelt.
o The risk of rollover is greatly in-
creased if you lose control ofyour vehicle at highway speeds.
o Loss of control often occurs if
two or more wheels drop off theroadway and the driver oversteers to reenter the roadway.
o In the event your vehicle leaves the roadway, do not steer sharply.Instead, slow down before pull- ing back into the travel lanes.
o Never exceed posted speed lim- its. D190A01HR-GAT (If Installed) A locking differential, if equipped, is for the rear wheel differential only. Thefeatures of this locking differential are described below: Just as with a conventional differential,the wheel on one side is allowed to turn at a different speed from the wheel on the other side when the vehicle iscornering. The difference between the locking differential and a conventional differential is that if the wheel on oneside of the vehicle loses traction, a greater amount of torque is applied to the rear wheel on the other side toimprove traction. NOTE: In a stationary position, the LD (Locking Differential) will operate when the difference of the revolu- tion speed between the rear rightwheel and the rear left wheel oc- curs.
The following procedures can be used to confirm that the locking differentialis functioning properly:
(1) Position the vehicle so that one
wheel is on a dry paved surface and the other on ice, snow, mud, etc. Drive the vehicle, and observe theoperation of the locking differential. The vehicle should not become stuck if the differential is function-ing properly.
(2) Depress the accelerator pedal
gradually, and then when traction isgood, depress it forcefully. If the vehicle accelerates well, the differ- ential is functioning properly.