engine Hyundai H-100 Truck 2012 Owner's Manual
[x] Cancel search | Manufacturer: HYUNDAI, Model Year: 2012, Model line: H-100 Truck, Model: Hyundai H-100 Truck 2012Pages: 217, PDF Size: 9.37 MB
Page 3 of 217
F3
A050A01HR-GAT
HYUNDAI MOTOR COMPANY
Note: Because future owners will also need the information included in this manual, if you sell this
Hyundai, please leave the manual in the vehicle for their use. Thank you.
CAUTION:
Severe engine and transmission damage may result from the use of poor quality fuels and lubricants that do not meet Hyundai specifications. You must always use high quality fuelsand lubricants that meet the specifications listed on Page 9-4 in the Vehicle Specifications section of the Owner's Manual. Copyright 2011 Hyundai Motor Company. All rights reserved. No part of this publication may be reproduced, stored in any retrieval system or transmitted in any form or by any means without the prior written permission of Hyundai Motor Company.
A040A01A-AAT
FOREWORD
Thank you for choosing Hyundai. We are pleased to welcome you to the growing number of discriminating people who drive Hyundais. The advanced engineering and high-quality construc- tion of each Hyundai we build is something of which we're very proud. Your Owner's Manual will introduce you to the features and operation of your new Hyundai. It is suggested that you read it carefully because the information it contains can contribute greatly to the satisfaction you receive from your new car. The manufacturer also recommends that all service and maintenance on your car be performed by an authorized Hyundai dealer. Hyundai dealers are prepared to provide high-quality service, maintenance and any other assistance that may be required.
!
Page 9 of 217
F9
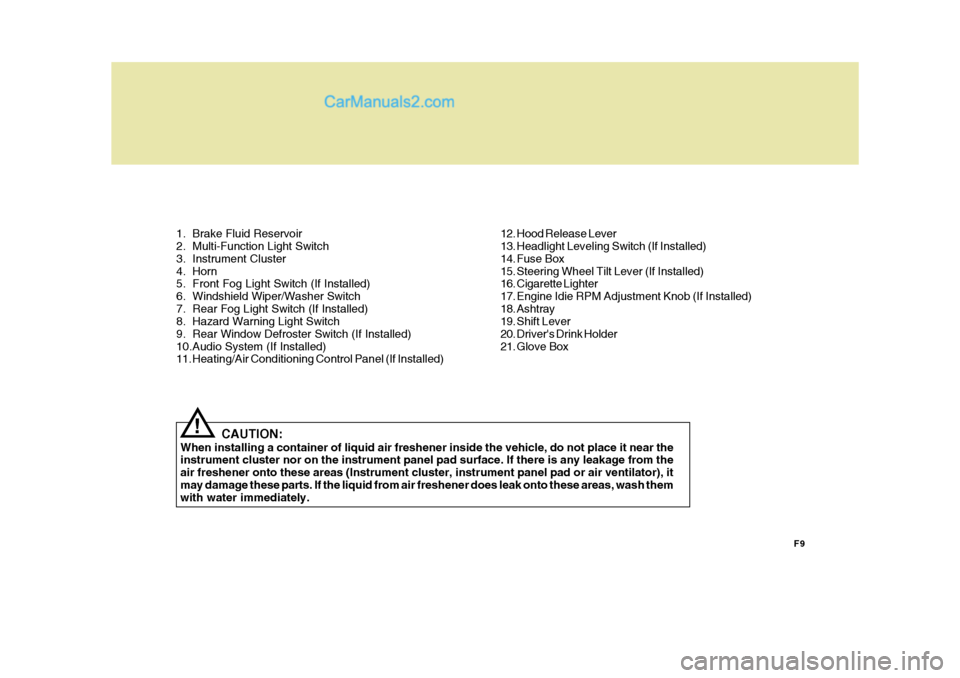
1. Brake Fluid Reservoir
2. Multi-Function Light Switch
3. Instrument Cluster
4. Horn
5. Front Fog Light Switch (If Installed)
6. Windshield Wiper/Washer Switch
7. Rear Fog Light Switch (If Installed)
8. Hazard Warning Light Switch
9. Rear Window Defroster Switch (If Installed)
10.Audio System (If Installed)
11. Heating/Air Conditioning Control Panel (If Installed)
CAUTION:
When installing a container of liquid air freshener inside the vehicle, do not place it near theinstrument cluster nor on the instrument panel pad surface. If there is any leakage from the air freshener onto these areas (Instrument cluster, instrument panel pad or air ventilator), itmay damage these parts. If the liquid from air freshener does leak onto these areas, wash them with water immediately.
! 12. Hood Release Lever
13. Headlight Leveling Switch (If Installed)
14. Fuse Box
15. Steering Wheel Tilt Lever (If Installed)
16. Cigarette Lighter
17. Engine Idie RPM Adjustment Knob (If Installed)
18. Ashtray
19. Shift Lever
20. Driver's Drink Holder
21. Glove Box
Page 11 of 217
F11
CAUTION:
When installing a container of liquid air freshener inside the vehicle, do not place it near the instrument cluster nor on the instrument panel pad surface. If there is any leakage from the air freshener onto these areas (Instrument cluster, instrument panel pad or air ventilator), it may damage these parts. If the liquid from air freshener does leak onto these areas, wash themwith water immediately.
!
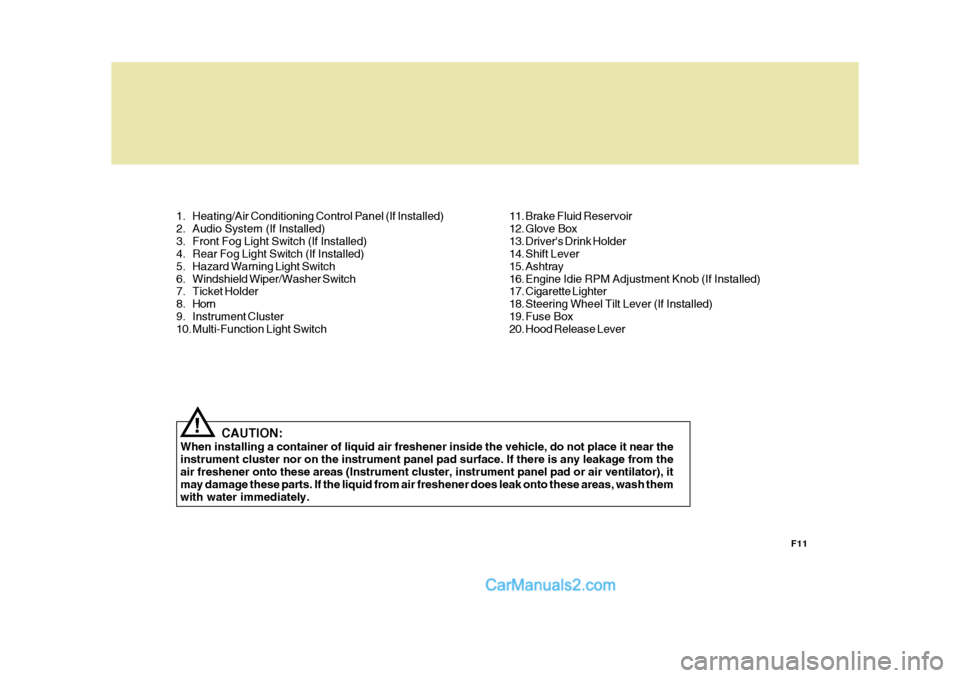
1. Heating/Air Conditioning Control Panel (If Installed)
2. Audio System (If Installed)
3. Front Fog Light Switch (If Installed)
4. Rear Fog Light Switch (If Installed)
5. Hazard Warning Light Switch
6. Windshield Wiper/Washer Switch
7. Ticket Holder
8. Horn
9. Instrument Cluster
10. Multi-Function Light Switch
11. Brake Fluid Reservoir
12. Glove Box
13. Driver's Drink Holder
14. Shift Lever
15. Ashtray
16. Engine Idie RPM Adjustment Knob (If Installed)
17. Cigarette Lighter
18. Steering Wheel Tilt Lever (If Installed)
19. Fuse Box
20. Hood Release Lever
Page 13 of 217
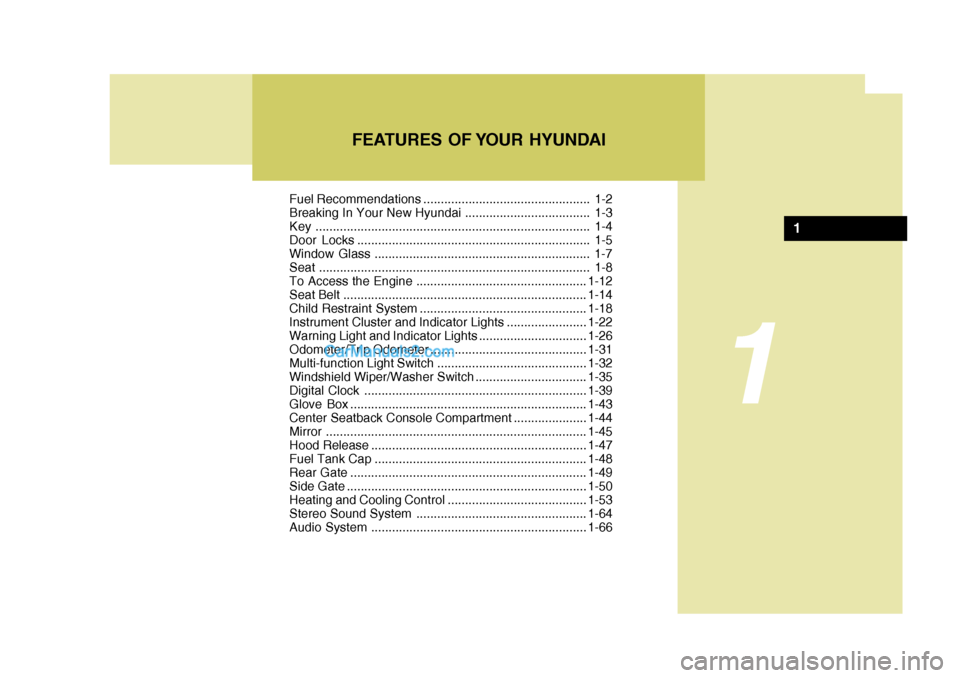
Fuel Recommendations ................................................ 1-2
Breaking In Your New Hyundai .................................... 1-3
Key ............................................................................... 1-4
Door Locks ................................................................... 1-5
Window Glass .............................................................. 1-7
Seat ..............................................................................1-8
To Access the Engine ................................................. 1-12
Seat Belt ...................................................................... 1-14
Child Restraint System ................................................ 1-18
Instrument Cluster and Indicator Lights .......................1-22
Warning Light and Indicator Lights ...............................1-26
Odometer/Trip O dometer............................................. 1-31
Multi-function Light Switch ........................................... 1-32
Windshield Wiper/Washer Switch ................................1-35
Digital Clock ................................................................ 1-39
Glove Box .................................................................... 1-43
Center Seatback Console Compart ment .....................1-44
Mirror ........................................................................... 1-45
Hood R elease .............................................................. 1-47
Fuel Tank Ca p ............................................................. 1-48
Rear Gat e .................................................................... 1-49
Side Gate ..................................................................... 1-50
Heating and Cooling Control .......... ..............................1-53
Stereo Sound System ................................................. 1-64
Audio System .............................................................. 1-66
FEATURES OF YOUR HYUNDAI
1
1
Page 14 of 217
1FEATURES OF YOUR HYUNDAI
2
!
FUEL RECOMMENDATIONS
B010A04HR-GAT Use Diesel
CAUTION:
Do not let any gasoline or water enter the tank. This would make it neces-sary to drain it out and to bleed the lines to avoid jamming the injection pump and damaging the engine.
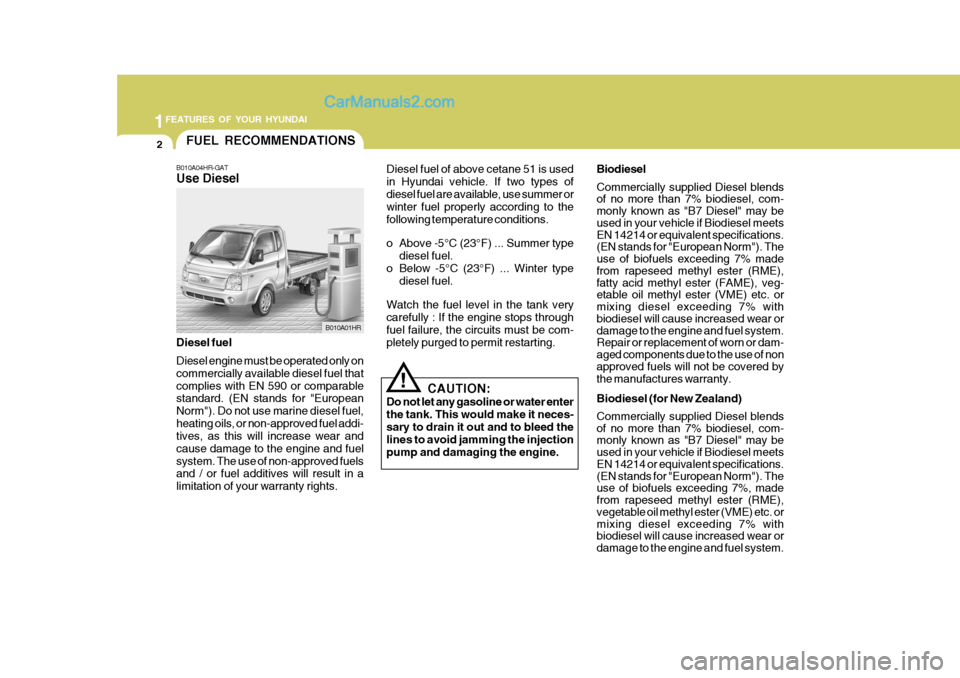
Diesel fuel Diesel engine must be operated only on commercially available diesel fuel thatcomplies with EN 590 or comparable standard. (EN stands for "European Norm"). Do not use marine diesel fuel,heating oils, or non-approved fuel addi- tives, as this will increase wear and cause damage to the engine and fuelsystem. The use of non-approved fuels and / or fuel additives will result in a limitation of your warranty rights. B010A01HR
Diesel fuel of above cetane 51 is usedin Hyundai vehicle. If two types ofdiesel fuel are available, use summer or winter fuel properly according to the following temperature conditions.
o Above -5°C (23°F) ... Summer type
diesel fuel.
o Below -5°C (23°F) ... Winter type
diesel fuel.
Watch the fuel level in the tank very carefully : If the engine stops through fuel failure, the circuits must be com- pletely purged to permit restarting. Biodiesel Commercially supplied Diesel blends of no more than 7% biodiesel, com- monly known as "B7 Diesel" may be used in your vehicle if Biodiesel meets EN 14214 or equivalent specifications. (EN stands for "European Norm"). The use of biofuels exceeding 7% made from rapeseed methyl ester (RME), fatty acid methyl ester (FAME), veg- etable oil methyl ester (VME) etc. or mixing diesel exceeding 7% with biodiesel will cause increased wear or damage to the engine and fuel system. Repair or replacement of worn or dam- aged components due to the use of non approved fuels will not be covered by the manufactures warranty.
Biodiesel (for New Zealand) Commercially supplied Diesel blends of no more than 7% biodiesel, com- monly known as "B7 Diesel" may be used in your vehicle if Biodiesel meets EN 14214 or equivalent specifications. (EN stands for "European Norm"). The use of biofuels exceeding 7%, made from rapeseed methyl ester (RME), vegetable oil methyl ester (VME) etc. or mixing diesel exceeding 7% with biodiesel will cause increased wear or damage to the engine and fuel system.
Page 15 of 217
1
FEATURES OF YOUR HYUNDAI
3BREAKING IN YOUR NEW HYUNDAI
B010F01A-AAT Operation in Foreign Countries If you are going to drive your Hyundai in another country, be sure to:
o Observe all regulations regarding registration and insurance.
o Determine that acceptable fuel is available. B020B01HR-GAT During the First 1,000 Km (600 Miles) No formal "break-in" procedure is re- quired with your new Hyundai. How-ever, you can contribute to the eco- nomical operation and durability of your Hyundai by observing the followingrecommendations during the first 1,000 km (600 miles).
o While driving, keep your engine
speed (rpm, or revolutions per minute) between 2,000 rpm and 4,000rpm.
o While driving, keep under three quar-
ters of maximum speed.
o Use moderate acceleration. Don't start, depress the accelerator pedalfully.
o For the first 300 km (200 miles), try to avoid hard stops.
o Don't lug the engine (in other words, don't drive so slowly in too-high a gear that the engine "bucks": shift to a lower gear).
CAUTION:
o Never use any fuel, whether diesel or B7 biodiesel or otherwise, thatfails to meet the latest petroleumindustry specification.
o Never use any fuel additives or
treatments that are not recom-mended or approved by the ve- hicle manufacturer.
! o Whether going fast or slow, vary your
speed from time to time.
o Don't let the engine idle longer than 3 minutes at one time.
o Don't tow a trailer during the first
1,000 km (600 miles) of operation.
o Do not exceed loading limits. B030A01P-GAT Before Operation Precautions for New Vehicle The performance and life of a vehicle depend largely on how the vehicle is handled when new.To maintain the parts smoothly and sustain high performance for a long time to come, be sure to observe thefollowing points. Make sure that your vehicle does not miss the first 5,000 km inspections. After the first 5,000 km of driving, take your vehicle to your nearest service shop for inspection.
Repair or replacement of worn or dam- aged components due to the use of non approved fuels will not be covered by the manufactures warranty.
Page 24 of 217
1FEATURES OF YOUR HYUNDAI
12
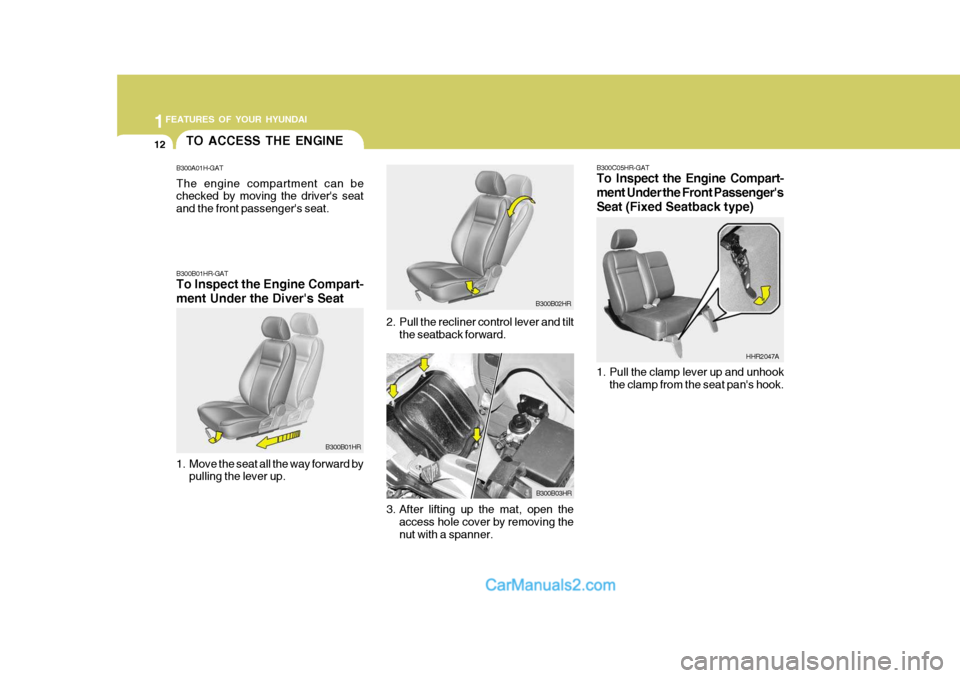
1. Pull the clamp lever up and unhook
the clamp from the seat pan's hook. HHR2047A
B300C05HR-GAT
To Inspect the Engine Compart- ment Under the Front Passenger's
Seat (Fixed Seatback type)
B300B02HR
2. Pull the recliner control lever and tilt the seatback forward.
3. After lifting up the mat, open the access hole cover by removing the nut with a spanner. B300B03HR
TO ACCESS THE ENGINE
B300B01HR-GAT To Inspect the Engine Compart- ment Under the Diver's Seat
1. Move the seat all the way forward by
pulling the lever up. B300B01HR
B300A01H-GAT The engine compartment can be checked by moving the driver's seat and the front passenger's seat.
Page 25 of 217
1
FEATURES OF YOUR HYUNDAI
13
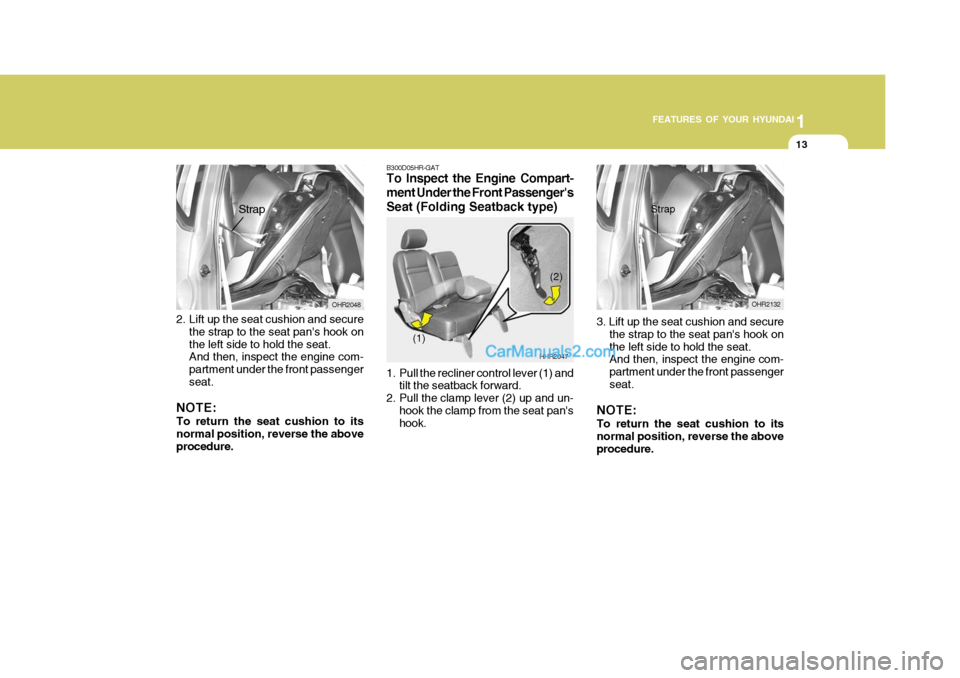
2. Lift up the seat cushion and secure
the strap to the seat pan's hook on the left side to hold the seat. And then, inspect the engine com- partment under the front passengerseat.
NOTE: To return the seat cushion to its normal position, reverse the aboveprocedure. OHR2048
Strap
B300D05HR-GAT
To Inspect the Engine Compart- ment Under the Front Passenger's
Seat (Folding Seatback type)
HHR2047
(1) (2)
1. Pull the recliner control lever (1) and tilt the seatback forward.
2. Pull the clamp lever (2) up and un- hook the clamp from the seat pan's hook.
OHR2132
3. Lift up the seat cushion and secure the strap to the seat pan's hook on the left side to hold the seat. And then, inspect the engine com- partment under the front passengerseat.
NOTE: To return the seat cushion to its normal position, reverse the aboveprocedure.
Strap
Page 38 of 217
1FEATURES OF YOUR HYUNDAI
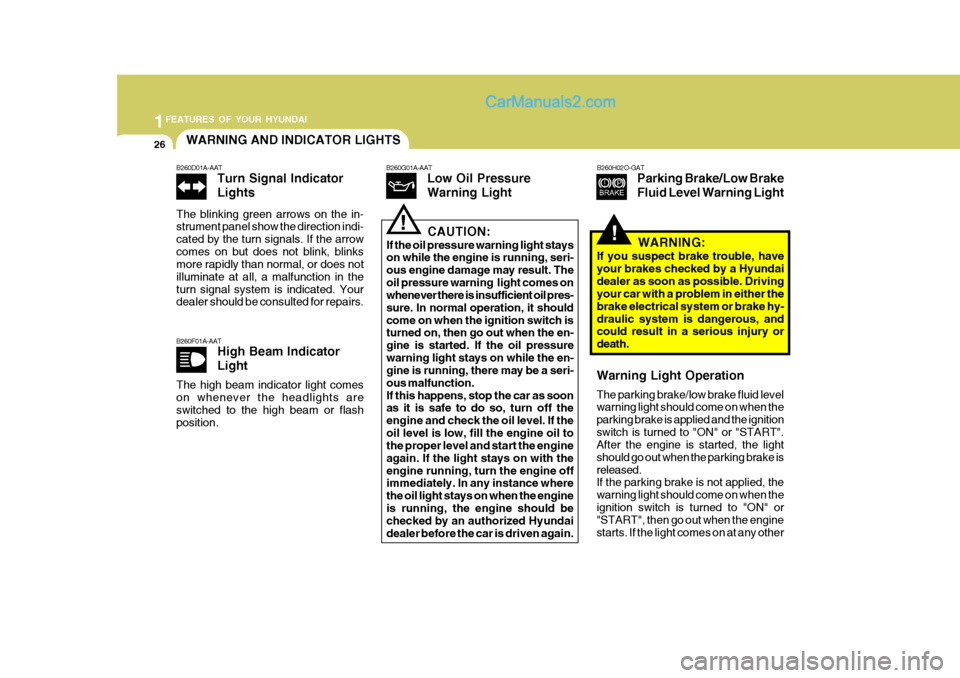
26WARNING AND INDICATOR LIGHTS
!
B260F01A-AAT
High Beam Indicator Light
The high beam indicator light comes on whenever the headlights are switched to the high beam or flash position. B260H02O-GAT
Parking Brake/Low Brake Fluid Level Warning Light
B260G01A-AAT
Low Oil PressureWarning Light
!CAUTION:
If the oil pressure warning light stays on while the engine is running, seri- ous engine damage may result. Theoil pressure warning light comes on whenever there is insufficient oil pres- sure. In normal operation, it shouldcome on when the ignition switch is turned on, then go out when the en- gine is started. If the oil pressurewarning light stays on while the en- gine is running, there may be a seri- ous malfunction.If this happens, stop the car as soon as it is safe to do so, turn off the
engine and check the oil level. If the oil level is low, fill the engine oil to the proper level and start the engine again. If the light stays on with theengine running, turn the engine off immediately. In any instance where the oil light stays on when the engineis running, the engine should be checked by an authorized Hyundai dealer before the car is driven again. WARNING:
If you suspect brake trouble, haveyour brakes checked by a Hyundaidealer as soon as possible. Driving your car with a problem in either the brake electrical system or brake hy-draulic system is dangerous, and could result in a serious injury or death.
B260D01A-AAT
Turn Signal Indicator Lights
The blinking green arrows on the in- strument panel show the direction indi- cated by the turn signals. If the arrowcomes on but does not blink, blinks more rapidly than normal, or does not illuminate at all, a malfunction in theturn signal system is indicated. Your dealer should be consulted for repairs.
Warning Light Operation The parking brake/low brake fluid level warning light should come on when the parking brake is applied and the ignitionswitch is turned to "ON" or "START". After the engine is started, the light should go out when the parking brake isreleased. If the parking brake is not applied, the warning light should come on when theignition switch is turned to "ON" or "START", then go out when the engine starts. If the light comes on at any other
Page 39 of 217
1
FEATURES OF YOUR HYUNDAI
27
! B260J01S-GAT
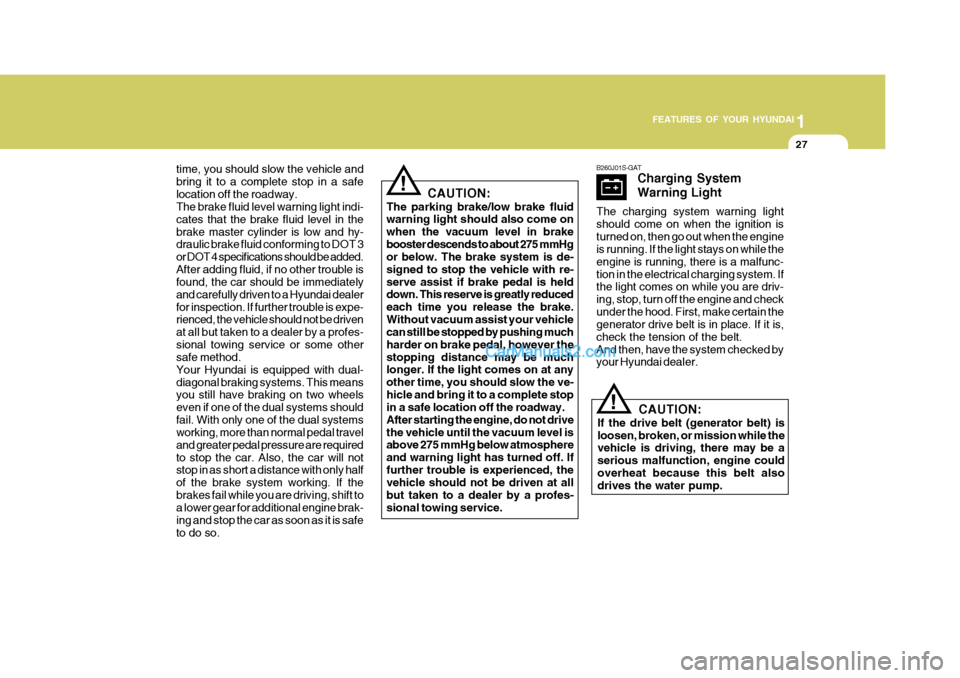
Charging System Warning Light
The charging system warning light should come on when the ignition isturned on, then go out when the engine is running. If the light stays on while the engine is running, there is a malfunc-tion in the electrical charging system. If the light comes on while you are driv- ing, stop, turn off the engine and checkunder the hood. First, make certain the generator drive belt is in place. If it is, check the tension of the belt.And then, have the system checked by your Hyundai dealer.
CAUTION:
If the drive belt (generator belt) is loosen, broken, or mission while the vehicle is driving, there may be a serious malfunction, engine couldoverheat because this belt also drives the water pump.!
time, you should slow the vehicle and bring it to a complete stop in a safelocation off the roadway. The brake fluid level warning light indi- cates that the brake fluid level in thebrake master cylinder is low and hy- draulic brake fluid conforming to DOT 3 or DOT 4 specifications should be added.After adding fluid, if no other trouble is found, the car should be immediately and carefully driven to a Hyundai dealerfor inspection. If further trouble is expe- rienced, the vehicle should not be driven at all but taken to a dealer by a profes-sional towing service or some other safe method. Your Hyundai is equipped with dual-diagonal braking systems. This means you still have braking on two wheels even if one of the dual systems shouldfail. With only one of the dual systems working, more than normal pedal travel and greater pedal pressure are requiredto stop the car. Also, the car will not stop in as short a distance with only half of the brake system working. If thebrakes fail while you are driving, shift to a lower gear for additional engine brak- ing and stop the car as soon as it is safeto do so. CAUTION:
The parking brake/low brake fluid warning light should also come on when the vacuum level in brakebooster descends to about 275 mmHg or below. The brake system is de- signed to stop the vehicle with re-serve assist if brake pedal is held down. This reserve is greatly reduced each time you release the brake.Without vacuum assist your vehicle can still be stopped by pushing much harder on brake pedal, however thestopping distance may be much longer. If the light comes on at any other time, you should slow the ve-hicle and bring it to a complete stop in a safe location off the roadway. After starting the engine, do not drivethe vehicle until the vacuum level is above 275 mmHg below atmosphere and warning light has turned off. Iffurther trouble is experienced, the vehicle should not be driven at all but taken to a dealer by a profes-sional towing service.