warning HYUNDAI I20 2010 Repair Manual
[x] Cancel search | Manufacturer: HYUNDAI, Model Year: 2010, Model line: I20, Model: HYUNDAI I20 2010Pages: 207, PDF Size: 2.46 MB
Page 92 of 207
Features of your vehicle
20 4
D090200APB
Closing the hood
1. Before closing the hood, check the fol-
lowing:
• All filler caps in the engine compart-
ment must be correctly installed.
• Gloves, rags or any other com-
bustible material must be removed
from the engine compartment.
2. Return the support rod to its clip to
prevent it from rattling.
3. Lower the hood until it is about 30 cm
(1 ft.) above the closed position and let
it drop. Make sure that it locks into
place.
WARNING - Hood
• Before closing the hood, ensure
that all obstructions are removed
from the hood opening. Closing
the hood with an obstruction
present in the hood opening may
result in property damage or
severe personal injury.
• Do not leave gloves, rags or any
other combustible material in the
engine compartment. Doing so
may cause a heat-induced fire.
WARNING
• Always double check to be sure
that the hood is firmly latched
before driving away. If it is not
latched, the hood could fly open
while the vehicle is being driven,
causing a total loss of visibility,
which might result in an accident.
• The support rod must be inserted
completely into the hole whenev-
er you inspect the engine com-
partment. This will prevent the
hood from falling and possibly
injuring you.
• Do not move the vehicle with the
hood raised. The view will be
blocked and the hood could fall
or be damaged.
Page 94 of 207
Features of your vehicle
22 4
D100300APB
WARNING - Refueling dan-
gers
Automotive fuels are flammable
materials. When refueling, please
note the following guidelines care-
fully. Failure to follow these guide-
lines may result in severe personal
injury, severe burns or death by fire
or explosion.
• Read and follow all warning at the
gas station facility.
• Before refueling note the location
of the Emergency Gasoline Shut-
Off, if available, at the gas station
facility.
• Before touching the fuel nozzle,
you should eliminate potentially
dangerous static electricity dis-
charge by touching another metal
part of the vehicle, a safe dis-
tance away from the fuel filler
neck, nozzle, or other gas source.
(Continued)WARNING - Refueling
• If pressurized fuel sprays out, it
can cover your clothes or skin
and subject you to the risk of fire
and burns. Always remove the
fuel cap carefully and slowly. If
the cap is venting fuel or if you
hear a hissing sound, wait until
the condition stops before com-
pletely removing the cap.
• Do not "top off" after the nozzle
automatically shuts off when
refueling.
• Always check that the fuel cap is
installed securely to prevent fuel
spillage in the event of an acci-
dent.
(Continued)
• Do not get back into a vehicle
once you have begun refueling
since you can generate static
electricity by touching, rubbing
or sliding against any item or fab-
ric (polyester, satin, nylon, etc.)
capable of producing static elec-
tricity. Static electricity discharge
can ignite fuel vapors resulting in
rapid burning. If you must re-
enter the vehicle, you should
once again eliminate potentially
dangerous static electricity dis-
charge by touching a metal part
of the vehicle, away from the fuel
filler neck, nozzle or other gaso-
line source.
• When using an approved
portable fuel container be sure to
place the container on the ground
prior to refueling. Static electrici-
ty discharge from the container
can ignite fuel vapors causing a
fire. Once refueling has begun,
contact with the vehicle should
be maintained until the filling is
complete.
(Continued)
Page 96 of 207
Features of your vehicle
24 4
D110000APB
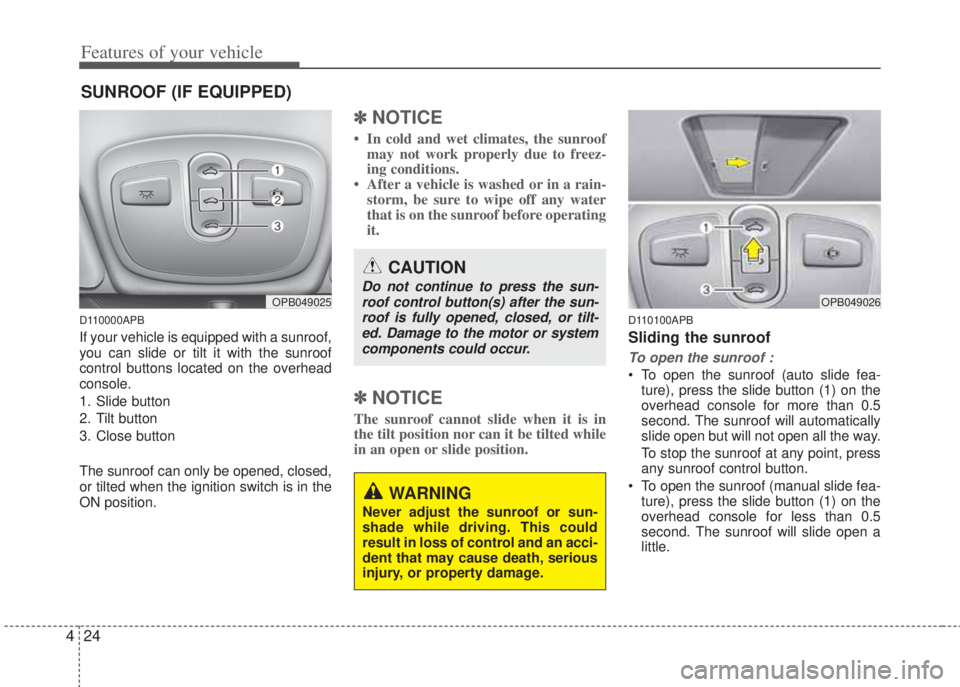
If your vehicle is equipped with a sunroof,
you can slide or tilt it with the sunroof
control buttons located on the overhead
console.
1. Slide button
2. Tilt button
3. Close button
The sunroof can only be opened, closed,
or tilted when the ignition switch is in the
ON position.
✽NOTICE
• In cold and wet climates, the sunroof
may not work properly due to freez-
ing conditions.
• After a vehicle is washed or in a rain-
storm, be sure to wipe off any water
that is on the sunroof before operating
it.
✽NOTICE
The sunroof cannot slide when it is in
the tilt position nor can it be tilted while
in an open or slide position.
D110100APB
Sliding the sunroof
To open the sunroof :
• To open the sunroof (auto slide fea-
ture), press the slide button (1) on the
overhead console for more than 0.5
second. The sunroof will automatically
slide open but will not open all the way.
To stop the sunroof at any point, press
any sunroof control button.
• To open the sunroof (manual slide fea-
ture), press the slide button (1) on the
overhead console for less than 0.5
second. The sunroof will slide open a
little.
SUNROOF (IF EQUIPPED)
OPB049025
CAUTION
Do not continue to press the sun-
roof control button(s) after the sun-
roof is fully opened, closed, or tilt-
ed. Damage to the motor or system
components could occur.
WARNING
Never adjust the sunroof or sun-
shade while driving. This could
result in loss of control and an acci-
dent that may cause death, serious
injury, or property damage.
OPB049026
Page 98 of 207
Features of your vehicle
26 4
To close the sunroof :
To close the sunroof, press the close but-
ton (3) on the overhead console and hold
it until the sunroof is closed.
D110300AEN
Sunshade
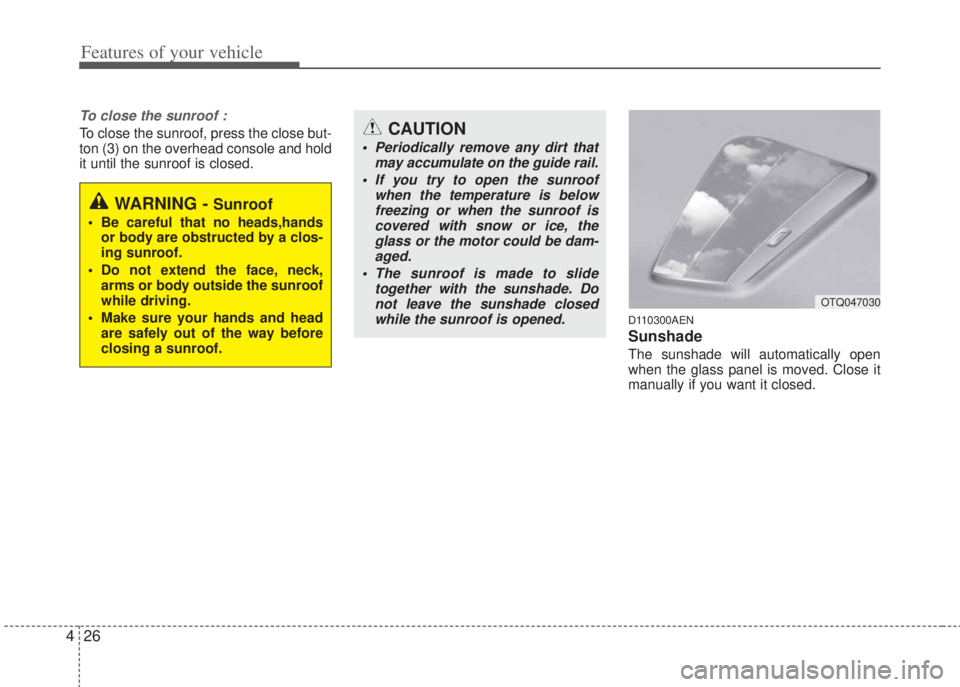
The sunshade will automatically open
when the glass panel is moved. Close it
manually if you want it closed.
OTQ047030
WARNING - Sunroof
• Be careful that no heads,hands
or body are obstructed by a clos-
ing sunroof.
• Do not extend the face, neck,
arms or body outside the sunroof
while driving.
• Make sure your hands and head
are safely out of the way before
closing a sunroof.
CAUTION
• Periodically remove any dirt that
may accumulate on the guide rail.
• If you try to open the sunroof
when the temperature is below
freezing or when the sunroof is
covered with snow or ice, the
glass or the motor could be dam-
aged.
• The sunroof is made to slide
together with the sunshade. Do
not leave the sunshade closed
while the sunroof is opened.
Page 100 of 207
Features of your vehicle
28 4
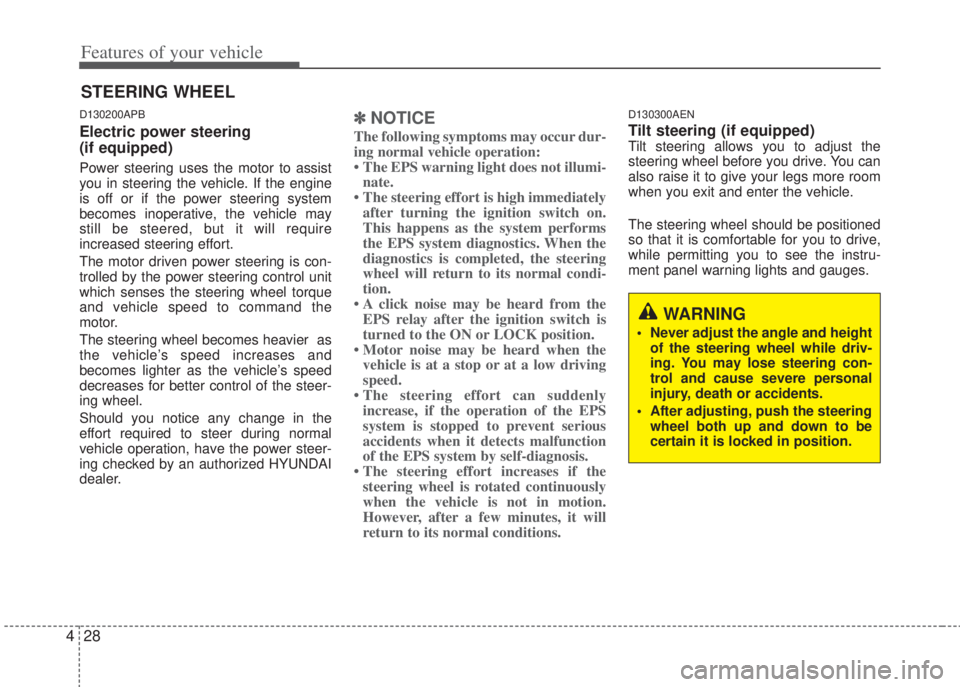
WARNING
• Never adjust the angle and height
of the steering wheel while driv-
ing. You may lose steering con-
trol and cause severe personal
injury, death or accidents.
• After adjusting, push the steering
wheel both up and down to be
certain it is locked in position.
D130200APB
Electric power steering
(if equipped)
Power steering uses the motor to assist
you in steering the vehicle. If the engine
is off or if the power steering system
becomes inoperative, the vehicle may
still be steered, but it will require
increased steering effort.
The motor driven power steering is con-
trolled by the power steering control unit
which senses the steering wheel torque
and vehicle speed to command the
motor.
The steering wheel becomes heavier as
the vehicle’s speed increases and
becomes lighter as the vehicle’s speed
decreases for better control of the steer-
ing wheel.
Should you notice any change in the
effort required to steer during normal
vehicle operation, have the power steer-
ing checked by an authorized HYUNDAI
dealer.
✽NOTICE
The following symptoms may occur dur-
ing normal vehicle operation:
• The EPS warning light does not illumi-
nate.
• The steering effort is high immediately
after turning the ignition switch on.
This happens as the system performs
the EPS system diagnostics. When the
diagnostics is completed, the steering
wheel will return to its normal condi-
tion.
• A click noise may be heard from the
EPS relay after the ignition switch is
turned to the ON or LOCK position.
• Motor noise may be heard when the
vehicle is at a stop or at a low driving
speed.
• The steering effort can suddenly
increase, if the operation of the EPS
system is stopped to prevent serious
accidents when it detects malfunction
of the EPS system by self-diagnosis.
• The steering effort increases if the
steering wheel is rotated continuously
when the vehicle is not in motion.
However, after a few minutes, it will
return to its normal conditions.
D130300AEN
Tilt steering (if equipped)Tilt steering allows you to adjust the
steering wheel before you drive. You can
also raise it to give your legs more room
when you exit and enter the vehicle.
The steering wheel should be positioned
so that it is comfortable for you to drive,
while permitting you to see the instru-
ment panel warning lights and gauges.
STEERING WHEEL
Page 102 of 207
Features of your vehicle
30 4
D140100AHM
Inside rearview mirror
Adjust the rearview mirror so that the
center view through the rear window is
seen. Make this adjustment before you
start driving.
D140101AHM
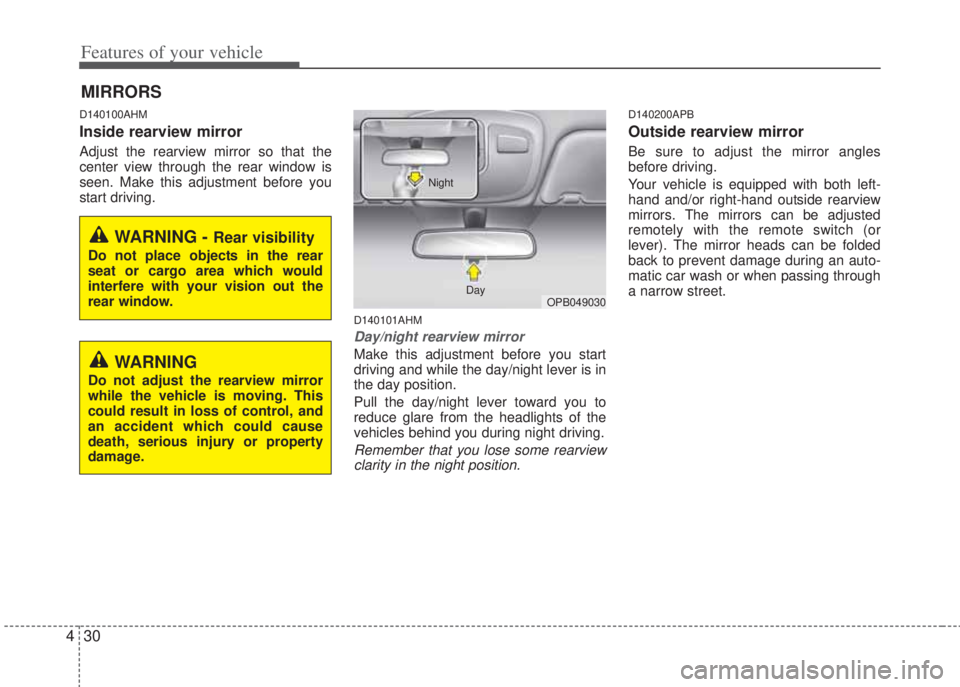
Day/night rearview mirror
Make this adjustment before you start
driving and while the day/night lever is in
the day position.
Pull the day/night lever toward you to
reduce glare from the headlights of the
vehicles behind you during night driving.
Remember that you lose some rearview
clarity in the night position.
D140200APB
Outside rearview mirror
Be sure to adjust the mirror angles
before driving.
Your vehicle is equipped with both left-
hand and/or right-hand outside rearview
mirrors. The mirrors can be adjusted
remotely with the remote switch (or
lever). The mirror heads can be folded
back to prevent damage during an auto-
matic car wash or when passing through
a narrow street.
MIRRORS
WARNING - Rear visibility
Do not place objects in the rear
seat or cargo area which would
interfere with your vision out the
rear window.
OPB049030 Day Night
WARNING
Do not adjust the rearview mirror
while the vehicle is moving. This
could result in loss of control, and
an accident which could cause
death, serious injury or property
damage.
Page 103 of 207
431
Features of your vehicle
D140201APB
Remote control
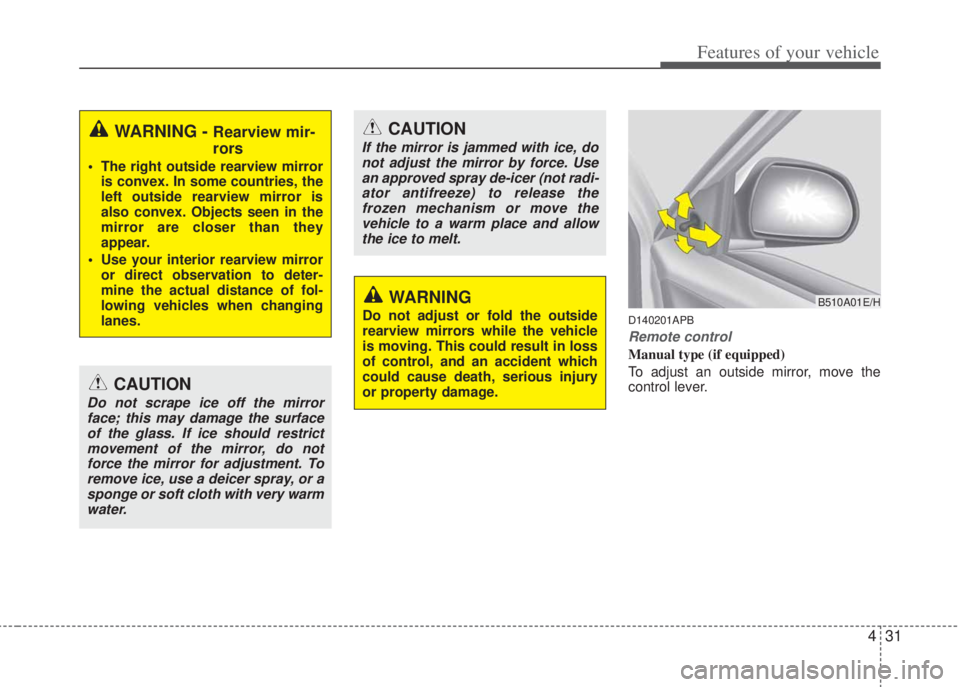
Manual type (if equipped)
To adjust an outside mirror, move the
control lever.
WARNING - Rearview mir-
rors
• The right outside rearview mirror
is convex. In some countries, the
left outside rearview mirror is
also convex. Objects seen in the
mirror are closer than they
appear.
• Use your interior rearview mirror
or direct observation to deter-
mine the actual distance of fol-
lowing vehicles when changing
lanes.
CAUTION
Do not scrape ice off the mirror
face; this may damage the surface
of the glass. If ice should restrict
movement of the mirror, do not
force the mirror for adjustment. To
remove ice, use a deicer spray, or a
sponge or soft cloth with very warm
water.
CAUTION
If the mirror is jammed with ice, do
not adjust the mirror by force. Use
an approved spray de-icer (not radi-
ator antifreeze) to release the
frozen mechanism or move the
vehicle to a warm place and allow
the ice to melt.
WARNING
Do not adjust or fold the outside
rearview mirrors while the vehicle
is moving. This could result in loss
of control, and an accident which
could cause death, serious injury
or property damage.B510A01E/H
Page 106 of 207
Features of your vehicle
34 4
D150000AFD
INSTRUMENT CLUSTER
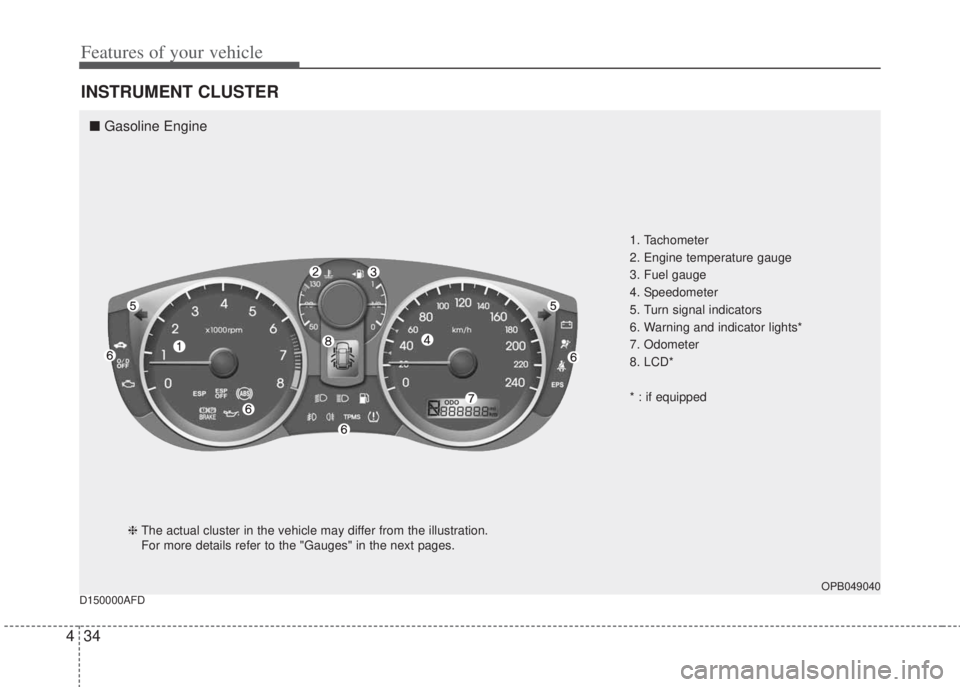
1. Tachometer
2. Engine temperature gauge
3. Fuel gauge
4. Speedometer
5. Turn signal indicators
6. Warning and indicator lights*
7. Odometer
8. LCD*
* : if equipped
OPB049040
❈The actual cluster in the vehicle may differ from the illustration.
For more details refer to the "Gauges" in the next pages.
■Gasoline Engine
Page 107 of 207
435
Features of your vehicle
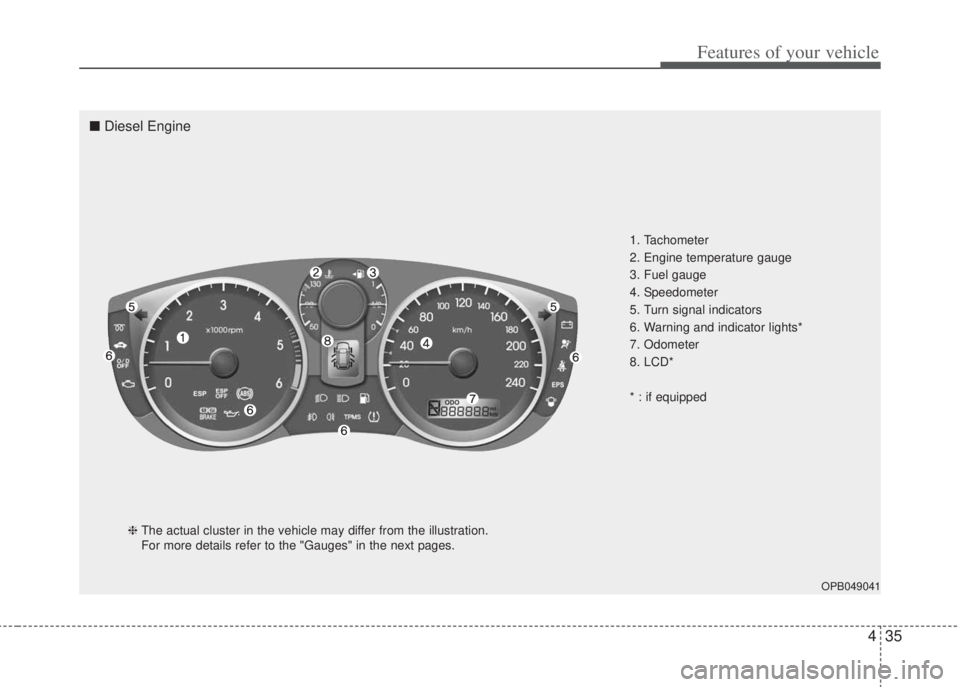
1. Tachometer
2. Engine temperature gauge
3. Fuel gauge
4. Speedometer
5. Turn signal indicators
6. Warning and indicator lights*
7. Odometer
8. LCD*
* : if equipped
OPB049041
❈The actual cluster in the vehicle may differ from the illustration.
For more details refer to the "Gauges" in the next pages.
■Diesel Engine
Page 109 of 207
437
Features of your vehicle
D150203APB
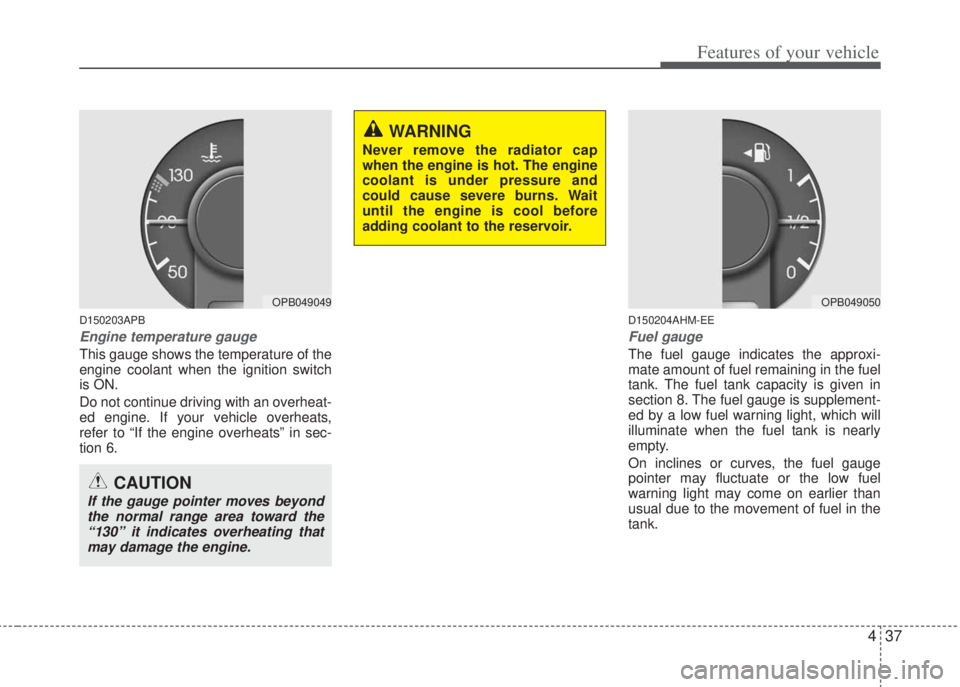
Engine temperature gauge
This gauge shows the temperature of the
engine coolant when the ignition switch
is ON.
Do not continue driving with an overheat-
ed engine. If your vehicle overheats,
refer to “If the engine overheats” in sec-
tion 6.
D150204AHM-EE
Fuel gauge
The fuel gauge indicates the approxi-
mate amount of fuel remaining in the fuel
tank. The fuel tank capacity is given in
section 8. The fuel gauge is supplement-
ed by a low fuel warning light, which will
illuminate when the fuel tank is nearly
empty.
On inclines or curves, the fuel gauge
pointer may fluctuate or the low fuel
warning light may come on earlier than
usual due to the movement of fuel in the
tank.
OPB049049
CAUTION
If the gauge pointer moves beyond
the normal range area toward the
“130” it indicates overheating that
may damage the engine.
WARNING
Never remove the radiator cap
when the engine is hot. The engine
coolant is under pressure and
could cause severe burns. Wait
until the engine is cool before
adding coolant to the reservoir.
OPB049050