HYUNDAI I30 2022 Manual Online
Manufacturer: HYUNDAI, Model Year: 2022, Model line: I30, Model: HYUNDAI I30 2022Pages: 659, PDF Size: 17.14 MB
Page 81 of 659
2-61
Safety system of your vehicle
2
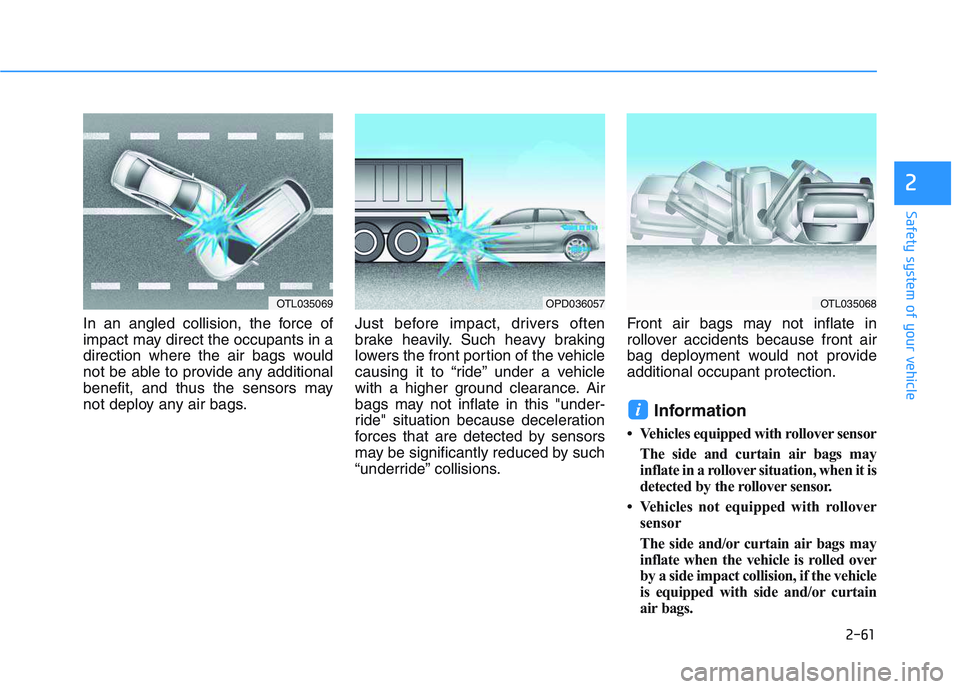
In an angled collision, the force of
impact may direct the occupants in a
direction where the air bags would
not be able to provide any additional
benefit, and thus the sensors may
not deploy any air bags.Just before impact, drivers often
brake heavily. Such heavy braking
lowers the front portion of the vehicle
causing it to “ride” under a vehicle
with a higher ground clearance. Air
bags may not inflate in this "under-
ride" situation because deceleration
forces that are detected by sensors
may be significantly reduced by such
“underride” collisions.Front air bags may not inflate in
rollover accidents because front air
bag deployment would not provide
additional occupant protection.
Information
• Vehicles equipped with rollover sensor
The side and curtain air bags may
inflate in a rollover situation, when it is
detected by the rollover sensor.
• Vehicles not equipped with rollover sensor
The side and/or curtain air bags may
inflate when the vehicle is rolled over
by a side impact collision, if the vehicle
is equipped with side and/or curtain
air bags.
i
OTL035069OPD036057OTL035068
Page 82 of 659
2-62
Safety system of your vehicle
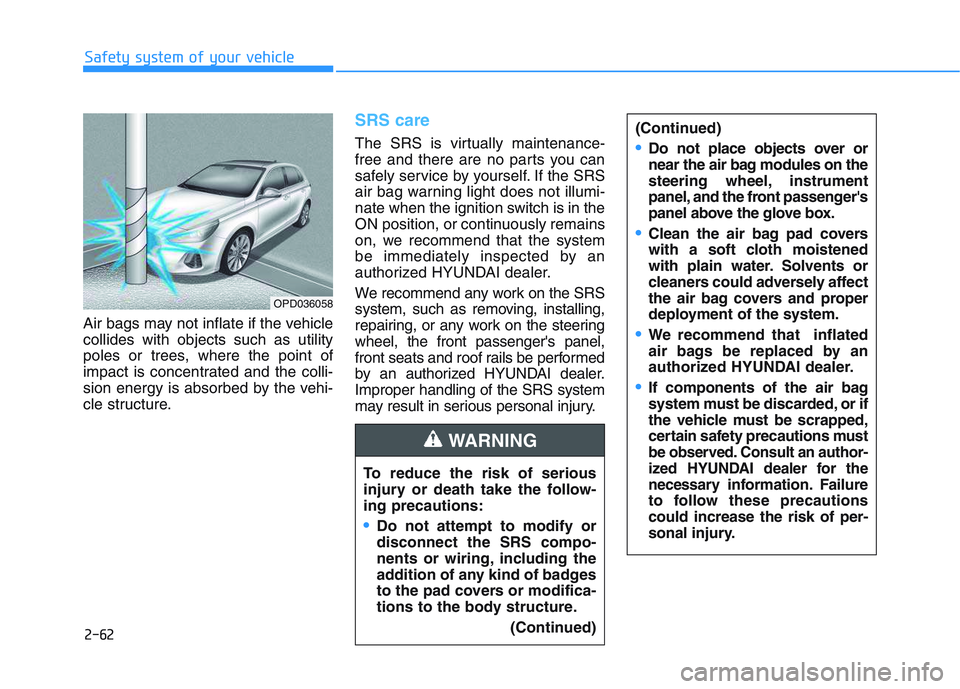
Air bags may not inflate if the vehicle
collides with objects such as utility
poles or trees, where the point of
impact is concentrated and the colli-
sion energy is absorbed by the vehi-
cle structure.
SRS care
The SRS is virtually maintenance-
free and there are no parts you can
safely service by yourself. If the SRS
air bag warning light does not illumi-
nate when the ignition switch is in the
ON position, or continuously remains
on, we recommend that the system
be immediately inspected by an
authorized HYUNDAI dealer.
We recommend any work on the SRS
system, such as removing, installing,
repairing, or any work on the steering
wheel, the front passenger's panel,
front seats and roof rails be performed
by an authorized HYUNDAI dealer.
Improper handling of the SRS system
may result in serious personal injury.
OPD036058
To reduce the risk of serious
injury or death take the follow-
ing precautions:
Do not attempt to modify or
disconnect the SRS compo-
nents or wiring, including the
addition of any kind of badges
to the pad covers or modifica-
tions to the body structure. (Continued)
WARNING
(Continued)
Do not place objects over or
near the air bag modules on the
steering wheel, instrument
panel, and the front passenger's
panel above the glove box.
Clean the air bag pad covers
with a soft cloth moistened
with plain water. Solvents or
cleaners could adversely affect
the air bag covers and proper
deployment of the system.
We recommend that inflated
air bags be replaced by an
authorized HYUNDAI dealer.
If components of the air bag
system must be discarded, or if
the vehicle must be scrapped,
certain safety precautions must
be observed. Consult an author-
ized HYUNDAI dealer for the
necess
ary information. Failure
to follow these precautions
could increase the risk of per-
sonal injury.
Page 83 of 659
2-63
Safety system of your vehicle
2
Additional safety precautions
Passengers should not move out of
or change seats while the vehicle is
moving.A passenger who is not
wearing a seat belt during a crash or
emergency stop can be thrown
against the inside of the vehicle,
against other occupants, or be ejected
from the vehicle.
Do not use any accessories on seat
belts. Devices claiming to improve
occupant comfort or reposition the
seat belt can reduce the protection
provided by the seat belt and increase
the chance of serious injury in a crash
Do not modify the front seats.
Modification of the front seats could
interfere with the operation of the sup-
plemental restraint system sensing
components or side air bags.
Do not place items under the front
seats. Placing items under the front
seats could interfere with the opera-
tion of the supplemental restraint sys-
tem sensing components and wiring
harnesses.
Do not cause impact to the doors.
Impact to the doors when the ignition
switch is in the ON position may cause
the air bags to inflate.
Adding equipment to or modify- ing your air bag equipped vehicle
If you modify your vehicle by changing
your vehicle's frame, bumper system,
front end or side sheet metal or ride
height, this may affect the operation of
your vehicle's air bag system.
Air bag warning labels
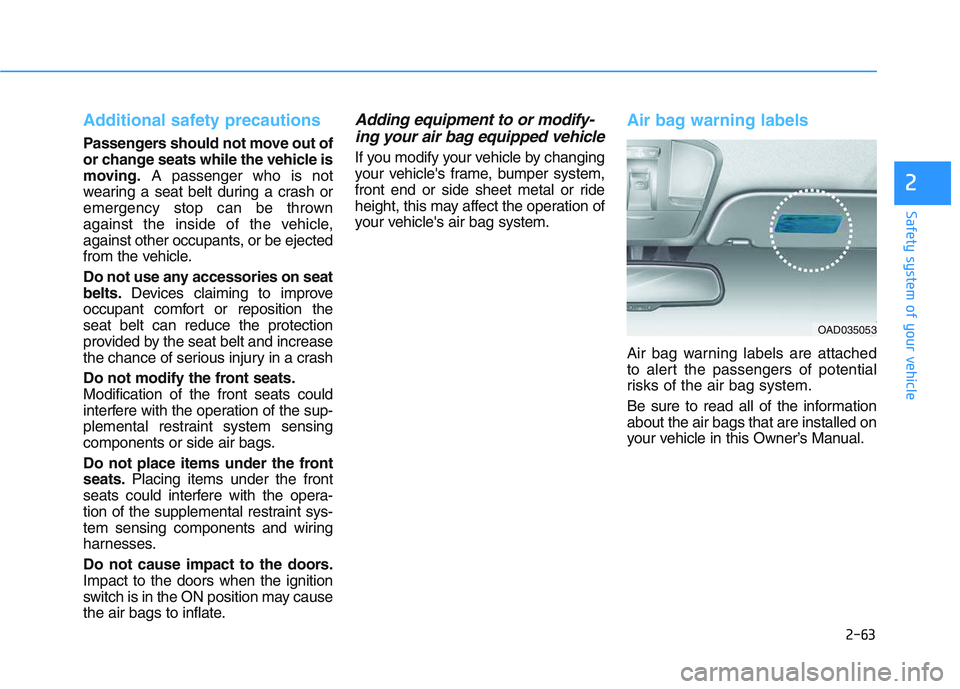
Air bag warning labels are attached
to alert the passengers of potential
risks of the air bag system.
Be sure to read all of the information
about the air bags that are installed on
your vehicle in this Owner’s Manual.
OAD035053
Page 84 of 659
Convenient features of your vehicle
Accessing your vehicle .........................................3-3
Remote key .........................................................................3-3
Smart key ............................................................................3-6
Immobilizer system .........................................................3-10
DOOR LOCKS ........................................................3-11
Operating door locks from outside the vehicle ......3-11
Operating door locks from inside the vehicle .........3-12
Auto door lock/unlock features..................................3-14
Child-protector rear door locks ..................................3-15
Theft-alarm system.............................................3-16
Driver position memory system .........................3-17
Storing memory positions .............................................3-17
Recalling memory positions..........................................3-17
Easy access function .....................................................3-18
Steering wheel......................................................3-19
Electric power steering (EPS) ......................................3-19
Tilt steering / Telescope steering...............................3-20
Heated steering wheel ...................................................3-21
Horn ....................................................................................3-21
Mirrors ...................................................................3-22
Inside rearview mirror....................................................3-22
Outside rearview mirror ................................................3-23
Reverse parking aid function.......................................3-26
Windows ................................................................3-27
Power windows................................................................3-27
Manual windows ..............................................................3-31
Panorama sunroof ...............................................3-32
Sunshade ...........................................................................3-33
Sliding the sunroof .........................................................3-33
Tilting the sunroof ..........................................................3-34
Closing the sunroof ........................................................3-34
Resetting the sunroof ....................................................3-35
Sunroof open warning ...................................................3-36
Exterior features .................................................3-37
Hood ...................................................................................3-37
Tailgate...............................................................................3-38
Fuel filler door .................................................................3-40
Instrument cluster................................................3-43
Instrument cluster control ............................................3-44
Gauges and meters .........................................................3-45
Transmission shift indicator .........................................3-48
Manual transmission shift indicator ...........................3-48
Warning and indicator lights ........................................3-51
LCD display messages ....................................................3-65
LCD Display ...........................................................3-71
LCD display control.........................................................3-71
LCD modes ........................................................................3-72
Trip computer .......................................................3-79
Trip modes ........................................................................3-79
Light .......................................................................3-83
Exterior lights ..................................................................3-83
Static bending light .........................................................3-92
Welcome system..............................................................3-92
3
Page 85 of 659
3-83
Convenient features of your vehicle
3
Exterior lights
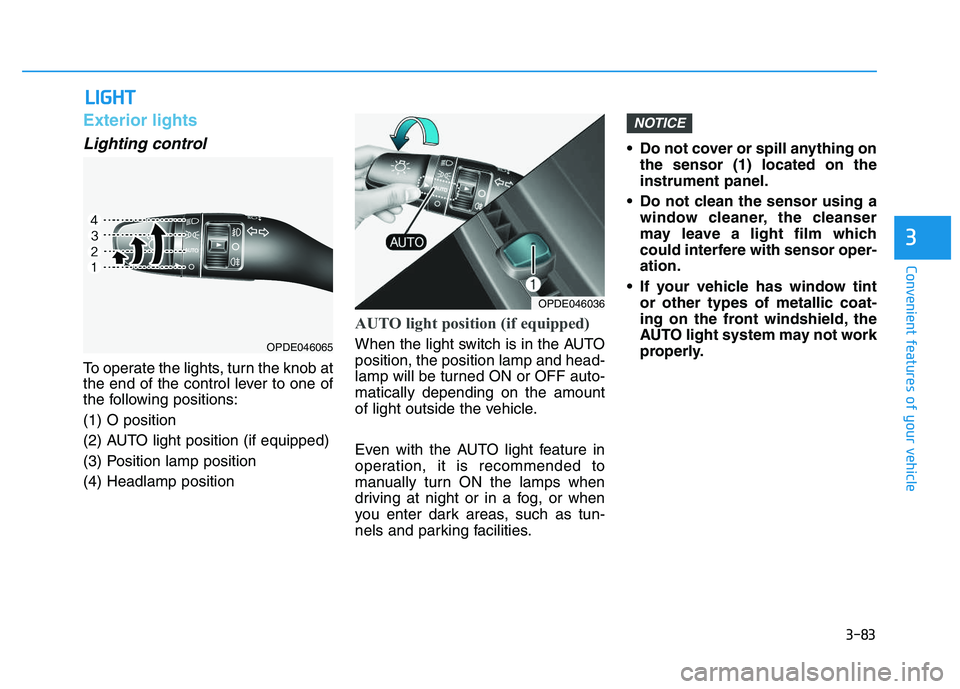
Lighting control
To operate the lights, turn the knob at
the end of the control lever to one of
the following positions:
(1) O position
(2) AUTO light position (if equipped)
(3) Position lamp position
(4) Headlamp position
AUTO light position (if equipped)
When the light switch is in the AUTO
position, the position lamp and head-
lamp will be turned ON or OFF auto-
matically depending on the amount
of light outside the vehicle.
Even with the AUTO light feature in
operation, it is recommended to
manually turn ON the lamps when
driving at night or in a fog, or when
you enter dark areas, such as tun-
nels and parking facilities.• Do not cover or spill anything on
the sensor (1) located on the
instrument panel.
Do not clean the sensor using a window cleaner, the cleanser
may leave a light film which
could interfere with sensor oper-
ation.
If your vehicle has window tint or other types of metallic coat-
ing on the front windshield, the
AUTO light system may not work
properly.
NOTICE
L
L I
I G
G H
H T
T
OPDE046036
OPDE046065
Page 86 of 659
3-84
Convenient features of your vehicle
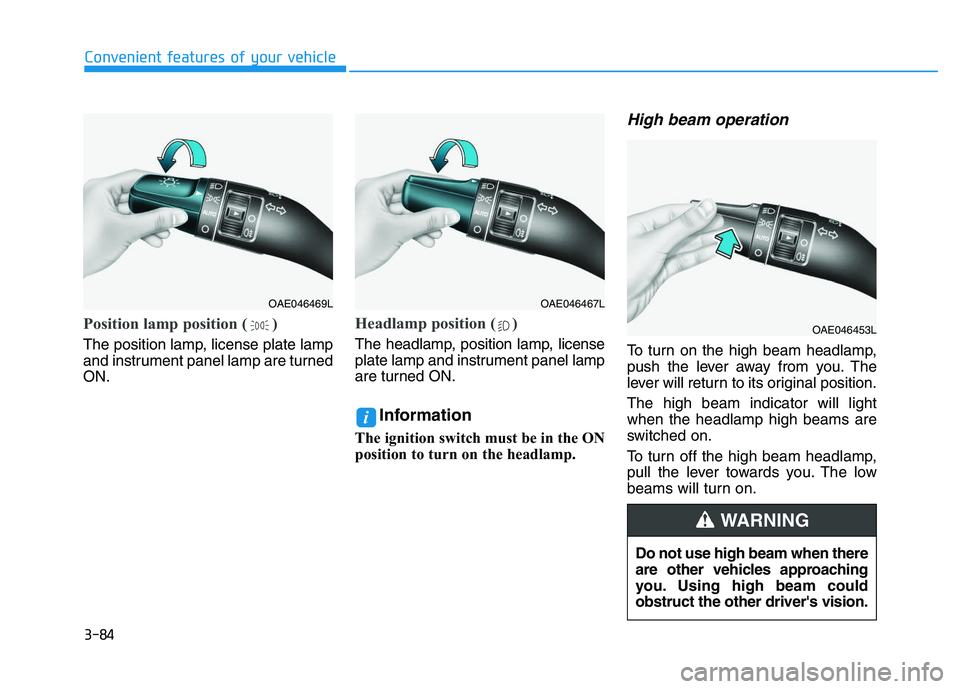
Position lamp position ( )
The position lamp, license plate lamp
and instrument panel lamp are turned
ON.
Headlamp position ( )
The headlamp, position lamp, license
plate lamp and instrument panel lamp
are turned ON.
Information
The ignition switch must be in the ON
position to turn on the headlamp.
High beam operation
To turn on the high beam headlamp,
push the lever away from you. The
lever will return to its original position.
The high beam indicator will light
when the headlamp high beams are
switched on.
To turn off the high beam headlamp,
pull the lever towards you. The low
beams will turn on.
i
OAE046469LOAE046467L
OAE046453L
Do not use high beam when there
are other vehicles approaching
you. Using high beam could
obstruct the other driver's vision.
WARNING
Page 87 of 659
3-85
Convenient features of your vehicle
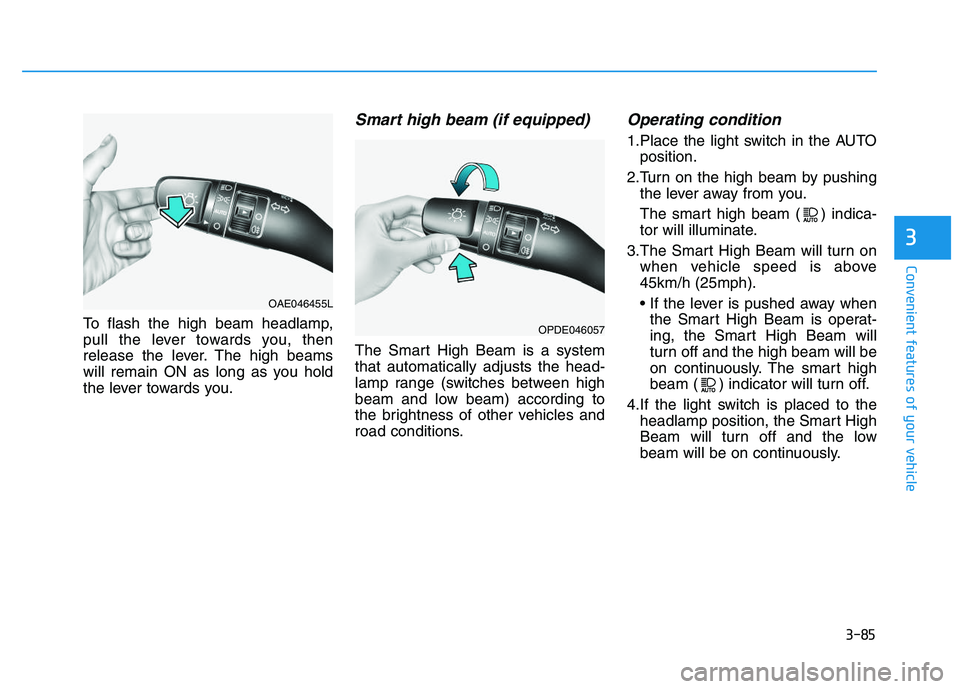
To flash the high beam headlamp,
pull the lever towards you, then
release the lever. The high beams
will remain ON as long as you hold
the lever towards you.
Smart high beam (if equipped)
The Smart High Beam is a system
that automatically adjusts the head-
lamp range (switches between high
beam and low beam) according to
the brightness of other vehicles and
road conditions.
Operating condition
1.Place the light switch in the AUTOposition.
2.Turn on the high beam by pushing the lever away from you.
The smart high beam ( ) indica-
tor will illuminate.
3.The Smart High Beam will turn on when vehicle speed is above
45km/h (25mph).
• If the lever is pushed away whenthe Smart High Beam is operat-
ing, the Smart High Beam will
turn off and the high beam will be
on continuously. The smart high
beam ( ) indicator will turn off.
4.If the light switch is placed to the headlamp position, the Smart High
Beam will turn off and the low
beam will be on continuously.
3
OAE046455L
OPDE046057
Page 88 of 659
3-86
The high beam switches to low beam
in the below conditions.
- When the Smart High Beam is off.
- When the light switch is not in theAUTO position.
- When the headlamp is detected from the on-coming vehicle.
- When the tail lamp is detected from the front vehicle.
- When the surrounding is bright enough high beams are not needed.
- When streetlights or other lights are detected.
- When vehicle speed is below 35km/h (15mph).Warning light and message
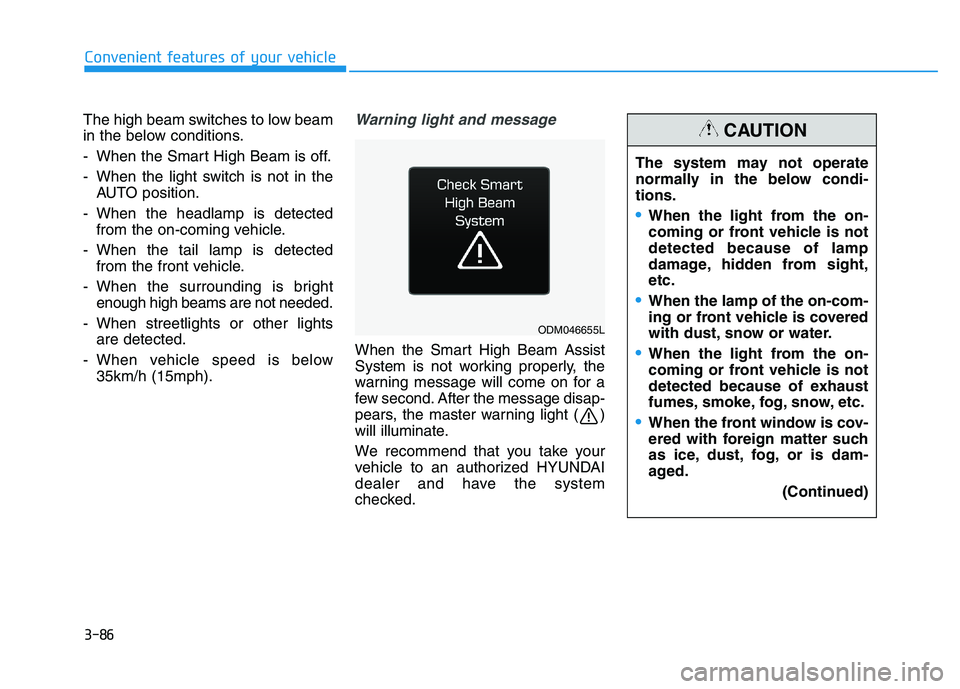
When the Smart High Beam Assist
System is not working properly, the
warning message will come on for a
few second. After the message disap-
pears, the master warning light ( )
will illuminate.
We recommend that you take your
vehicle to an authorized HYUNDAI
dealer and have the system
checked.
Convenient features of your vehicle
ODM046655L
The system may not operate
normally in the below condi-
tions.
When the light from the on-
coming or front vehicle is not
detected because of lamp
damage, hidden from sight,
etc.
When the lamp of the on-com-
ing or front vehicle is covered
with dust, snow or water.
When the light from the on-
coming or front vehicle is not
detected because of exhaust
fumes, smoke, fog, snow, etc.
When the front window is cov-
ered with foreign matter such
as ice, dust, fog, or is dam-
aged.
(Continued)
CAUTION
Page 89 of 659
3-87
Convenient features of your vehicle
3
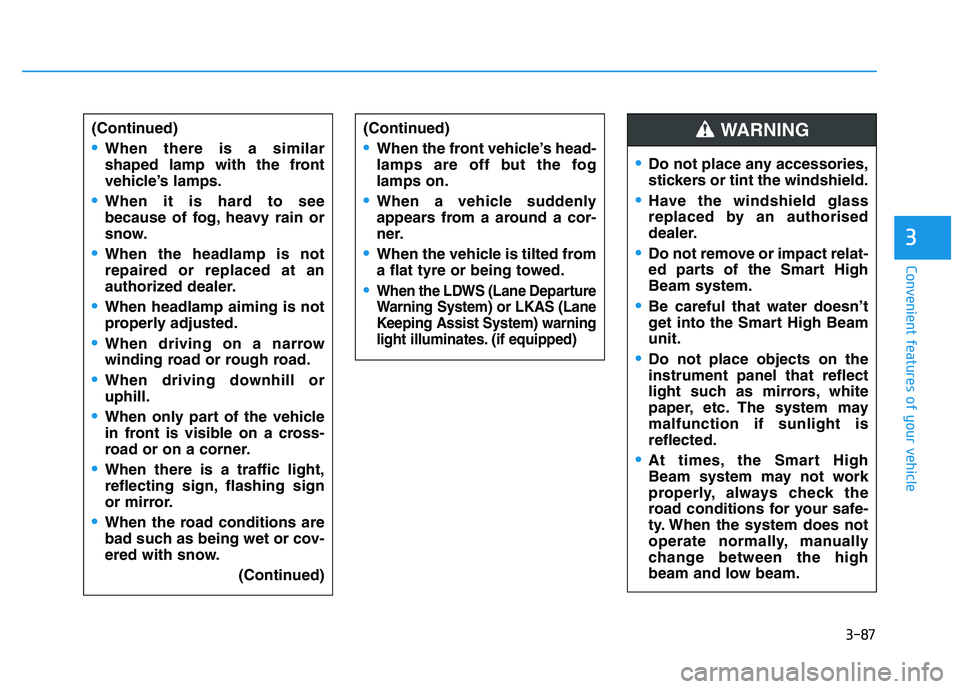
(Continued)
When there is a similar
shaped lamp with the front
vehicle’s lamps.
When it is hard to see
because of fog, heavy rain or
snow.
When the headlamp is not
repaired or replaced at an
authorized dealer.
When headlamp aiming is not
properly adjusted.
When driving on a narrow
winding road or rough road.
When driving downhill or
uphill.
When only part of the vehicle
in front is visible on a cross-
road or on a corner.
When there is a traffic light,
reflecting sign, flashing sign
or mirror.
When the road conditions are
bad such as being wet or cov-
ered with snow.(Continued)
(Continued)
When the front vehicle’s head-
lamps are off but the fog
lamps on.
When a vehicle suddenly
appears from a around a cor-
ner.
When the vehicle is tilted from
a flat tyre or being towed.
When the LDWS (Lane Departure
Warning System) or LKAS (Lane
Keeping Assist System) warning
light illuminates. (if equipped)
Do not place any accessories,
stickers or tint the windshield.
Have the windshield glass
replaced by an authorised
dealer.
Do not remove or impact relat-
ed parts of the Smart High
Beam system.
Be careful that water doesn’t
get into the Smart High Beam
unit.
Do not place objects on the
instrument panel that reflect
light such as mirrors, white
paper, etc. The system may
malfunction if sunlight is
reflected.
At times, the Smart High
Beam system may not work
properly, always check the
road conditions for your safe-
ty. When the system does not
operate normally, manually
change between the high
beam and low beam.
WARNING
Page 90 of 659

3-88
Convenient features of your vehicle
Turn signals and lane changesignals
To signal a turn, push down on the
lever for a left turn or up for a right
turn in position (A). To signal a lane
change, move the turn signal lever
slightly and hold it in position (B).The
lever will return to the OFF position
when released or when the turn is
completed.
If an indicator stays on and does not
flash or if it flashes abnormally, one of
the turn signal bulbs may be burned
out and will require replacement.
One-touch turn signal function
To activate an one-touch turn signal
function, move the turn signal lever
slightly and then release it. The lane
change signals will blink 3, 5 or 7
times.
You can activate/deactivate the One
Touch Turn Signal function or choose
the number of blinking (3, 5, or 7)
from the User Settings mode on the
LCD display. For more details, refer
to "LCD Display" in this chapter.
Front fog lamp (if equipped)
Fog lamps are used to provide
improved visibility when visibility is
poor due to fog, rain or snow, etc. Use
the switch next to the headlamp switch
to turn the fog lamps ON and OFF.
1. Turn on the position lamp.
2. Turn the light switch (1) to the front fog lamp position.
OPDE046066
OTLE045284