battery HYUNDAI I40 2014 Manual PDF
[x] Cancel search | Manufacturer: HYUNDAI, Model Year: 2014, Model line: I40, Model: HYUNDAI I40 2014Pages: 534, PDF Size: 11.05 MB
Page 451 of 534
Downloaded from www.Manualslib.com manuals search engine Maintenance
46
7
Check the condition and connections of
all cooling system hoses and heater
hoses. Replace any swollen or deterio-
rated hoses.
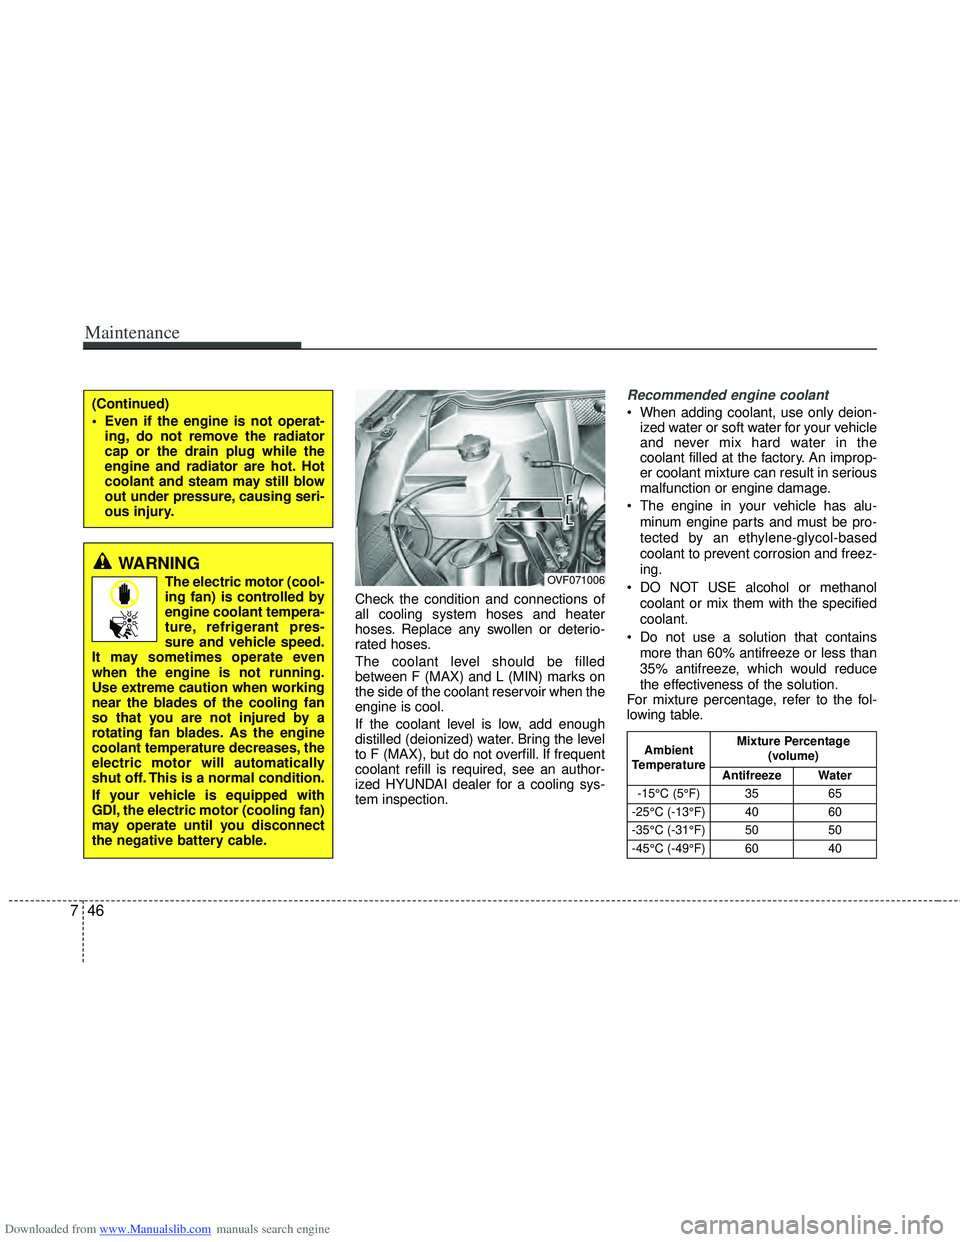
The coolant level should be filled
between F (MAX) and L (MIN) marks on
the side of the coolant reservoir when the
engine is cool.
If the coolant level is low, add enough
distilled (deionized) water. Bring the level
to F (MAX), but do not overfill. If frequent
coolant refill is required, see an author-
ized HYUNDAI dealer for a cooling sys-
tem inspection.
Recommended engine coolant
When adding coolant, use only deion-
ized water or soft water for your vehicle
and never mix hard water in the
coolant filled at the factory. An improp-
er coolant mixture can result in serious
malfunction or engine damage.
The engine in your vehicle has alu- minum engine parts and must be pro-
tected by an ethylene-glycol-based
coolant to prevent corrosion and freez-
ing.
DO NOT USE alcohol or methanol coolant or mix them with the specified
coolant.
Do not use a solution that contains more than 60% antifreeze or less than
35% antifreeze, which would reduce
the effectiveness of the solution.
For mixture percentage, refer to the fol-
lowing table.
OVF071006
Ambient
Temperature Mixture Percentage
(volume)
Antifreeze Water
-15°C (5°F) 35 65
-25°C (-13°F) 40 60
-35°C (-31°F) 50 50
-45°C (-49°F) 60 40
WARNING
The electric motor (cool-
ing fan) is controlled by
engine coolant tempera-
ture, refrigerant pres-
sure and vehicle speed.
It may sometimes operate even
when the engine is not running.
Use extreme caution when working
near the blades of the cooling fan
so that you are not injured by a
rotating fan blades. As the engine
coolant temperature decreases, the
electric motor will automatically
shut off. This is a normal condition.
If your vehicle is equipped with
GDI, the electric motor (cooling fan)
may operate until you disconnect
the negative battery cable.
(Continued)
Even if the engine is not operat- ing, do not remove the radiator
cap or the drain plug while the
engine and radiator are hot. Hot
coolant and steam may still blow
out under pressure, causing seri-
ous injury.
Page 463 of 534
Downloaded from www.Manualslib.com manuals search engine Maintenance
58
7
BATTERY
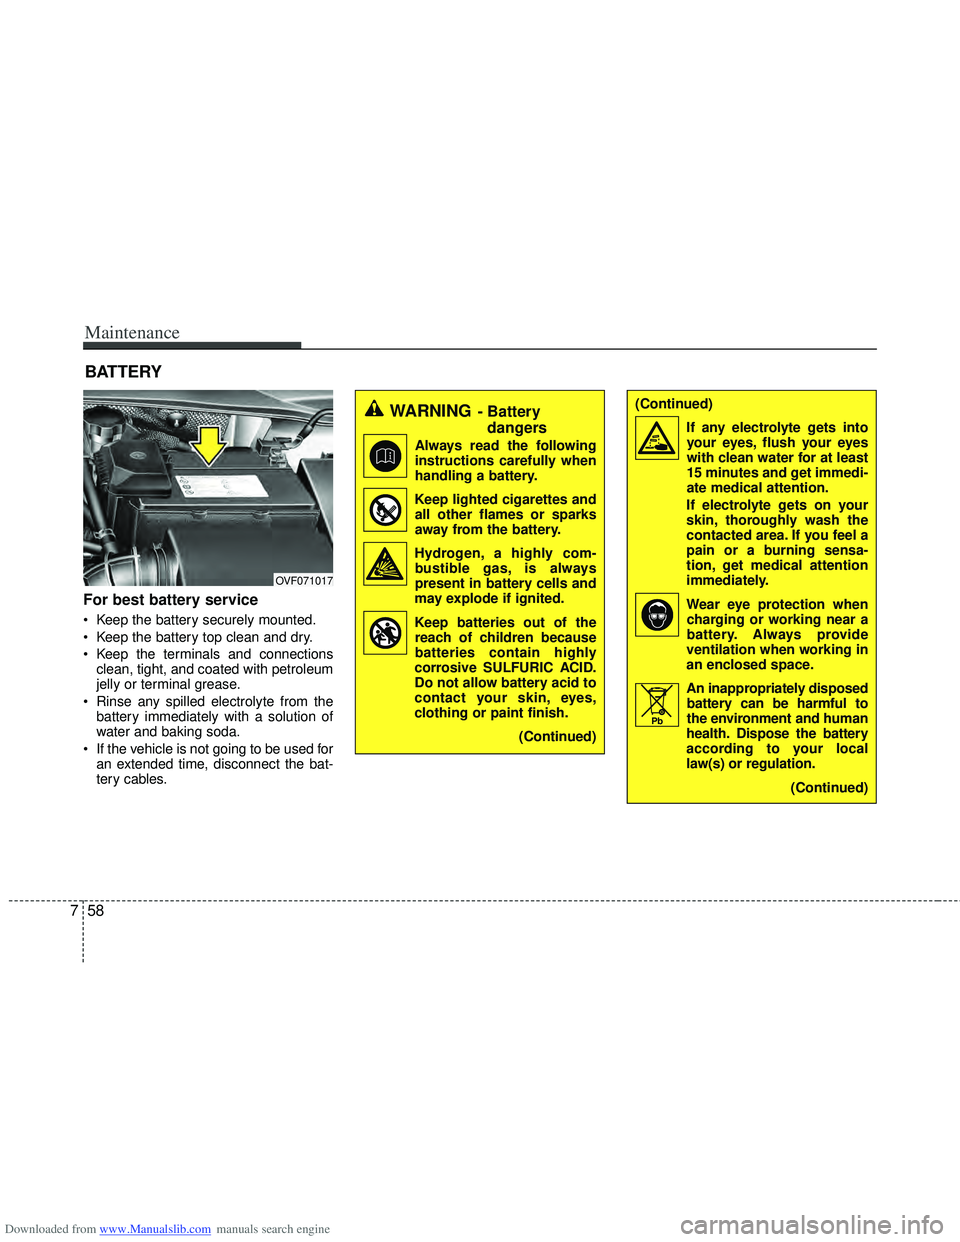
For best battery service
Keep the battery securely mounted.
Keep the battery top clean and dry.
Keep the terminals and connections
clean, tight, and coated with petroleum
jelly or terminal grease.
Rinse any spilled electrolyte from the battery immediately with a solution of
water and baking soda.
If the vehicle is not going to be used for an extended time, disconnect the bat-
tery cables.
WARNING- Battery dangers
Always read the following
instructions carefully when
handling a battery.
Keep lighted cigarettes and all other flames or sparks
away from the battery.
Hydrogen, a highly com- bustible gas, is always
present in battery cells and
may explode if ignited.
Keep batteries out of the reach of children because
batteries contain highly
corrosive SULFURIC ACID.
Do not allow battery acid to
contact your skin, eyes,
clothing or paint finish.
(Continued)
OVF071017
(Continued)If any electrolyte gets intoyour eyes, flush your eyes
with clean water for at least
15 minutes and get immedi-
ate medical attention.
If electrolyte gets on your
skin, thoroughly wash the
contacted area. If you feel a
pain or a burning sensa-
tion, get medical attention
immediately.
Wear eye protection when charging or working near a
battery. Always provide
ventilation when working in
an enclosed space.
An inappropriately disposed battery can be harmful to
the environment and human
health. Dispose the battery
according to your local
law(s) or regulation.
(Continued)
Pb
Page 464 of 534
Downloaded from www.Manualslib.com manuals search engine 759
Maintenance
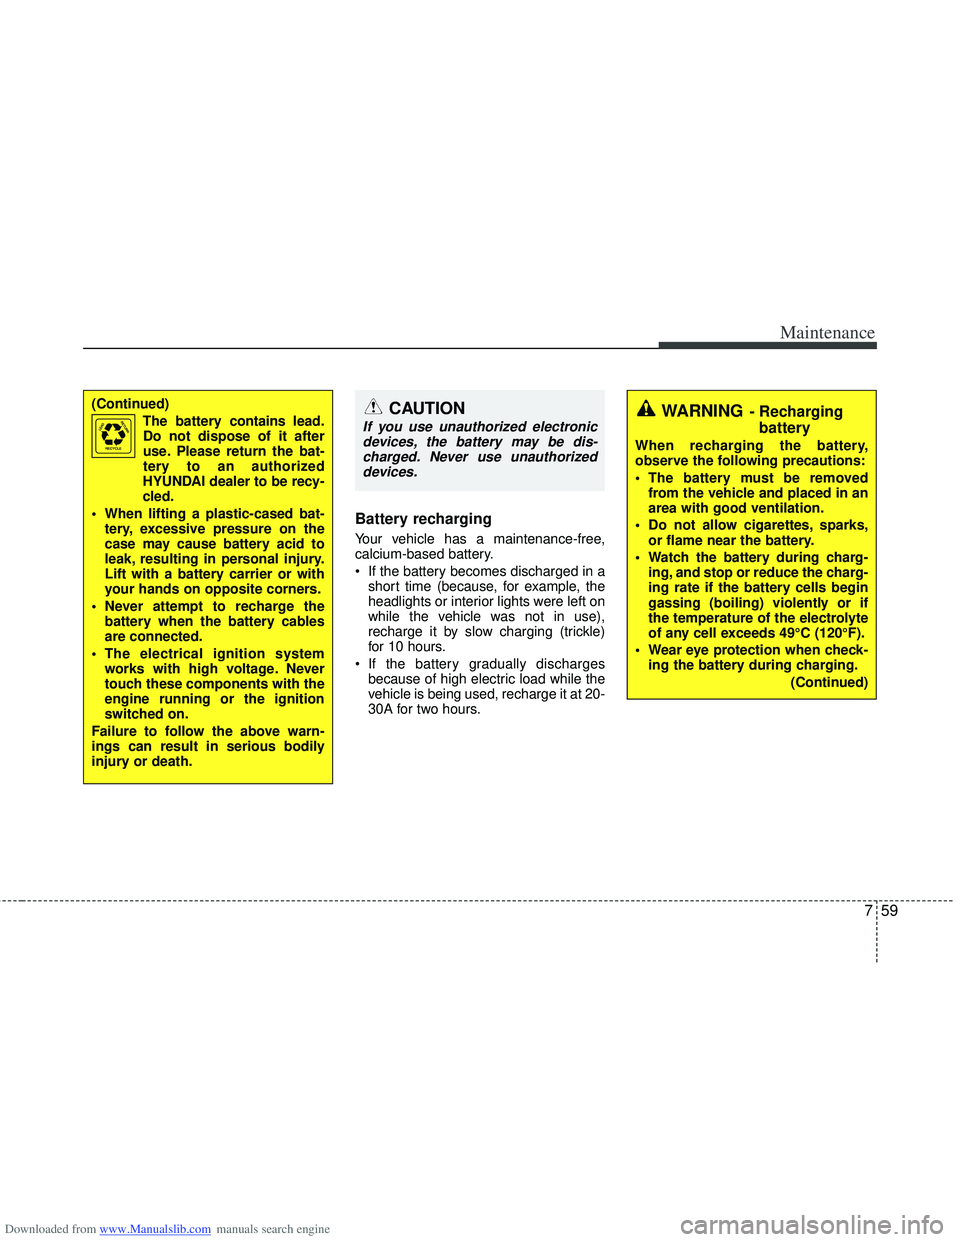
Battery recharging
Your vehicle has a maintenance-free,
calcium-based battery.
If the battery becomes discharged in ashort time (because, for example, the
headlights or interior lights were left on
while the vehicle was not in use),
recharge it by slow charging (trickle)
for 10 hours.
If the battery gradually discharges because of high electric load while the
vehicle is being used, recharge it at 20-
30A for two hours.
(Continued)
The battery contains lead.
Do not dispose of it after
use. Please return the bat-
tery to an authorized
HYUNDAI dealer to be recy-
cled.
When lifting a plastic-cased bat- tery, excessive pressure on the
case may cause battery acid to
leak, resulting in personal injury.
Lift with a battery carrier or with
your hands on opposite corners.
Never attempt to recharge the battery when the battery cables
are connected.
The electrical ignition system works with high voltage. Never
touch these components with the
engine running or the ignition
switched on.
Failure to follow the above warn-
ings can result in serious bodily
injury or death.WARNING- Recharging battery
When recharging the battery,
observe the following precautions:
The battery must be removed
from the vehicle and placed in an
area with good ventilation.
Do not allow cigarettes, sparks, or flame near the battery.
Watch the battery during charg- ing, and stop or reduce the charg-
ing rate if the battery cells begin
gassing (boiling) violently or if
the temperature of the electrolyte
of any cell exceeds 49°C (120°F).
Wear eye protection when check- ing the battery during charging.
(Continued)
CAUTION
If you use unauthorized electronicdevices, the battery may be dis-charged. Never use unauthorizeddevices.
Page 465 of 534
Downloaded from www.Manualslib.com manuals search engine Maintenance
60
7
Reset items
Items should be reset after the battery
has been discharged or the battery has
been disconnected.
Auto up/down window (See section 4)
Sunroof (See section 4)
Trip computer (See section 4)
Climate control system
(See section 4)
Clock (See section 4)
Audio (See section 4)(Continued)
Disconnect the battery charger in the following order.
1. Turn off the battery charger main switch.
2. Unhook the negative clamp from the negative battery ter-
minal.
3. Unhook the positive clamp from the positive battery termi-
nal.
Before performing maintenance or recharging the battery, turn off
all accessories and stop the
engine.
The negative battery cable must be removed first and installed
last when the battery is discon-
nected.
Page 476 of 534
Downloaded from www.Manualslib.com manuals search engine 771
Maintenance
FUSES
A vehicle’s electrical system is protected
from electrical overload damage by
fuses.
This vehicle has 3 (or 4) fuse panels, one
located in the driver’s side panel bolster,
the other in the engine compartment
near the battery.
If any of your vehicle’s lights, acces-
sories, or controls do not work, check the
appropriate circuit fuse. If a fuse has
blown, the element inside the fuse will be
melted.
If the electrical system does not work,
first check the driver’s side fuse panel.
Always replace a blown fuse with one of
the same rating.
If the replacement fuse blows, this indi-
cates an electrical problem. Avoid using
the system involved and immediately
consult an authorized HYUNDAI dealer.
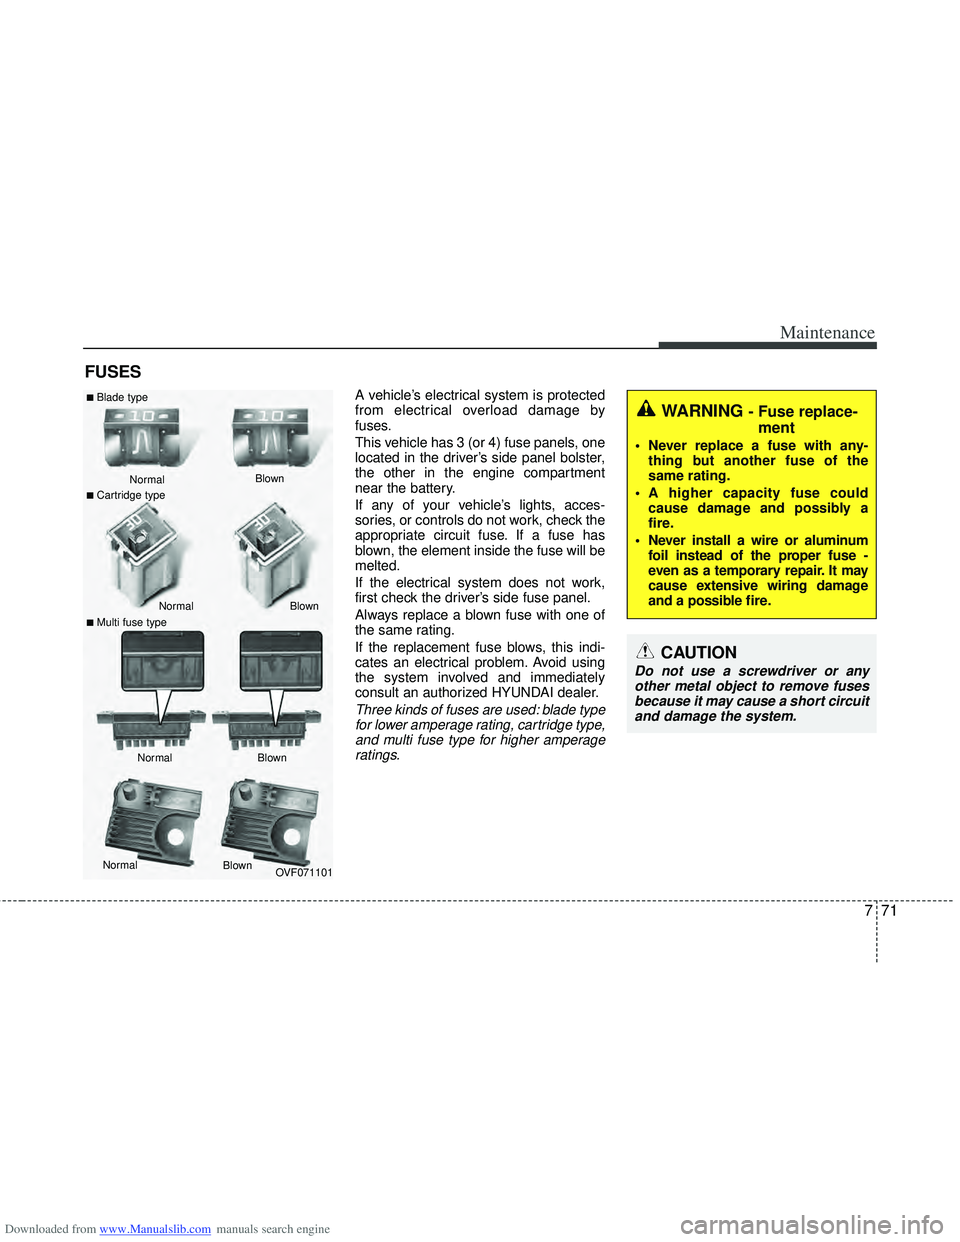
Three kinds of fuses are used: blade typefor lower amperage rating, cartridge type,and multi fuse type for higher amperageratings.
WARNING - Fuse replace- ment
Never replace a fuse with any-
thing but another fuse of the
same rating.
A higher capacity fuse could cause damage and possibly a
fire.
Never install a wire or aluminum foil instead of the proper fuse -
even as a temporary repair. It may
cause extensive wiring damage
and a possible fire.
CAUTION
Do not use a screwdriver or anyother metal object to remove fusesbecause it may cause a short circuit and damage the system.
OVF071101
Normal
Normal
■Blade type
■Cartridge type
■Multi fuse type Blown
Blown
Normal Blown
Normal Blown
Page 479 of 534
Downloaded from www.Manualslib.com manuals search engine Maintenance
74
7
Main fuse
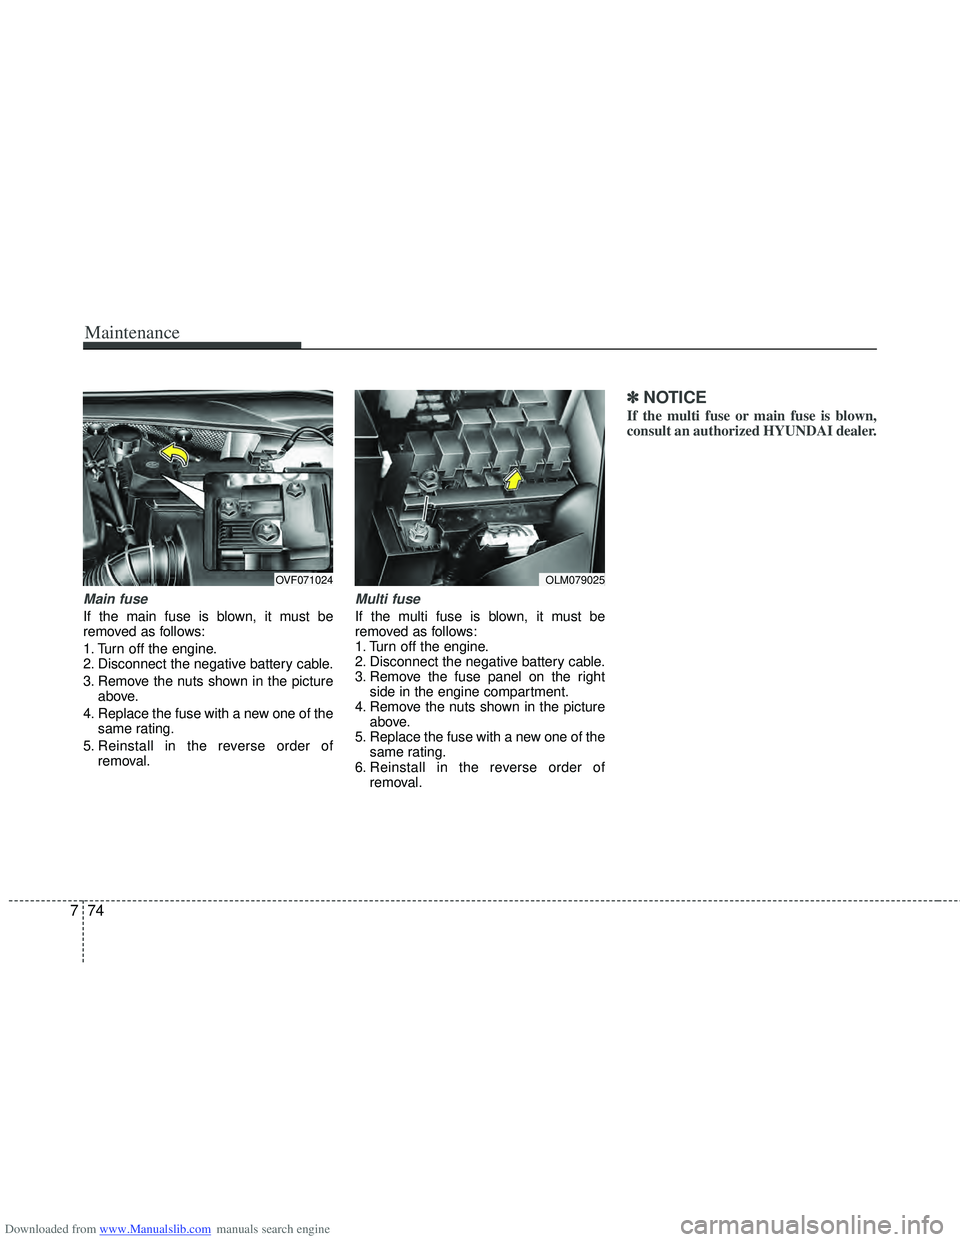
If the main fuse is blown, it must be
removed as follows:
1. Turn off the engine.
2. Disconnect the negative battery cable.
3. Remove the nuts shown in the picture
above.
4. Replace the fuse with a new one of the same rating.
5. Reinstall in the reverse order of removal.
Multi fuse
If the multi fuse is blown, it must be
removed as follows:
1. Turn off the engine.
2. Disconnect the negative battery cable.
3. Remove the fuse panel on the rightside in the engine compartment.
4. Remove the nuts shown in the picture above.
5. Replace the fuse with a new one of the same rating.
6. Reinstall in the reverse order of removal.
✽ ✽NOTICE
If the multi fuse or main fuse is blown,
consult an authorized HYUNDAI dealer.
OVF071024OLM079025
Page 493 of 534
Downloaded from www.Manualslib.com manuals search engine Maintenance
88
7
Headlight (HID type), position light
and dedicated lamp
If the light bulb does not operate, have
the vehicle checked by an authorized
HYUNDAI dealer.
✽ ✽ NOTICE
HID lamps have superior performance
vs. halogen bulbs. HID lamps are esti-
mated by the manufacturer to last twice
as long or longer than halogen bulbs
depending on their frequency of use.
They will probably require replacement
at some point in the life of the vehicle.
Cycling the headlamps on and off more
than typical use will shorten HID lamps
life. HID lamps do not fail in the same
manner as halogen incandescent lamps.
If a headlamp goes out after a period of
operation but will immediately relight
when the headlamp switch is cycled it is
likely the HID lamp needs to be
replaced. HID lighting components are
more complex than conventional halo-
gen bulbs thus have higher replacement
cost.
Headlight and front fog light aim-
ing (for Europe)
Headlight aiming
1. Inflate the tires to the specified pres-
sure and remove any loads from the
vehicle except the driver, spare tire,
and tools.
2. The vehicle should be placed on a flat floor.
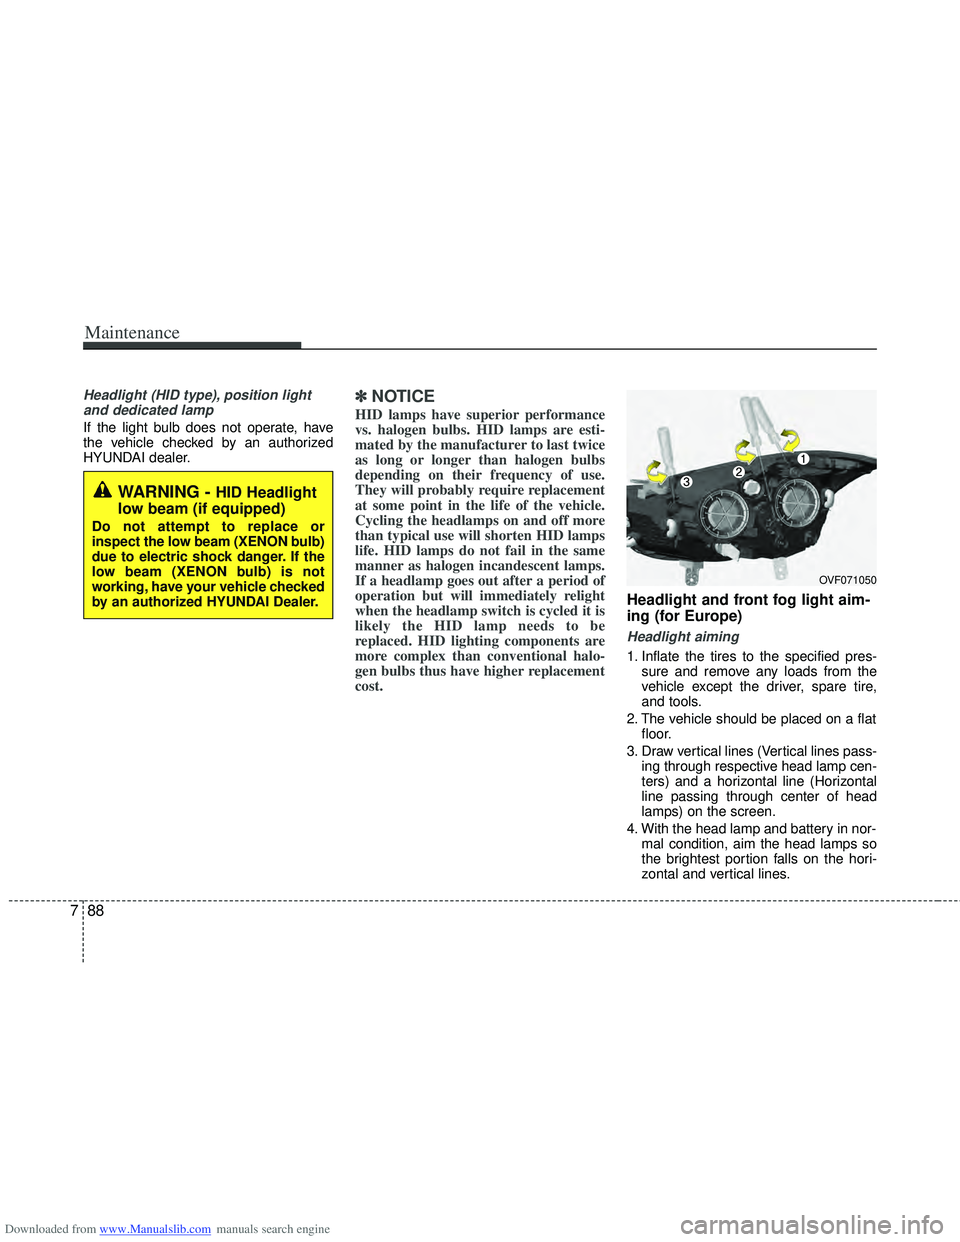
3. Draw vertical lines (Vertical lines pass- ing through respective head lamp cen-
ters) and a horizontal line (Horizontal
line passing through center of head
lamps) on the screen.
4. With the head lamp and battery in nor- mal condition, aim the head lamps so
the brightest portion falls on the hori-
zontal and vertical lines.
WARNING - HID Headlight
low beam (if equipped)
Do not attempt to replace or
inspect the low beam (XENON bulb)
due to electric shock danger. If the
low beam (XENON bulb) is not
working, have your vehicle checked
by an authorized HYUNDAI Dealer.
OVF071050
Page 494 of 534
Downloaded from www.Manualslib.com manuals search engine 789
Maintenance
5. To aim the low beam left or right, turnthe driver (1) clockwise or counter-
clockwise. To aim the low beam up or
down, turn the driver (2) clockwise or
counterclockwise.
To aim the high beam up or down, turnthe driver (3) clockwise or counter-
clockwise. AFLS type
1. Turn off the engine
2. Turn the light switch to the low beam
position.
3. Position the tires straight ahead with the steering wheel.
4. Turn on the engine.
5. Inflate the tires to the specified pres- sure and remove any loads from the
vehicle except the driver, spare tire,
and tools.
6. The vehicle should be placed on a flat floor.
7. Draw vertical lines (Vertical lines pass- ing through respective head lamp cen-
ters) and a horizontal line (Horizontal
line passing through center of head
lamps) on the screen.
8. With the head lamp and battery in nor- mal condition, aim the head lamps so
the brightest portion falls on the hori-
zontal and vertical lines.
9. To aim the low beam left or right, turn the driver (1) clockwise or counter-
clockwise. To aim the low beam up or
down, turn the driver (2) clockwise or
counterclockwise. To aim the high
beam up or down, turn the driver (3)
clockwise or counterclockwise.
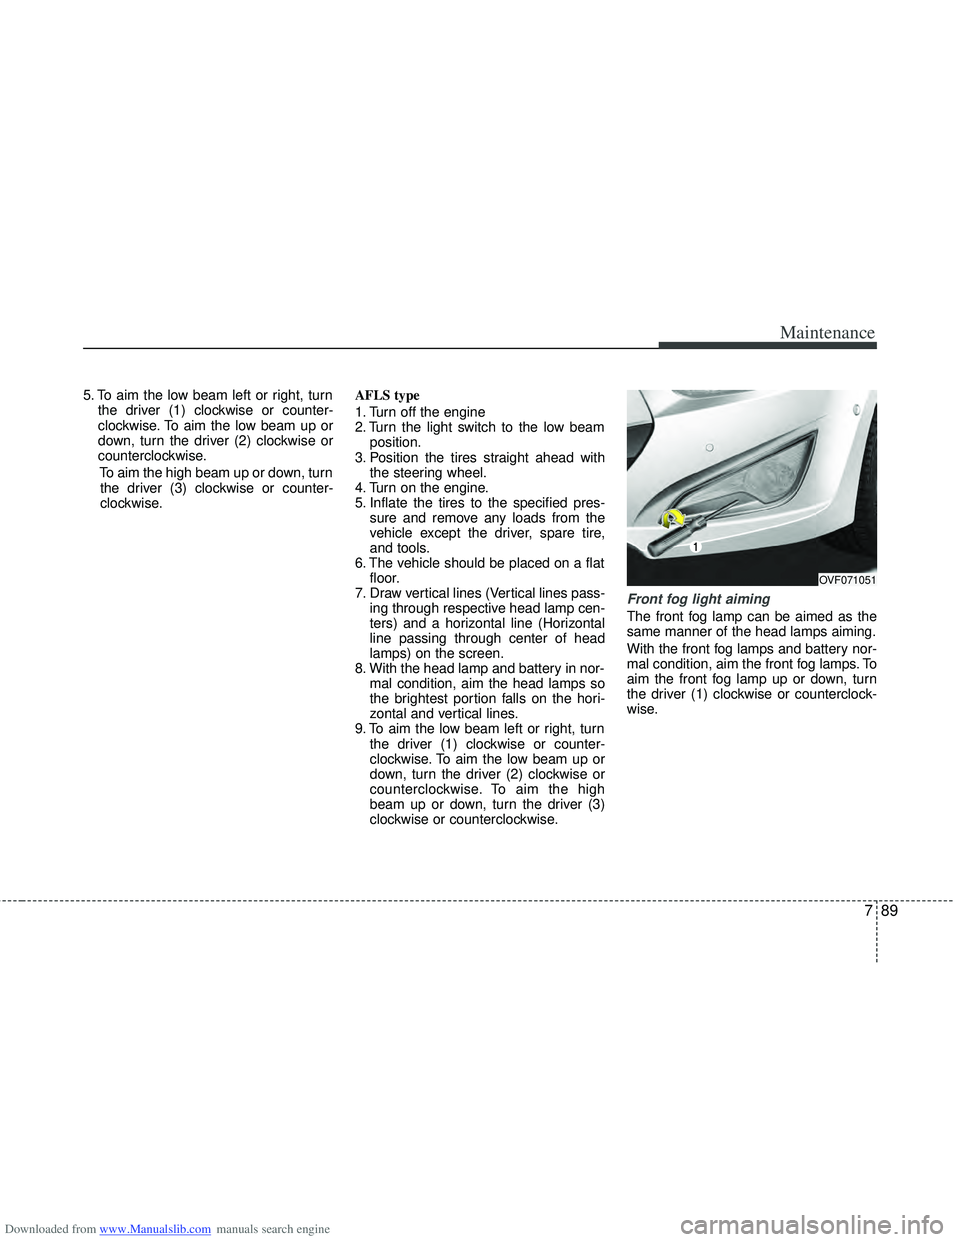
Front fog light aiming
The front fog lamp can be aimed as the
same manner of the head lamps aiming.
With the front fog lamps and battery nor-
mal condition, aim the front fog lamps. To
aim the front fog lamp up or down, turn
the driver (1) clockwise or counterclock-
wise.
OVF071051
Page 525 of 534
Downloaded from www.Manualslib.com manuals search engine Index
2I
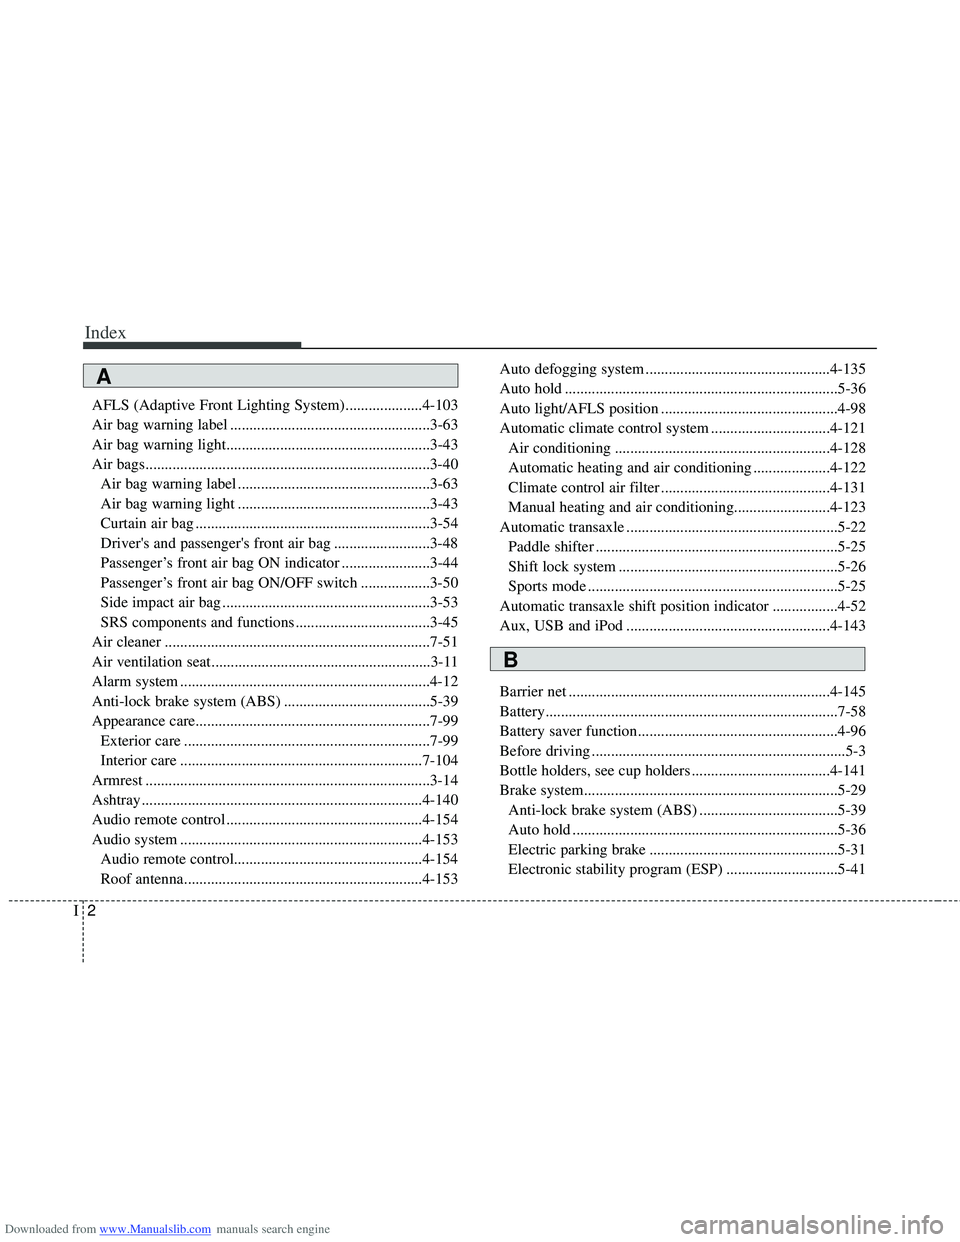
AFLS (Adaptive Front Lighting System)....................4-103
Air bag warning label ....................................................3-63
Air bag warning light.....................................................3-43
Air bags........................................................................\
..3-40Air bag warning label ..................................................3-63
Air bag warning light ..................................................3-43
Curtain air bag .............................................................3-54
Driver's and passenger's front air bag .........................3-48
Passenger’s front air bag ON indicator .......................3-44
Passenger’s front air bag ON/OFF switch ..................3-50
Side impact air bag ......................................................3-53
SRS components and functions ...................................3-45
Air cleaner .....................................................................7-5\
1
Air ventilation seat .........................................................3-11
Alarm system .................................................................4-12
Anti-lock brake system (ABS) ......................................5-39
Appearance care.............................................................7-99 Exterior care ................................................................7-99
Interior care ...............................................................7-104
Armrest ........................................................................\
..3-14
Ashtray ........................................................................\
.4-140
Audio remote control ...................................................4-154
Audio system ...............................................................4-153 Audio remote control.................................................4-1\
54
Roof antenna..............................................................4-153 Auto defogging system ................................................4-135
Auto hold .......................................................................5\
-36
Auto light/AFLS position ..............................................4-98
Automatic climate control system ...............................4-121
Air conditioning ........................................................4-128
Automatic heating and air conditioning ....................4-122
Climate control air filter ............................................4-131
Manual heating and air conditioning.........................4-123
Automatic transaxle .......................................................5-22 Paddle shifter ...............................................................5-25
Shift lock system .........................................................5-26
Sports mode .................................................................5-25
Automatic transaxle shift position indicator .................4-52
Aux, USB and iPod .....................................................4-143
Barrier net ....................................................................4-14\
5
Battery........................................................................\
....7-58
Battery saver function....................................................4-96
Before driving ..................................................................5-3
Bottle holders, see cup holders ....................................4-141
Brake system..................................................................5-29 Anti-lock brake system (ABS) ....................................5-39
Auto hold .....................................................................5-3\
6
Electric parking brake .................................................5-31
Electronic stability program (ESP) .............................5-41
A
B
Page 530 of 534
Downloaded from www.Manualslib.com manuals search engine I7
Index
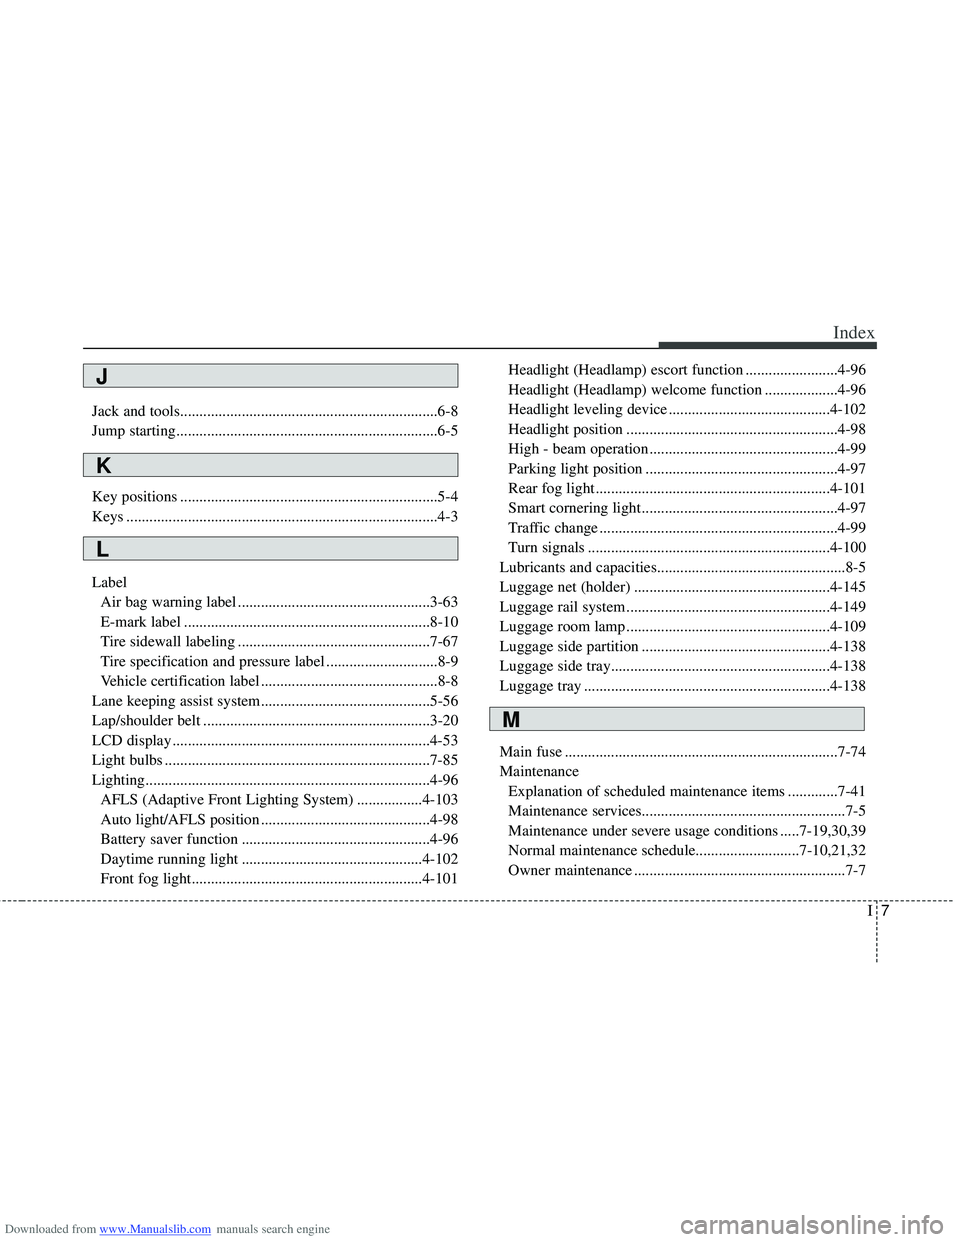
Jack and tools...................................................................6-8
Jump starting....................................................................6-5
Key positions ...................................................................5-4
Keys ........................................................................\
.........4-3
LabelAir bag warning label ..................................................3-63
E-mark label ................................................................8-10
Tire sidewall labeling ..................................................7-67
Tire specification and pressure label .............................8-9
Vehicle certification label ..............................................8-8
Lane keeping assist system............................................5-56
Lap/shoulder belt ...........................................................3-20
LCD display ...................................................................4-53
Light bulbs .....................................................................7-8\
5
Lighting........................................................................\
..4-96 AFLS (Adaptive Front Lighting System) .................4-103
Auto light/AFLS position ............................................4-98
Battery saver function .................................................4-96
Daytime running light ...............................................4-102
Front fog light............................................................4-101 Headlight (Headlamp) escort function ........................4-96
Headlight (Headlamp) welcome function ...................4-96
Headlight leveling device ..........................................4-102
Headlight position .......................................................4-98
High - beam operation .................................................4-99
Parking light position ..................................................4-97
Rear fog light .............................................................4-101
Smart cornering light ...................................................4-97
Traffic change ..............................................................4-99
Turn signals ...............................................................4-100
Lubricants and capacities.................................................8-5
Luggage net (holder) ...................................................4-145
Luggage rail system .....................................................4-149
Luggage room lamp .....................................................4-109
Luggage side partition .................................................4-138
Luggage side tray.........................................................4-138
Luggage tray ................................................................4-138
Main fuse .......................................................................7\
-74
Maintenance Explanation of scheduled maintenance items .............7-41
Maintenance services....................................................\
.7-5
Maintenance under severe usage conditions .....7-19,30,39
Normal maintenance schedule...........................7-10,21,32
Owner maintenance .......................................................7-7
L
M
K
J