tow Hyundai Ioniq Electric 2018 User Guide
[x] Cancel search | Manufacturer: HYUNDAI, Model Year: 2018, Model line: Ioniq Electric, Model: Hyundai Ioniq Electric 2018Pages: 541, PDF Size: 19.83 MB
Page 103 of 541
3-18
Do not install any cover or acces-
sory on the steering wheel. The
cover or accessory could cause
damage to the heated steering
wheel system.
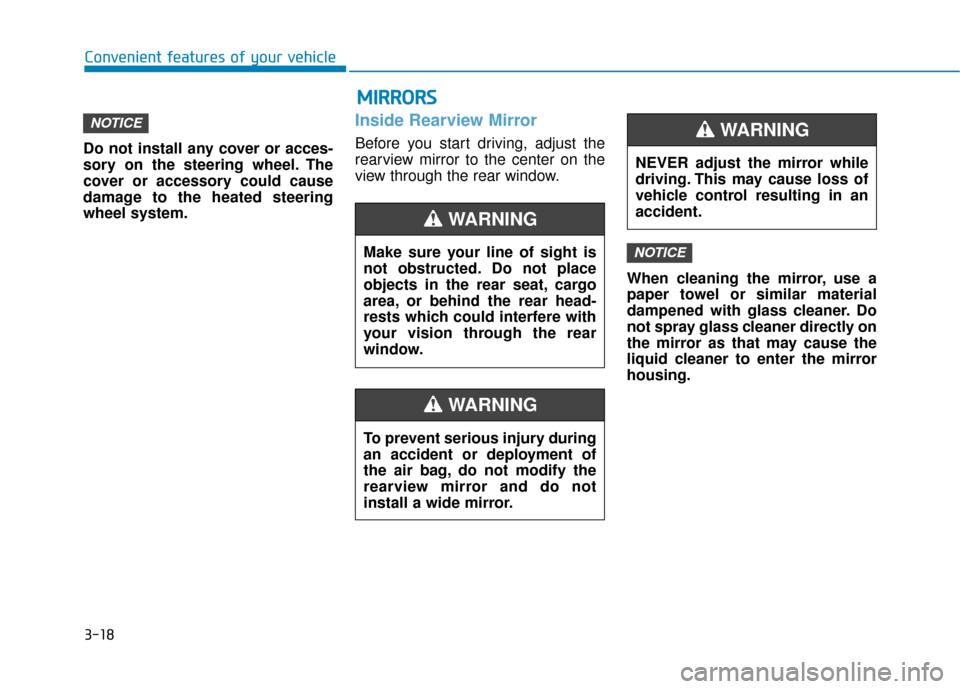
Inside Rearview Mirror
Before you start driving, adjust the
rearview mirror to the center on the
view through the rear window.When cleaning the mirror, use a
paper towel or similar material
dampened with glass cleaner. Do
not spray glass cleaner directly on
the mirror as that may cause the
liquid cleaner to enter the mirror
housing.
NOTICE
NOTICE
Convenient features of your vehicle
Make sure your line of sight is
not obstructed. Do not place
objects in the rear seat, cargo
area, or behind the rear head-
rests which could interfere with
your vision through the rear
window.
WARNING
NEVER adjust the mirror while
driving. This may cause loss of
vehicle control resulting in an
accident.
WARNING
To prevent serious injury during
an accident or deployment of
the air bag, do not modify the
rearview mirror and do not
install a wide mirror.
WARNING
M MI
IR
R R
RO
O R
RS
S
Page 104 of 541
3-19
Convenient features of your vehicle
3
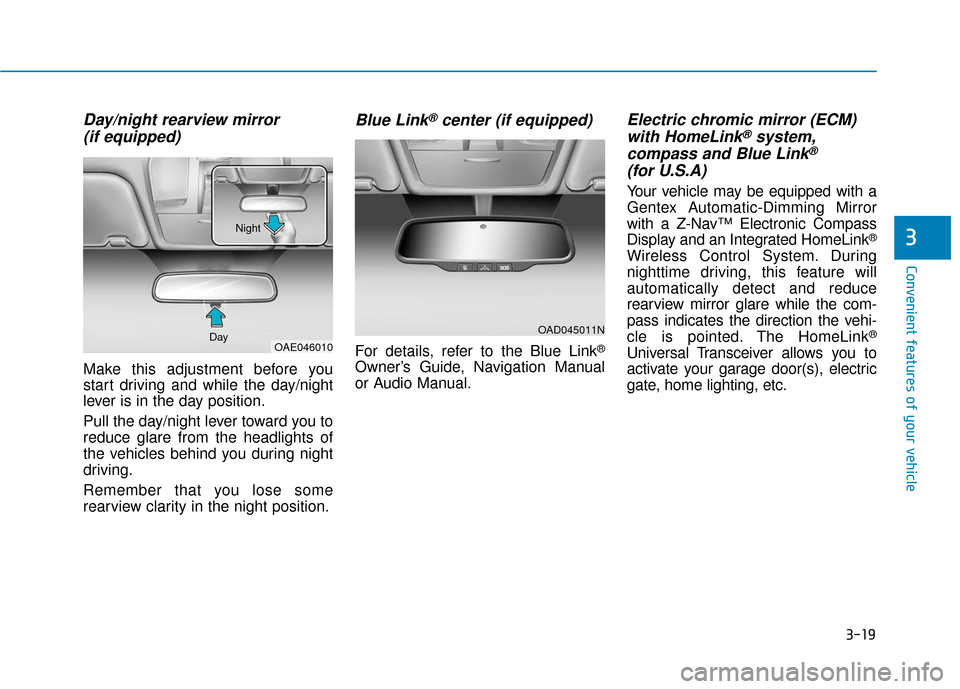
Day/night rearview mirror (if equipped)
Make this adjustment before you
start driving and while the day/night
lever is in the day position.
Pull the day/night lever toward you to
reduce glare from the headlights of
the vehicles behind you during night
driving.
Remember that you lose some
rearview clarity in the night position.
Blue Link®center (if equipped)
For details, refer to the Blue Link®
Owner’s Guide, Navigation Manual
or Audio Manual.
Electric chromic mirror (ECM)with HomeLink®system,
compass and Blue Link®
(for U.S.A)
Your vehicle may be equipped with a
Gentex Automatic-Dimming Mirror
with a Z-Nav™ Electronic Compass
Display and an Integrated HomeLink
®
Wireless Control System. During
nighttime driving, this feature will
automatically detect and reduce
rearview mirror glare while the com-
pass indicates the direction the vehi-
cle is pointed. The HomeLink
®
Universal Transceiver allows you to
activate your garage door(s), electric
gate, home lighting, etc.
OAD045011N
OAE046010
Day Night
Page 121 of 541
3-36
Convenient features of your vehicle
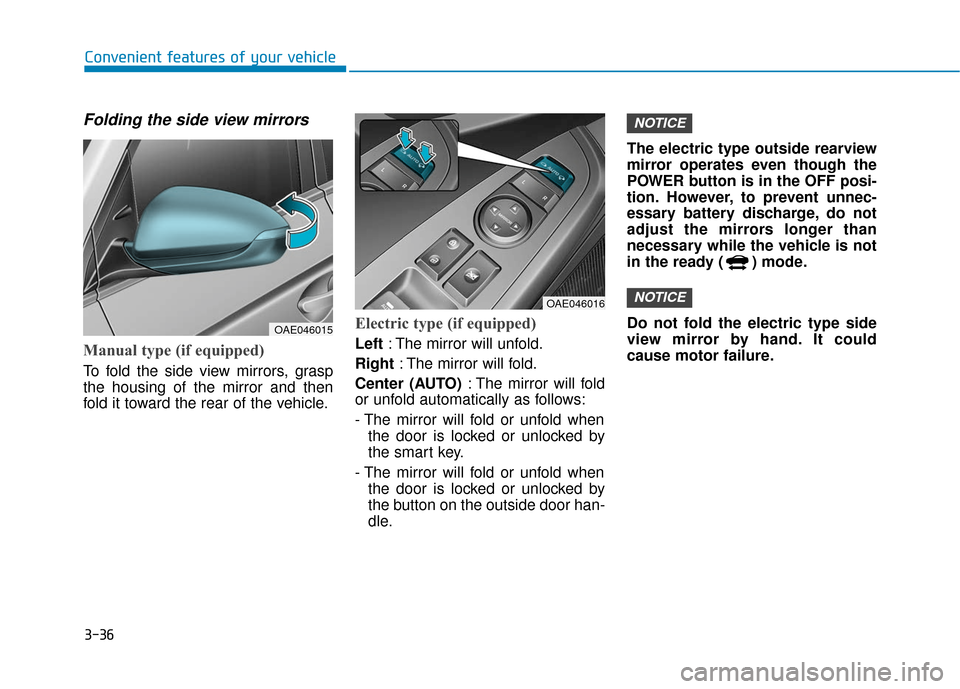
Folding the side view mirrors
Manual type (if equipped)
To fold the side view mirrors, grasp
the housing of the mirror and then
fold it toward the rear of the vehicle.
Electric type (if equipped)
Left: The mirror will unfold.
Right : The mirror will fold.
Center (AUTO) : The mirror will fold
or unfold automatically as follows:
- The mirror will fold or unfold when
the door is locked or unlocked by
the smart key.
- The mirror will fold or unfold when the door is locked or unlocked by
the button on the outside door han-
dle. The electric type outside rearview
mirror operates even though the
POWER button is in the OFF posi-
tion. However, to prevent unnec-
essary battery discharge, do not
adjust the mirrors longer than
necessary while the vehicle is not
in the ready ( ) mode.
Do not fold the electric type side
view mirror by hand. It could
cause motor failure.
NOTICE
NOTICE
OAE046015
OAE046016
Page 160 of 541
3-75
Convenient features of your vehicle
3
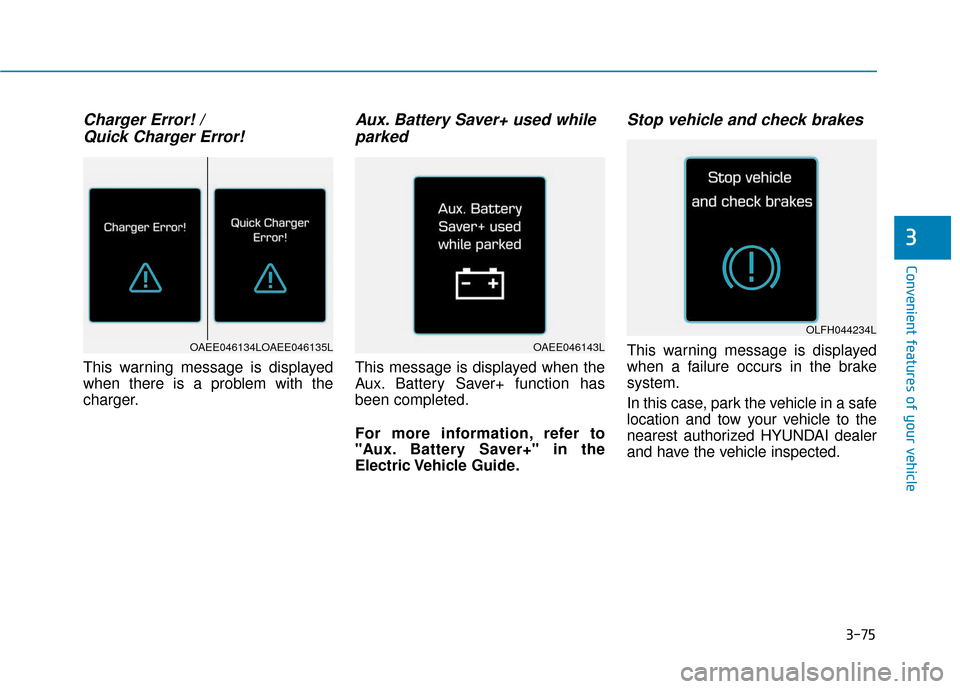
Charger Error! / Quick Charger Error!
This warning message is displayed
when there is a problem with the
charger.
Aux. Battery Saver+ used whileparked
This message is displayed when the
Aux. Battery Saver+ function has
been completed.
For more information, refer to
"Aux. Battery Saver+" in the
Electric Vehicle Guide.
Stop vehicle and check brakes
This warning message is displayed
when a failure occurs in the brake
system.
In this case, park the vehicle in a safe
location and tow your vehicle to the
nearest authorized HYUNDAI dealer
and have the vehicle inspected.OAEE046134LOAEE046135LOAEE046143L
OLFH044234L
Page 163 of 541
3-78
Convenient features of your vehicle
Power limited
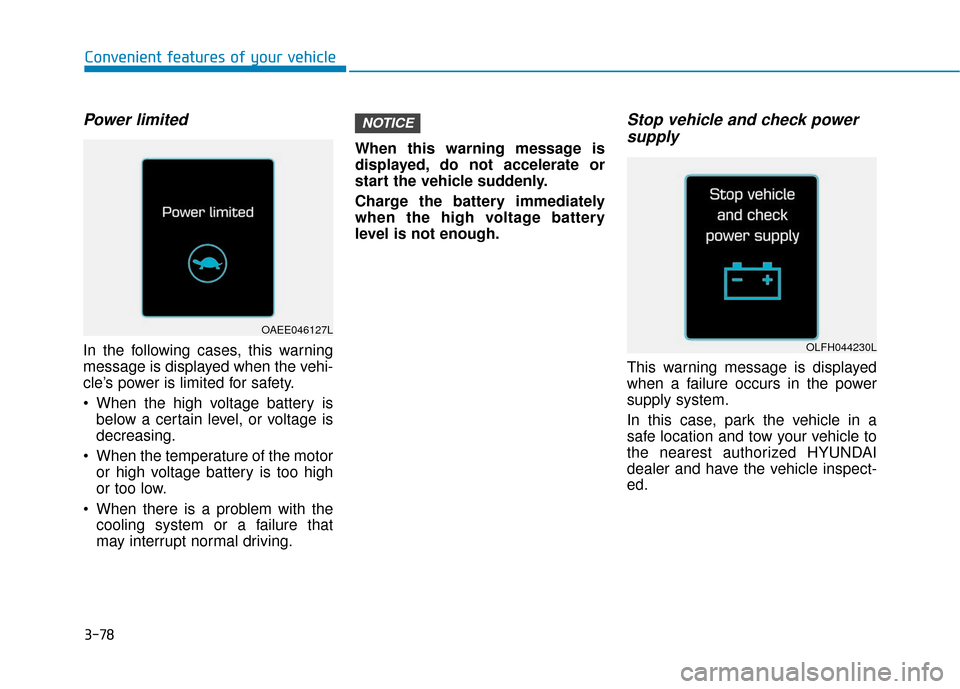
In the following cases, this warning
message is displayed when the vehi-
cle’s power is limited for safety.
When the high voltage battery isbelow a certain level, or voltage is
decreasing.
When the temperature of the motor or high voltage battery is too high
or too low.
When there is a problem with the cooling system or a failure that
may interrupt normal driving. When this warning message is
displayed, do not accelerate or
start the vehicle suddenly.
Charge the battery immediately
when the high voltage battery
level is not enough.
Stop vehicle and check power
supply
This warning message is displayed
when a failure occurs in the power
supply system.
In this case, park the vehicle in a
safe location and tow your vehicle to
the nearest authorized HYUNDAI
dealer and have the vehicle inspect-
ed.
NOTICE
OAEE046127L
OLFH044230L
Page 181 of 541
3-96
Convenient features of your vehicle
High beam operation
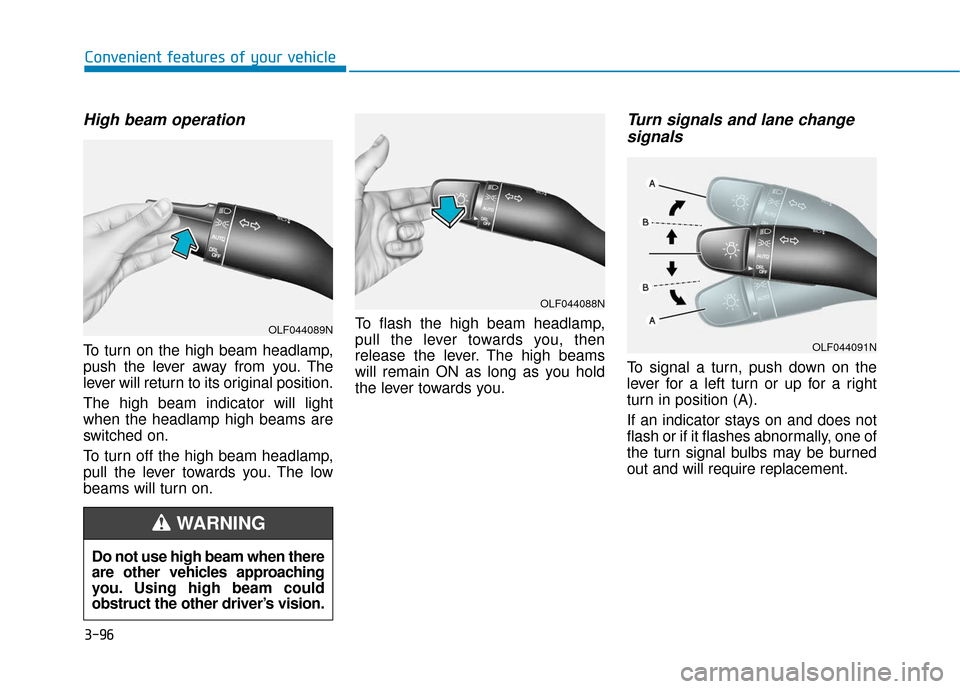
To turn on the high beam headlamp,
push the lever away from you. The
lever will return to its original position.
The high beam indicator will light
when the headlamp high beams are
switched on.
To turn off the high beam headlamp,
pull the lever towards you. The low
beams will turn on.To flash the high beam headlamp,
pull the lever towards you, then
release the lever. The high beams
will remain ON as long as you hold
the lever towards you.
Turn signals and lane change
signals
To signal a turn, push down on the
lever for a left turn or up for a right
turn in position (A).
If an indicator stays on and does not
flash or if it flashes abnormally, one of
the turn signal bulbs may be burned
out and will require replacement.
Do not use high beam when there
are other vehicles approaching
you. Using high beam could
obstruct the other driver’s vision.
WARNING
OLF044089N
OLF044088N
OLF044091N
Page 189 of 541
3-104
Convenient features of your vehicle
Windshield Washers
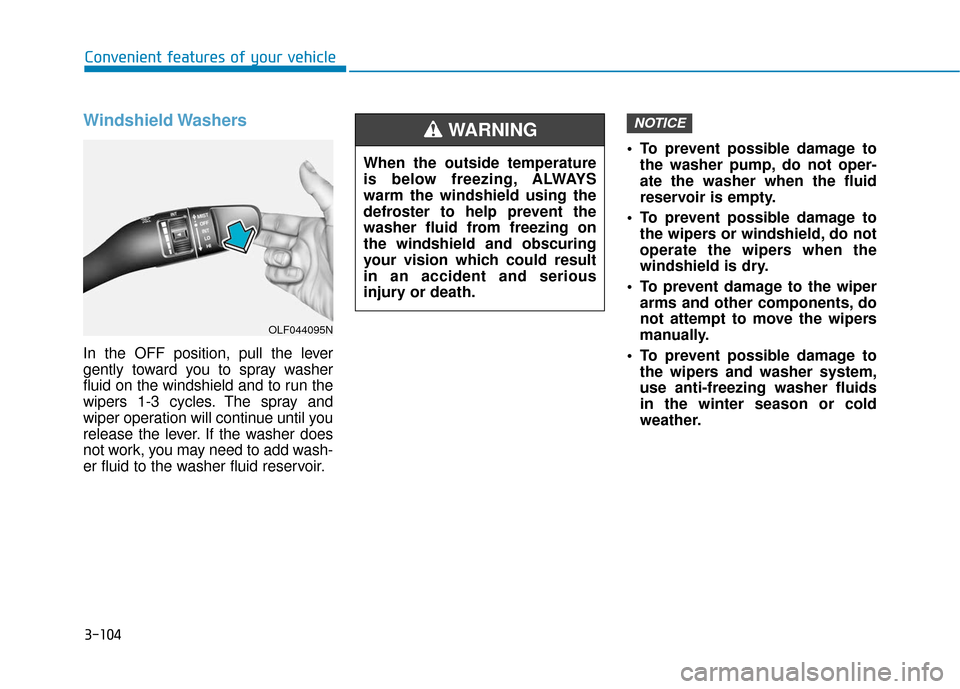
In the OFF position, pull the lever
gently toward you to spray washer
fluid on the windshield and to run the
wipers 1-3 cycles. The spray and
wiper operation will continue until you
release the lever. If the washer does
not work, you may need to add wash-
er fluid to the washer fluid reservoir. To prevent possible damage to
the washer pump, do not oper-
ate the washer when the fluid
reservoir is empty.
To prevent possible damage to the wipers or windshield, do not
operate the wipers when the
windshield is dry.
To prevent damage to the wiper arms and other components, do
not attempt to move the wipers
manually.
To prevent possible damage to the wipers and washer system,
use anti-freezing washer fluids
in the winter season or cold
weather.
NOTICE
When the outside temperature
is below freezing, ALWAYS
warm the windshield using the
defroster to help prevent the
washer fluid from freezing on
the windshield and obscuring
your vision which could result
in an accident and serious
injury or death.
WARNING
OLF044095N
Page 196 of 541
3-111
Convenient features of your vehicle
3
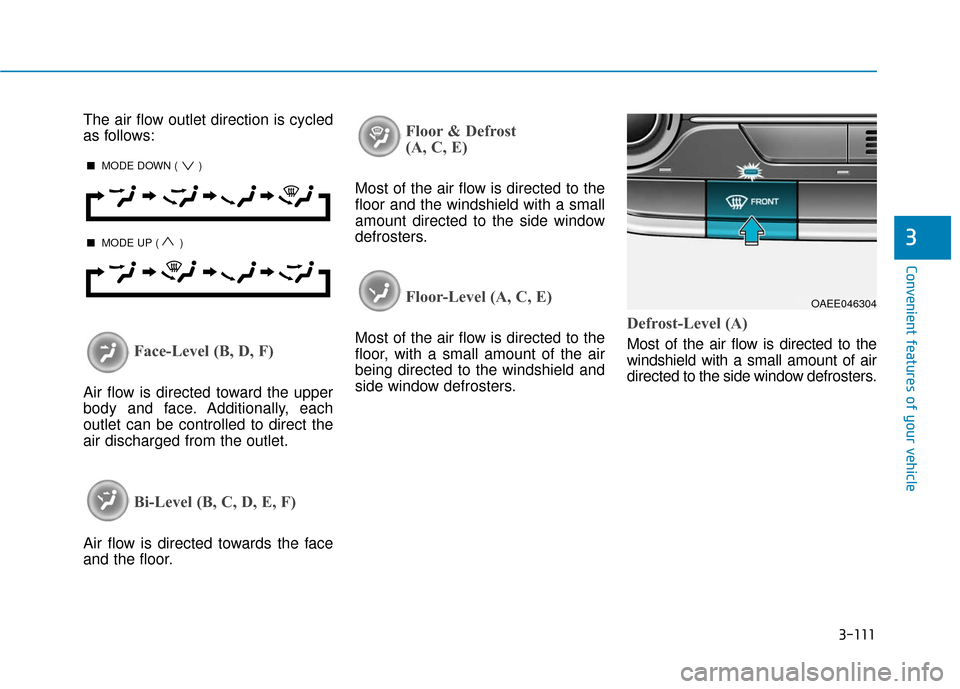
The air flow outlet direction is cycled
as follows:
Face-Level (B, D, F)
Air flow is directed toward the upper
body and face. Additionally, each
outlet can be controlled to direct the
air discharged from the outlet.
Bi-Level (B, C, D, E, F)
Air flow is directed towards the face
and the floor.
Floor & Defrost
(A, C, E)
Most of the air flow is directed to the
floor and the windshield with a small
amount directed to the side window
defrosters.
Floor-Level (A, C, E)
Most of the air flow is directed to the
floor, with a small amount of the air
being directed to the windshield and
side window defrosters.Defrost-Level (A)
Most of the air flow is directed to the
windshield with a small amount of air
directed to the side window defrosters.
OAEE046304
■MODE DOWN ( )
■MODE UP ( )
Page 207 of 541
3-122
Convenient features of your vehicleWhen the Auto Defogging
System operates, the indi-
cator will illuminate.
If higher level of moisture are sensed in
the vehicle, the Auto Defogging System
will operate in the following order:
Step 1 : Outside air position
Step 2 : Operating the air conditioning
Step 3 : Blowing air toward the wind- shield
Step 4 : Increasing air flow toward the windshield
If the air conditioning is off or recircu-
lated air position is manually select-
ed while Auto Defogging System is
ON, the Auto Defogging System
Indicator will blink 3 times to signal
that the manual operation has been
canceled.
To cancel or reset the
Auto Defogging System
Press the front windshield defroster
button for 3 seconds when the
POWER button is in the ON position.
When the Auto Defogging System is
canceled, ADS OFF symbol will blink
3 times and the ADS OFF will be dis-
played on the climate control infor-
mation screen.
When the Auto Defogging System is
reset, ADS OFF symbol will blink 6
times without a signal.
Information
• When the air conditioning is turned on by Auto defogging system, if you
try to turn off the air conditioning, the
indicator will blink 3 times and the air
conditioning will not be turned off.
• For efficiency, do not select recircu- lated air position while Auto defog-
ging system is operating.
• When Auto defogging mode is selected, fan speed, temperature and
intake mode which is adjusted man-
ually are canceled for better defog-
ging result. Do not remove the sensor cover
located on the upper end of the
windshield glass.
Damage to system parts could
occur and may not be covered by
your vehicle warranty.
NOTICE
i
Page 216 of 541
3-131
Convenient features of your vehicle
Cargo Security Screen
(if equipped)
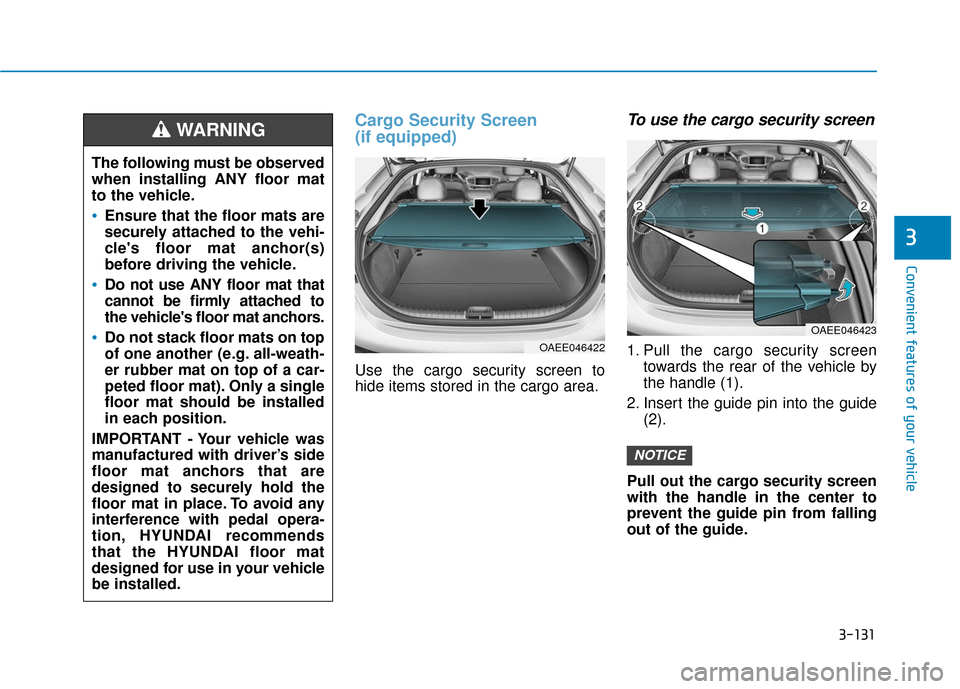
Use the cargo security screen to
hide items stored in the cargo area.
To use the cargo security screen
1. Pull the cargo security screentowards the rear of the vehicle by
the handle (1).
2. Insert the guide pin into the guide (2).
Pull out the cargo security screen
with the handle in the center to
prevent the guide pin from falling
out of the guide.
NOTICE
3
The following must be observed
when installing ANY floor mat
to the vehicle.
Ensure that the floor mats are
securely attached to the vehi-
cle's floor mat anchor(s)
before driving the vehicle.
Do not use ANY floor mat that
cannot be firmly attached to
the vehicle's floor mat anchors.
Do not stack floor mats on top
of one another (e.g. all-weath-
er rubber mat on top of a car-
peted floor mat). Only a single
floor mat should be installed
in each position.
IMPORTANT - Your vehicle was
manufactured with driver’s side
floor mat anchors that are
designed to securely hold the
floor mat in place. To avoid any
interference with pedal opera-
tion, HYUNDAI recommends
that the HYUNDAI floor mat
designed for use in your vehicle
be installed.
WARNING
OAEE046422
OAEE046423