warning lights Hyundai Ioniq Electric 2019 - RHD (UK, Australia) User Guide
[x] Cancel search | Manufacturer: HYUNDAI, Model Year: 2019, Model line: Ioniq Electric, Model: Hyundai Ioniq Electric 2019Pages: 526, PDF Size: 16.63 MB
Page 183 of 526
3-36
Convenient features of your vehicle
Instrument cluster control
Instrument panel illumination
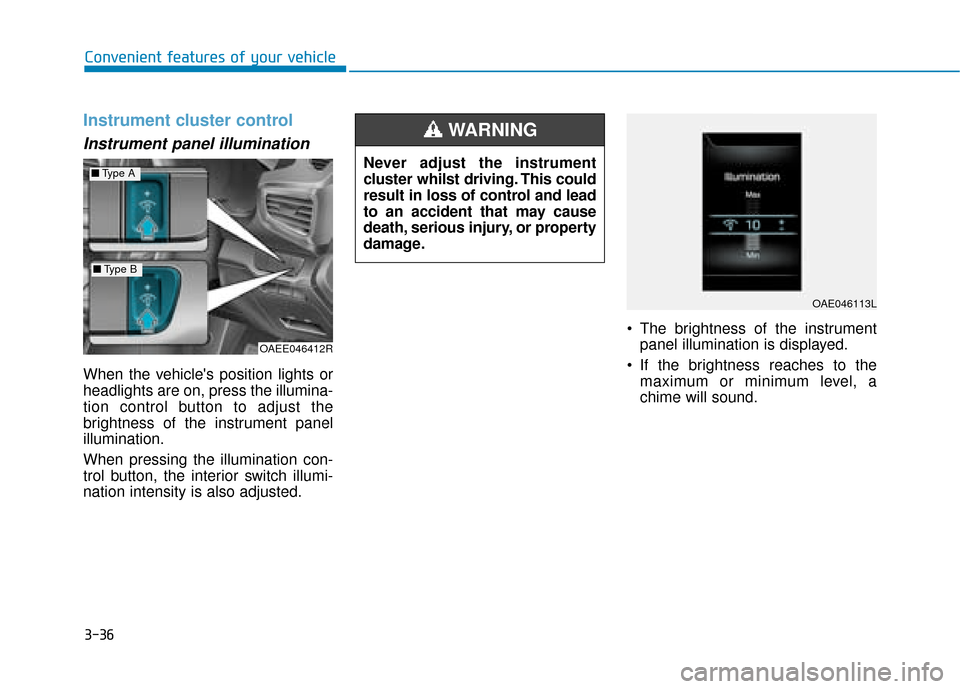
When the vehicle's position lights or
headlights are on, press the illumina-
tion control button to adjust the
brightness of the instrument panel
illumination.
When pressing the illumination con-
trol button, the interior switch illumi-
nation intensity is also adjusted. The brightness of the instrument
panel illumination is displayed.
If the brightness reaches to the maximum or minimum level, a
chime will sound.
Never adjust the instrument
cluster whilst driving. This could
result in loss of control and lead
to an accident that may cause
death, serious injury, or property
damage.
WARNING
OAE046113L
OAEE046412R
■
Type A
■Type B
Page 188 of 526
3-41
Convenient features of your vehicle
3
Regenerative braking rate indi-cator
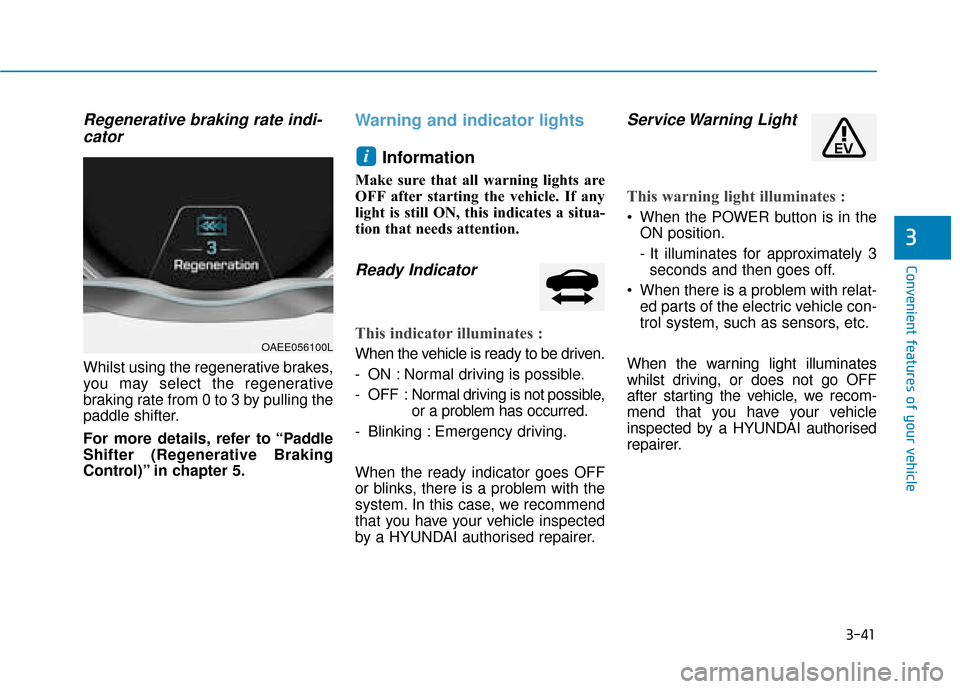
Whilst using the regenerative brakes,
you may select the regenerative
braking rate from 0 to 3 by pulling the
paddle shifter.
For more details, refer to “Paddle
Shifter (Regenerative Braking
Control)” in chapter 5.
Warning and indicator lights
Information
Make sure that all warning lights are
OFF after starting the vehicle. If any
light is still ON, this indicates a situa-
tion that needs attention.
Ready Indicator
This indicator illuminates :
When the vehicle is ready to be driven.
- ON : Normal driving is possible.
- OFF : Nor mal driving is not possible,
or a problem has occurred.
- Blinking : Emergency driving.
When the ready indicator goes OFF
or blinks, there is a problem with the
system. In this case, we recommend
that you have your vehicle inspected
by a HYUNDAI authorised repairer.
Service Warning Light
This warning light illuminates :
When the POWER button is in the ON position.
- It illuminates for approximately 3seconds and then goes off.
When there is a problem with relat- ed parts of the electric vehicle con-
trol system, such as sensors, etc.
When the warning light illuminates
whilst driving, or does not go OFF
after starting the vehicle, we recom-
mend that you have your vehicle
inspected by a HYUNDAI authorised
repairer.
i
OAEE056100L
Page 192 of 526
3-45
Convenient features of your vehicle
3
Electronic Brake ForceDistribution (EBD)System Warning Light
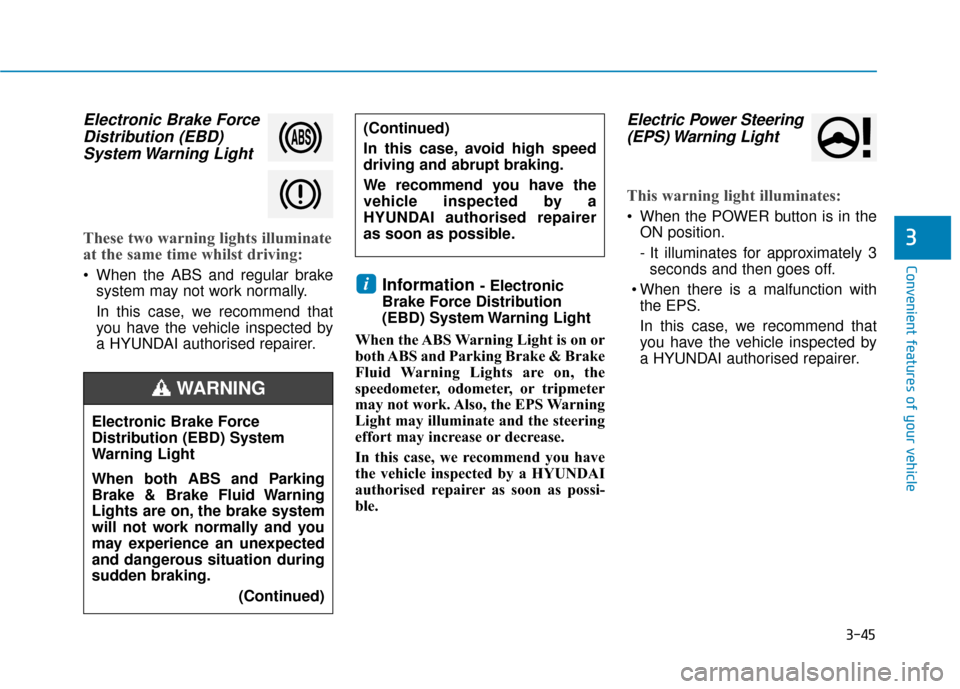
These two warning lights illuminate
at the same time whilst driving:
When the ABS and regular brake
system may not work normally.
In this case, we recommend that
you have the vehicle inspected by
a HYUNDAI authorised repairer.Information - Electronic
Brake Force Distribution
(EBD) System Warning Light
When the ABS Warning Light is on or
both ABS and Parking Brake & Brake
Fluid Warning Lights are on, the
speedometer, odometer, or tripmeter
may not work. Also, the EPS Warning
Light may illuminate and the steering
effort may increase or decrease.
In this case, we recommend you have
the vehicle inspected by a HYUNDAI
authorised repairer as soon as possi-
ble.
Electric Power Steering (EPS) Warning Light
This warning light illuminates:
When the POWER button is in the
ON position.
- It illuminates for approximately 3seconds and then goes off.
When there is a malfunction with the EPS.
In this case, we recommend that
you have the vehicle inspected by
a HYUNDAI authorised repairer.
i
Electronic Brake Force
Distribution (EBD) System
Warning Light
When both ABS and Parking
Brake & Brake Fluid Warning
Lights are on, the brake system
will not work normally and you
may experience an unexpected
and dangerous situation during
sudden braking.
(Continued)
WARNING
(Continued)
In this case, avoid high speed
driving and abrupt braking.
We recommend you have the
vehicle inspected by a
HYUNDAI authorised repairer
as soon as possible.
Page 197 of 526
3-50
Convenient features of your vehicle
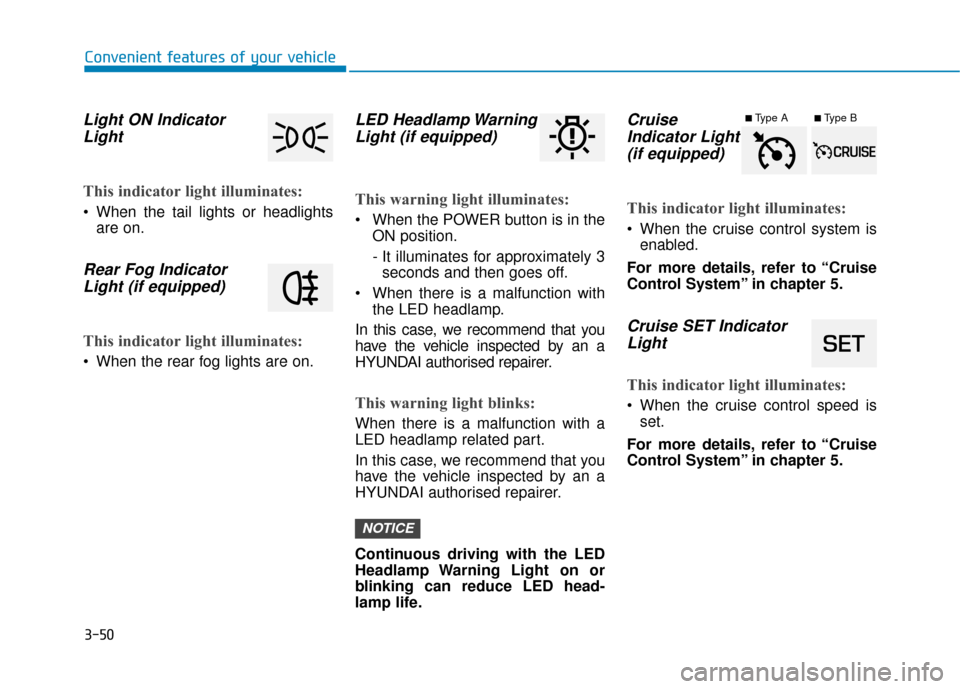
Light ON IndicatorLight
This indicator light illuminates:
When the tail lights or headlights
are on.
Rear Fog IndicatorLight (if equipped)
This indicator light illuminates:
When the rear fog lights are on.
LED Headlamp WarningLight (if equipped)
This warning light illuminates:
When the POWER button is in the
ON position.
- It illuminates for approximately 3seconds and then goes off.
When there is a malfunction with the LED headlamp.
In this case, we recommend that you
have the vehicle inspected by an a
HYUNDAI authorised repairer.
This warning light blinks:
When there is a malfunction with a
LED headlamp related part.
In this case, we recommend that you
have the vehicle inspected by an a
HYUNDAI authorised repairer.
Continuous driving with the LED
Headlamp Warning Light on or
blinking can reduce LED head-
lamp life.
Cruise Indicator Light (if equipped)
This indicator light illuminates:
When the cruise control system is
enabled.
For more details, refer to “Cruise
Control System” in chapter 5.
Cruise SET Indicator Light
This indicator light illuminates:
When the cruise control speed is
set.
For more details, refer to “Cruise
Control System” in chapter 5.
NOTICE
■Type A■Type B
Page 203 of 526
3-56
Convenient features of your vehicle
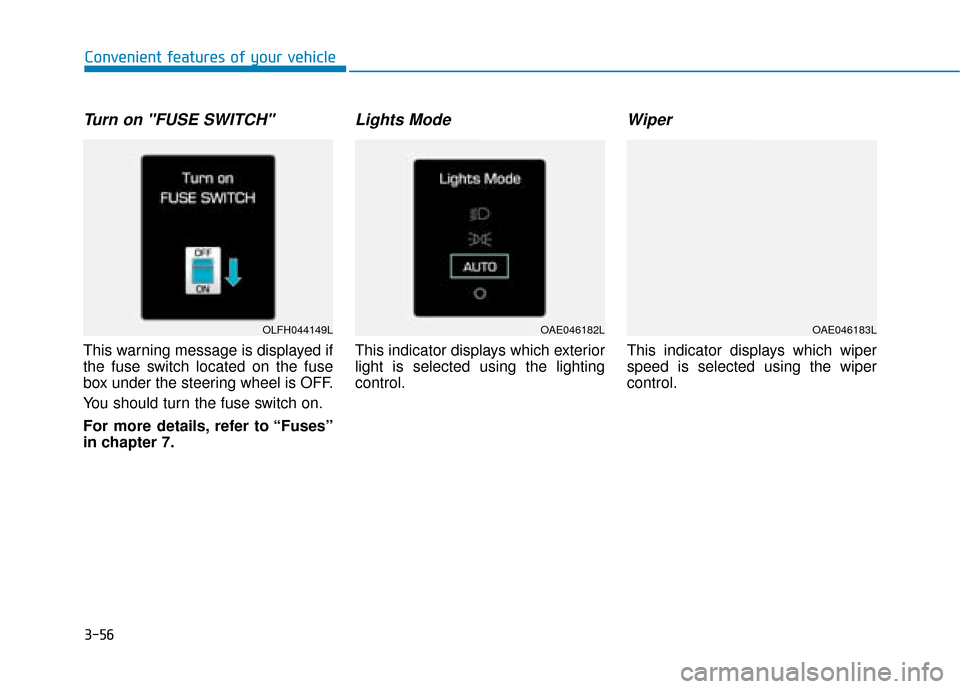
Turn on "FUSE SWITCH"
This warning message is displayed if
the fuse switch located on the fuse
box under the steering wheel is OFF.
You should turn the fuse switch on.
For more details, refer to “Fuses”
in chapter 7.
Lights Mode
This indicator displays which exterior
light is selected using the lighting
control.
Wiper
This indicator displays which wiper
speed is selected using the wiper
control.
OLFH044149LOAE046182LOAE046183L
Page 216 of 526
3-69
Convenient features of your vehicle
3
Warning mode
If one of followings occurs, warning
messages will be displayed on the
LCD display for several seconds.
- Lower washer fluid ((if equipped)
- Blind-Spot Collision Warning(BCW) system malfunction (if
equipped)
- Forward Collision-Avoidance Assist (FCA) system malfunction (if
equipped)
- Smart Cruise Control malfunction (if equipped)
- Tyre Pressure Monitoring System (TPMS) malfunction (if equipped)
User settings mode
In this mode, you can change the
settings of the instrument cluster,
doors, lamps, etc.
1. Driver assistance
2. Door
3. Lights
4. Sound
5. Convenience
6. Service Interval
7. Other Features
8. Reset
The information provided differs
according to the items applied to your
vehicle.
1. Driver assistance
- LDW (Lane Departure Warning)/Standard LKA (Lane Keep Assist)/
Active LKA (Lane Keep Assist)
To adjust the sensitivity of the Lane
Keeping Assist (LKA) system.
For more information, refer to the
"Lane Keeping Assist (LKA) sys-
tem" in chapter 5. DAW (Driver Attention Warning)
- High sensitivity/Normal sensitivi-ty/Off
To adjust the sensitivity of the Driver
Attention Warning (DAW).
For more information, refer to the
"Driver Attention Warning (DAW)
system " in chapter 5.
- Fast/Normal/Slow To adjust the sensitivity of the
Smart Cruise Control system.
For more information, refer to the
"Smart Cruise Control" in chapter
5.
Assist)
To activate or deactivate the Forward
Collision-Avoidance Assist (FCA).
For more information, refer to
"Forward Collision-Avoidance
Assist (FCA)" in chapter 5.
Page 218 of 526
3-71
Convenient features of your vehicle
3
3. Lights
- Off: The one touch turn signal func-tion will be deactivated.
- 3, 5, 7 Flashes: The turn signal indi- cator will blink 3, 5, or 7 times when
the turn signal lever is moved slight-
ly.
For more information, refer to
"Light" in this chapter.
To activate or deactivate the head-
lamp delay function.
For more information, refer to
"Light" in this chapter 4. Sound
Warning)
- Softer/Louder To adjust the Park Assist System
volume.
5. Convenience
- Off: The seat easy access function is deactivated.
- Normal/Extended: When you turn off the vehicle, the driver's seat will
automatically move rearward short
(Normal) or long (Extended) for you
to enter or exit the vehicle more
comfortably.
For more information, refer to
"Driver Position Memory System"
in this chapter.
To activate or deactivate the wireless
charging system in the front seat.
For more information, refer to
"Wireless Charging System" in
this chapter.
To activate or deactivate the Wiper/
Light mode.
When activated, the LCD display
shows the selected Wiper/Light
mode whenever you change the
mode.
To activate or deactivate the gear
position pop-up.
When activated, the gear position
will be displayed on the LCD display.
6. Service Interval
To activate or deactivate the service
interval function.
If the service interval menu is acti-
vated, you may adjust the time and
distance.
Information
To use the service interval menu, we
recommend that you consult a
HYUNDAI authorised repairer.
i
Page 229 of 526
3-82
Convenient features of your vehicle
Headlight levelling device
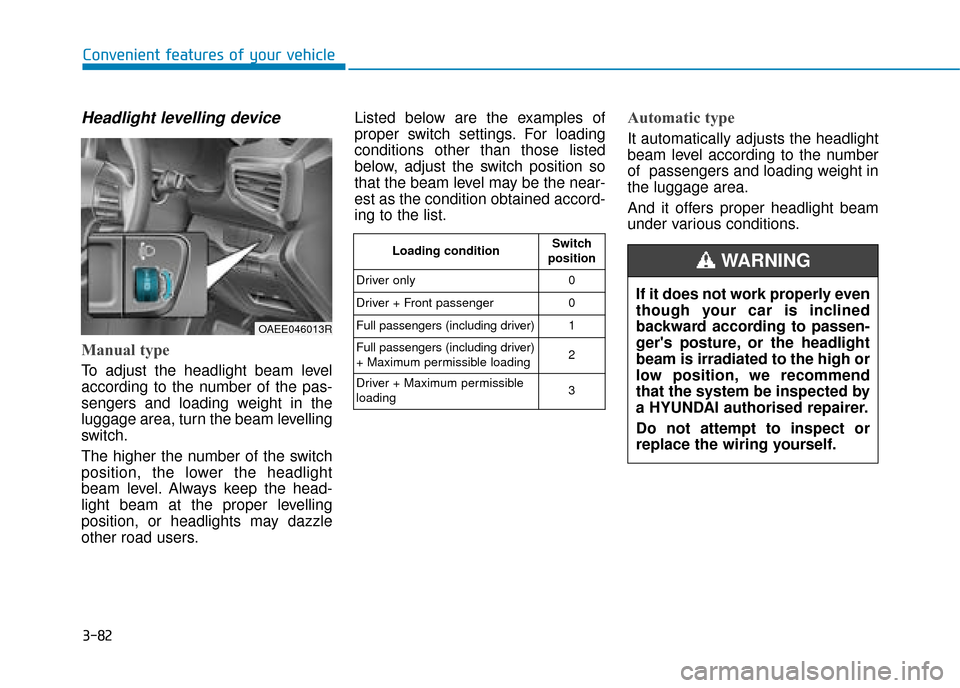
Manual type
To adjust the headlight beam level
according to the number of the pas-
sengers and loading weight in the
luggage area, turn the beam levelling
switch.
The higher the number of the switch
position, the lower the headlight
beam level. Always keep the head-
light beam at the proper levelling
position, or headlights may dazzle
other road users.Listed below are the examples of
proper switch settings. For loading
conditions other than those listed
below, adjust the switch position so
that the beam level may be the near-
est as the condition obtained accord-
ing to the list.
Automatic type
It automatically adjusts the headlight
beam level according to the number
of passengers and loading weight in
the luggage area.
And it offers proper headlight beam
under various conditions.
OAEE046013R
Loading condition
Switch
position
Driver only 0
Driver + Front passenger 0
Full passengers (including driver) 1
Full passengers (including driver)
+ Maximum permissible loading 2
Driver + Maximum permissible
loading 3
If it does not work properly even
though your car is inclined
backward according to passen-
ger's posture, or the headlight
beam is irradiated to the high or
low position, we recommend
that the system be inspected by
a HYUNDAI authorised repairer.
Do not attempt to inspect or
replace the wiring yourself.
WARNING
Page 319 of 526
5-3
Driving your vehicle
5
Before entering the vehicle
• Be sure all windows, outside mir-ror(s), and outside lights are clean
and unobstructed.
Remove frost, snow, or ice.
Visually check the tyres for uneven wear and damage.
Check under the vehicle for any sign of leaks.
Be sure there are no obstacles behind you if you intend to back up.
Before starting
Make sure the bonnet, the tailgate,and the doors are securely closed
and locked.
Adjust the position of the seat and steering wheel.
Adjust the inside and outside rearview mirrors.
Verify all the lights work.
Fasten your seat belt. Check that all passengers have fastened their
seat belts.
Check the gauges and indicators in the instrument panel and the mes-
sages on the instrument display
when the POWER button is in the
ON position.
Check that any items you are car- rying are stored properly or fas-
tened down securely.
B BE
EF
FO
O R
RE
E
D
D R
RI
IV
V I
IN
N G
G
To reduce the risk of SERIOUS
INJURY or DEATH, take the fol-
lowing precautions:
•ALWAYS wear your seat belt.
All passengers must be prop-
erly belted whenever the vehi-
cle is moving. For more infor-
mation, refer to "Seat Belts" in
chapter 2.
Always drive defensively.
Assume other drivers or pedes-
trians may be careless and
make mistakes.
Stay focused on the task of
driving. Driver distraction can
cause accidents.
Leave plenty of space between
you and the vehicle in front of
you.
WARNING
Page 323 of 526
5-7
Driving your vehicle
5
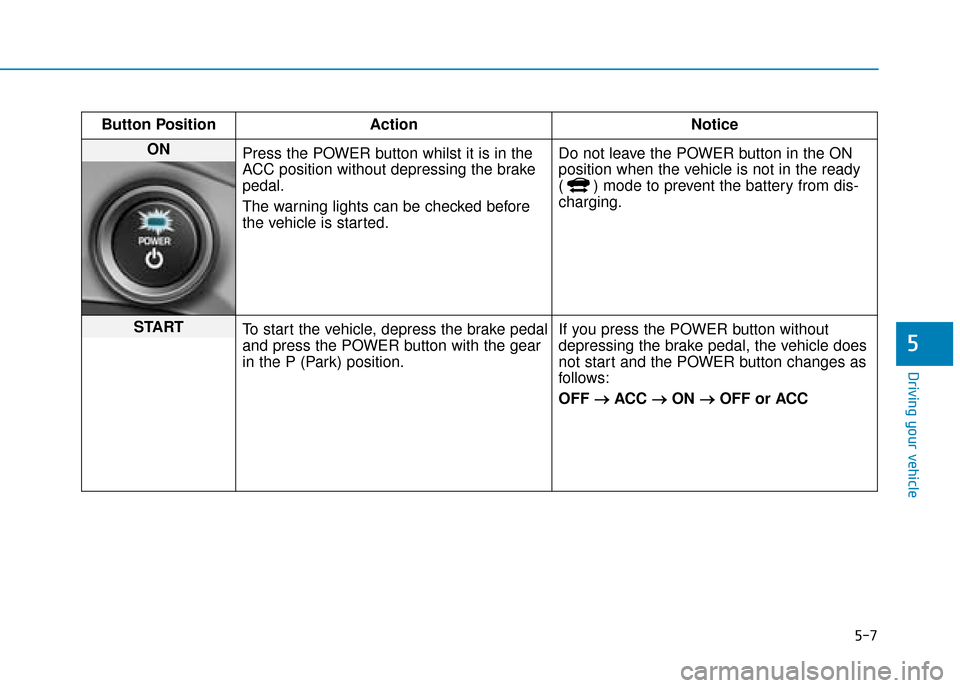
Button PositionAction Notice
ON
Press the POWER button whilst it is in the
ACC position without depressing the brake
pedal.
The warning lights can be checked before
the vehicle is started. Do not leave the POWER button in the ON
position when the vehicle is not in the ready
( ) mode to prevent the battery from dis-
charging.
START
To start the vehicle, depress the brake pedal
and press the POWER button with the gear
in the P (Park) position. If you press the POWER button without
depressing the brake pedal, the vehicle does
not start and the POWER button changes as
follows:
OFF
→ →
ACC →
→
ON →
→
OFF or ACC