headlamp Hyundai Ioniq Electric 2019 Owner's Manual - RHD (UK, Australia)
[x] Cancel search | Manufacturer: HYUNDAI, Model Year: 2019, Model line: Ioniq Electric, Model: Hyundai Ioniq Electric 2019Pages: 526, PDF Size: 16.63 MB
Page 74 of 526
1-2
Your vehicle at a glance
E
EX
X T
TE
ER
R I
IO
O R
R
O
O V
VE
ER
R V
V I
IE
E W
W
(
( F
F R
R O
O N
NT
T
V
V I
IE
E W
W )
)
OAEE016001L
The actual shape may differ from the illustration.
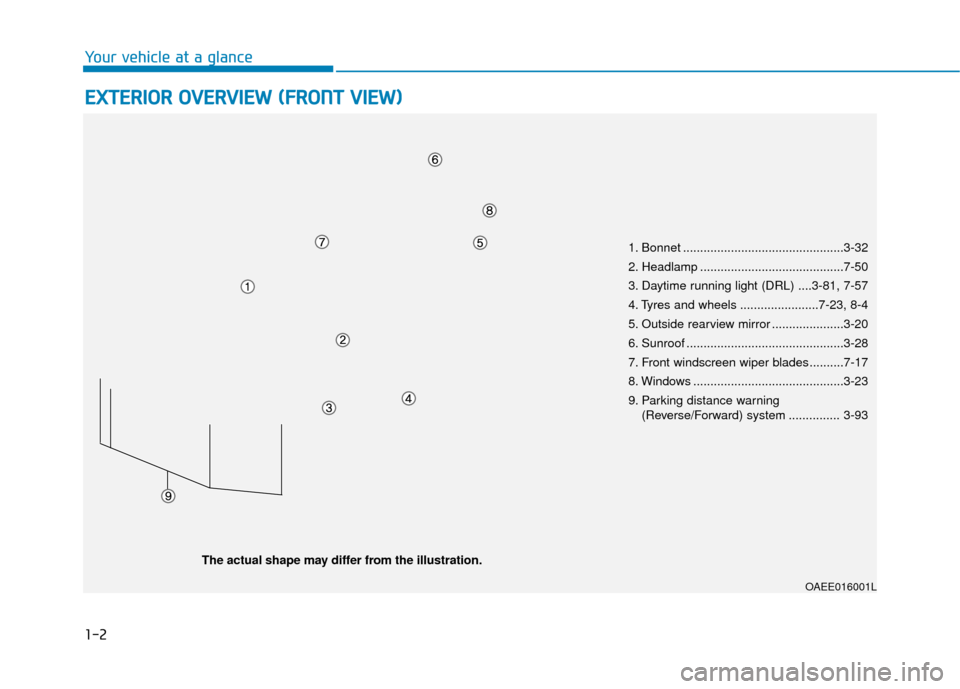
1. Bonnet ...............................................3-32
2. Headlamp ..........................................7-50
3. Daytime running light (DRL) ....3-81, 7-57
4. Tyres and wheels .......................7-23, 8-4
5. Outside rearview mirror .....................3-20
6. Sunroof ..............................................3-28
7. Front windscreen wiper blades ..........7-17
8. Windows ............................................3-23
9. Parking distance warning
(Reverse/Forward) system ............... 3-93
Page 166 of 526
3-19
Convenient features of your vehicle
3
When cleaning the mirror, use a
paper towel or similar material
dampened with glass cleaner. Do
not spray glass cleaner directly on
the mirror as that may cause the
liquid cleaner to enter the mirror
housing.
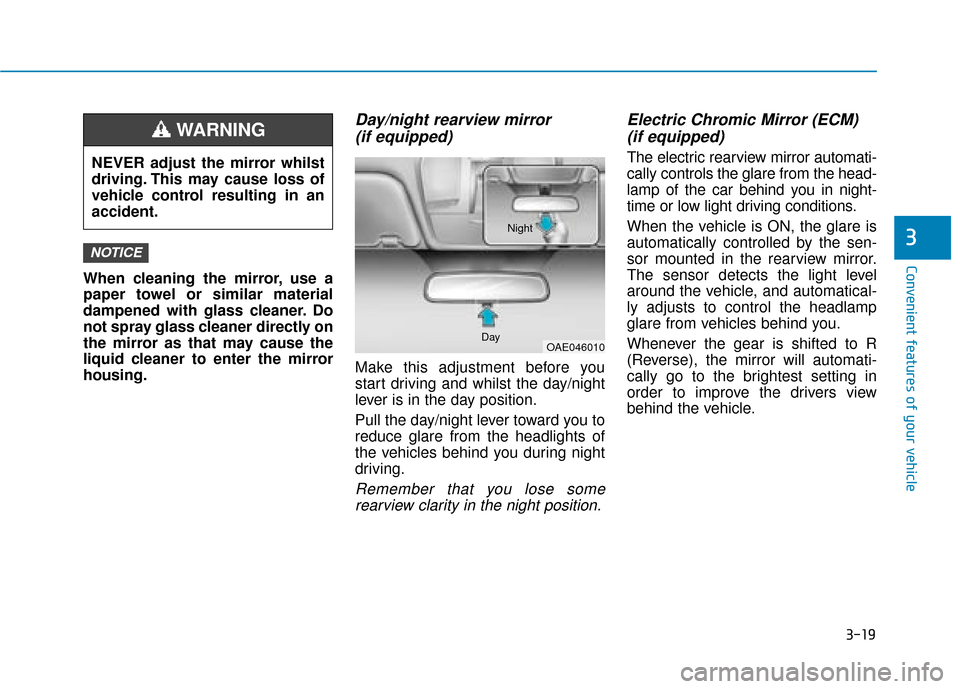
Day/night rearview mirror (if equipped)
Make this adjustment before you
start driving and whilst the day/night
lever is in the day position.
Pull the day/night lever toward you to
reduce glare from the headlights of
the vehicles behind you during night
driving.
Remember that you lose some
rearview clarity in the night position.
Electric Chromic Mirror (ECM) (if equipped)
The electric rearview mirror automati-
cally controls the glare from the head-
lamp of the car behind you in night-
time or low light driving conditions.
When the vehicle is ON, the glare is
automatically controlled by the sen-
sor mounted in the rearview mirror.
The sensor detects the light level
around the vehicle, and automatical-
ly adjusts to control the headlamp
glare from vehicles behind you.
Whenever the gear is shifted to R
(Reverse), the mirror will automati-
cally go to the brightest setting in
order to improve the drivers view
behind the vehicle.
NOTICE
NEVER adjust the mirror whilst
driving. This may cause loss of
vehicle control resulting in an
accident.
WARNING
OAE046010
Day Night
Page 197 of 526
3-50
Convenient features of your vehicle
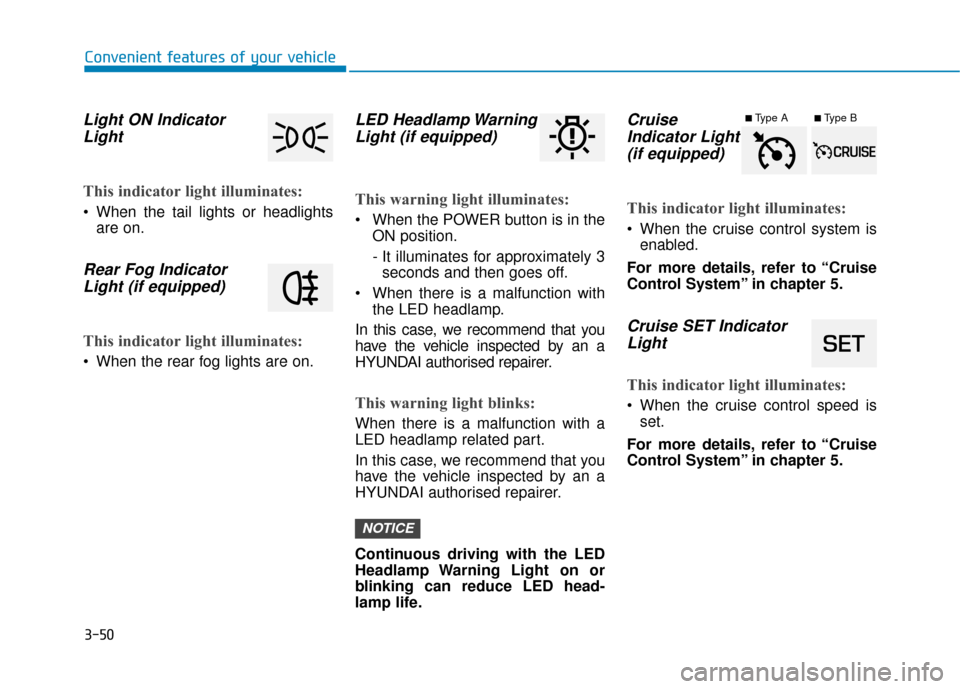
Light ON IndicatorLight
This indicator light illuminates:
When the tail lights or headlights
are on.
Rear Fog IndicatorLight (if equipped)
This indicator light illuminates:
When the rear fog lights are on.
LED Headlamp WarningLight (if equipped)
This warning light illuminates:
When the POWER button is in the
ON position.
- It illuminates for approximately 3seconds and then goes off.
When there is a malfunction with the LED headlamp.
In this case, we recommend that you
have the vehicle inspected by an a
HYUNDAI authorised repairer.
This warning light blinks:
When there is a malfunction with a
LED headlamp related part.
In this case, we recommend that you
have the vehicle inspected by an a
HYUNDAI authorised repairer.
Continuous driving with the LED
Headlamp Warning Light on or
blinking can reduce LED head-
lamp life.
Cruise Indicator Light (if equipped)
This indicator light illuminates:
When the cruise control system is
enabled.
For more details, refer to “Cruise
Control System” in chapter 5.
Cruise SET Indicator Light
This indicator light illuminates:
When the cruise control speed is
set.
For more details, refer to “Cruise
Control System” in chapter 5.
NOTICE
■Type A■Type B
Page 204 of 526
3-57
Convenient features of your vehicle
3
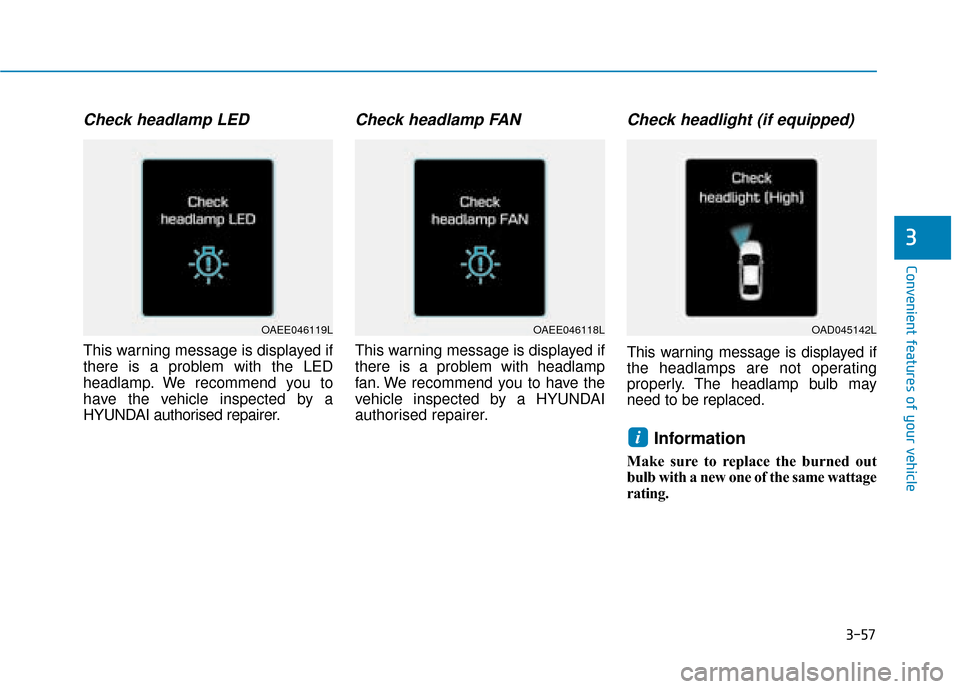
Check headlamp LED
This warning message is displayed if
there is a problem with the LED
headlamp. We recommend you to
have the vehicle inspected by a
HYUNDAI authorised repairer.
Check headlamp FAN
This warning message is displayed if
there is a problem with headlamp
fan. We recommend you to have the
vehicle inspected by a HYUNDAI
authorised repairer.
Check headlight (if equipped)
This warning message is displayed if
the headlamps are not operating
properly. The headlamp bulb may
need to be replaced.
Information
Make sure to replace the burned out
bulb with a new one of the same wattage
rating.
i
OAEE046119LOAEE046118LOAD045142L
Page 224 of 526
3-77
Convenient features of your vehicle
3
Exterior lights
Lighting control
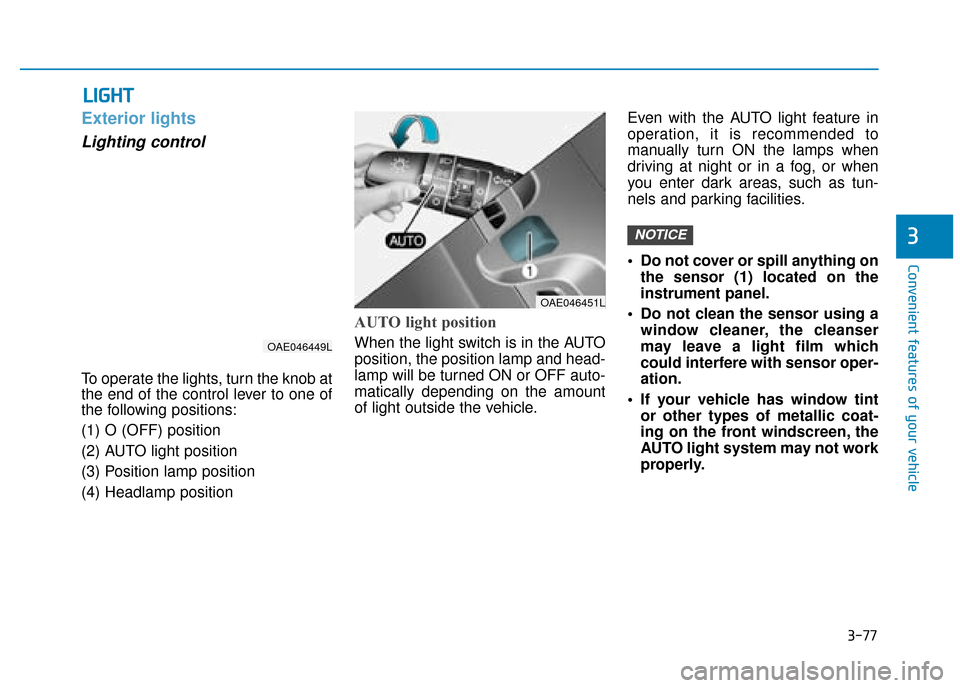
To operate the lights, turn the knob at
the end of the control lever to one of
the following positions:
(1) O (OFF) position
(2) AUTO light position
(3) Position lamp position
(4) Headlamp position
AUTO light position
When the light switch is in the AUTO
position, the position lamp and head-
lamp will be turned ON or OFF auto-
matically depending on the amount
of light outside the vehicle.Even with the AUTO light feature in
operation, it is recommended to
manually turn ON the lamps when
driving at night or in a fog, or when
you enter dark areas, such as tun-
nels and parking facilities.
• Do not cover or spill anything on
the sensor (1) located on the
instrument panel.
Do not clean the sensor using a window cleaner, the cleanser
may leave a light film which
could interfere with sensor oper-
ation.
If your vehicle has window tint or other types of metallic coat-
ing on the front windscreen, the
AUTO light system may not work
properly.
NOTICE
L LI
IG
G H
H T
T
OAE046449L
OAE046451L
Page 225 of 526
3-78
Convenient features of your vehicle
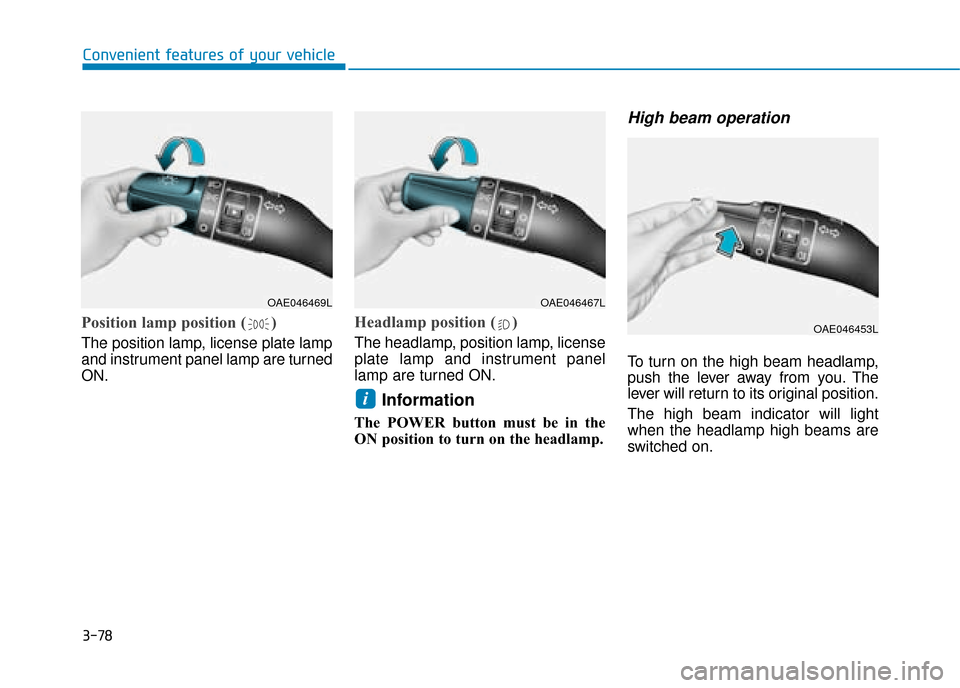
Position lamp position ( )
The position lamp, license plate lamp
and instrument panel lamp are turned
ON.
Headlamp position ( )
The headlamp, position lamp, license
plate lamp and instrument panel
lamp are turned ON.
Information
The POWER button must be in the
ON position to turn on the headlamp.
High beam operation
To turn on the high beam headlamp,
push the lever away from you. The
lever will return to its original position.
The high beam indicator will light
when the headlamp high beams are
switched on.
i
OAE046469LOAE046467L
OAE046453L
Page 226 of 526
3-79
Convenient features of your vehicle
3
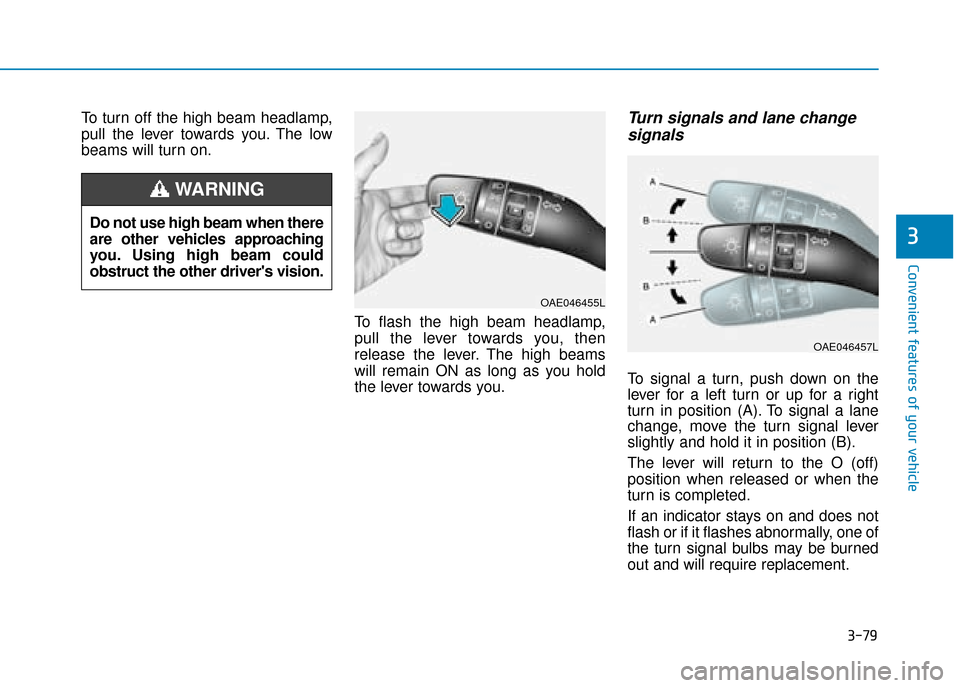
To turn off the high beam headlamp,
pull the lever towards you. The low
beams will turn on.To flash the high beam headlamp,
pull the lever towards you, then
release the lever. The high beams
will remain ON as long as you hold
the lever towards you.Turn signals and lane changesignals
To signal a turn, push down on the
lever for a left turn or up for a right
turn in position (A). To signal a lane
change, move the turn signal lever
slightly and hold it in position (B).
The lever will return to the O (off)
position when released or when the
turn is completed.
If an indicator stays on and does not
flash or if it flashes abnormally, one of
the turn signal bulbs may be burned
out and will require replacement.
Do not use high beam when there
are other vehicles approaching
you. Using high beam could
obstruct the other driver's vision.
WARNING
OAE046455L
OAE046457L
Page 227 of 526
3-80
Convenient features of your vehicle
One-touch turn signal function
To activate an one-touch turn signal
function, move the turn signal lever
slightly and then release it. The lane
change signals will blink 3, 5 or 7
times.
You can activate/deactivate the One
Touch Turn Signal function or choose
the number of blinking (3, 5, or 7)
from the User Settings Mode on the
LCD display.For more details, refer
to "LCD Display" in this chapter.
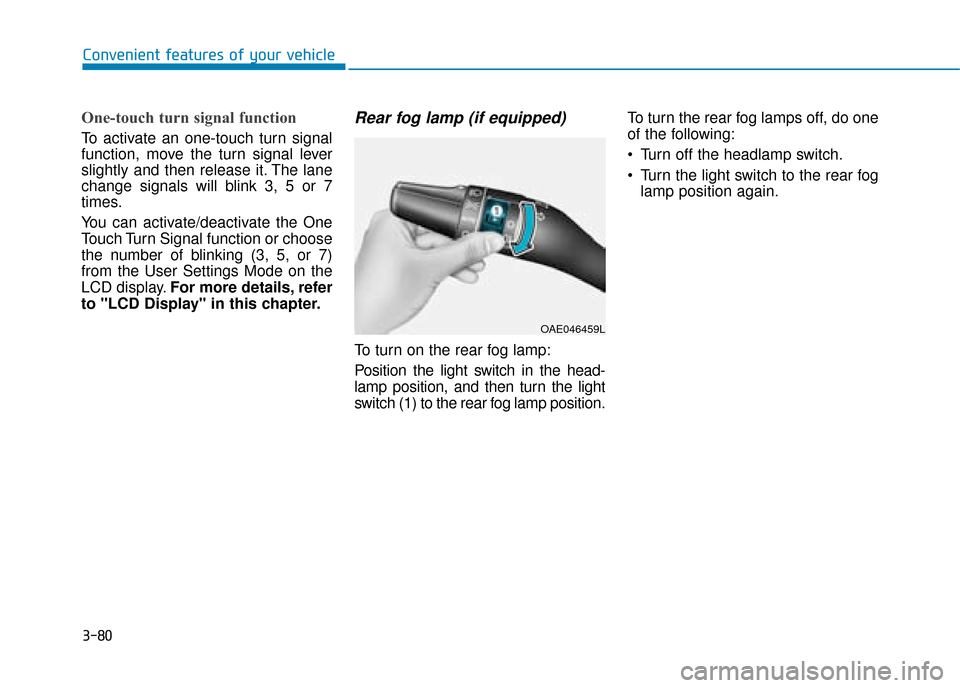
Rear fog lamp (if equipped)
To turn on the rear fog lamp:
Position the light switch in the head-
lamp position, and then turn the light
switch (1) to the rear fog lamp position. To turn the rear fog lamps off, do one
of the following:
• Turn off the headlamp switch.
Turn the light switch to the rear fog
lamp position again.
OAE046459L
Page 228 of 526
3-81
Convenient features of your vehicle
3
Battery saver function
The purpose of this feature is to pre-
vent the battery from being dis-
charged. The system automatically
turns off the position lamp when the
driver turns the vehicle off and opens
the driver-side door.
With this feature , the position lamps
will turn off automatically if the driver
parks on the side of road at night.
If necessary, to keep the lamps on
when the vehicle is turned off, perform
the following:
1) Open the driver-side door.
2) Turn the position lamps OFF and
ON again using the light switch on
the steering column.
Headlamp delay function (if equipped)
If you place the POWER button in to
the ACC or OFF position with the
headlamps ON, the headlamps
(and/or position l amps) remain on for
about 5 minutes. However, with the
vehicle off if the driver’s door is
opened and closed, the headlamps
(and/or position lamp s) are turned off
after 15 seconds.
The headlamps (and/or position
lamps) can be turned off by pressing
the lock button on the smart key
twice or turning the light switch to the
OFF or AUTO position. However, if
you turn the light switch to the AUTO
position when it is dark outside, the
headlamps will not be turned off.
You can activate or deactivate the
Headlamp Delay function from the
User Settings Mode on the LCD dis-
play. For more details, refer to
"LCD Display" in this chapter. If the driver gets out of the vehicle
through other doors (except dri-
ver's door), the battery saver func-
tion does not operate and the
headlamp delay function does not
turn off automatically. Therefore, It
causes the battery to be dis-
charged. In this case, make sure to
turn off the lamp before getting out
of the vehicle.
Daytime running light (DRL)
The Daytime Running Lights (DRL)
can make it easier for others to see
the front of your vehicle during the
day, especially after dawn and before
sunset.
The DRL system will turn the dedi-
cated lamp OFF when:
1. The headlights are in the ON posi-
tion.
2. the vehicle is turned off.
NOTICE
Page 230 of 526
3-83
Convenient features of your vehicle
3
Welcome system (if equipped)
Welcome light (if equipped)
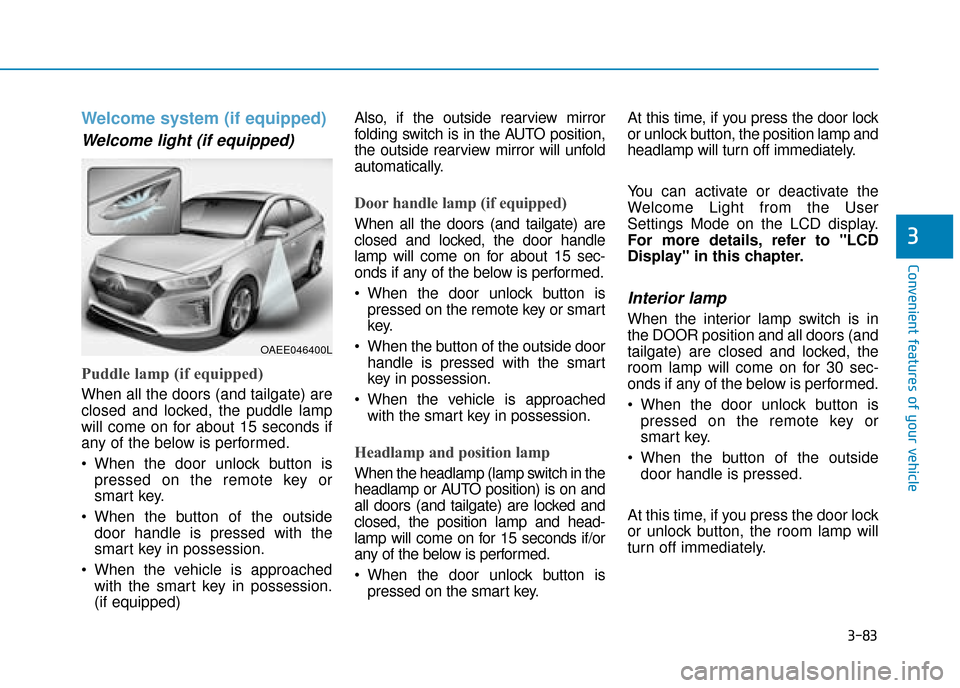
Puddle lamp (if equipped)
When all the doors (and tailgate) are
closed and locked, the puddle lamp
will come on for about 15 seconds if
any of the below is performed.
When the door unlock button ispressed on the remote key or
smart key.
When the button of the outside door handle is pressed with the
smart key in possession.
When the vehicle is approached with the smart key in possession.
(if equipped) Also, if the outside rearview mirror
folding switch is in the AUTO position,
the outside rearview mirror will unfold
automatically.
Door handle lamp (if equipped)
When all the doors (and tailgate) are
closed and locked, the door handle
lamp will come on for about 15 sec-
onds if any of the below is performed.
When the door unlock button is
pressed on the remote key or smart
key.
When the button of the outside door handle is pressed with the smart
key in possession.
When the vehicle is approached with the smart key in possession.
Headlamp and position lamp
When the headlamp (lamp switch in the
headlamp or AUTO position) is on and
all doors (and tailgate) are locked and
closed, the position lamp and head-
lamp will come on for 15 seconds if/or
any of the below is performed.
When the door unlock button ispressed on the smart key. At this time, if you press the door lock
or unlock button, the position lamp and
headlamp will turn off immediately.
You can activate or deactivate the
Welcome Light from the User
Settings Mode on the LCD display.
For more details, refer to "LCD
Display" in this chapter.
Interior lamp
When the interior lamp switch is in
the DOOR position and all doors (and
tailgate) are closed and locked, the
room lamp will come on for 30 sec-
onds if any of the below is performed.
When the door unlock button is
pressed on the remote key or
smart key.
When the button of the outside door handle is pressed.
At this time, if you press the door lock
or unlock button, the room lamp will
turn off immediately.
OAEE046400L