radio Hyundai Ioniq Electric 2019 Owner's Guide
[x] Cancel search | Manufacturer: HYUNDAI, Model Year: 2019, Model line: Ioniq Electric, Model: Hyundai Ioniq Electric 2019Pages: 555, PDF Size: 20.1 MB
Page 267 of 555
4-44
Multimedia System
FCC
This equipment has been tested and found to comply with the limits for a Class B digital device, pursuant to part 15
of the FCC Rules. These limits are designed to provide reasonable protection against harmful interference in a resi-
dential installation.
This equipment generates, uses and can radiate radio frequency energy and, if not installed and used in accordance
with the instructions, may cause harmful interference to radio communications. However, there is no guarantee that
interference will not occur in a particular installation. If this equipment does cause harmful interference to radio or tel-
evision reception, which can be determined by turning the equipment off and on, the user is encouraged to try to cor-
rect the interference by one or more of the following measures: Reorient or relocate the receiving antenna.
Increase the separation between the equipment and receiver.
Connect the equipment into an outlet on a circuit different from that to which the receiver is connected.
Consult the dealer or an experienced radio/TV technician for help.
Caution: Any changes or modifications to this device not explicitly approved by manufacturer could void
your authority to operate this equipment.
This device complies with part 15 of the FCC Rules. Operation is subject to the following two conditions:
(1) This device may not cause harmful interference, and (2) this device must accept any interference received, includ-
ing interference that may cause undesired operation.
This equipment complies with FCC radiation exposure limits set forth for an uncontrolled environment.
This equipment should be installed and operated with minimum 20cm between the radiator and your body. This trans-
mitter must not be collocated or operating in conjunction with any other antenna or transmitter unless authorized to
do so by the FCC.
D D e
ec
cl
la
a r
ra
a t
ti
io
o n
n
o
o f
f
C
C o
on
nf
fo
o r
rm
m i
it
t y
y
Page 361 of 555
5-94
Driving your vehicle
Information
This device complies with Part 15 of
the FCC rules.
Operation is subject to the following
three conditions:
1. This device may not cause harmfulinterference, and
2. This device must accept any inter- ference received, including interfer-
ence that may cause undesired
operation.
3. Changes or modifications not expressly approved by the party
responsible for compliance could
void the user's authority to operate
the device.
Information
Radio frequency radiation exposure
information:
This equipment complies with FCC
radiation exposure limits set forth for
an uncontrolled environment.
This equipment should be installed
and operated with minimum distance
of 8 in. (20 cm) between the radiator
(antenna) and your body.
This transmitter must not be co-locat-
ed or operating in conjunction with
any other antenna or transmitter.
ii
Page 378 of 555
6-5
What to do in an emergency
6
Information
An inappropriately disposedbattery can be harmful to the
environment and human
health. Dispose the battery
according to your local law(s)
or regulations.
To prevent damage to your vehi-
cle:
Only use a 12-volt power supply (battery or jumper system) to
jump start your vehicle.
Do not attempt to jump start your vehicle by push-starting.
Jump starting procedure
1. Position the vehicles close enough that the jumper cables will reach,
but do not allow the vehicles to
touch.
2. Avoid fans or any moving parts in the motor compartment at all
times, even when the vehicles are
turned off.
3. Turn off all electrical devices such as radios, lights, air conditioning,
etc. Put the vehicles in P (Park)
and set the parking brakes. Turn
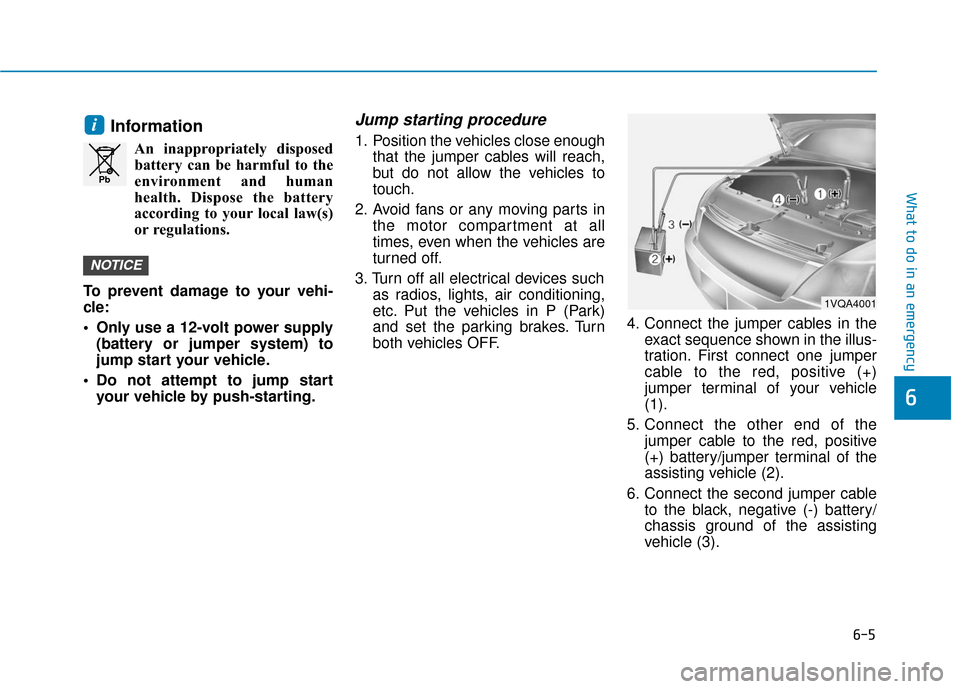
both vehicles OFF. 4. Connect the jumper cables in the
exact sequence shown in the illus-
tration. First connect one jumper
cable to the red, positive (+)
jumper terminal of your vehicle
(1).
5. Connect the other end of the jumper cable to the red, positive
(+) battery/jumper terminal of the
assisting vehicle (2).
6. Connect the second jumper cable to the black, negative (-) battery/
chassis ground of the assisting
vehicle (3).
NOTICE
i
Pb
1VQA4001
Page 385 of 555
6-12
What to do in an emergency
The TPMS Malfunction Indicator
may illuminate after blinking for
one minute if the vehicle is near
electric power supply cables or
radio transmitters such as police
stations, government and public
offices, broadcasting stations,
military installations, airports,
transmitting towers, etc.
Additionally, the TPMS Malfunction
Indicator may illuminate if snow
chains are used or electronic
devices such as computers, charg-
ers, remote starters, navigation,
etc. This may interfere with normal
operation of the TPMS.
Changing a Tire with TPMS
If you have a flat tire, the Low Tire
Pressure and LCD position indicator
will come on. Have the flat tire
repaired by an authorized HYUNDAI
dealer as soon as possible or
replace the flat tire with the spare
tire. Once the original tire equipped with
a tire pressure monitoring sensor is
reinflated to the recommended pres-
sure and reinstalled on the vehicle,
the Low Tire Pressure LCD position
indicator and TPMS Malfunction
Indicator will go off within a few min-
utes of driving.
If the indicators do not disappear
after a few minutes, please visit an
authorized HYUNDAI dealer.
Each wheel is equipped with a tire
pressure sensor mounted inside the
tire behind the valve stem. You must
use TPMS specific wheels. It is rec-
ommended that you always have
your tires serviced by an authorized
HYUNDAI dealer.
NOTICE
Never use a puncture-repairing
agent not approved by HYUNDAI
dealer to repair and/or inflate a
low pressure tire. Tire sealant
not approved by HYUNDAI deal-
er may damage the tire pressure
sensor.
CAUTION
Page 501 of 555
H21
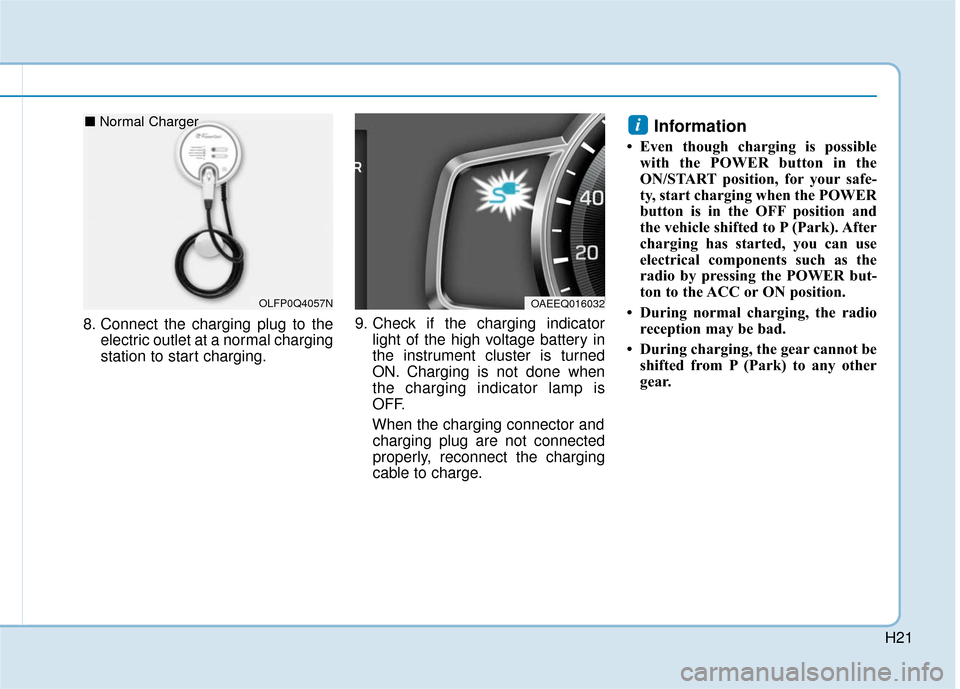
8. Connect the charging plug to theelectric outlet at a normal charging
station to start charging. 9. Check if the charging indicator
light of the high voltage battery in
the instrument cluster is turned
ON. Charging is not done when
the charging indicator lamp is
OFF.
When the charging connector and charging plug are not connected
properly, reconnect the charging
cable to charge.
Information
• Even though charging is possible with the POWER button in the
ON/START position, for your safe-
ty, start charging when the POWER
button is in the OFF position and
the vehicle shifted to P (Park). After
charging has started, you can use
electrical components such as the
radio by pressing the POWER but-
ton to the ACC or ON position.
• During normal charging, the radio reception may be bad.
• During charging, the gear cannot be shifted from P (Park) to any other
gear.
i
OAEEQ016032OLFP0Q4057N
■ Normal Charger
Page 508 of 555
H28
C
CH
H A
AR
RG
G I
IN
N G
G
E
E L
LE
E C
CT
T R
R I
IC
C
V
V E
EH
H I
IC
C L
LE
E
(
( F
F A
A S
ST
T
C
C H
H A
AR
RG
G E
E)
)
(
( C
C O
O N
NT
T.
.)
)
Information
• Even though charging is possible with the POWER button in the
ON/START position, for your safe-
ty, start charging when the POWER
button is in the OFF position and
the vehicle shifted to P (Park).
After charging has started, you can
use electrical components such as
the radio by pressing the POWER
button to ACC or ON position.
• During charging, the gear cannot be shifted from P (Park) to any other
gear.
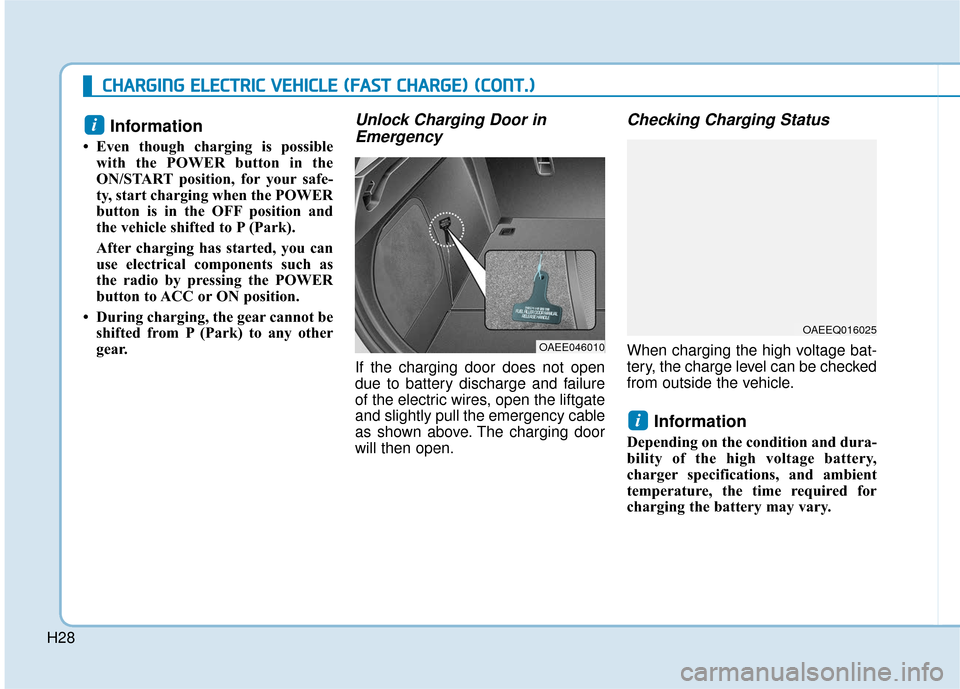
Unlock Charging Door inEmergency
If the charging door does not open
due to battery discharge and failure
of the electric wires, open the liftgate
and slightly pull the emergency cable
as shown above. The charging door
will then open.
Checking Charging Status
When charging the high voltage bat-
tery, the charge level can be checked
from outside the vehicle.
Information
Depending on the condition and dura-
bility of the high voltage battery,
charger specifications, and ambient
temperature, the time required for
charging the battery may vary.
i
i
OAEEQ016025
OAEE046010
Page 514 of 555
H34
C
CH
H A
AR
RG
G I
IN
N G
G
E
E L
LE
E C
CT
T R
R I
IC
C
V
V E
EH
H I
IC
C L
LE
E
(
( T
T R
R I
IC
C K
K L
LE
E
C
C H
H A
AR
RG
G E
E)
)
(
( C
C O
O N
NT
T.
.)
)
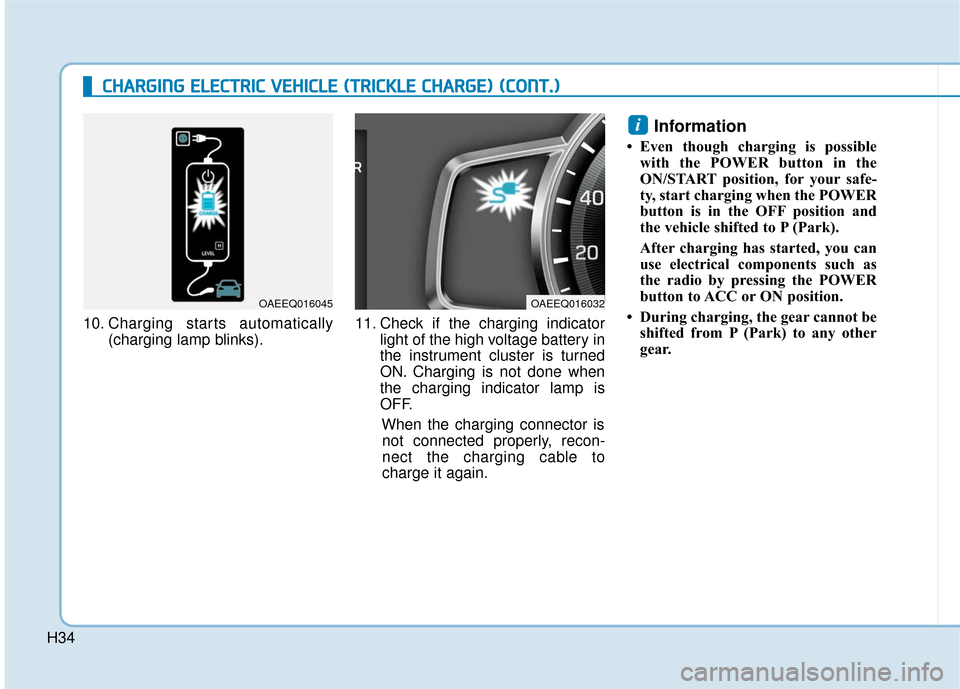
10. Charging starts automatically
(charging lamp blinks). 11. Check if the charging indicator
light of the high voltage battery in
the instrument cluster is turned
ON. Charging is not done when
the charging indicator lamp is
OFF.
When the charging connector isnot connected properly, recon-
nect the charging cable to
charge it again.
Information
• Even though charging is possible with the POWER button in the
ON/START position, for your safe-
ty, start charging when the POWER
button is in the OFF position and
the vehicle shifted to P (Park).
After charging has started, you can
use electrical components such as
the radio by pressing the POWER
button to ACC or ON position.
• During charging, the gear cannot be shifted from P (Park) to any other
gear.
i
OAEEQ016045OAEEQ016032