dc charge Hyundai Ioniq Electric 2020 Owner's Manual
[x] Cancel search | Manufacturer: HYUNDAI, Model Year: 2020, Model line: Ioniq Electric, Model: Hyundai Ioniq Electric 2020Pages: 561, PDF Size: 41.18 MB
Page 7 of 561
F7
Introduction
NOTICE indicates a situation
which, if not avoided, could result
in vehicle damage. This vehicle should not be modi-
fied. Modification of your vehicle
could affect its performance, safety
or durability and may even violate
governmental safety and emis-
sions regulations.
In addition, damage or perform-
ance problems resulting from any
modification may not be covered
under warranty.
If you use unauthorized electronic
devices, it may cause the vehicle to
operate abnormally, wire damage,
battery discharge and fire. For your
safety, do not use unauthorized
electronic devices.
NOTICE
CAUTION indicates a hazardous
situation which, if not avoided,
could result in minor or moder-
ate injury.
CAUTION
V VE
EH
HI
IC
CL
LE
E
M
MO
OD
DI
IF
FI
IC
CA
AT
TI
IO
ON
NS
S
CALIFORNIA PROPOSITION 65
WARNING
Items contained in motor vehi-
cles or emitted from them are
known to the State of California
to cause cancer and birth
defects or reproductive harm.
These include:
•Gasoline and its vapors
Engine exhaust
Used engine oil
Interior passenger compart-
ment components and materi-
als
Component parts which are
subject to heat and wear
In addition, battery posts, termi-
nals and related accessories
contain lead, lead compounds
and other chemicals known to
the State of California to cause
cancer and reproductive harm.
WARNING
Page 76 of 561
2-61
Safety system of your vehicle
2
ODH035900K
ODH035901K
ODH035902K
ODH035903K
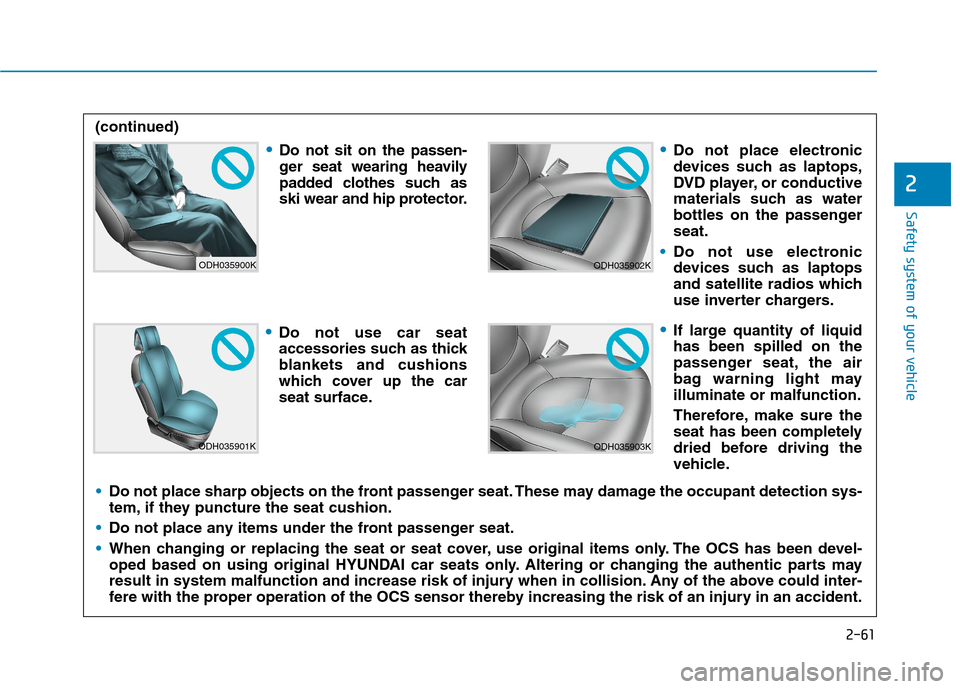
Do not sit on the passen-
ger seat wearing heavily
padded clothes such as
ski wear and hip protector.
Do not use car seat
accessories such as thick
blankets and cushions
which cover up the car
seat surface.
Do not place electronic
devices such as laptops,
DVD player, or conductive
materials such as water
bottles on the passenger
seat.
Do not use electronic
devices such as laptops
and satellite radios which
use inverter chargers.
If large quantity of liquid
has been spilled on the
passenger seat, the air
bag warning light may
illuminate or malfunction.
Therefore, make sure the
seat has been completely
dried before driving the
vehicle.
Do not place sharp objects on the front passenger seat. These may damage the occupant detection sys-
tem, if they puncture the seat cushion.
Do not place any items under the front passenger seat.
When changing or replacing the seat or seat cover, use original items only. The OCS has been devel-
oped based on using original HYUNDAI car seats only. Altering or changing the authentic parts may
result in system malfunction and increase risk of injury when in collision. Any of the above could inter-
fere with the proper operation of the OCS sensor thereby increasing the risk of an injury in an accident. (continued)
Page 90 of 561
3-5
Convenient features of your vehicle
Liftgate unlocking
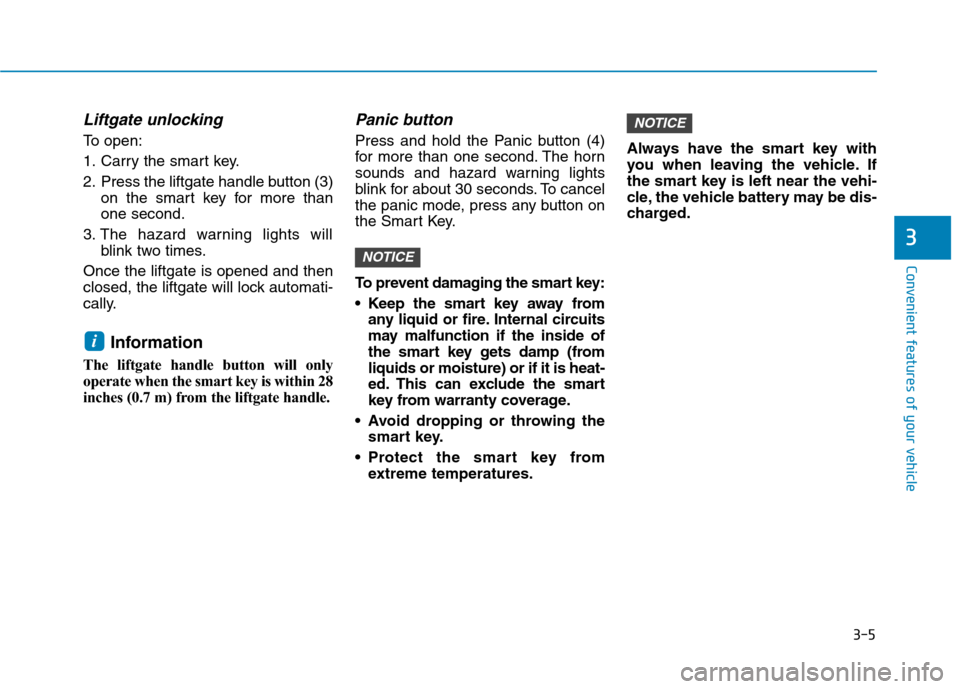
To open:
1. Carry the smart key.
2. Press the liftgate handle button (3)
on the smart key for more than
one second.
3. The hazard warning lights will
blink two times.
Once the liftgate is opened and then
closed, the liftgate will lock automati-
cally.
Information
The liftgate handle button will only
operate when the smart key is within 28
inches (0.7 m) from the liftgate handle.
Panic button
Press and hold the Panic button (4)
for more than one second. The horn
sounds and hazard warning lights
blink for about 30 seconds. To cancel
the panic mode, press any button on
the Smart Key.
To prevent damaging the smart key:
• Keep the smart key away from
any liquid or fire. Internal circuits
may malfunction if the inside of
the smart key gets damp (from
liquids or moisture) or if it is heat-
ed. This can exclude the smart
key from warranty coverage.
Avoid dropping or throwing the
smart key.
Protect the smart key from
extreme temperatures.Always have the smart key with
you when leaving the vehicle. If
the smart key is left near the vehi-
cle, the vehicle battery may be dis-
charged.
NOTICE
NOTICE
i
3
Page 125 of 561
3-40
Convenient features of your vehicle
The electric type outside rearview
mirror operates even though the
POWER button is in the OFF posi-
tion. However, to prevent unnec-
essary battery discharge, do not
adjust the mirrors longer than
necessary while the vehicle is not
in the ready ( ) mode.
Do not fold the electric type side
view mirror by hand. It could
cause motor failure.
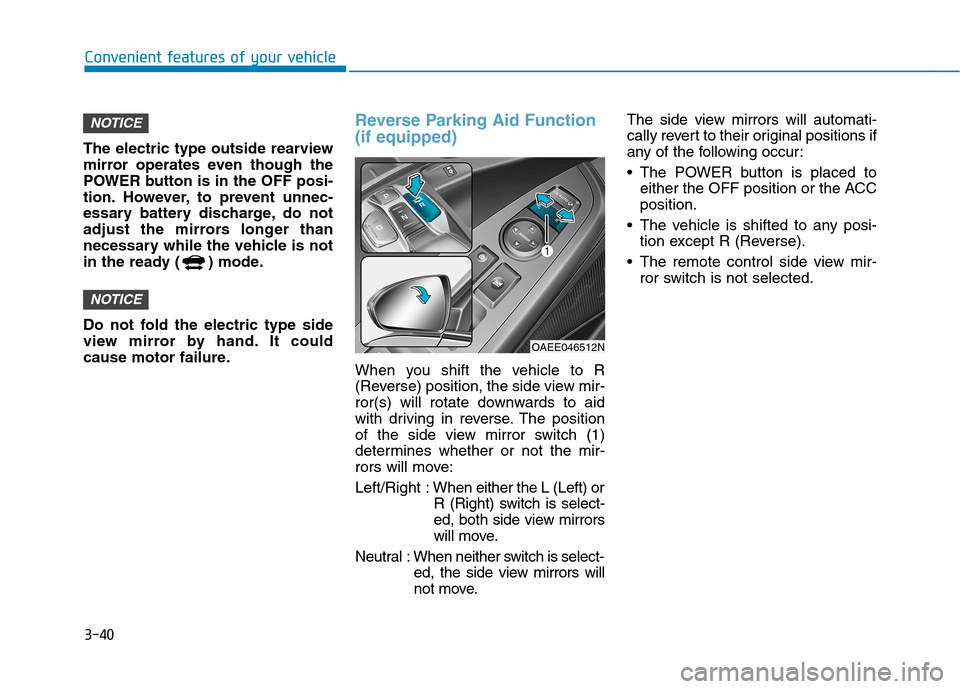
Reverse Parking Aid Function
(if equipped)
When you shift the vehicle to R
(Reverse) position, the side view mir-
ror(s) will rotate downwards to aid
with driving in reverse. The position
of the side view mirror switch (1)
determines whether or not the mir-
rors will move:
Left/Right :When either the L (Left) or
R (Right) switch is select-
ed, both side view mirrors
will move.
Neutral : When neither switch is select-
ed, the side view mirrors will
not move.The side view mirrors will automati-
cally revert to their original positions if
any of the following occur:
The POWER button is placed to
either the OFF position or the ACC
position.
The vehicle is shifted to any posi-
tion except R (Reverse).
The remote control side view mir-
ror switch is not selected.
NOTICE
NOTICE
OAEE046512N
Page 133 of 561
3-48
Convenient features of your vehicle
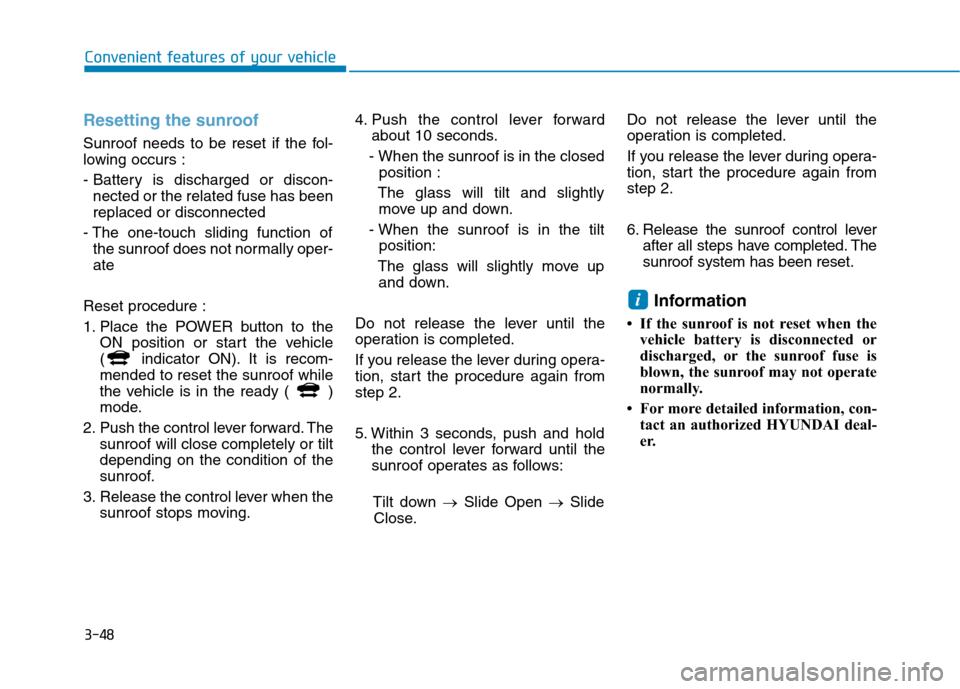
Resetting the sunroof
Sunroof needs to be reset if the fol-
lowing occurs :
- Battery is discharged or discon-
nected or the related fuse has been
replaced or disconnected
- The one-touch sliding function of
the sunroof does not normally oper-
ate
Reset procedure :
1. Place the POWER button to the
ON position or start the vehicle
( indicator ON). It is recom-
mended to reset the sunroof while
the vehicle is in the ready ( )
mode.
2. Push the control lever forward. The
sunroof will close completely or tilt
depending on the condition of the
sunroof.
3. Release the control lever when the
sunroof stops moving.4. Push the control lever forward
about 10 seconds.
- When the sunroof is in the closed
position :
The glass will tilt and slightly
move up and down.
- When the sunroof is in the tilt
position:
The glass will slightly move up
and down.
Do not release the lever until the
operation is completed.
If you release the lever during opera-
tion, start the procedure again from
step 2.
5. Within 3 seconds, push and hold
the control lever forward until the
sunroof operates as follows:
Tilt down →Slide Open →Slide
Close.Do not release the lever until the
operation is completed.
If you release the lever during opera-
tion, start the procedure again from
step 2.
6. Release the sunroof control lever
after all steps have completed. The
sunroof system has been reset.
Information
• If the sunroof is not reset when the
vehicle battery is disconnected or
discharged, or the sunroof fuse is
blown, the sunroof may not operate
normally.
• For more detailed information, con-
tact an authorized HYUNDAI deal-
er.
i
Page 138 of 561
3-53
Convenient features of your vehicle
3
Charging Door
Opening the charging door
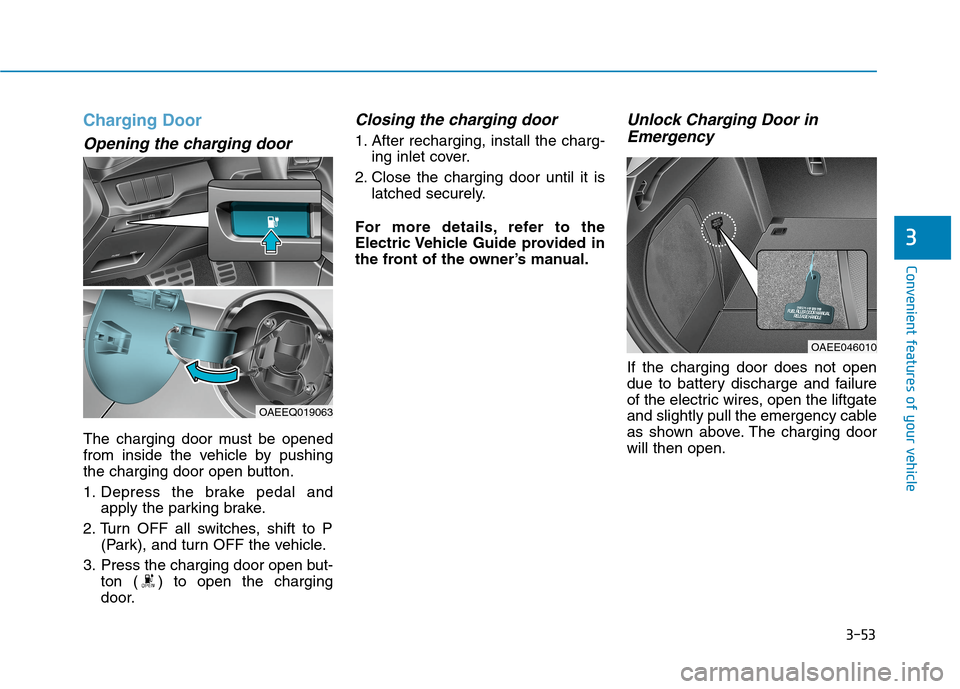
The charging door must be opened
from inside the vehicle by pushing
the charging door open button.
1. Depress the brake pedal and
apply the parking brake.
2. Turn OFF all switches, shift to P
(Park), and turn OFF the vehicle.
3. Press the charging door open but-
ton ( ) to open the charging
door.
Closing the charging door
1. After recharging, install the charg-
ing inlet cover.
2. Close the charging door until it is
latched securely.
For more details, refer to the
Electric Vehicle Guide provided in
the front of the owner’s manual.
Unlock Charging Door in
Emergency
If the charging door does not open
due to battery discharge and failure
of the electric wires, open the liftgate
and slightly pull the emergency cable
as shown above. The charging door
will then open.
OAEE046010
OAEEQ019063
Page 139 of 561
3-54
Convenient features of your vehicle
I IN
NS
ST
TR
RU
UM
ME
EN
NT
T
C
CL
LU
US
ST
TE
ER
R
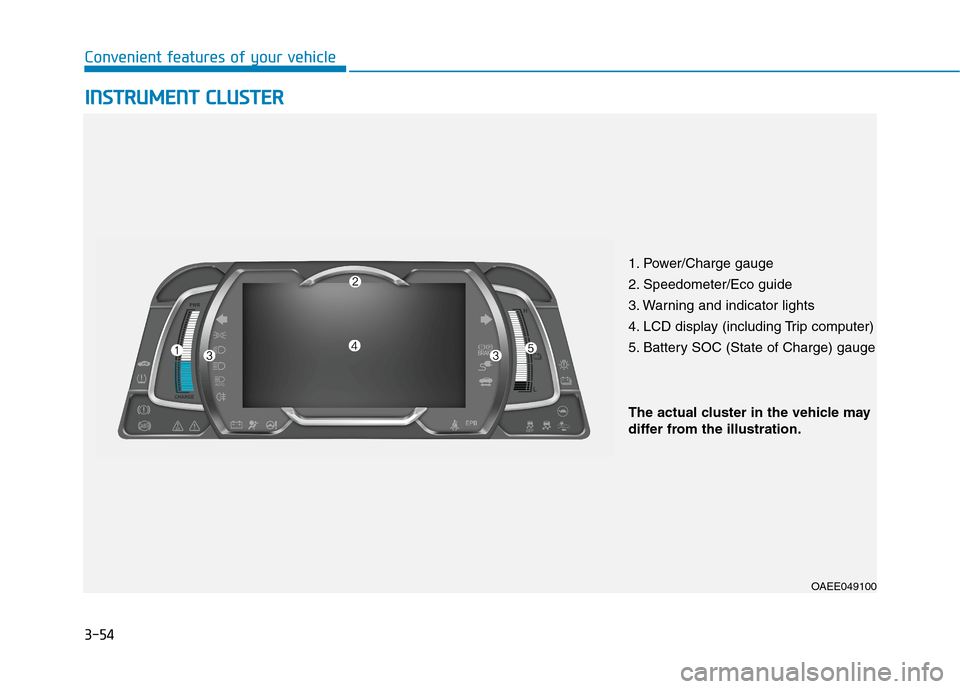
1. Power/Charge gauge
2. Speedometer/Eco guide
3. Warning and indicator lights
4. LCD display (including Trip computer)
5. Battery SOC (State of Charge) gauge
OAEE049100
The actual cluster in the vehicle may
differ from the illustration.
Page 141 of 561
3-56
Convenient features of your vehicle
Gauges and Meters
Speedometer/ECO guide
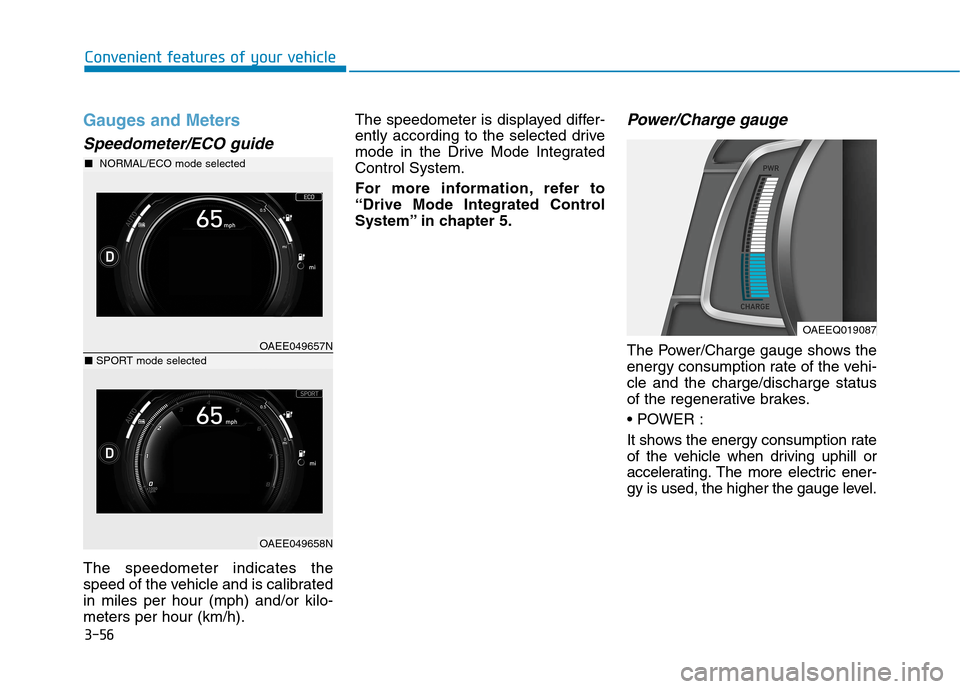
The speedometer indicates the
speed of the vehicle and is calibrated
in miles per hour (mph) and/or kilo-
meters per hour (km/h).The speedometer is displayed differ-
ently according to the selected drive
mode in the Drive Mode Integrated
Control System.
For more information, refer to
“Drive Mode Integrated Control
System” in chapter 5.
Power/Charge gauge
The Power/Charge gauge shows the
energy consumption rate of the vehi-
cle and the charge/discharge status
of the regenerative brakes.
It shows the energy consumption rate
of the vehicle when driving uphill or
accelerating. The more electric ener-
gy is used, the higher the gauge level.
OAEEQ019087
OAEE049657N
■NORMAL/ECO mode selected
OAEE049658N
■SPORT mode selected
Page 142 of 561
3-57
Convenient features of your vehicle
3
It shows the charging status of the
battery when it is being charged by
the regenerative brakes (decelerat-
ing or driving on a downhill road).
The more electric energy is charged,
the lower the gauge level.State of Charge (SOC) gauge for
high voltage battery
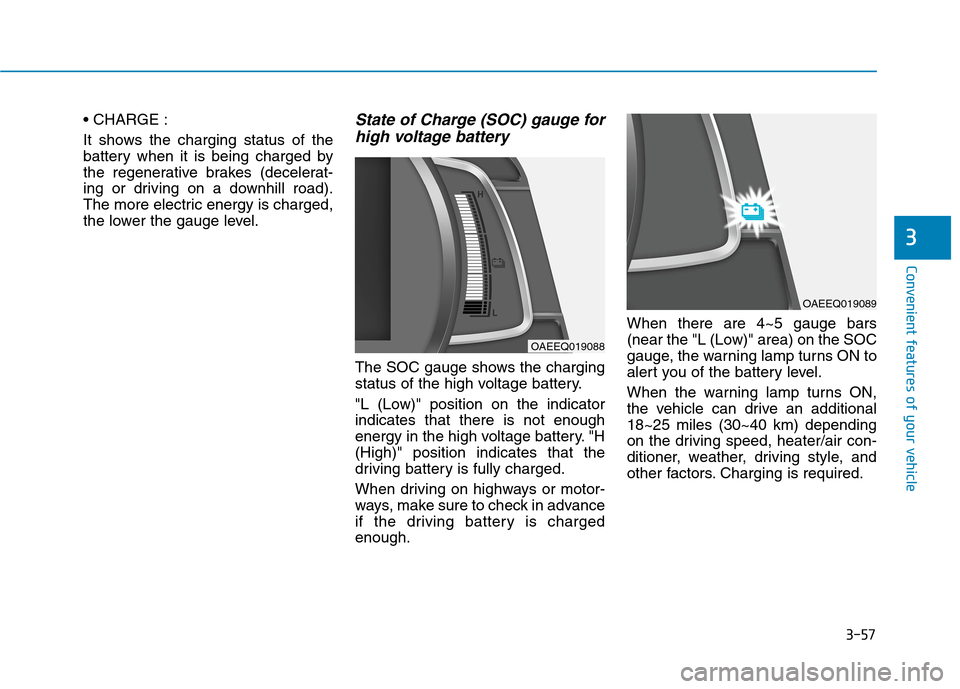
The SOC gauge shows the charging
status of the high voltage battery.
"L (Low)" position on the indicator
indicates that there is not enough
energy in the high voltage battery. "H
(High)" position indicates that the
driving battery is fully charged.
When driving on highways or motor-
ways, make sure to check in advance
if the driving battery is charged
enough.When there are 4~5 gauge bars
(near the "L (Low)" area) on the SOC
gauge, the warning lamp turns ON to
alert you of the battery level.
When the warning lamp turns ON,
the vehicle can drive an additional
18~25 miles (30~40 km) depending
on the driving speed, heater/air con-
ditioner, weather, driving style, and
other factors. Charging is required.
OAEEQ019088
OAEEQ019089
Page 143 of 561
3-58
Convenient features of your vehicle
When the high voltage battery
level is low, the power down warn-
ing illuminates and the power out-
put from the vehicle is limited.
Charge the battery immediately
since your vehicle may not drive
uphill or skid on a slope with the
warning light ON.
Odometer
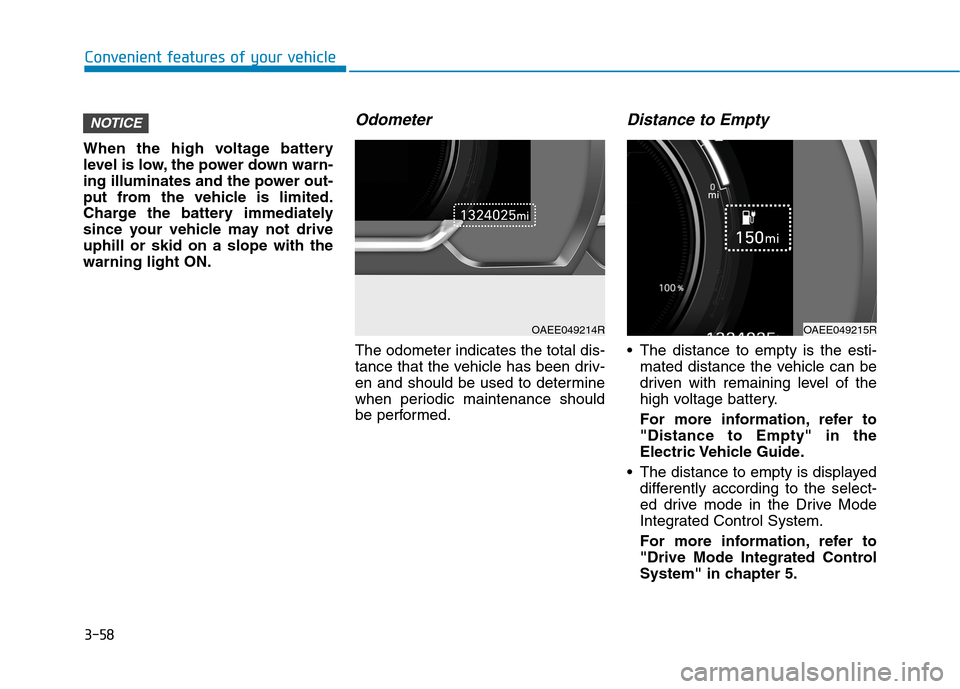
The odometer indicates the total dis-
tance that the vehicle has been driv-
en and should be used to determine
when periodic maintenance should
be performed.
Distance to Empty
The distance to empty is the esti-
mated distance the vehicle can be
driven with remaining level of the
high voltage battery.
For more information, refer to
"Distance to Empty" in the
Electric Vehicle Guide.
The distance to empty is displayed
differently according to the select-
ed drive mode in the Drive Mode
Integrated Control System.
For more information, refer to
"Drive Mode Integrated Control
System" in chapter 5.
NOTICE
OAEE049214ROAEE049215R