wheel HYUNDAI IONIQ ELECTRIC 2022 User Guide
[x] Cancel search | Manufacturer: HYUNDAI, Model Year: 2022, Model line: IONIQ ELECTRIC, Model: HYUNDAI IONIQ ELECTRIC 2022Pages: 546, PDF Size: 34.82 MB
Page 87 of 546

2-7
Safety system of your vehicle
Manual adjustment (if equipped)
The front seat can be adjusted by
using the levers located on the out-
side of the seat cushion. Before driv-ing, adjust the seat to the proper
position so that you can easily con-
trol the steering wheel, foot pedals
and controls on the instrumentpanel.
Forward and rearward adjustment
To move the seat forward or rearward:
1. Pull up the seat slide adjustmentlever and hold it.
2. Slide the seat to the position you desire.
3. Release the lever and make sure the seat is locked in place. Move
forward and rearward without using
the lever. If the seat moves, it is not
locked properly.
2
To prevent injury:
Do not adjust your seat while
wearing your seat belt.
Moving the seat cushion for-
ward may cause strong pres-
sure on your abdomen.
Do not allow your hands or
fingers to get caught in the
seat mechanisms while the
seat is moving.
CAUTION
(Continued)
Use extreme caution when
picking small objects trappedunder the seats or betweenthe seat and the center con-
sole. Your hands might be cut
or injured by the sharp edges
of the seat mechanism.
OAE036002
Page 89 of 546

2-9
Safety system of your vehicle
2
Seat cushion height
To change the height of the seat cushion:
Push down on the lever severaltimes, to lower the seat cushion.
Pull up on the lever several times, to raise the seat cushion.
Power adjustment
(for driver's seat, if equipped)
The front seat can be adjusted by
using the control switches located on
the outside of the seat cushion. Before
driving, adjust the seat to the proper
position so that you can easily control
the steering wheel, foot pedals and
controls on the instrument panel. To prevent damage to the seats:
Always stop adjusting the seats
when the seat has been adjust-
ed as far forward or rearward as
possible.
Do not adjust the seats longer than necessary when the vehicle
is turned off. This may result in
unnecessary battery drain.
Do not operate two or more seats at the same time. This mayresult in an electrical malfunc-tion.
NOTICE
NEVER allow children in the
vehicle unattended. The power
seats are operable when the
vehicle is turned off.
WARNING OAE036004
Page 129 of 546

2-49
Safety system of your vehicle
2
Where Are the Air Bags?
Driver's and passenger's frontair bags
Your vehicle is equipped with a
Advanced Supplemental RestraintSystem (SRS) and lap/shoulder belts
at both the driver and passenger
seating positions. The SRS consists of air bags which are located in the center of the steer-
ing wheel, in the driver's side lower
crash pad below the steering wheelcolumn and the passenger's side
front panel pad above the glove box. The air bags are labeled with the let-
ters "AIR BAG" embossed on the
pad covers. The purpose of the SRS is to provide
the vehicle's driver and front passen-gers with additional protection than
that offered by the seat belt system
alone.
The advanced SRS offers the ability to control the air bag inflation within
two levels. A first stage level is pro-
vided for moderate-severity impacts.
A second stage level is provided for
more severe impacts.
According to the impact severity, the SRS Control Module (SRSCM) con-
trols the air bag inflation. Failure to
properly wear seat belts can
increase the risk or severity of injuryin an accident.
OAEE039032
OAE036033
OAEPH038036
■
Driver's knee air bag
■Driver's front air bag
■Passenger's front air bagTo reduce the risk of serious
injury or death from an inflating
front air bags, take the followingprecautions:
Seat belts must be worn at all times to help keep occupants
positioned properly.
(Continued)
WARNING
Page 130 of 546

Safety system of your vehicle
Side air bags
Your vehicle is equipped with a side
air bag in each front seat. The pur-
pose of the air bag is to provide the
vehicle's driver and the front passen-ger with additional protection than
that offered by the seat belt alone.The side air bags are designed to
deploy only during certain side
impact collisions, depending on the
crash severity.
The side and curtain air bags on
both sides of the vehicle may deploy
if a rollover or possible rollover isdetected. The side air bags are not designed to
deploy in all side impact or rollover
situations.
(Continued)
Move your seat as far back as
possible from front air bags,
while still maintaining control
of the vehicle.
Never lean against the door or
center console.
Do not allow the front passen-
ger to place their feet or legs
on the dashboard.
No objects (such as crash pad
cover, cellular phone holder,
cup holder, perfume or stick-
ers) should be placed over or
near the air bag modules on
the steering wheel, instrument
panel, windshield glass, and
the front passenger's panel
above the glove box. Suchobjects could cause harm if
the vehicle is in a crash
severe enough to cause the
air bags to deploy.
Do not attach any objects on
front windshield and inside
mirror.
OAE036037
OAE036038
2-50 To reduce the risk of serious
injury or death from an inflating
side air bag, take the follo
wing
precautions:
Seat belts must be worn at all times to help keep occupants
positioned properly.
(Continued)
WARNING
Page 131 of 546

2-51
Safety system of your vehicle
2
Curtain air bags
Curtain air bags are located along
both sides of the roof rails above the
front and rear doors.
(Continued)
Do not allow passengers to lean their heads or bodies
onto doors, put their arms on
the doors, stretch their arms
out of the window, or place
objects between the doorsand seats.
Hold the steering wheel at the
9 o'clock and 3 o'clock posi-
tions, to minimize the risk of
injuries to your hands andarms.
Do not use any accessory
seat covers. This could reduce
or prevent the effectivenessof the system.
Do not place any objects over
the air bag or between the air
bag and yourself. Also, do not
attach any objects around the
area the air bag inflates such
as the door, side door glass,
front and rear pillar.
(Continued)
(Continued)
Do not place any objects between the door and the
seat. They may become dan-
gerous projectiles if the side
air bag inflates.
Do not install any accessories on the side or near the side air
bags.
Do not put any objects
between the side airbag label
and seat cushion. It could
cause harm if the vehicle is in
a crash severe enough to
cause the air bags to deploy.
Do not cause impact to the
doors when the POWER but-ton is in the ON position or
this may cause the side air
bags to inflate.
If the seat or seat cover is
damaged, have the vehicle
checked and repaired by an
authorized HYUNDAI dealer.
OAE036041
OAE036042
Page 135 of 546

2-55
Safety system of your vehicle
2
To help provide protection, the airbags must inflate rapidly. The speed of air bag inflation is a consequence
of extremely short time in which to
inflate the air bag between the
occupant and the vehicle structures
before the occupant impacts those
structures. This speed of inflation
reduces the risk of serious or life-
threatening injuries and is thus a
necessary part of air bag design.
However, the rapid air bag inflation
can also cause injuries which can
include facial abrasions, bruises and
broken bones because the inflationspeed also causes the air bags to
expand with a great deal of force.
There are even circumstances under which contact with the air
bag can cause fatal injuries, espe-cially if the occupant is positioned
excessively close to the air bag.
You can take steps to help reduce
the risk of being injured by an inflat-
ing air bag. The greatest risk is sitting
too close to the air bag. An air bag
needs space to inflate. It is recom-
mended that drivers sit as far as pos-
sible between the center of the steer-ing wheel and the chest while still
maintaining control of the vehicle. When the SRSCM detects a suffi-
ciently severe impact to the front of
the vehicle, it will automatically
deploy the front air bags.
OHM039102N
■
Driver’s front air bag (1)
To reduce the risk of serious
injury or death from an inflating
air bag, take the following pre-cautions:
NEVER place a child restraint
in the front passenger seat.
Always properly restrain chil-
dren under age 13 in the rear
seats of the vehicle.
Adjust the front passenger’s and driver's seats as far to the
rear as possible while allow-
ing you to maintain full con-
trol of the vehicle.
Hold the steering wheel with
hands at the 9 o'clock and 3
o'clock positions.
Never place anything or any-
one between the air bag andthe seat occupant.
Do not allow the front passen-
ger to place their feet or legs
on the dashboard.
WARNING
Page 148 of 546

2-68
Safety system of your vehicle
Air bags may not inflate if the vehicle collides with objects such as utility
poles or trees, where the point of
impact is concentrated and the colli-
sion energy is absorbed by the vehi-
cle structure.
SRS Care
The SRS is virtually maintenance-
free and there are no parts you can
safely service by yourself. If the SRS
air bag warning light does not illumi-
nate when the POWER button is in
the ON position, or continuously
remains on, have your vehicle imme-
diately inspected by an authorized
HYUNDAI dealer.
Any work on the SRS system, such
as removing, installing, repairing, or
any work on the steering wheel, thefront passenger's panel, front seats
and roof rails must be performed by
an authorized HYUNDAI dealer.Improper handling of the SRS system
may result in serious personal injury.To reduce the risk of serious
injury or death, take the follow-ing precautions:
Do not attempt to modify or disconnect the SRS compo-
nents or wiring, including the
addition of any kind of badges
to the pad covers or modifica-
tions to the body structure.
Do not place objects over or
near the air bag modules on
the steering wheel, instrument
panel, or the front passen-
ger’s panel above the glove
box.
Clean the air bag pad covers
with a soft cloth moistened
with plain water. Solvents or
cleaners could adversely
affect the air bag covers and
proper deployment of the sys-tem.
Always have inflated air bags
replaced by an authorized
HYUNDAI dealer.
(Continued)
WARNING
OAEE039009
Page 151 of 546
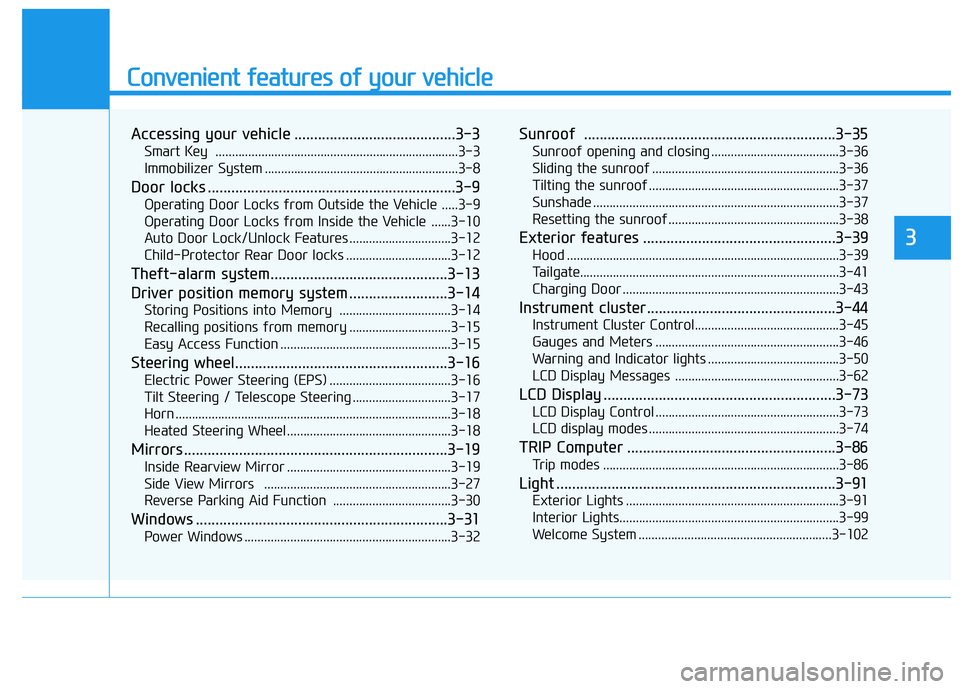
Convenient features of your vehicle
Accessing your vehicle .........................................3-3Smart Key ..........................................................................3-3
Immobilizer System ...........................................................3-8
Door locks ...............................................................3-9 Operating Door Locks from Outside the Vehicle .....3-9
Operating Door Locks from Inside the Vehicle ......3-10
Auto Door Lock/Unlock Features ...............................3-12
Child-Protector Rear Door locks ................................3-12
Theft-alarm system.............................................3-13
Driver position memory system .........................3-14 Storing Positions into Memory ..................................3-14
Recalling positions from memory ...............................3-15
Easy Access Function ....................................................3-15
Steering wheel......................................................3-16 Electric Power Steering (EPS) .....................................3-16
Tilt Steering / Telescope Steering ..............................3-17
Horn ....................................................................................3-18
Heated Steering Wheel ..................................................3-18
Mirrors ...................................................................3-19 Inside Rearview Mirror ..................................................3-19
Side View Mirrors .........................................................3-27
Reverse Parking Aid Function ....................................3-30
Windows ................................................................3-31 Power Windows ...............................................................3-32 Sunroof ................................................................3-35
Sunroof opening and closing .......................................3-36
Sliding the sunroof .........................................................3-36
Tilting the sunroof ..........................................................3-37
Sunshade ...........................................................................3-37
Resetting the sunroof ....................................................3-38
Exterior features .................................................3-39 Hood ...................................................................................3-39
Tailgate...............................................................................3-41
Charging Door ..................................................................3-43
Instrument cluster................................................3-44 Instrument Cluster Control............................................3-45
Gauges and Meters ........................................................3-46
Warning and Indicator lights ........................................3-50
LCD Display Messages ..................................................3-62
LCD Display ...........................................................3-73 LCD Display Control ........................................................3-73
LCD display modes ..........................................................3-74
TRIP Computer .....................................................3-86 Trip modes ........................................................................3-86
Light .......................................................................3-91 Exterior Lights .................................................................3-91
Interior Lights...................................................................3-99
Welcome System ...........................................................3-102
3
Page 166 of 546

3-16
Convenient features of your vehicleS
S TT EEEERR IINN GG WW HHEEEELL
Electric Power Steering (EPS)
The system assists you with steering
the vehicle. If the vehicle is turned off
or if the power steering system
becomes inoperative, you may still
steer the vehicle, but it will require
increased steering effort.
Should you notice any change in the
effort required to steer during normal
vehicle operation, have the system
checked by an authorized HYUNDAI
dealer. Information
The following symptoms may occur
during normal vehicle operation:
The steering effort may be high immediately after placing the
POWER button in the ON position.
This happens as the system per-
forms the EPS system diagnostics.
When the diagnostics is completed,
the steering wheel will return to its
normal condition.
A click noise may be heard from the EPS relay after the POWER button
is in the ON or OFF position.
Motor noise may be heard when the vehicle is at a stop or at a low driv-
ing speed.
When you operate the steering wheel in low temperature, abnormal
noise may occur. If temperature
rises, the noise will disappear. This
is a normal condition. When an error is detected from the
EPS, the assistant function of steer-
ing effort will not be activated in
order to prevent fatal accidents.
Instrument cluster warning lights
may be on or the steering effort may
be high. When the following symp-
toms occur, immediately drive the
vehicle to a safe area and check it.
i
If the Electric Power Steering System does not operate nor-
mally, the warning light ( ) willilluminate on the instrument
cluster. You may steer the vehi-
cle, but it will require increased
steering efforts. Take your vehi-
cle to an authorized HYUNDAI
dealer and have the system
checked as soon as possible.
CAUTION
Page 167 of 546

3-17
Convenient features of your vehicle
3
Tilt Steering / Telescope Steering
Adjust the steering wheel so it points
toward your chest, not toward your
face. Make sure you can see the
instrument cluster warning lights and
gauges. After adjusting, push the
steering wheel both up and down to
be certain it is locked in position.
Always adjust the position of the
steering wheel before driving.To change the steering wheel angleand height:
1. Pull down the lock-release lever (1).
2. Adjust the steering wheel to thedesired angle (2) and height (3).
3. Pull up the lock-release lever to lock the steering wheel in place.
Information
After adjustment, sometimes the lock
release lever may not lock the steering
wheel. It is not a malfunction. This
occurs when two gears are not
engaged correctly. In this case, adjust
the steering wheel again and then lock
the steering wheel.
i
OAEE049655 While adjusting the steering
wheel height, please do not
push or pull it hard since the fix-
ture can be damaged.
CAUTION
NEVER adjust the steering
wheel while driving. This may
cause loss of vehicle controlresulting in an accident.
WARNING