start stop button HYUNDAI IONIQ ELECTRIC 2022 Owners Manual
[x] Cancel search | Manufacturer: HYUNDAI, Model Year: 2022, Model line: IONIQ ELECTRIC, Model: HYUNDAI IONIQ ELECTRIC 2022Pages: 546, PDF Size: 34.82 MB
Page 66 of 546
H57
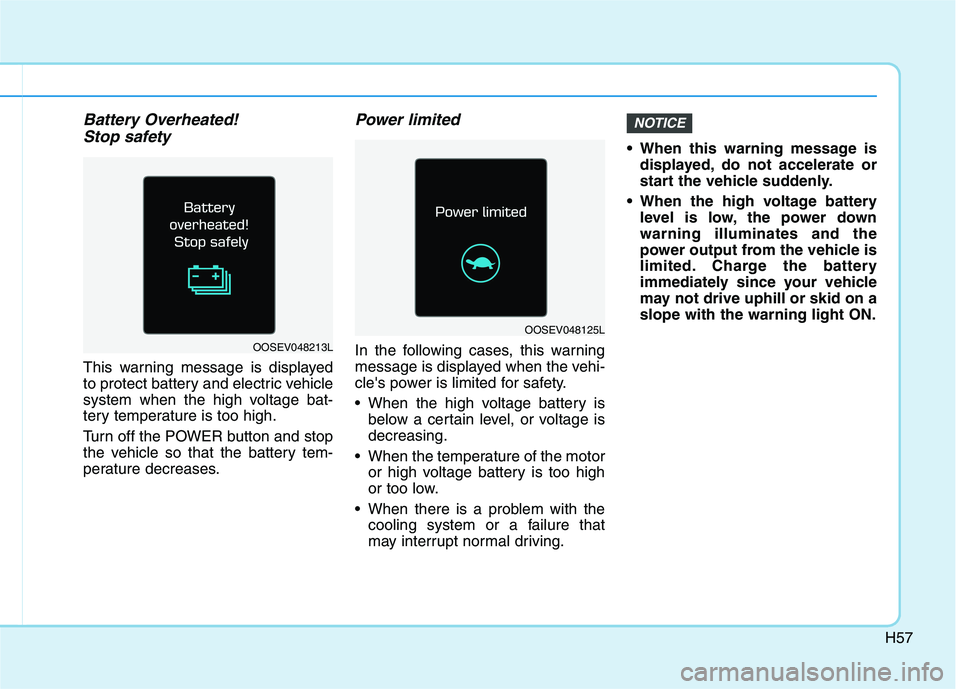
Battery Overheated! Stop safety
This warning message is displayed
to protect battery and electric vehicle
system when the high voltage bat-
tery temperature is too high.
Turn off the POWER button and stop
the vehicle so that the battery tem-
perature decreases.
Power limited
In the following cases, this warning
message is displayed when the vehi-
cle's power is limited for safety.
When the high voltage battery is below a certain level, or voltage is decreasing.
When the temperature of the motor or high voltage battery is too high
or too low.
When there is a problem with the cooling system or a failure that
may interrupt normal driving. When this warning message is
displayed, do not accelerate or
start the vehicle suddenly.
When the high voltage battery level is low, the power downwarning illuminates and the
power output from the vehicle is
limited. Charge the battery
immediately since your vehicle
may not drive uphill or skid on aslope with the warning light ON.
NOTICE
OOSEV048213L
OOSEV048125L
Page 69 of 546
H60
Aux. Battery Saver+
The Aux. Battery Saver+ is a function that monitors the charging status of
the 12 V auxiliary battery.
If the auxiliary battery level is low, the
main high voltage battery charges
the auxiliary battery.Information
The Aux. Battery Saver+ function will
be ON when the vehicle is delivered. If
the function is not needed, you may
turn it off in the Users Settings mode
on the cluster. For more information,
refer to the following page.
Mode
Cycle Mode :
When the POWER button is in the
OFF or ACC position with all doors,
hood and tailgate closed, the Aux.
Battery Saver+ activates according
to the auxiliary battery status.
Automatic Mode :
When the POWER button is in the OFF position with the charging con-nector plugged in, the function acti-
vates according to the auxiliary bat-
tery status to prevent overdischarge
of the auxiliary battery. Information
The Aux. Battery Saver+ activates maximum of 60 minutes. If the Aux.
Battery Saver+ function activates
more than 10 times consecutively
when in the automatic mode, the
function will stop activating, judg-
ing that there is a problem with the
auxiliary battery. In this case, drive
the vehicle for some period of time
or if the auxiliary battery returns to
normal, the function will start acti-
vating.
The Aux. Battery Saver+ function cannot prevent battery discharge if
the auxiliary battery is damaged,
worn out, used as a power supply or
unauthorized electronic devises are
used.
If the Aux. Battery Saver+ function was activated, the high voltage bat-
tery level may have decreased. i
i
DDRRIIVV IINN GG EE LLEE CCTT RR IICC VV EEHH IICC LLEE
Page 165 of 546
3-15
Convenient features of your vehicle
3
Recalling positions from mem-
ory
1. Shift to P (Park) while the POWERbutton is in the ON position.
2. Press the desired memory button (1 or 2). The system will beep once,
and then the driver’s seat position,
side view mirror position and instru-ment panel illumination intensitywill automatically adjust to the
stored positions.
3. "Driver 1(or 2) settings is applied" will appear on the LCD display. While recalling the "1" memory
position, pressing the SET or 1
button temporarily stops theadjustment of the recalled memo-
ry position. Pressing the 2 button
recalls the "2" memory position.
While recalling the "2" memory position, pressing the SET or 2
button temporarily stops theadjustment of the recalled memo-
ry position. Pressing the 1 button
recalls the "1" memory position.
While recalling the stored posi- tions, pressing one of the con-
trol buttons for the driver’s seat,
side view mirror or instrumentpanel illumination will cause the
movement of that component to
stop and move in the direction
that the control button ispressed.
Easy Access Function
When exiting the vehicle the driver’s
seat will move rearward when the
vehicle is turned off, and the gear in
P (Park).
When entering the vehicle the dri-
ver’s seat will move forward when the
smart key is detected with the
POWER button in the ACC/ON/
START position.
You can activate or deactivate the Easy Access Function from the User
Settings mode on the LCD display.
For more information, refer to the
"LCD Display" section in this
chapter.
NOTICE
Page 188 of 546
3-38
Convenient features of your vehicle
Resetting the sunroof
Sunroof needs to be reset if the fol-
lowing occurs :
- Battery is discharged or discon-nected or the related fuse has been replaced or disconnected
- The one-touch sliding function of the sunroof does not normally oper-ate
Reset procedure :
1. Place the POWER button to the ON position or start the vehicle
( indicator ON). It is recom-mended to reset the sunroof while
the vehicle is in the ready ( )
mode.
2. Push the control lever forward. The sunroof will close completelyor tilt depending on the condition
of the sunroof.
3. Release the control lever when the sunroof stops moving. 4. Push the control lever forward
about 10 seconds.
- When the sunroof is in the closed position :
The glass will tilt and slightly move up and down.
- When the sunroof is in the tilt position:
The glass will slightly move up and down.
Do not release the lever until the
operation is completed.
If you release the lever during opera-
tion, start the procedure again fromstep 2.
5. Within 3 seconds, push and hold the control lever forward until the
sunroof operates as follows:
Tilt down �Slide Open �Slide
Close.
Do not release the lever until the
operation is completed. If you release the lever during opera-
tion, start the procedure again fromstep 2.
6. Release the sunroof control lever
after all steps have completed. The sunroof system has beenreset.
Information
If the sunroof is not reset when the vehicle battery is disconnected or
discharged, or the sunroof fuse is
blown, the sunroof may not operate
normally.
For more detailed information, con- tact an authorized HYUNDAI dealer.
i
Page 207 of 546
3-57
Convenient features of your vehicle
3
LED Headlamp WarningLight (if equipped)
This warning light illuminates:
When there is a malfunction with the LED headlamp.
In this case, have the vehicle inspect-
ed by an an authorized HYUNDAI
dealer.
This warning light blinks:
When there is a malfunction with a
LED headlamp related part.
In this case, have the vehicle
inspected by an an authorized
HYUNDAI dealer.
Continuous driving with the LED
Headlamp Warning Light on or
blinking can reduce LED head-
lamp life.
Adaptive Front Lighting (AFL) system Warning
Light (if equipped)
This warning light blinks:
When the POWER button is in the ON position.
- It illuminates for approximately 3seconds and then goes off.
When there is a malfunction with the AFL system.
If there is a malfunction with the
AFL system:
1. Drive carefully to the nearest safe location and stop your vehicle.
2. Turn the vehicle off and restart the vehicle ( indicator ON). If the
warning light remains on, have your
vehicle inspected by an authorized
HYUNDAI dealer.
Icy Road Warning Light
(if equipped)
This warning light is to warn the driver
the road may be icy. When the reading on the outside
temperature gauge is below 40°F
(4°C), the Icy Road Warning Light
and Outside Temperature Gauge
blinks and then illuminates. Also, the
warning chime sounds 1 time.
You can activate or deactivate Icy
Road Warning function from the UserSettings mode in the cluster LCD dis-
play.
Information
If the icy road warning light comes ON
while driving, it is an indication that
roads may be icy. In this situation, pay
close attention to your driving and
reduce your vehicle speed as a precau-
tion. Avoid sudden changes in accelera-
tion or braking or sudden changes in
steering in order to maintain control of
your vehicle while driving in adverse
weather conditions.
i
NOTICE
AFL
Page 221 of 546
3-71
Convenient features of your vehicle
3
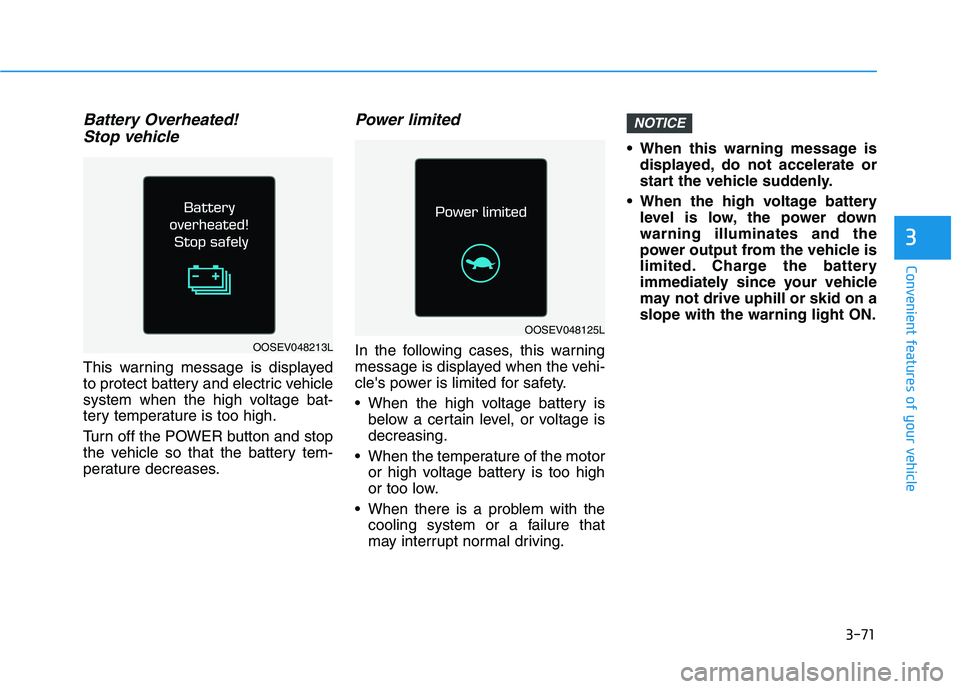
Battery Overheated! Stop vehicle
This warning message is displayed
to protect battery and electric vehicle
system when the high voltage bat-
tery temperature is too high.
Turn off the POWER button and stop
the vehicle so that the battery tem-
perature decreases.
Power limited
In the following cases, this warning
message is displayed when the vehi-
cle's power is limited for safety.
When the high voltage battery is below a certain level, or voltage is decreasing.
When the temperature of the motor or high voltage battery is too high
or too low.
When there is a problem with the cooling system or a failure that
may interrupt normal driving. When this warning message is
displayed, do not accelerate or
start the vehicle suddenly.
When the high voltage battery level is low, the power downwarning illuminates and the
power output from the vehicle is
limited. Charge the battery
immediately since your vehicle
may not drive uphill or skid on aslope with the warning light ON.
NOTICE
OOSEV048125L
OOSEV048213L
Page 238 of 546
3-88
Convenient features of your vehicle
Accumulated info display
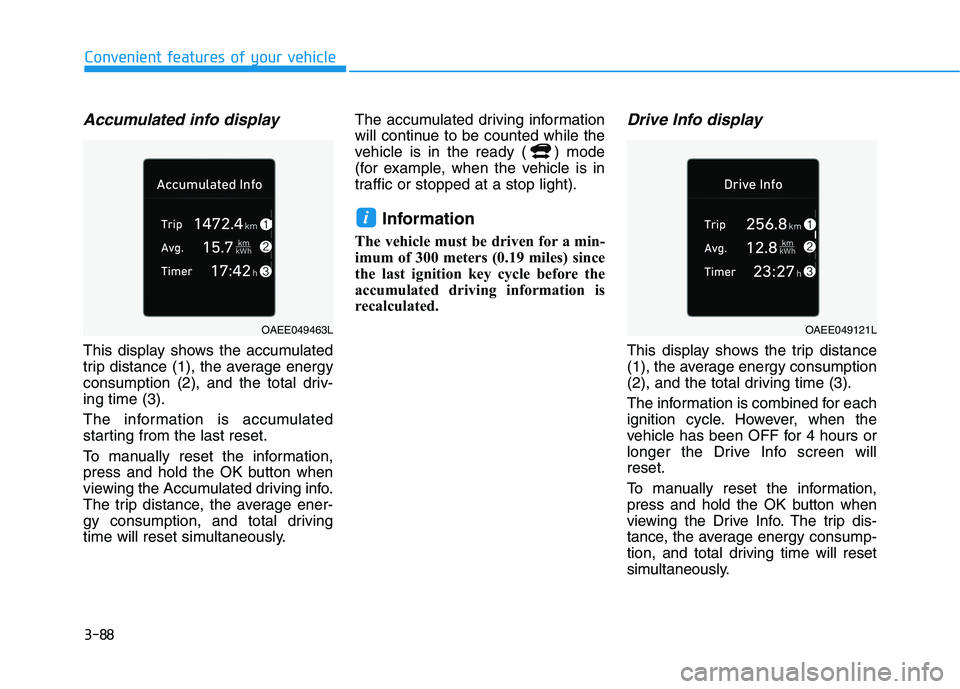
This display shows the accumulated
trip distance (1), the average energy
consumption (2), and the total driv-ing time (3).
The information is accumulated
starting from the last reset.
To manually reset the information,
press and hold the OK button when
viewing the Accumulated driving info.
The trip distance, the average ener-
gy consumption, and total driving
time will reset simultaneously.The accumulated driving information
will continue to be counted while the
vehicle is in the ready ( ) mode
(for example, when the vehicle is in
traffic or stopped at a stop light).
Information
The vehicle must be driven for a min-
imum of 300 meters (0.19 miles) since
the last ignition key cycle before the
accumulated driving information is
recalculated.
Drive Info display
This display shows the trip distance
(1), the average energy consumption
(2), and the total driving time (3).
The information is combined for each
ignition cycle. However, when the
vehicle has been OFF for 4 hours or
longer the Drive Info screen willreset.
To manually reset the information,
press and hold the OK button when
viewing the Drive Info. The trip dis-
tance, the aver age energy consump-
tion, and total driving time will reset
simultaneously.
i
OAEE049463LOAEE049121L
Page 282 of 546
3-132
Convenient features of your vehicle
(Continued)
The wireless charging processmay temporarily stop, when tem-
perature abnormally increasesinside the wireless cellular
phone charging system. The
wireless charging process
restarts, when temperature falls
to a proper level.
The wireless charging process may temporarily stop when
there is any metallic item, such
as a coin, between the wireless
cellular phone charging system
and a cellular phone.
For certain cellular phone with their own protection, the wire-
less charging speed maydecrease and the wireless
charging may stop.
If the cellular phone has a thick cover, the wireless charging may
not be possible.
If the cell phone is not complete- ly contacting the charging pad,
wireless charging may not oper-
ate properly.
(Continued)(Continued)
Some magnetic items like credit
cards, phone cards or rail tickets
may be damaged if left with the
cellular phone during the charg-
ing process.
If the cellular phone without the wireless charging function orthe metallic items are placed on
the charging pad, it may cause
slight noise. This noise does not
affect the cellular phone and the
vehicle, because this noise is anoperating sound during deter-
mining the item on the chargingpad.
If the POWER button is in the OFF position, the charging alsostops.Clock
Vehicles with Audio system
Select the [SETUP]button on the
audio system ➟Select [Date/Time].
Set time: Set the time displayed on the audio screen.
Time format: Choose between 12- hour and 24-hour time formats.
Do not adjust the clock while
driving, you may lose your
steering control and cause an
accident that results in severe
personal injury or death.
WARNING
Page 299 of 546
5-9
Driving your vehicle
5
To prevent damage to the vehicle:
If the " " indicator turns off
while you are in motion, do not
attempt to shift to the P (Park)position.
To prevent damage to the vehicle:
When the stop lamp fuse is blown,
you cannot normally start the
vehicle. Replace the fuse with a
new one. If you are not able to
replace the fuse, you can start the
vehicle by pressing and holding
the POWER button for 10 seconds
with the POWER button in the ACCposition.
Do not press the POWER button
for more than 10 seconds except
when the stop lamp fuse is blown.
For your safety always depress
the brake pedal before starting the
vehicle.Information
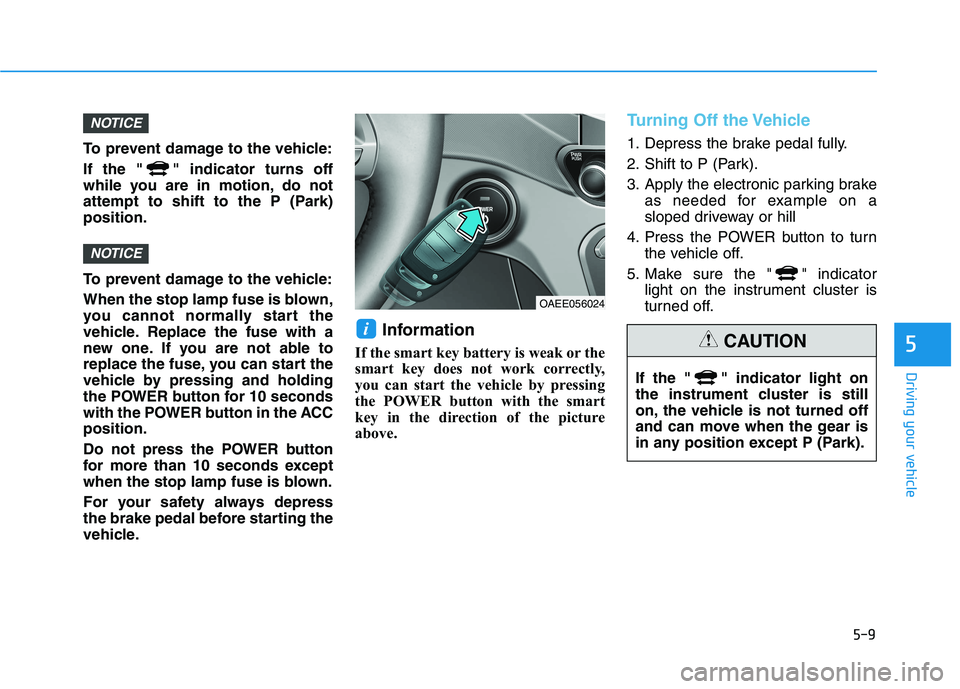
If the smart key battery is weak or the
smart key does not work correctly,
you can start the vehicle by pressing
the POWER button with the smart
key in the direction of the picture
above.
Turning Off the Vehicle
1. Depress the brake pedal fully.
2. Shift to P (Park).
3. Apply the electronic parking brake as needed for example on a
sloped driveway or hill
4. Press the POWER button to turn the vehicle off.
5. Make sure the " " indicator light on the instrument cluster is
turned off.
i
NOTICE
NOTICE
OAEE056024
If the " " indicator light on
the instrument cluster is still
on, the vehicle is not turned off
and can move when the gear is
in any position except P (Park).
CAUTION
Page 302 of 546
5-12
Driving your vehicle
Shift-lock system
For your safety, your vehicle has a
shift-lock system which prevents
shifting the gear from P (Park) or N
(Neutral) into R (Reverse) or D
(Drive) unless the brake pedal isdepressed.
To shift from P (Park) or N (Neutral)
into R (Reverse) or D (Drive) :
1. Depress and hold the brake pedal.
2. Start the vehicle or place thePOWER button in the ON position.
3. Press the R (Reverse) or D (Drive) button.
When the battery (12 V) is dis-
charged
You cannot shift the gear when the
battery is discharged.
Jump start your vehicle (refer to
“Jump Starting” in chapter 6) or con-
tact an authorized HYUNDAI dealer.
Parking
Always come to a complete stop and
continue to depress the brake pedal.
Shift to the P (Park) position, apply
the electronic parking brake as need-
ed such as on a sloped driveway or
hill and place the POWER button in
the OFF position. Take the Key with
you when exiting the vehicle.
LCD Display Messages
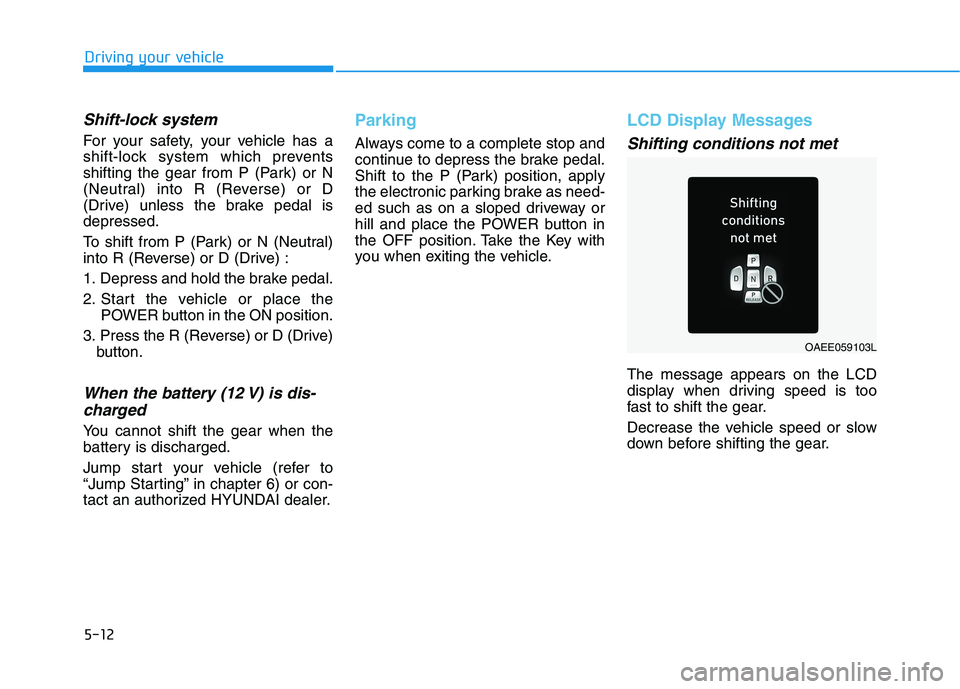
Shifting conditions not met
The message appears on the LCD
display when driving speed is too
fast to shift the gear.
Decrease the vehicle speed or slow
down before shifting the gear.
OAEE059103L