buttons HYUNDAI IX20 2017 Owners Manual
[x] Cancel search | Manufacturer: HYUNDAI, Model Year: 2017, Model line: IX20, Model: HYUNDAI IX20 2017Pages: 456, PDF Size: 9.46 MB
Page 86 of 456

Features of your vehicle
8
4
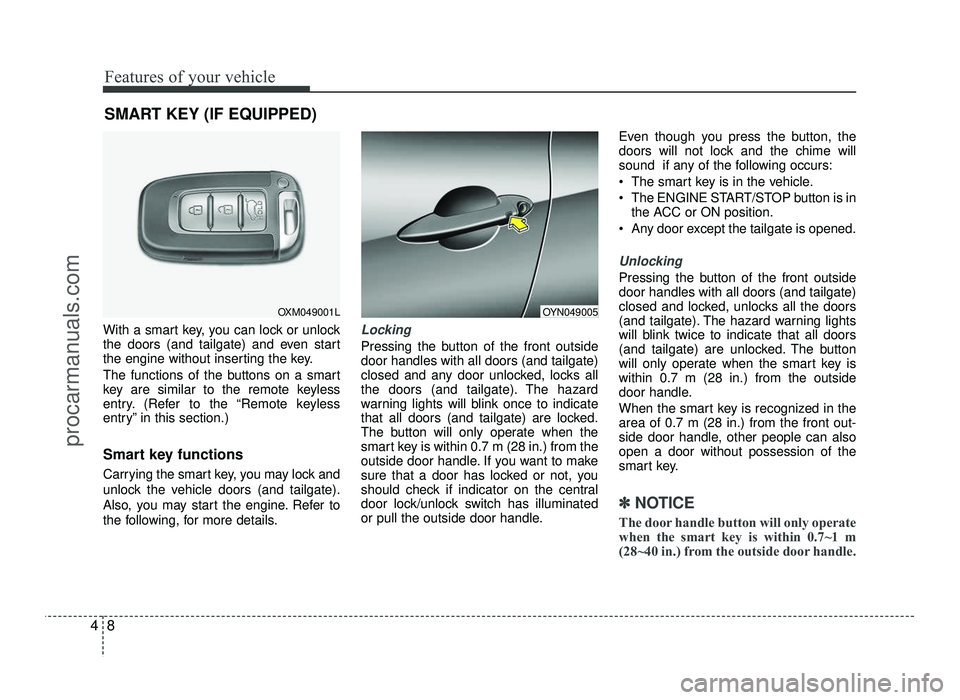
With a smart key, you can lock or unlock
the doors (and tailgate) and even start
the engine without inserting the key.
The functions of the buttons on a smart
key are similar to the remote keyless
entry. (Refer to the “Remote keyless
entry” in this section.)
Smart key functions
Carrying the smart key, you may lock and
unlock the vehicle doors (and tailgate).
Also, you may start the engine. Refer to
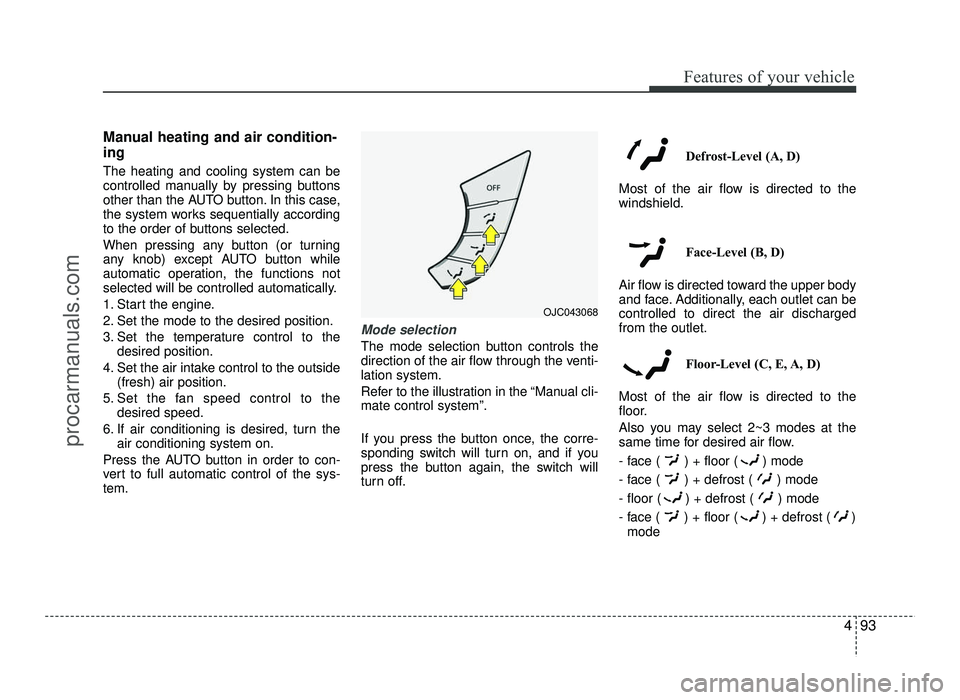
the following, for more details.Locking
Pressing the button of the front outside door handles with all doors (and tailgate)
closed and any door unlocked, locks all
the doors (and tailgate). The hazard
warning lights will blink once to indicate
that all doors (and tailgate) are locked.
The button will only operate when the
smart key is within 0.7 m (28 in.) from the
outside door handle. If you want to make
sure that a door has locked or not, you
should check if indicator on the central
door lock/unlock switch has illuminated
or pull the outside door handle. Even though you press the button, the
doors will not lock and the chime will
sound if any of the following occurs:
The smart key is in the vehicle.
The ENGINE START/STOP button is in
the ACC or ON position.
Any door except the tailgate is opened.
Unlocking
Pressing the button of the front outside door handles with all doors (and tailgate)
closed and locked, unlocks all the doors
(and tailgate). The hazard warning lights
will blink twice to indicate that all doors
(and tailgate) are unlocked. The button
will only operate when the smart key iswithin 0.7 m (28 in.) from the outside
door handle.
When the smart key is recognized in the area of 0.7 m (28 in.) from the front out-
side door handle, other people can alsoopen a door without possession of the
smart key.
✽✽ NOTICE
The door handle button will only operate
when the smart key is within 0.7~1 m
(28~40 in.) from the outside door handle.
SMART KEY (IF EQUIPPED)
OXM049001LOYN049005
procarmanuals.com
Page 171 of 456

493
Features of your vehicle
Manual heating and air condition- ing The heating and cooling system can be
controlled manually by pressing buttons
other than the AUTO button. In this case,
the system works sequentially according
to the order of buttons selected.
When pressing any button (or turning
any knob) except AUTO button while
automatic operation, the functions not
selected will be controlled automatically.
1. Start the engine.
2. Set the mode to the desired position.
3. Set the temperature control to thedesired position.
4. Set the air intake control to the outside (fresh) air position.
5. Set the fan speed control to the desired speed.
6. If air conditioning is desired, turn the air conditioning system on.
Press the AUTO button in order to con-
vert to full automatic control of the sys-tem.
Mode selection
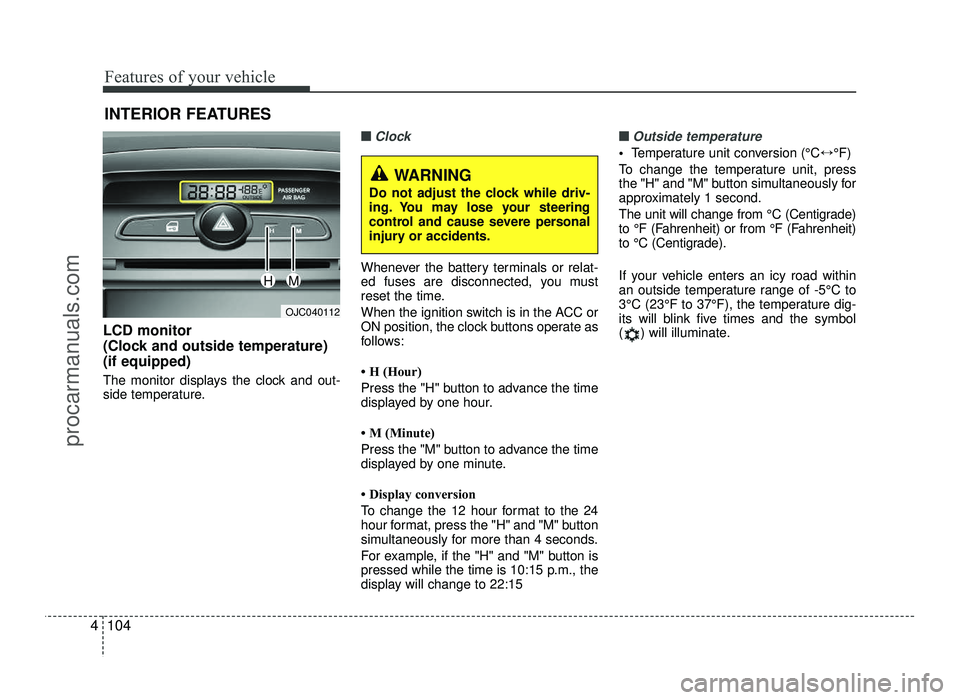
The mode selection button controls the
direction of the air flow through the venti-lation system.
Refer to the illustration in the “Manual cli- mate control system”.
If you press the button once, the corre-
sponding switch will turn on, and if you
press the button again, the switch will
turn off. Defrost-Level (A, D)
Most of the air flow is directed to thewindshield.
Face-Level (B, D)
Air flow is directed toward the upper body
and face. Additionally, each outlet can becontrolled to direct the air dischargedfrom the outlet.
Floor-Level (C, E, A, D)
Most of the air flow is directed to the
floor.
Also you may select 2~3 modes at the
same time for desired air flow.
- face ( ) + floor ( ) mode
- face ( ) + defrost ( ) mode
- floor ( ) + defrost ( ) mode
- face ( ) + floor ( ) + defrost ( ) mode
OJC043068
procarmanuals.com
Page 182 of 456

Features of your vehicle
104
4
INTERIOR FEATURES
LCD monitor
(Clock and outside temperature)(if equipped)
The monitor displays the clock and out-
side temperature.
■■Clock
Whenever the battery terminals or relat-
ed fuses are disconnected, you must
reset the time.
When the ignition switch is in the ACC or
ON position, the clock buttons operate as
follows:
H (Hour)
Press the "H" button to advance the time
displayed by one hour.
M (Minute)
Press the "M" button to advance the time
displayed by one minute.
Display conversion
To change the 12 hour format to the 24
hour format, press the "H" and "M" button
simultaneously for more than 4 seconds.
For example, if the "H" and "M" button is
pressed while the time is 10:15 p.m., the
display will change to 22:15
■■Outside temperature
Temperature unit conversion (°C ↔°F)
To change the temperature unit, press
the "H" and "M" button simultaneously for
approximately 1 second.
The unit will change from °C (Centigrade)
to °F (Fahrenheit) or from °F (Fahrenheit)
to °C (Centigrade).
If your vehicle enters an icy road within
an outside temperature range of -5°C to
3°C (23°F to 37°F), the temperature dig-
its will blink five times and the symbol
( ) will illuminate.
OJC040112
WARNING
Do not adjust the clock while driv-
ing. You may lose your steering
control and cause severe personal
injury or accidents.
HM
procarmanuals.com