tyre pressure HYUNDAI IX35 2016 Owner's Manual
[x] Cancel search | Manufacturer: HYUNDAI, Model Year: 2016, Model line: IX35, Model: HYUNDAI IX35 2016Pages: 550, PDF Size: 9.92 MB
Page 446 of 550
What to do in an emergency24
6If you have a tyre gauge, remove the
valve cap and check the air pressure.
If the pressure is lower than recom-
mended, drive slowly to the nearest
service station and inflate to the cor-
rect pressure. If it is too high, adjust
it until it is correct. Always reinstall
the valve cap after checking or
adjusting tyre pressure. If the cap is
not replaced, air may leak from the
tyre. If you lose a valve cap, buy
another and install it as soon as pos-
sible.
After you have changed wheels,
always secure the flat tyre in its place
and return the jack and tools to their
proper storage locations. To prevent the jack, jack handle,
wheel lug nut wrench and spare tyre
from rattling whilst the vehicle is in
motion, store them properly.
CAUTION
Your vehicle has metric threads
on the wheel studs and nuts.Make certain during wheelremoval that the same nuts thatwere removed are reinstalled -or, if replaced, that nuts withmetric threads and the samechamfer configuration are used.Installation of a non-metricthread nut on a metric stud orvice-versa will not secure thewheel to the hub properly andwill damage the stud so that itmust be replaced.
Note that most lug nuts do nothave metric threads. Be sure touse extreme care in checkingfor thread style before installingaftermarket lug nuts or wheels.If in doubt, we recommend thatyou consult a HYUNDAI autho-rised repairer.
WARNING
- Wheel studs
If the studs are damaged, they
may lose their ability to retain
the wheel. This could lead to the
loss of the wheel and a collision
resulting in serious injuries.
WARNING -
Inadequate
spare tyre pressure
Check the inflation pressures as
soon as possible after installing
the spare tyre. Adjust it to the
specified pressure, if necessary.
Refer to “Tyres and wheels” in
section 8.
EL(FL) UK 6.QXP 12/16/2014 8:12 PM Page 24
Page 449 of 550
627
What to do in an emergency
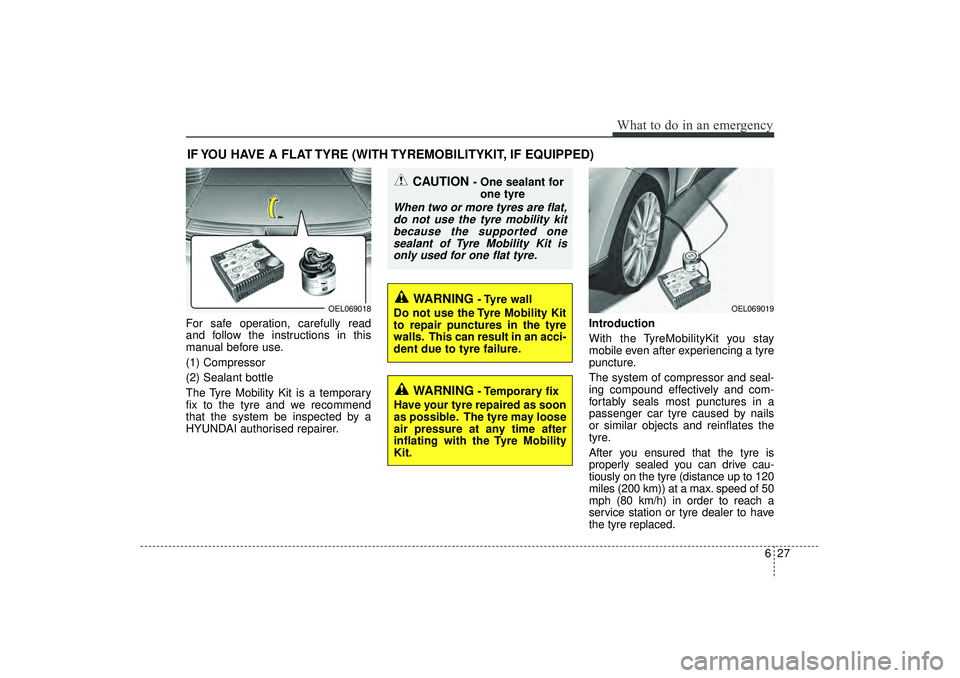
IF YOU HAVE A FLAT TYRE (WITH TYREMOBILITYKIT, IF EQUIPPED)For safe operation, carefully read
and follow the instructions in this
manual before use.
(1) Compressor
(2) Sealant bottle
The Tyre Mobility Kit is a temporary
fix to the tyre and we recommend
that the system be inspected by a
HYUNDAI authorised repairer.Introduction
With the TyreMobilityKit you stay
mobile even after experiencing a tyre
puncture.
The system of compressor and seal-
ing compound effectively and com-
fortably seals most punctures in a
passenger car tyre caused by nails
or similar objects and reinflates the
tyre.
After you ensured that the tyre is
properly sealed you can drive cau-
tiously on the tyre (distance up to 120
miles (200 km)) at a max. speed of 50
mph (80 km/h) in order to reach a
service station or tyre dealer to have
the tyre replaced.
OEL069019
OEL069018
CAUTION
- One sealant for
one tyre
When two or more tyres are flat,do not use the tyre mobility kitbecause the supported onesealant of Tyre Mobility Kit isonly used for one flat tyre.
WARNING
- Tyre wall
Do not use the Tyre Mobility Kit
to repair punctures in the tyre
walls. This can result in an acci-
dent due to tyre failure.
WARNING
- Temporary fix
Have your tyre repaired as soon
as possible. The tyre may loose
air pressure at any time after
inflating with the Tyre Mobility
Kit.
EL(FL) UK 6.QXP 12/16/2014 8:13 PM Page 27
Page 450 of 550
What to do in an emergency28
6It is possible that some tyres, espe-
cially with larger punctures or dam-
age to the sidewall, cannot be sealed
completely.Air pressure loss in the tyre may
adversely affect tyre performance.
For this reason, you should avoid
abrupt steering or other driving
manoeuvres, especially if the vehicle
is heavily loaded or if a trailer is in
use.
The TyreMobilityKit is not designed
or intended as a permanent tyre
repair method and is to be used for
one tyre only. This instruction shows
you step by step how to temporarily
seal the puncture simply and reliably.
Read the section "Notes on the safe
use of the TyreMobilityKit". Notes on the safe use of the
TyreMobilityKit
Park your car at the side of the
road so that you can work with the
TyreMobilityKit away from moving
traffic.
To be sure your vehicle won't move, even when you're on fairly
level ground, always set your park-
ing brake.
Only use the TyreMobilityKit for sealing/inflation passenger car
tyres. Only punctured areas locat-
ed within the tread region of the
tyre can be sealed using the tyre
mobility kit.
Do not use on motorcycles, bicy- cles or any other type of tyres.
When the tyre and wheel are dam- aged, do not use Tyre Mobility Kit
for your safety.
Use of the Tyre Mobility Kit may not be effective for tyre damage larger
than approximately 0.24 in (6 mm).
If the tyre cannot be made road-
worthy with the Tyre Mobility Kit,
we recommend that you contact a
HYUNDAI authorised repairer. Do not use the Tyre Mobility Kit if a
tyre is severely damaged by driving
run flat or with insufficient air pres-
sure.
Do not remove any foreign objects- such as nails or screws that have
penetrated the tyre.
Provided the car is outdoors, leave the engine running. Otherwise
operating the compressor may
eventually drain the car battery.
Never leave the TyreMobilityKit unattended whilst it is being used.
Do not leave the compressor run- ning for more than 10 min. at a time
or it may overheat.
Do not use the TyreMobilityKit if the ambient temperature is below
-30°C (-22°F).
WARNING
Do not use the TMK if a tyre is
severely damaged by driving
run flat or with insufficient air
pressure.
Only punctured areas located
within the tread region of the
tyre can be sealed using the
TMK.
EL(FL) UK 6.QXP 12/16/2014 8:13 PM Page 28
Page 451 of 550
629
What to do in an emergency
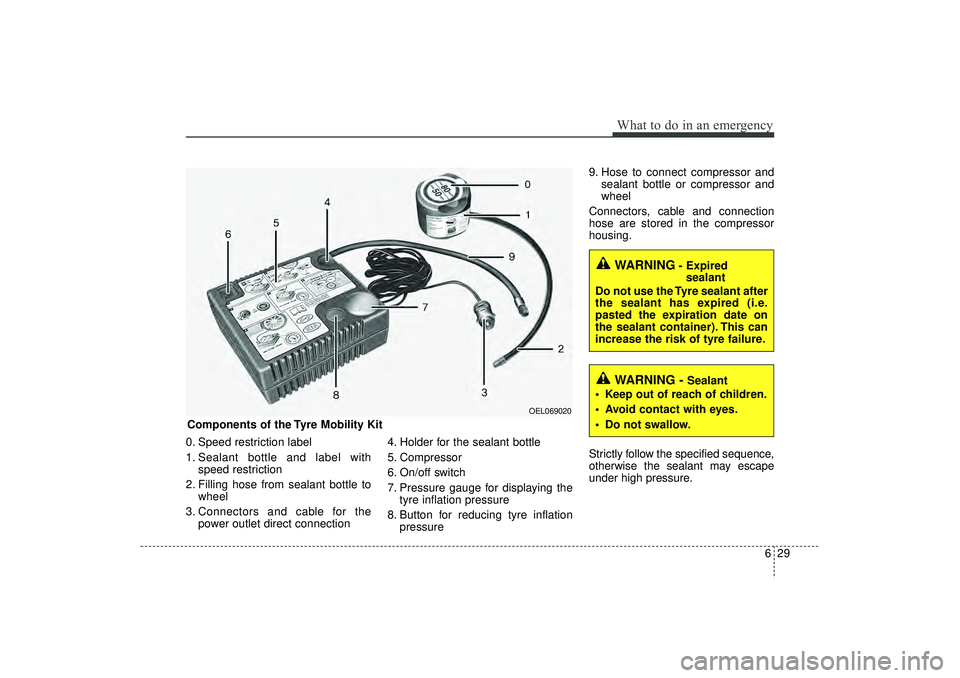
0. Speed restriction label
1. Sealant bottle and label withspeed restriction
2. Filling hose from sealant bottle to wheel
3. Connectors and cable for the power outlet direct connection 4. Holder for the sealant bottle
5. Compressor
6. On/off switch
7. Pressure gauge for displaying the
tyre inflation pressure
8. Button for reducing tyre inflation pressure 9. Hose to connect compressor and
sealant bottle or compressor and
wheel
Connectors, cable and connection
hose are stored in the compressor
housing.
Strictly follow the specified sequence,
otherwise the sealant may escape
under high pressure.
WARNING
- Expired sealant
Do not use the Tyre sealant after
the sealant has expired (i.e.
pasted the expiration date on
the sealant container). This can
increase the risk of tyre failure.
WARNING -
Sealant
Keep out of reach of children.
Avoid contact with eyes.
Do not swallow.
Components of the Tyre Mobility Kit
OEL069020
EL(FL) UK 6.QXP 12/16/2014 8:13 PM Page 29
Page 453 of 550
631
What to do in an emergency
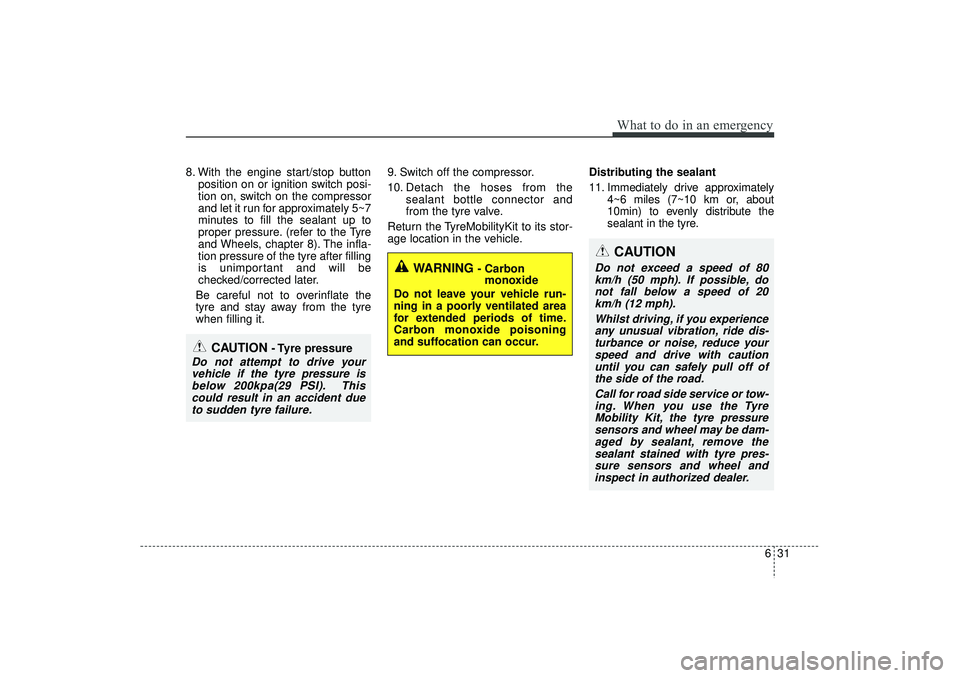
8. With the engine start/stop buttonposition on or ignition switch posi-
tion on, switch on the compressor
and let it run for approximately 5~7
minutes to fill the sealant up to
proper pressure. (refer to the Tyre
and Wheels, chapter 8). The infla-
tion pressure of the tyre after filling
is unimportant and will be
checked/corrected later.
Be careful not to overinflate the
tyre and stay away from the tyre
when filling it. 9. Switch off the compressor.
10. Detach the hoses from the
sealant bottle connector and
from the tyre valve.
Return the TyreMobilityKit to its stor-
age location in the vehicle. Distributing the sealant
11. Immediately drive approximately
4~6 miles (7~10 km or, about
10min) to evenly distribute the
sealant in the tyre.
WARNING
- Carbonmonoxide
Do not leave your vehicle run-
ning in a poorly ventilated area
for extended periods of time.
Carbon monoxide poisoning
and suffocation can occur.
CAUTION
- Tyre pressure
Do not attempt to drive your vehicle if the tyre pressure isbelow 200kpa(29 PSI). Thiscould result in an accident dueto sudden tyre failure.
CAUTION
Do not exceed a speed of 80km/h (50 mph). If possible, donot fall below a speed of 20km/h (12 mph).
Whilst driving, if you experienceany unusual vibration, ride dis-turbance or noise, reduce yourspeed and drive with cautionuntil you can safely pull off ofthe side of the road.
Call for road side service or tow-ing. When you use the TyreMobility Kit, the tyre pressuresensors and wheel may be dam-aged by sealant, remove thesealant stained with tyre pres-sure sensors and wheel andinspect in authorized dealer.
EL(FL) UK 6.QXP 12/16/2014 8:13 PM Page 31
Page 454 of 550
What to do in an emergency32
6
CAUTION
- Tyre pressure
sensor
The sealant on the tyre pressuresensor and wheel should beremoved when you replace thetyre with a new one and inspectthe tyre pressure sensors inauthorised dealer.
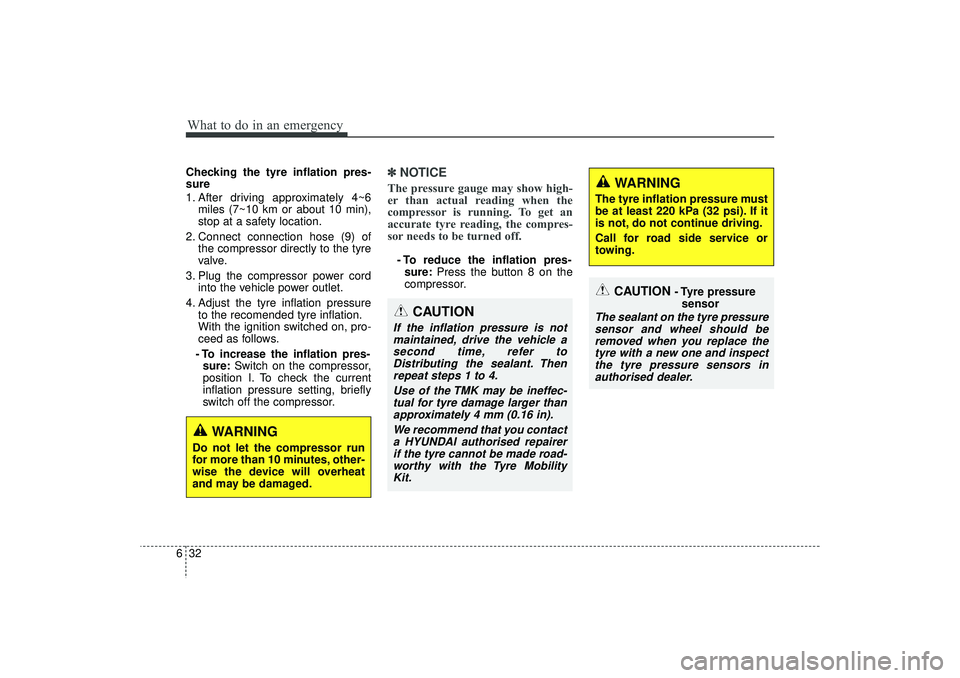
Checking the tyre inflation pres-
sure
1. After driving approximately 4~6 miles (7~10 km or about 10 min),
stop at a safety location.
2. Connect connection hose (9) of the compressor directly to the tyre
valve.
3. Plug the compressor power cord into the vehicle power outlet.
4. Adjust the tyre inflation pressure to the recomended tyre inflation.
With the ignition switched on, pro-
ceed as follows.
- To increase the inflation pres- sure: Switch on the compressor,
position I. To check the current
inflation pressure setting, briefly
switch off the compressor.
✽ ✽ NOTICEThe pressure gauge may show high-
er than actual reading when the
compressor is running. To get an
accurate tyre reading, the compres-
sor needs to be turned off.- To reduce the inflation pres-
sure: Press the button 8 on the
compressor.
WARNING
Do not let the compressor run
for more than 10 minutes, other-
wise the device will overheat
and may be damaged.
CAUTION
If the inflation pressure is not maintained, drive the vehicle asecond time, refer toDistributing the sealant. Thenrepeat steps 1 to 4.
Use of the TMK may be ineffec-tual for tyre damage larger thanapproximately 4 mm (0.16 in).
We recommend that you contacta HYUNDAI authorised repairerif the tyre cannot be made road-worthy with the Tyre MobilityKit.
WARNING
The tyre inflation pressure must
be at least 220 kPa (32 psi). If it
is not, do not continue driving.
Call for road side service or
towing.
EL(FL) UK 6.QXP 12/16/2014 8:13 PM Page 32
Page 455 of 550
633
What to do in an emergency
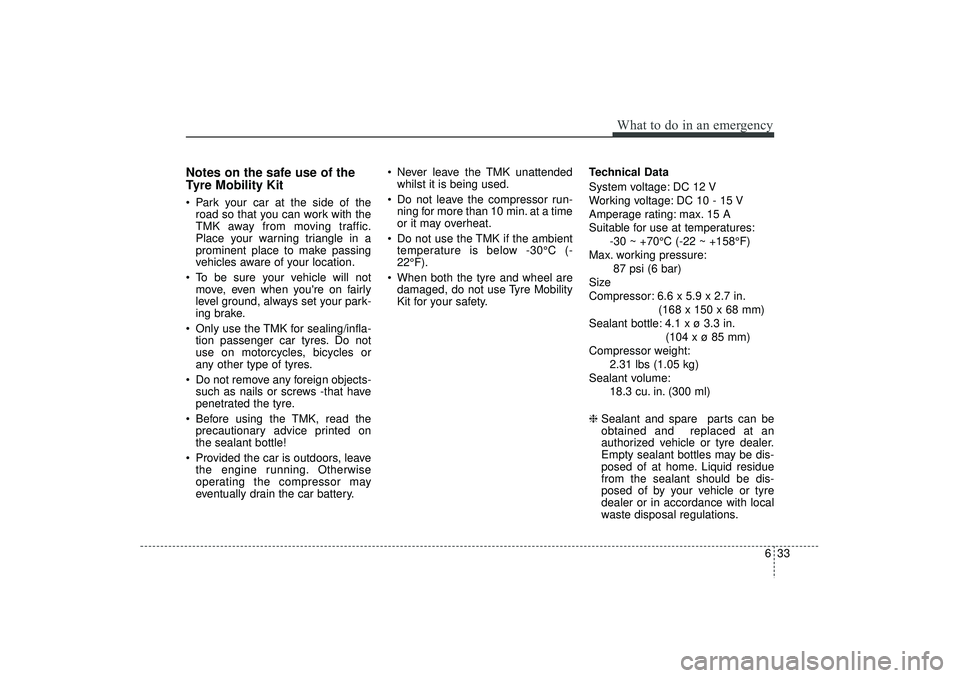
Notes on the safe use of the
Tyre Mobility Kit Park your car at the side of theroad so that you can work with the
TMK away from moving traffic.
Place your warning triangle in a
prominent place to make passing
vehicles aware of your location.
To be sure your vehicle will not move, even when you're on fairly
level ground, always set your park-
ing brake.
Only use the TMK for sealing/infla- tion passenger car tyres. Do not
use on motorcycles, bicycles or
any other type of tyres.
Do not remove any foreign objects- such as nails or screws -that have
penetrated the tyre.
Before using the TMK, read the precautionary advice printed on
the sealant bottle!
Provided the car is outdoors, leave the engine running. Otherwise
operating the compressor may
eventually drain the car battery. Never leave the TMK unattended
whilst it is being used.
Do not leave the compressor run- ning for more than 10 min. at a time
or it may overheat.
Do not use the TMK if the ambient temperature is below -30°C (-
22°F).
When both the tyre and wheel are damaged, do not use Tyre Mobility
Kit for your safety. Technical Data
System voltage: DC 12 V
Working voltage: DC 10 - 15 V
Amperage rating: max. 15 A
Suitable for use at temperatures:
-30 ~ +70°C (-22 ~ +158°F)
Max. working pressure: 87 psi (6 bar)
Size
Compressor: 6.6 x 5.9 x 2.7 in. (168 x 150 x 68 mm)
Sealant bottle: 4.1 x ø 3.3 in. (104 x ø 85 mm)
Compressor weight: 2.31 lbs (1.05 kg)
Sealant volume: 18.3 cu. in. (300 ml)
❈ Sealant and spare parts can be
obtained and replaced at an
authorized vehicle or tyre dealer.
Empty sealant bottles may be dis-
posed of at home. Liquid residue
from the sealant should be dis-
posed of by your vehicle or tyre
dealer or in accordance with local
waste disposal regulations.
EL(FL) UK 6.QXP 12/16/2014 8:13 PM Page 33
Page 461 of 550
Maintenance
7
Engine compartment . . . . . . . . . . . . . . . . . . . . . . . . 7-3
Maintenance services . . . . . . . . . . . . . . . . . . . . . . . . 7-7• Owner’s responsibility . . . . . . . . . . . . . . . . . . . . . . . . 7-7
• Owner maintenance precautions . . . . . . . . . . . . . . . . 7-7
• Engine compartment precautions (Diesel engine) . . . 7-8Owner maintenance . . . . . . . . . . . . . . . . . . . . . . . . . 7-9• Owner maintenance schedule. . . . . . . . . . . . . . . . . . . . 7-9Scheduled maintenance service . . . . . . . . . . . . . . . 7-11
Explanation of scheduled maintenance items . . . 7-12
Engine oil. . . . . . . . . . . . . . . . . . . . . . . . . . . . . . . . . 7-15• Checking the engine oil level . . . . . . . . . . . . . . . . . . . 7-15
• Changing the engine oil and filter . . . . . . . . . . . . . . . 7-16Engine coolant . . . . . . . . . . . . . . . . . . . . . . . . . . . . 7-16• Checking the coolant level . . . . . . . . . . . . . . . . . . . . . 7-17
• Changing the coolant . . . . . . . . . . . . . . . . . . . . . . . . . 7-18Brake/clutch fluid . . . . . . . . . . . . . . . . . . . . . . . . . . 7-19• Checking the brake/clutch fluid level . . . . . . . . . . . 7-19Washer fluid . . . . . . . . . . . . . . . . . . . . . . . . . . . . . . 7-20• Checking the washer fluid level . . . . . . . . . . . . . . . . 7-20Parking brake . . . . . . . . . . . . . . . . . . . . . . . . . . . . . 7-20• Check the parking brake . . . . . . . . . . . . . . . . . . . . . . 7-20Fuel Filter (For Diesel). . . . . . . . . . . . . . . . . . . . . . 7-21• Draining water from fuel filter . . . . . . . . . . . . . . . . . 7-21
• Extracting air from the fuel filter . . . . . . . . . . . . . . . 7-21
• Fuel filter cartridge replacement . . . . . . . . . . . . . . . . 7-22
Air cleaner. . . . . . . . . . . . . . . . . . . . . . . . . . . . . . . . 7-23• Filter replacement . . . . . . . . . . . . . . . . . . . . . . . . . . . 7-23Climate control air filter . . . . . . . . . . . . . . . . . . . . 7-25• Filter inspection . . . . . . . . . . . . . . . . . . . . . . . . . . . . . . 7-25
• Filter replacement . . . . . . . . . . . . . . . . . . . . . . . . . . . . 7-25Wiper blades . . . . . . . . . . . . . . . . . . . . . . . . . . . . . . 7-27• Blade inspection . . . . . . . . . . . . . . . . . . . . . . . . . . . . . . 7-27
• Blade replacement . . . . . . . . . . . . . . . . . . . . . . . . . . . 7-27Battery . . . . . . . . . . . . . . . . . . . . . . . . . . . . . . . . . . . 7-\
30• For best battery service . . . . . . . . . . . . . . . . . . . . . . . 7-30
• Battery capacity label . . . . . . . . . . . . . . . . . . . . . . . . 7-31
• Battery recharging . . . . . . . . . . . . . . . . . . . . . . . . . . 7-32
• Reset items . . . . . . . . . . . . . . . . . . . . . . . . . . . . . . . . . . 7-32\
Tyres and wheels . . . . . . . . . . . . . . . . . . . . . . . . . . 7-33• Tyre care . . . . . . . . . . . . . . . . . . . . . . . . . . . . . . . . . . . 7-\
33
• Recommended cold tyre inflation pressures . . . . . . 7-33
• Checking tyre inflation pressure . . . . . . . . . . . . . . . . 7-35
• Tyre rotation . . . . . . . . . . . . . . . . . . . . . . . . . . . . . . . . 7-36
• Wheel alignment and tyre balance . . . . . . . . . . . . . 7-37
• Tyre replacement . . . . . . . . . . . . . . . . . . . . . . . . . . . . . 7-37
• Wheel replacement . . . . . . . . . . . . . . . . . . . . . . . . . . . 7-39
• Tyre traction. . . . . . . . . . . . . . . . . . . . . . . . . . . . . . . . \
. 7-39
• Tyre maintenance . . . . . . . . . . . . . . . . . . . . . . . . . . . . 7-39
• Tyre sidewall labeling . . . . . . . . . . . . . . . . . . . . . . . . . 7-39
• Low aspect ratio tyre . . . . . . . . . . . . . . . . . . . . . . . . . 7-43
EL(FL) UK 7.QXP 3/4/2015 9:04 PM Page 1
Page 469 of 550
79
Maintenance
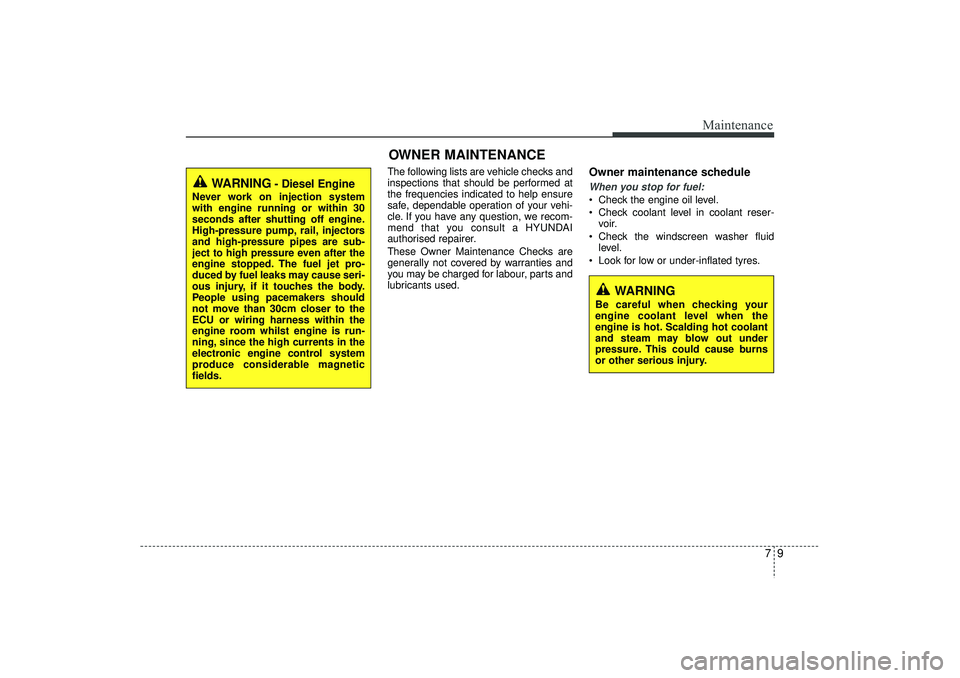
The following lists are vehicle checks and
inspections that should be performed at
the frequencies indicated to help ensure
safe, dependable operation of your vehi-
cle. If you have any question, we recom-
mend that you consult a HYUNDAI
authorised repairer.
These Owner Maintenance Checks are
generally not covered by warranties and
you may be charged for labour, parts and
lubricants used.
Owner maintenance schedule When you stop for fuel: Check the engine oil level.
Check coolant level in coolant reser-voir.
Check the windscreen washer fluid level.
Look for low or under-inflated tyres.
WARNING
Be careful when checking your
engine coolant level when the
engine is hot. Scalding hot coolant
and steam may blow out under
pressure. This could cause burns
or other serious injury.
WARNING
- Diesel Engine
Never work on injection system
with engine running or within 30
seconds after shutting off engine.
High-pressure pump, rail, injectors
and high-pressure pipes are sub-
ject to high pressure even after the
engine stopped. The fuel jet pro-
duced by fuel leaks may cause seri-
ous injury, if it touches the body.
People using pacemakers should
not move than 30cm closer to the
ECU or wiring harness within the
engine room whilst engine is run-
ning, since the high currents in the
electronic engine control system
produce considerable magnetic
fields.
OWNER MAINTENANCE
EL(FL) UK 7.QXP 3/4/2015 9:04 PM Page 9
Page 470 of 550
Maintenance10
7Whilst operating your vehicle: Note any changes in the sound of the
exhaust or any smell of exhaust fumes
in the vehicle.
Check for vibrations in the steering wheel. Notice any increased steering
effort or looseness in the steering
wheel, or change in its straight-ahead
position.
Notice if your vehicle constantly turns slightly or “pulls” to one side when trav-
elling on smooth, level road.
When stopping, listen and check for unusual sounds, pulling to one side,
increased brake pedal travel or “hard-
to-push” brake pedal.
If any slipping or changes in the oper- ation of your transaxle occurs, check
the transaxle fluid level.
Check manual transaxle operation, including clutch operation.
Check automatic transaxle P (Park) function.
Check parking brake.
Check for fluid leaks under your vehicle (water dripping from the air condition-
ing system during or after use is nor-
mal).
At least monthly: Check coolant level in the enginecoolant reservoir.
Check the operation of all exterior lights, including the stoplights, turn sig-
nals and hazard warning flashers.
Check the inflation pressures of all tyres including the spare.At least twice a year (i.e., every Spring and Fall) : Check radiator, heater and air condi- tioning hoses for leaks or damage.
Check windscreen washer spray and wiper operation. Clean wiper blades
with clean cloth dampened with wash-
er fluid.
Check headlight alignment.
Check muffler, exhaust pipes, shields and clamps.
Check the lap/shoulder belts for wear and function.
Check for worn tyres and loose wheel lug nuts.
At least once a year : Clean body and door drain holes.
Lubricate door hinges and checks, andbonnet hinges.
Lubricate door and bonnet locks and latches.
Lubricate door rubber weatherstrips.
Check the air conditioning system.
Check the power steering fluid level.
Inspect and lubricate automatic transaxle linkage and controls.
Clean battery and terminals.
Check the brake (and clutch) fluid level.
EL(FL) UK 7.QXP 3/4/2015 9:04 PM Page 10