table HYUNDAI SANTA CRUZ 2022 Owners Manual
[x] Cancel search | Manufacturer: HYUNDAI, Model Year: 2022, Model line: SANTA CRUZ, Model: HYUNDAI SANTA CRUZ 2022Pages: 598, PDF Size: 9.88 MB
Page 5 of 598
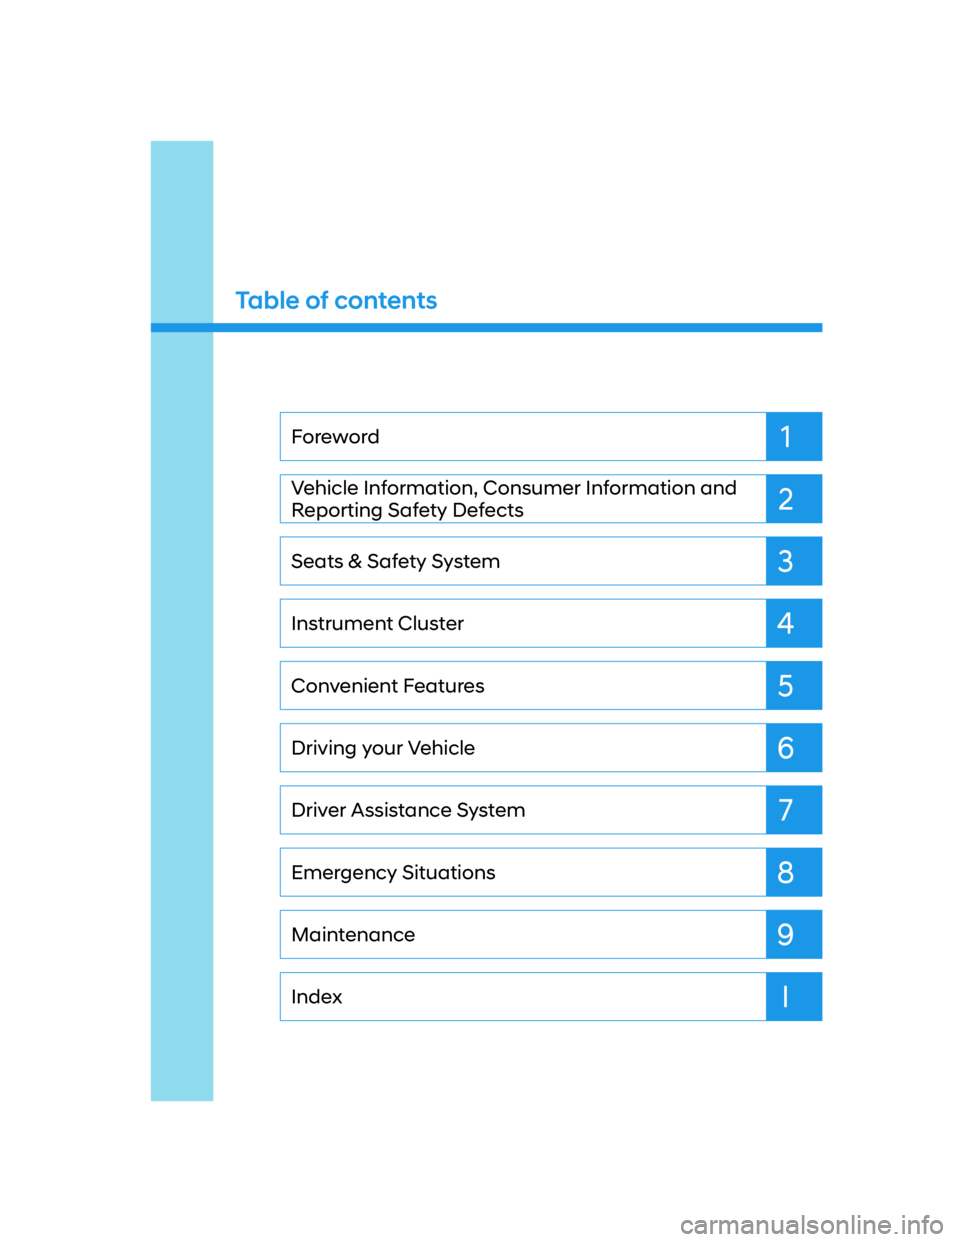
1
2
3
4
5
6
7
9
I
8
Maintenance
Index Emergency Situations Driver Assistance System
Driving your Vehicle
Convenient Features
Instrument Cluster
Seats & Safety System Vehicle Information, Consumer Information and
Reporting Safety Defects Foreword
Table of contents
Page 8 of 598
Introduction
1-4
We want to help you get the greatest possible driving pleasure from your vehicle. Your
Owner’s Manual can assist you in many ways. To gain an overview of the contents
of your Owner’s Manual, use the Table of Contents in the front of the manual. The
first page of each Chapter includes a detailed Table of Contents of the topics in that
Chapter.
To quickly locate information about your vehicle, use the Index in the back of the
manual. It is an alphabetical list of what is in this manual and the page number where it
can be found.
For your convenience, we have incorporated tabs on the right-hand page edges.
These tabs are coded with the Chapter titles to assist you with navigating through the
manual.
SAFETY MESSAGES
Your safety, and the safety of others, is very important. This Owner’s Manual provides
you with many safety precautions and operating procedures. This information alerts
you to potential hazards that may hurt you or others, as well as damage your vehicle.
Safety messages found on vehicle labels and in this manual describe these hazards
and what to do to avoid or reduce the risks.
Warnings and instructions contained in this manual are for your safety. Failure to follow
safety warnings and instructions can lead to serious injury or death.
Throughout this manual DANGER, WARNING, CAUTION, NOTICE and the SAFETY
ALERT SYMBOL will be used.
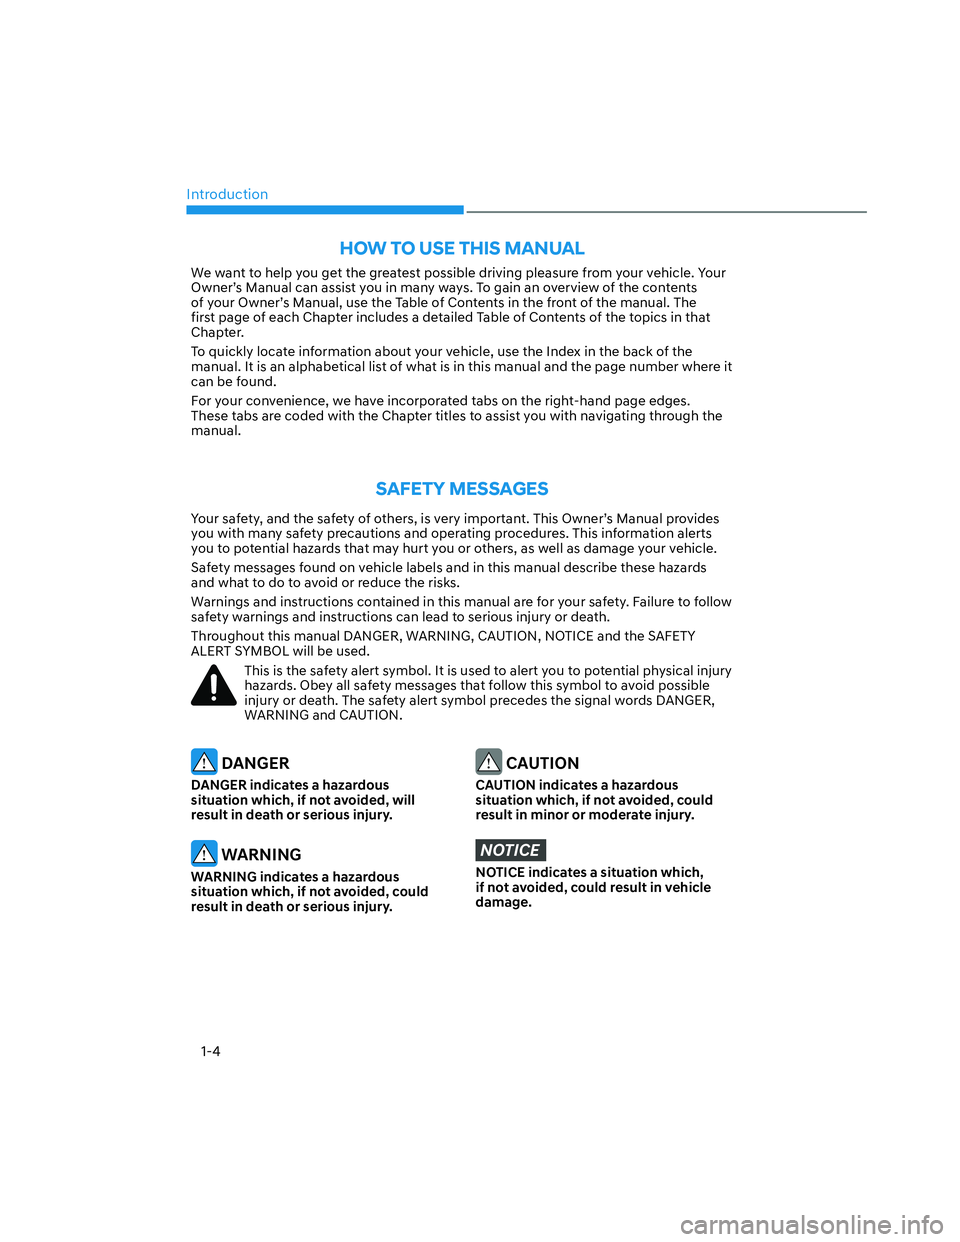
This is the safety alert symbol. It is used to alert you to potential physical injury
hazards. Obey all safety messages that follow this symbol to avoid possible
injury or death. The safety alert symbol precedes the signal words DANGER,
WARNING and CAUTION.
DANGER
DANGER indicates a hazardous
situation which, if not avoided, will
result in death or serious injury.
WARNING
WARNING indicates a hazardous
situation which, if not avoided, could
result in death or serious injury.
CAUTION
CAUTION indicates a hazardous
situation which, if not avoided, could
result in minor or moderate injury.
NOTICE
NOTICE indicates a situation which,
if not avoided, could result in vehicle
damage.
HOW TO USE THIS MANUAL
Page 10 of 598
Introduction
1-6
Using Fuel Additives (except Detergent Fuel Additives)
Using fuel additives such as:
- Silicone fuel additive
- Ferrocene (iron-based) fuel additive
- Other metallic-based fuel additives
May result in cylinder misfire, poor acceleration, engine stalling, damage to the
catalyst, or abnormal corrosion, and may cause damage to the engine resulting in a
reduction in the overall life of the powertrain.
- The Malfunction Indicator Lamp (MIL) may illuminate.
NOTICE
Damage to the fuel system or performance problem caused by the use of these fuels
may not be covered by your New Vehicle Limited Warranty.
Gasoline containing MMT
Some gasoline contains harmful manganese-based fuel additives such as MMT
(Methylcyclopentadienyl Manganese Tricarbonyl).
HYUNDAI does not recommend the use of gasoline containing MMT.
This type of fuel can reduce vehicle performance and affect your emission control
system.
The malfunction indicator lamp on the cluster may come on.
Detergent Fuel Additives
HYUNDAI recommends that you use good quality gasolines treated with detergent
additives such as TOP TIER Detergent Gasoline, which help prevent deposit formation
in the engine. These gasolines will help the engine run cleaner and enhance
performance of the Emission Control System. For more information on TOP TIER
Detergent Gasoline, please go to the website (www. toptiergas.com).
For customers who do not use TOP Tier Detergent Gasoline regularly, and have
problems starting or the engine does not run smoothly, detergent-based fuel additives
that you can purchase separately may be added to the gasoline. If TOP TIER Detergent
Gasoline is not available, one bottle of additive added to the fuel tank according to the
maintenance schedule is recommended (refer to the Maintenance Schedule in chapter
9).
Additives are available from your authorized HYUNDAI dealer along with information
on how to use them. Do not mix other additives.
Operation in foreign countries
If you are going to drive your vehicle in another country, be sure to:
• Observe all regulations regarding registration and insurance.
• Determine that acceptable fuel is available.
Page 34 of 598
Seats & Safety System
3-4
Safety Precautions
Adjusting the seats so that you are sitting
in a safe and comfortable position plays
an important role for the safety of the
driver and passengers, as much as seat
belts and air bags when in an accident.
WARNING
Do not use a cushion that reduces
friction between the seat and the
passenger. The passenger’s hips may
slide under the lap portion of the seat
belt during an accident or a sudden
stop.
Serious or fatal internal injuries could
result because the seat belt cannot
operate properly.
Air bags
You can take steps to reduce the risk
of being injured by an inflating air bag.
Sitting too close to an air bag greatly
increases the risk of injury in the event
the air bag inflates.
The National Highway Traffic Safety
Administration (NHTSA) recommends
that drivers allow at least 10 inches
(25cm) between the center of the
steering wheel and their chest.
WARNING
To reduce the risk of serious injury or
death from an inflating air bag, take the
following precautions:
• Adjust the driver’s seat as far to the
rear as possible maintaining the
ability to control the vehicle.
• Adjust the front passenger seat as far
to the rear as possible.
• Hold the steering wheel by the rim
with hands at the 9 o’clock and 3
o’clock positions to minimize the risk
of injuries to your hands and arms.
• NEVER place anything or anyone
between you and the air bag.
• Do not allow the front passenger to
place feet or legs on the dashboard
to minimize the risk of leg injuries.
Seat belts
Always fasten your seat belt before
starting any trip. At all times, passengers
should sit upright and be properly
restrained. Infants and small children
must be restrained in appropriate Child
Restraint Systems. Children who have
outgrown a booster seat and adults must
be restrained using the seat belts.
WARNING
Take the following precautions when
adjusting your seat belt:
• NEVER use one seat belt for more
than one occupant.
• Always position the seatback upright
with the lap portion of the seat belt
snug and low across the hips.
• NEVER allow children or small infants
to ride on a passenger’s lap.
• Do not route the seat belt across your
neck, across sharp edges, or reroute
the shoulder strap away from your
body.
• Do not allow the seat belt to become
caught or jammed.
Page 42 of 598
Seats & Safety System
3-12
Head Restraints
The vehicle’s front and rear (second row
and/or third row) seats have adjustable
head restraints. The head restraints
provide comfort for passengers, but
more importantly they are designed to
help protect passengers from whiplash
and other neck and spinal injuries during
an accident, especially in a rear impact
collision.
WARNING
To help reduce the risk of serious
injury or death in an accident, take the
following precautions when adjusting
your head restraints:
• Always properly adjust the head
restraints for all passengers BEFORE
starting the vehicle.
• NEVER let anyone ride in a seat
with the head restraints removed or
reversed.
OHI039190NOHI039190N
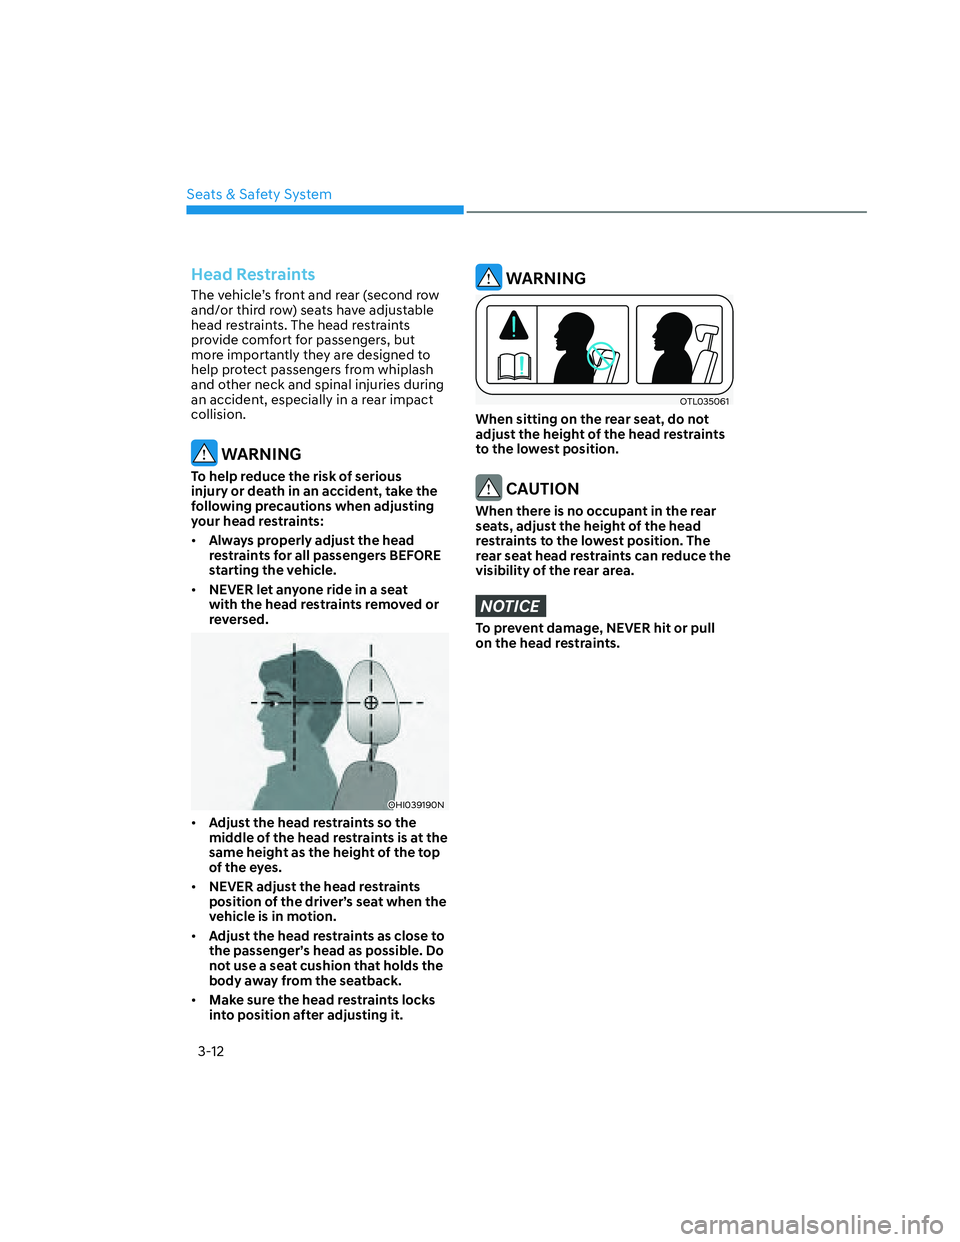
• Adjust the head restraints so the
middle of the head restraints is at the
same height as the height of the top
of the eyes.
• NEVER adjust the head restraints
position of the driver’s seat when the
vehicle is in motion.
• Adjust the head restraints as close to
the passenger’s head as possible. Do
not use a seat cushion that holds the
body away from the seatback.
• Make sure the head restraints locks
into position after adjusting it.
WARNING
OTL035061OTL035061
When sitting on the rear seat, do not
adjust the height of the head restraints
to the lowest position.
CAUTION
When there is no occupant in the rear
seats, adjust the height of the head
restraints to the lowest position. The
rear seat head restraints can reduce the
visibility of the rear area.
NOTICE
To prevent damage, NEVER hit or pull
on the head restraints.
Page 43 of 598
03
3-13
Front seat head restraints
ONX4OB031004ONX4OB031004
The driver’s and front passenger’s seats
are equipped with adjustable head
restraint for the passengers safety and
comfort.
ONX4030011ONX4030011
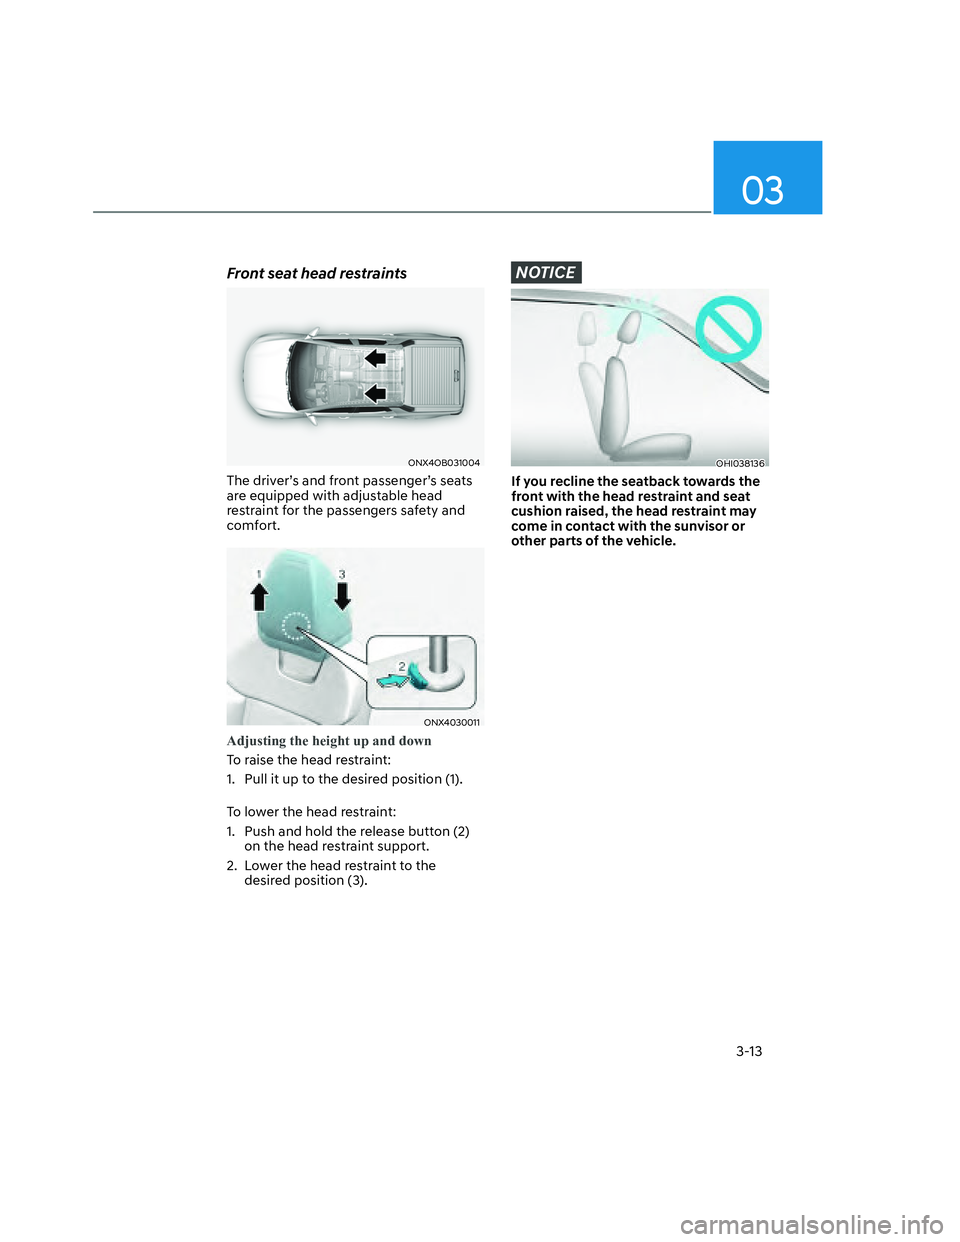
Adjusting the height up and down
To raise the head restraint:
1. Pull it up to the desired position (1).
To lower the head restraint:
1. Push and hold the release button (2)
on the head restraint support.
2. Lower the head restraint to the
desired position (3).
NOTICE
OHI038136OHI038136
If you recline the seatback towards the
front with the head restraint and seat
cushion raised, the head restraint may
come in contact with the sunvisor or
other parts of the vehicle.
Page 63 of 598
03
3-33
Keep using Child Restraint Systems in
the rearward-facing position as long as
children fit within the height and weight
limits allowed by the Child Restraint
System’s manufacturer.
Continue using Child Restraint Systems
in the rearward-facing position as long as
children fit within the height and weight
limits allowed by the Child Restraint
System’s manufacturer. It's the best way
to keep them safe. Once your child has
outgrown the rearward-facing Child
Restraint System, your child is ready for
a forward-facing Child Restraint System
with a harness.
WARNING
NEVER install a child or infant restraint
in the front passenger's seat.
Placing a rearward-facing child restraint
in the front seat can result in SERIOUS
INJURY or DEATH if the child restraint is
struck by an inflating air bag.
ONX4OB031008ONX4OB031008
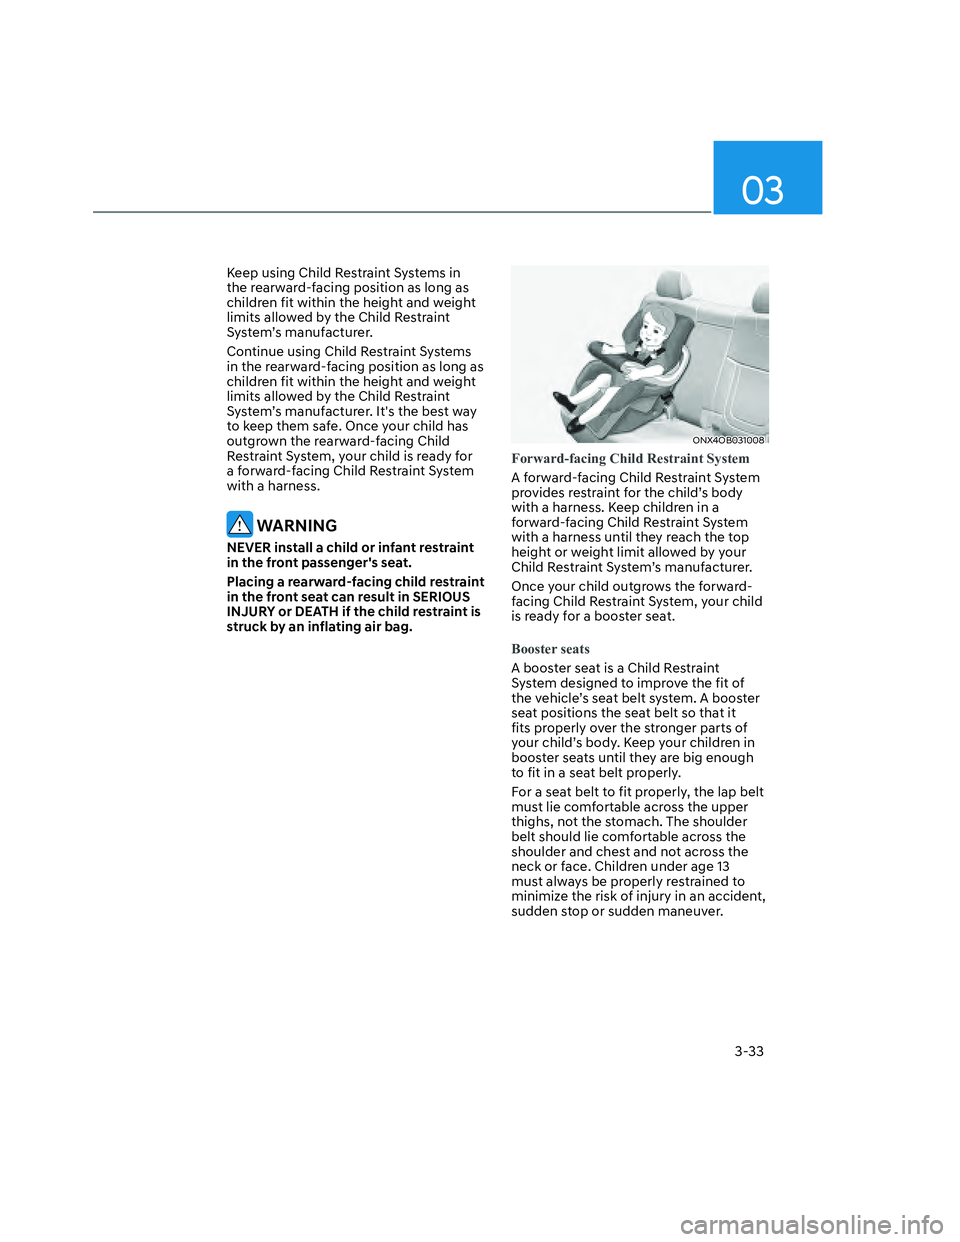
Forward-facing Child Restraint System
A forward-facing Child Restraint System
provides restraint for the child’s body
with a harness. Keep children in a
forward-facing Child Restraint System
with a harness until they reach the top
height or weight limit allowed by your
Child Restraint System’s manufacturer.
Once your child outgrows the forward-
facing Child Restraint System, your child
is ready for a booster seat.
Booster seats
A booster seat is a Child Restraint
System designed to improve the fit of
the vehicle’s seat belt system. A booster
seat positions the seat belt so that it
fits properly over the stronger parts of
your child’s body. Keep your children in
booster seats until they are big enough
to fit in a seat belt properly.
For a seat belt to fit properly, the lap belt
must lie comfortable across the upper
thighs, not the stomach. The shoulder
belt should lie comfortable across the
shoulder and chest and not across the
neck or face. Children under age 13
must always be properly restrained to
minimize the risk of injury in an accident,
sudden stop or sudden maneuver.
Page 64 of 598
Seats & Safety System
3-34
Installing a Child Restraint
System (CRS)
WARNING
Before installing your Child Restraint
System always:
Read and follow the instructions
provided by the manufacturer of the
Child Restraint System.
Failure to follow all warnings and
instructions could increase the risk of
the SERIOUS INJURY or DEATH if an
accident occurs.
WARNING
If the vehicle head restraint prevents
proper installation of a Child Restraint
System, the head restraint of the
respective seating position shall be
readjusted or entirely removed.
After selecting a proper Child Restraint
System for your child and checking that
the Child Restraint System fits properly
on the seating position, there are three
general steps for a proper installation:
• Properly secure the Child Restraint
System to the vehicle. All Child
Restraint Systems must be secured
to the vehicle with the lap belt or
lap part of a lap/shoulder part of a
lap/shoulder belt or with the LATCH
system.• Make sure the Child Restraint System
is firmly secured. After installing a
Child Restraint System to the vehicle,
push and pull the seat forward and
from side-to-side to verify that it is
securely attached to the seat. A Child
Restraint System secured with a seat
belt should be installed as firmly as
possible. However, some side-to-side
movement can be expected.
When installing a Child Restraint
System, adjust the vehicle seat and
seatback (up and down, forward
and rearward) so that your child fits
in the Child Restraint System in a
comfortable manner.
• Secure the child in the Child
Restraint System. Make sure the
child is properly strapped in the Child
Restraint System according to the
Child Restraint System manufacturer’s
instructions.
CAUTION
A Child Restraint System in a closed
vehicle can become very hot. To prevent
burns, check the seating surface and
buckles before placing your child in the
Child Restraint System.
Page 82 of 598
Seats & Safety System
3-52
Main components of the Occupant
Classification System
• A detection device located within the
front passenger seat cushion.
• Electronic system to help determine
whether the passenger air bag
systems should be activated or
deactivated.
• An indicator light located on the
instrument panel which illuminates
the words “PASSENGER AIR BAG OFF”
indicating the front passenger air bag
system is deactivated.
• The instrument panel air bag indicator
light is interconnected with the OCS.
The OCS is designed to help detect
the presence of a properly-seated
front passenger and determine if the
passenger’s front air bag should be
enabled (may inflate) or not.
The purpose is to help reduce the risk
of injury or death from an inflating air
bag to certain front passenger seat
occupants, such as children, by requiring
the air bag to be automatically turned
OFF.
For example, if a child restraint of the
type specified in the regulations is on the
seat, the occupant classification sensor
can detect it and cause the air bag to
turn OFF.
Front passenger seat adult occupants
who are properly seated and wearing the
seat belt properly, should not cause the
passenger air bag to be automatically
turned OFF. For smaller adults it may turn
OFF, however, if the occupant does not
sit in the seat properly (for example, by
not sitting upright, by sitting on the edge
of the seat, or by otherwise being out of
position), this could cause the sensor to
turn the air bag OFF.You will find the “PASSENGER AIR BAG
OFF” indicator on the overhead console
panel. This system detects the conditions
1-4 in the following table and activates or
deactivates the front passenger air bag
based on these conditions.
Always be sure that you and all vehicle
occupants are seated properly and
wearing the seat belt properly for the
most effective protection by the air bag
and the seat belt.
The OCS may not function properly if the
passenger takes actions which can affect
the classification system. These include:
• Failing to sit in an upright position.
• Leaning against the door or center
console.
• Sitting towards the sides of the front
of the seat.
• Putting their legs on the dashboard or
resting them on other locations which
reduce the passenger weight on the
front seat.
• Wearing the seat belt improperly.
• Reclining the seatback.
• Wearing thick clothes like ski wear or
hip protection wear.
• Putting an additional thick cushion on
the seat.
• Putting electrical devices (for
example, notebook, satellite radio) on
the seat with inverter charging.
Page 176 of 598
Convenient Features
5-40
Tilt / Telescopic Steering
When adjusting the steering wheel to a
comfortable position, adjust the steering
wheel so that it points toward your chest,
not toward your face. Make sure you can
see the instrument cluster warning lights
and gauges. After adjusting, push the
steering wheel both up and down to be
certain it is locked in position.
Always adjust the position of the steering
wheel before driving.
WARNING
NEVER adjust the steering wheel while
driving. This may cause loss of vehicle
control resulting in an accident.
ONX4050070ONX4050070
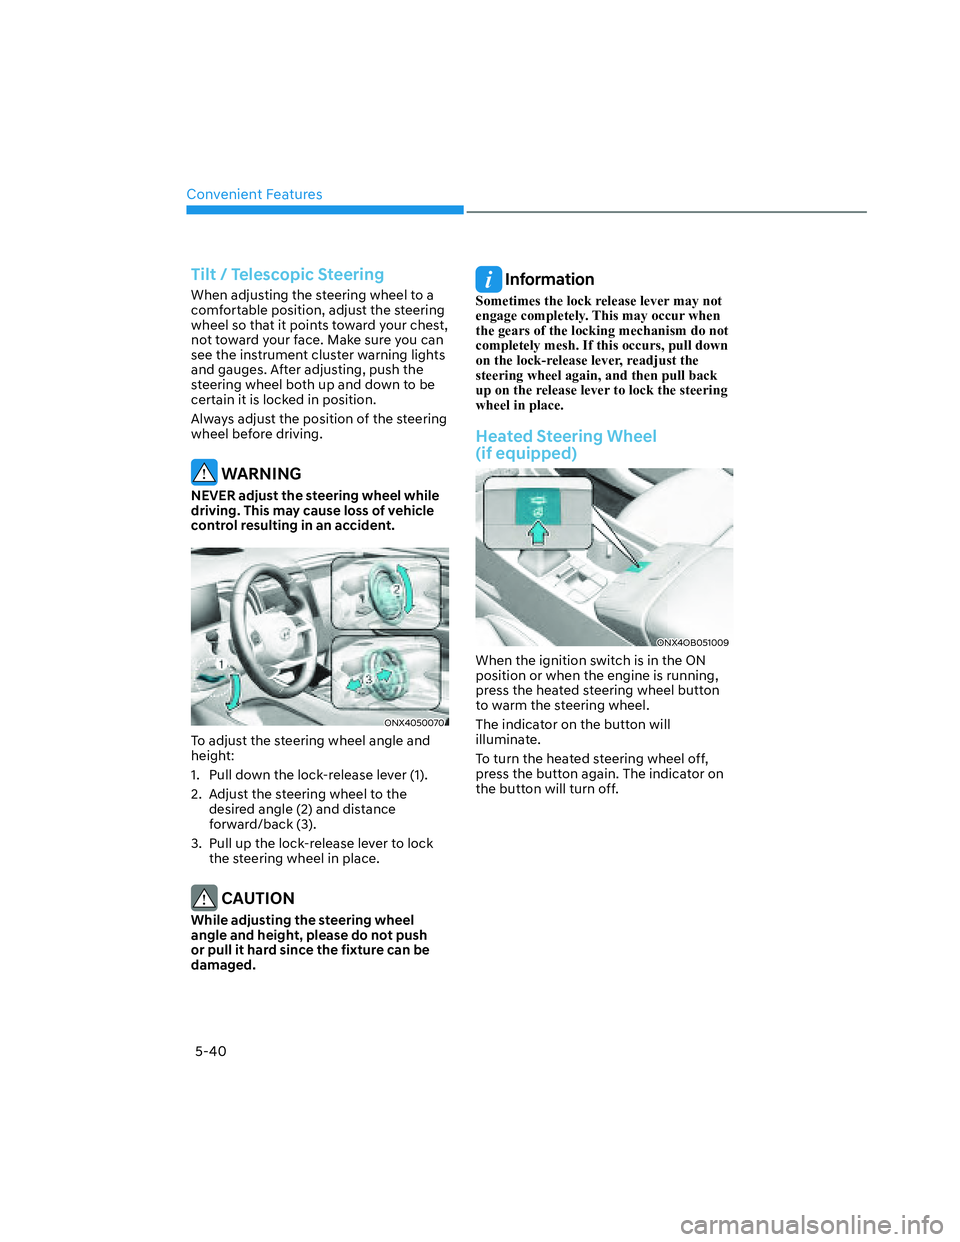
To adjust the steering wheel angle and
height:
1. Pull down the lock-release lever (1).
2. Adjust the steering wheel to the
desired angle (2) and distance
forward/back (3).
3. Pull up the lock-release lever to lock
the steering wheel in place.
CAUTION
While adjusting the steering wheel
angle and height, please do not push
or pull it hard since the fixture can be
damaged.
Information
Sometimes the lock release lever may not
engage completely. This may occur when
the gears of the locking mechanism do not
completely mesh. If this occurs, pull down
on the lock-release lever, readjust the
steering wheel again, and then pull back
up on the release lever to lock the steering
wheel in place.
Heated Steering Wheel
(if equipped)
ONX4OB051009ONX4OB051009
When the ignition switch is in the ON
position or when the engine is running,
press the heated steering wheel button
to warm the steering wheel.
The indicator on the button will
illuminate.
To turn the heated steering wheel off,
press the button again. The indicator on
the button will turn off.