ECO mode Hyundai Santa Fe 2005 Owner's Manual
[x] Cancel search | Manufacturer: HYUNDAI, Model Year: 2005, Model line: Santa Fe, Model: Hyundai Santa Fe 2005Pages: 277, PDF Size: 10.53 MB
Page 14 of 277
1
FEATURES OF YOUR HYUNDAI
3
KEYS
BREAKING IN YOUR NEW HYUNDAI
B010F01A-AATOperation in Foreign CountriesIf you are going to drive your Hyundai in another
country, be sure to:
o Observe all regulations regarding registra-
tion and insurance.
o Determine that acceptable fuel is available.B010E01A-AATGasolines for Cleaner AirTo help contribute to cleaner air, Hyundai rec-
ommends that you use gasolines treated with
detergent additives, which help prevent deposit
formation in the engine. These gasolines will
help the engine run cleaner and enhance per-
formance of the Emission Control System.
B020A01S-AATDuring the First 1,200 Miles (2,000 Km)No formal "break-in" procedure is required with
your new Hyundai. However, you can contrib-
ute to the economical operation and durability of
your Hyundai by observing the following recom-
mendations during the first 1,200 miles (2,000
km).
o Don't drive faster than 55 MPH (88 km/h).
o While driving, keep your engine speed (rpm,
or revolutions per minute) between 2,000
rpm and 4,000 rpm.
o Use moderate acceleration. Don't start
quickly or depress the accelerator pedal
fully.
o For the first 200 miles (300 km), try to avoid
hard stops.
o Don't lug the engine (in other words, don't
drive so slowly in too high a gear that the
engine "bucks"-shift to a lower gear).
o Whether going fast or slow, vary your speed
from time to time.
o Don't let the engine idle longer than 3 minutes
at one time.
o Don't tow a trailer during the first 1,200 miles
(2,000 km) of operation.
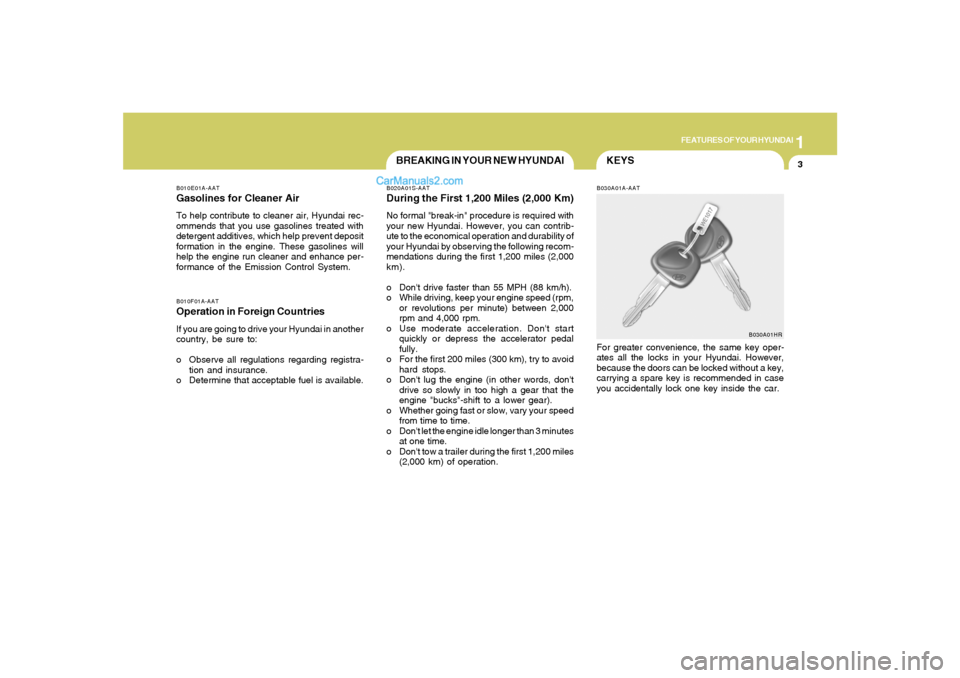
B030A01A-AAT
B030A01HRFor greater convenience, the same key oper-
ates all the locks in your Hyundai. However,
because the doors can be locked without a key,
carrying a spare key is recommended in case
you accidentally lock one key inside the car.
Page 34 of 277
1
FEATURES OF YOUR HYUNDAI
23
!
NOTE:Although the combination retractor pro-
vides the same level of protection for seated
passengers in either emergency or auto-
matic locking modes, it is recommended
that seated passengers use the emergency
locking feature for improved convenience.
The automatic locking function is intended
to facilitate child restraint installation. To
convert from the automatic locking feature
to the emergency locking operation mode,
allow the unbuckled seat belt to fully re-
tract.
WARNING:
o For maximum restraint system protec-
tion, the seat belts must always be used
whenever the car is moving.
o Seat belts are most effective when
seatbacks are in the upright position.
o Children must always be seatbelted in
the rear seats. Never allow children to
ride in the front passanger seat.
o The shoulder belt should be positioned
midway over the shoulder nearest the
door for the most effective protection.
Never wear the seat belt under the arm
nearest the door. Wearing the belt under
the arm nearest the door could cause
serious or fatal injuries in an accident.
B190A01Y-AATSEAT BELTS-Front Passenger and Rear
Seat 3-Point System with Combination
Locking Retractor
To Fasten Your BeltCombination retractor type seat belts are in-
stalled in the rear seat positions to help accom-
modate the installation of child restraint systems.
Although a combination retractor is also installed
in the front passenger seat position, Hyundai
strongly recommends that children always be
seated in the rear seat. NEVER place any infant
restraint system in the front seat of the vehicle.
This type of seat belt combines the features of
both an emergency locking retractor seat belt
and an automatic locking retractor seat belt. To
fasten your seat belt, pull it out of the retractor
and insert the metal tab into the buckle. There
will be an audible "click" when the tab locks into
the buckle. When not securing a child restraint,
the seat belt operates in the same way as the
driver's seat belt (Emergency Locking Retrac-
tor Type). It automatically adjusts to the proper
length only after the lap belt portion of the seat
belt is adjusted manually so that it fits snugly
around your hips. When the seat belt is fully
extended from the retractor to allow the instal-
lation of a child restraint system, the seat belt
operation changes to allow the belt to retract, but
not to extend (Automatic Locking Retractor
Type). See page 1-31.
WARNING:
o Avoid wearing twisted seat belts. A
twisted belt can't do its job as well. In a
collision, it could even cut into you. Be
sure the belt webbing is straight and not
twisted.
o Be careful not to damage the belt web-
bing or hardware. If the belt webbing or
hardware is damaged, replace it.
!
Page 45 of 277
1FEATURES OF YOUR HYUNDAI34
The SRS uses sensors to gather information
about the driver's and front passenger's seat
position, the driver's and front passenger's seat
belt usage and impact severity.
The driver's and front passenger's seat track
position sensors, which are installed on the seat
track, determine if the seats are fore or aft of a
reference position. The seat belt buckle sen-
sors determine if the driver and front passenger's
seat belts are fastened. These sensors provide
the ability to control the SRS deployment based
on how close the driver's seat is to the steering
wheel, how close the passenger's seat is to the
instrument panel, whether or not the seat belts
are fastened, and how severe the impact is.
The advanced SRS offers the ability to control
the airbag inflation with two levels. A first stage
level is provided for moderate-severity impacts.
A second stage level is provided for more
severe impacts.
According to the impact severity, seating posi-
tion and seat belt usage, the SRSCM(SRS
Control Module) controls the airbag inflation.
Failure to properly wear seat belts can increase
the risk or severity of injury in an accident.
CAUTION:
If a seat track position sensor or an occu-
pant classification system is not working
properly, the SRS airbag warning light on
the instrument panel will illuminate be-
cause the SRS airbag warning light is con-
nected with the seat track position sensor
and the occupant classification system. If
the SRS airbag warning light does not illu-
minate when the ignition key is turned to
the "ON" position, remains illuminated af-
ter approximately 6 seconds when the igni-
tion key is turned to the "ON" position, or
if it illuminates while the vehicle is being
driven, have an authorized Hyundai dealer
inspect the seat track position sensor and
the advanced SRS airbag system as soon as
possible.
!
AIR
BAG
Additionally, your Hyundai is equipped with an
occupant classification system in the front
passenger's seat. The occupant classification
system detects the presence of a passenger in
the front passenger's seat and will turn off the
front passenger's airbag under certain condi-
tions. For more detail, see "Occupant Classifi-
cation System" later in this section.
ADVANCED SUPPLEMENTAL
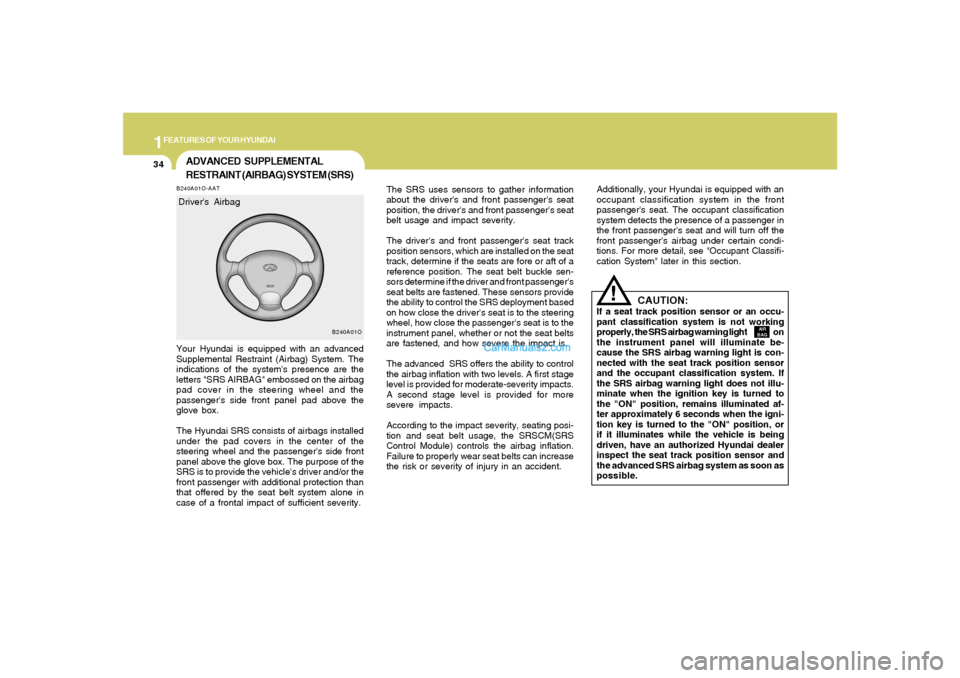
RESTRAINT (AIRBAG) SYSTEM (SRS)B240A01O-AATYour Hyundai is equipped with an advanced
Supplemental Restraint (Airbag) System. The
indications of the system's presence are the
letters "SRS AIRBAG" embossed on the airbag
pad cover in the steering wheel and the
passenger's side front panel pad above the
glove box.
The Hyundai SRS consists of airbags installed
under the pad covers in the center of the
steering wheel and the passenger's side front
panel above the glove box. The purpose of the
SRS is to provide the vehicle's driver and/or the
front passenger with additional protection than
that offered by the seat belt system alone in
case of a frontal impact of sufficient severity.
B240A01O
Driver's Airbag
Page 67 of 277
1FEATURES OF YOUR HYUNDAI56
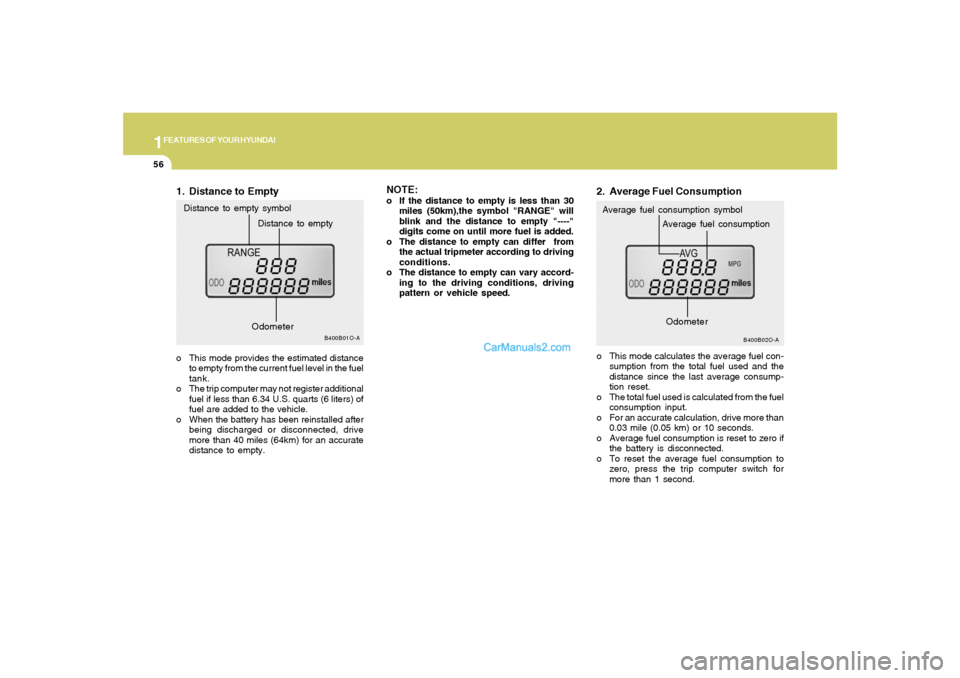
Distance to empty Distance to empty symbol
B400B01O-A
Odometer
1. Distance to Emptyo This mode provides the estimated distance
to empty from the current fuel level in the fuel
tank.
o The trip computer may not register additional
fuel if less than 6.34 U.S. quarts (6 liters) of
fuel are added to the vehicle.
o When the battery has been reinstalled after
being discharged or disconnected, drive
more than 40 miles (64km) for an accurate
distance to empty.
NOTE:o If the distance to empty is less than 30
miles (50km),the symbol "RANGE" will
blink and the distance to empty "----"
digits come on until more fuel is added.
o The distance to empty can differ from
the actual tripmeter according to driving
conditions.
o The distance to empty can vary accord-
ing to the driving conditions, driving
pattern or vehicle speed.
B400B02O-A
Average fuel consumption symbol2. Average Fuel Consumptiono This mode calculates the average fuel con-
sumption from the total fuel used and the
distance since the last average consump-
tion reset.
o The total fuel used is calculated from the fuel
consumption input.
o For an accurate calculation, drive more than
0.03 mile (0.05 km) or 10 seconds.
o Average fuel consumption is reset to zero if
the battery is disconnected.
o To reset the average fuel consumption to
zero, press the trip computer switch for
more than 1 second.
Average fuel consumptionOdometer
Page 68 of 277
1
FEATURES OF YOUR HYUNDAI
57
MULTI-FUNCTION LIGHT SWITCHB340A01A-AATCOMBINATION TURN SIGNAL,
HEADLIGHT AND HIGH-BEAM
SWITCH
Turn Signal OperationPulling down on the lever causes the turn
signals on the left side of the car to blink. Pushing
upwards on the lever causes the turn signals on
the right side of the car to blink. As the turn is
completed, the lever will automatically return to
the center position and turn off the turn signals
at the same time. If either turn signal indicator
light blinks more rapidly than usual, goes on but
does not blink, or does not go on at all, there is
a malfunction in the system. Check for a burned-
out fuse or bulb or see your Hyundai dealer.
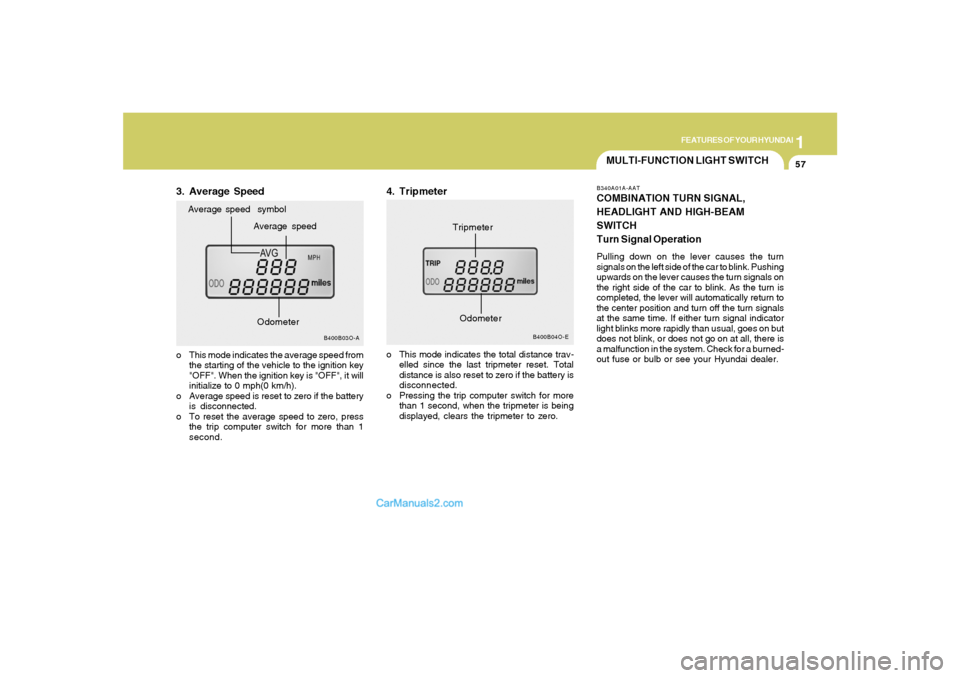
3. Average Speed
B400B04O-E
Tripmeter
B400B03O-A
Average speed Average speed symbol
o This mode indicates the average speed from
the starting of the vehicle to the ignition key
"OFF". When the ignition key is "OFF", it will
initialize to 0 mph(0 km/h).
o Average speed is reset to zero if the battery
is disconnected.
o To reset the average speed to zero, press
the trip computer switch for more than 1
second.
4. Tripmetero This mode indicates the total distance trav-
elled since the last tripmeter reset. Total
distance is also reset to zero if the battery is
disconnected.
o Pressing the trip computer switch for more
than 1 second, when the tripmeter is being
displayed, clears the tripmeter to zero.
Odometer
Odometer
Page 71 of 277
1FEATURES OF YOUR HYUNDAI60
B350B02O-A
Mist Wiper OperationIf a single wipe is desired in mist, push the
windshield wiper and washer control lever up-
wards.
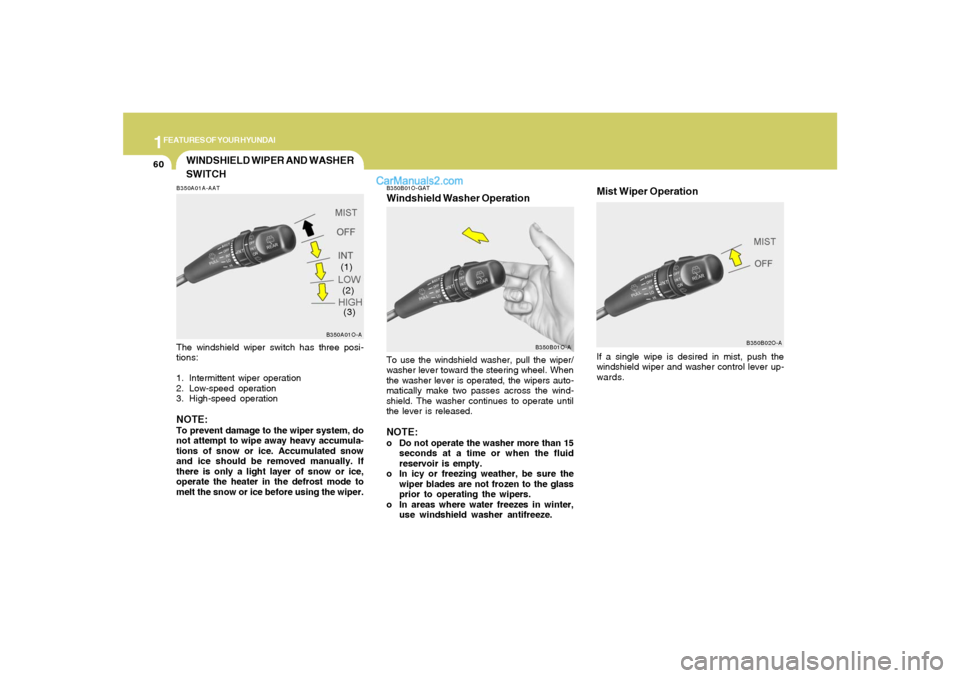
WINDSHIELD WIPER AND WASHER
SWITCHB350A01A-AATThe windshield wiper switch has three posi-
tions:
1. Intermittent wiper operation
2. Low-speed operation
3. High-speed operationNOTE:To prevent damage to the wiper system, do
not attempt to wipe away heavy accumula-
tions of snow or ice. Accumulated snow
and ice should be removed manually. If
there is only a light layer of snow or ice,
operate the heater in the defrost mode to
melt the snow or ice before using the wiper.
B350A01O-A
(1)
(2)
(3)
B350B01O-GATWindshield Washer OperationTo use the windshield washer, pull the wiper/
washer lever toward the steering wheel. When
the washer lever is operated, the wipers auto-
matically make two passes across the wind-
shield. The washer continues to operate until
the lever is released.NOTE:o Do not operate the washer more than 15
seconds at a time or when the fluid
reservoir is empty.
o In icy or freezing weather, be sure the
wiper blades are not frozen to the glass
prior to operating the wipers.
o In areas where water freezes in winter,
use windshield washer antifreeze.
B350B01O-A
Page 75 of 277
1FEATURES OF YOUR HYUNDAI64
Correcting Azimuth IndicatorIt is needed to correct the error between a
current azimuth to terrestrial magnetism sen-
sor and the displayed azimuth in the vehicle
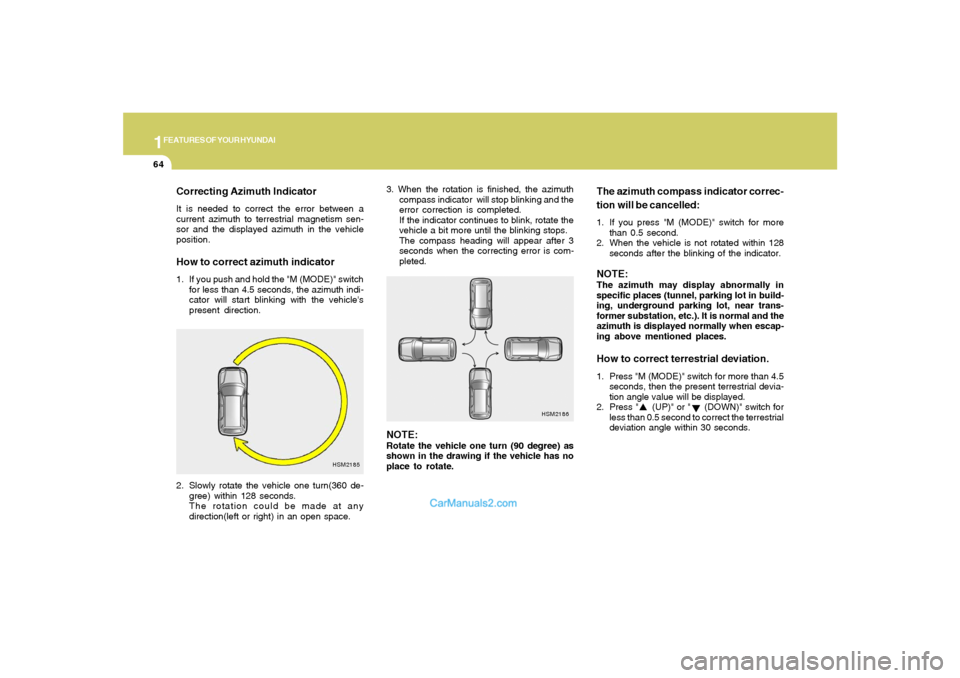
position.How to correct azimuth indicator1. If you push and hold the "M (MODE)" switch
for less than 4.5 seconds, the azimuth indi-
cator will start blinking with the vehicle's
present direction.
2. Slowly rotate the vehicle one turn(360 de-
gree) within 128 seconds.
The rotation could be made at any
direction(left or right) in an open space.3. When the rotation is finished, the azimuth
compass indicator will stop blinking and the
error correction is completed.
If the indicator continues to blink, rotate the
vehicle a bit more until the blinking stops.
The compass heading will appear after 3
seconds when the correcting error is com-
pleted.
NOTE:Rotate the vehicle one turn (90 degree) as
shown in the drawing if the vehicle has no
place to rotate.
The azimuth compass indicator correc-
tion will be cancelled:1. If you press "M (MODE)" switch for more
than 0.5 second.
2. When the vehicle is not rotated within 128
seconds after the blinking of the indicator.NOTE:The azimuth may display abnormally in
specific places (tunnel, parking lot in build-
ing, underground parking lot, near trans-
former substation, etc.). It is normal and the
azimuth is displayed normally when escap-
ing above mentioned places.How to correct terrestrial deviation.1. Press "M (MODE)" switch for more than 4.5
seconds, then the present terrestrial devia-
tion angle value will be displayed.
2. Press " (UP)" or " (DOWN)" switch for
less than 0.5 second to correct the terrestrial
deviation angle within 30 seconds.
HSM2185HSM2186
Page 76 of 277
1
FEATURES OF YOUR HYUNDAI
65
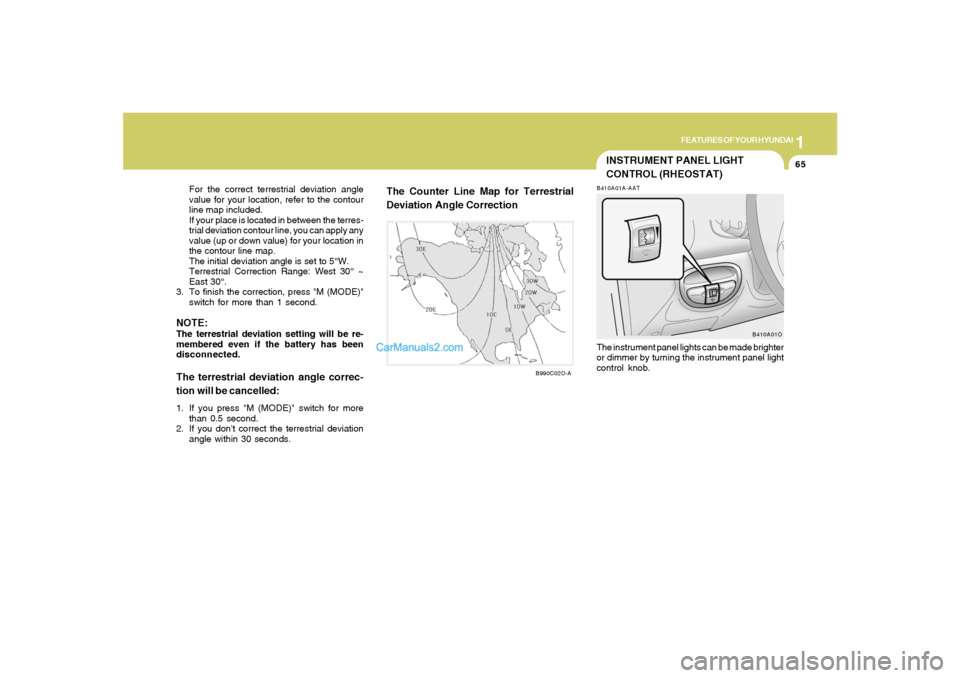
For the correct terrestrial deviation angle
value for your location, refer to the contour
line map included.
If your place is located in between the terres-
trial deviation contour line, you can apply any
value (up or down value) for your location in
the contour line map.
The initial deviation angle is set to 5°W.
Terrestrial Correction Range: West 30° ~
East 30°.
3. To finish the correction, press "M (MODE)"
switch for more than 1 second.
NOTE:The terrestrial deviation setting will be re-
membered even if the battery has been
disconnected.The terrestrial deviation angle correc-
tion will be cancelled:1. If you press "M (MODE)" switch for more
than 0.5 second.
2. If you don't correct the terrestrial deviation
angle within 30 seconds.
The Counter Line Map for Terrestrial
Deviation Angle Correction
INSTRUMENT PANEL LIGHT
CONTROL (RHEOSTAT)B410A01A-AATThe instrument panel lights can be made brighter
or dimmer by turning the instrument panel light
control knob.
B410A01O
B990C02O-A
Page 94 of 277
1
FEATURES OF YOUR HYUNDAI
83
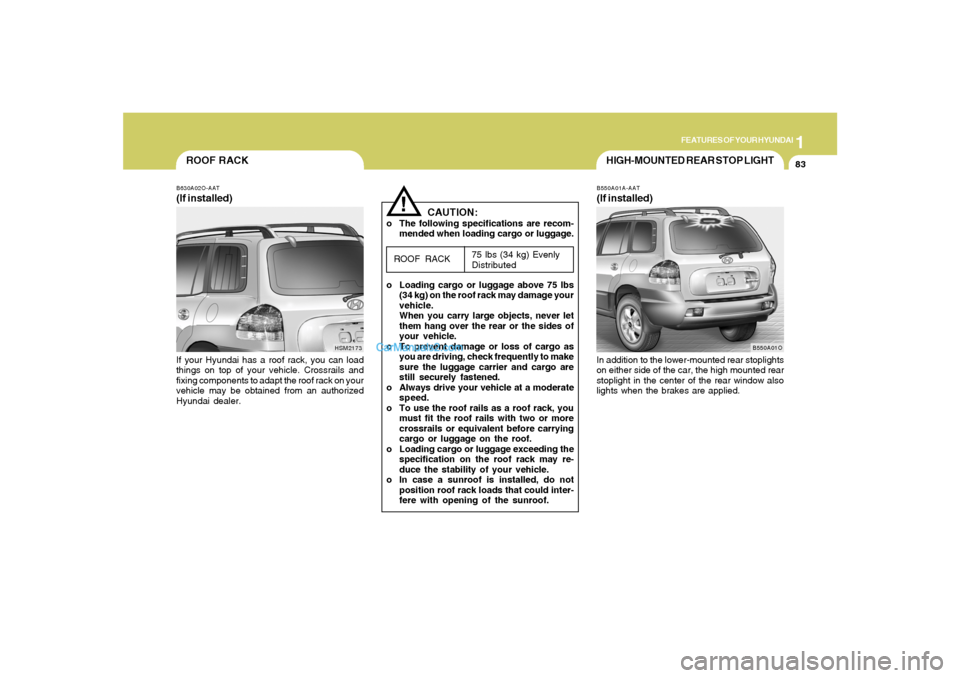
ROOF RACKB630A02O-AAT(If installed)If your Hyundai has a roof rack, you can load
things on top of your vehicle. Crossrails and
fixing components to adapt the roof rack on your
vehicle may be obtained from an authorized
Hyundai dealer.
HSM2173
CAUTION:
o The following specifications are recom-
mended when loading cargo or luggage.
75 lbs (34 kg) Evenly
Distributed
o Loading cargo or luggage above 75 lbs
(34 kg) on the roof rack may damage your
vehicle.
When you carry large objects, never let
them hang over the rear or the sides of
your vehicle.
o To prevent damage or loss of cargo as
you are driving, check frequently to make
sure the luggage carrier and cargo are
still securely fastened.
o Always drive your vehicle at a moderate
speed.
o To use the roof rails as a roof rack, you
must fit the roof rails with two or more
crossrails or equivalent before carrying
cargo or luggage on the roof.
o Loading cargo or luggage exceeding the
specification on the roof rack may re-
duce the stability of your vehicle.
o In case a sunroof is installed, do not
position roof rack loads that could inter-
fere with opening of the sunroof.ROOF RACK!
HIGH-MOUNTED REAR STOP LIGHTB550A01A-AAT(If installed)In addition to the lower-mounted rear stoplights
on either side of the car, the high mounted rear
stoplight in the center of the rear window also
lights when the brakes are applied.
B550A01O
Page 105 of 277
1FEATURES OF YOUR HYUNDAI94
With the " " mode selected, air enters the
vehicle from outside and is heated or cooled
according to the other functions selected.
With the " " mode selected, air from within
the passenger compartment is drawn through
the heating system and heated or cooled ac-
cording to the other functions selected.
NOTE:o It should be noted that prolonged opera-
tion of the heating system in " " mode
will give rise to fogging of the wind-
shield and side windows and the air
within the passenger compartment will
become stale. In addition prolonged use
of the air conditioning with the " "
mode selected may result in the air within
the passenger compartment becoming
excessively dry.
o When the ignition switch is turned "ON"
the air intake control switch will change
to " " mode in floor, floor-defrost and
defrost position. This is normal opera-
tion. But, the air intake control switch
will change to " " mode when the
ignition switch is turned "ON" with the
MAX A/C mode selected.
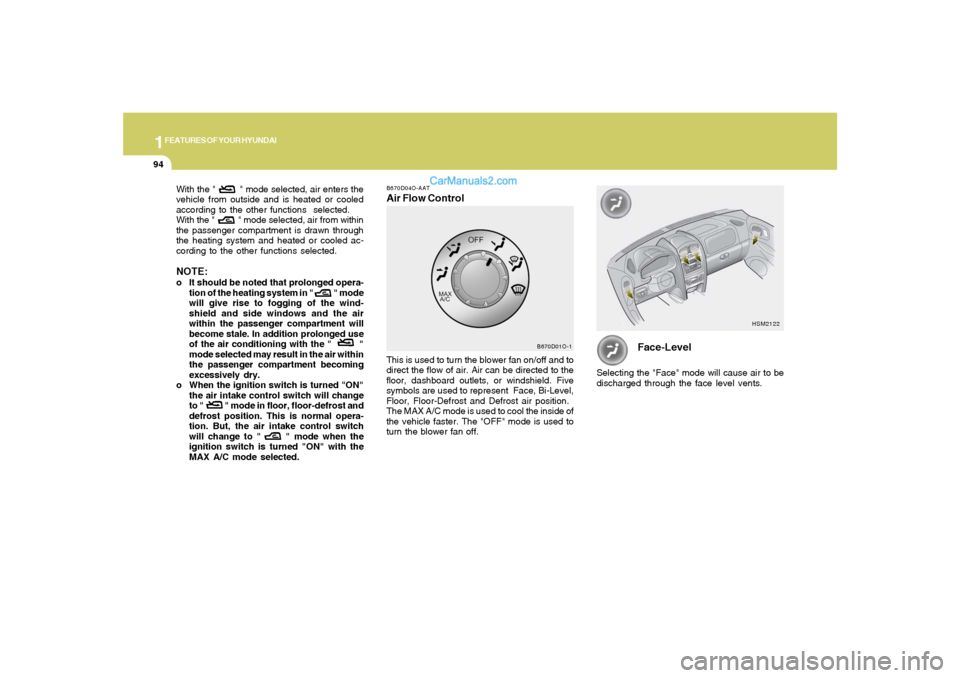
B670D04O-AATAir Flow ControlThis is used to turn the blower fan on/off and to
direct the flow of air. Air can be directed to the
floor, dashboard outlets, or windshield. Five
symbols are used to represent Face, Bi-Level,
Floor, Floor-Defrost and Defrost air position.
The MAX A/C mode is used to cool the inside of
the vehicle faster. The "OFF" mode is used to
turn the blower fan off.
B670D01O-1
Face-Level
Selecting the "Face" mode will cause air to be
discharged through the face level vents.
HSM2122