ECO mode HYUNDAI SANTA FE HYBRID 2021 Owner's Manual
[x] Cancel search | Manufacturer: HYUNDAI, Model Year: 2021, Model line: SANTA FE HYBRID, Model: HYUNDAI SANTA FE HYBRID 2021Pages: 598, PDF Size: 66.6 MB
Page 164 of 598
Convenient features
5-6
Even though you press the outside
door handle button, the doors will not
lock and the chime will sound for three
seconds if any of the following occur:
• The Smart Key is in the vehicle.
• The Engine Start/Stop button is in
ACC or ON position.
• Any door except the liftgate is open.
CAUTION
When you leave your vehicle with
the smart key, make sure to press the
button on the front door handle or
touch the touch sensor on the front
door handle to lock the doors after
close all of the doors, the hood and the
trunk. If you do not press the button
or touch the touch sensor firmly, the
doors might not be locked so please use
caution.
WARNING
Do not leave the Smart Key in your
vehicle with unsupervised children.
Unattended children could press the
Engine Start/ Stop button and may
operate power windows or other
controls, or even make the vehicle
move, which could result in serious
injury or death.
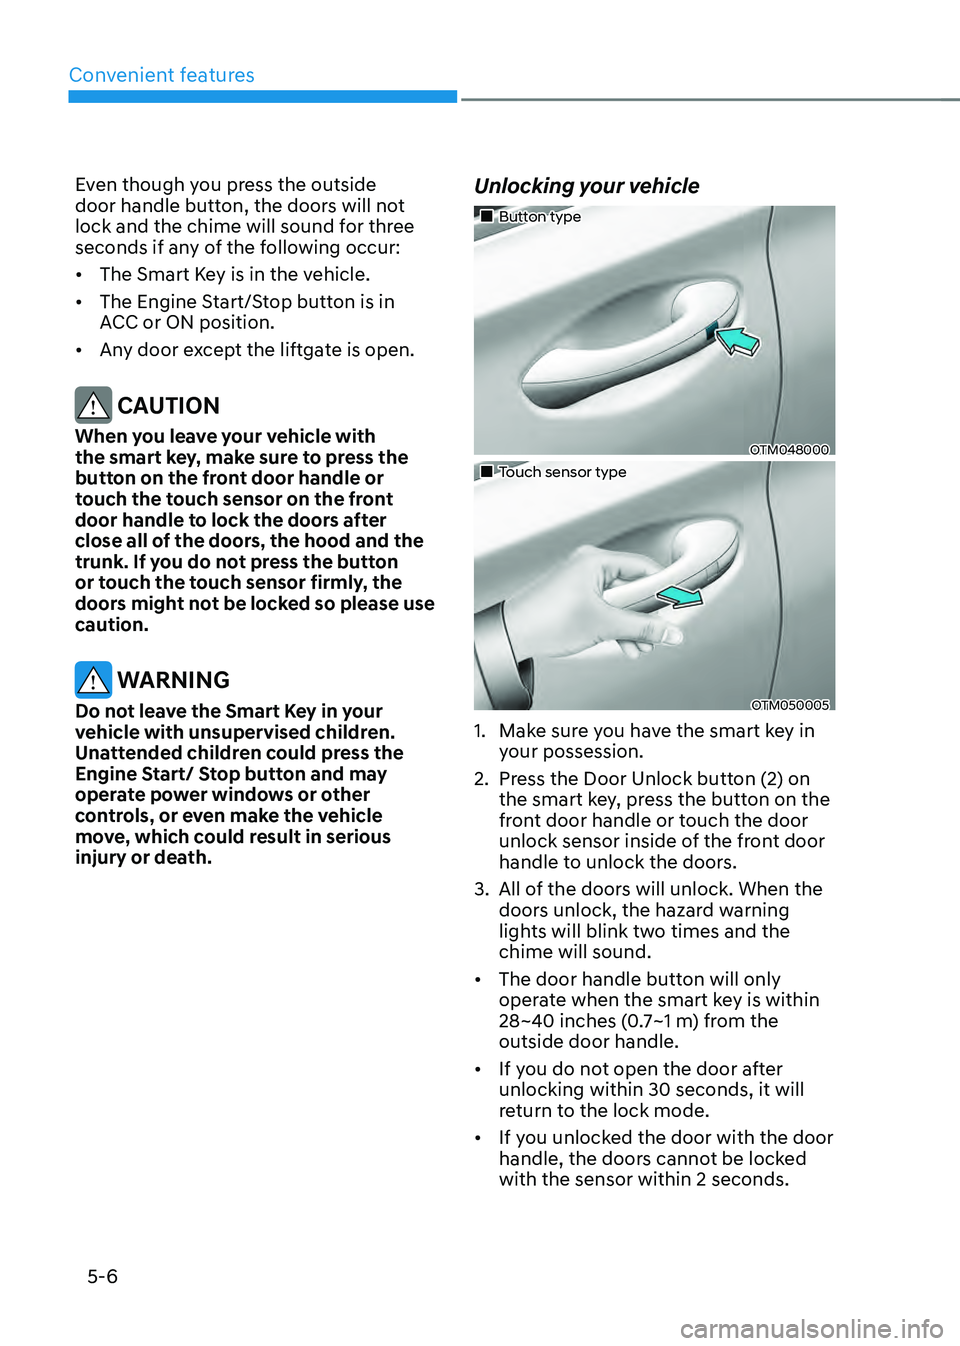
Unlocking your vehicle
„„Button type
OTM048000
„„Touch sensor type
OTM050005
1. Make sure you have the smart key in
your possession.
2. Press the Door Unlock button (2) on
the smart key, press the button on the
front door handle or touch the door
unlock sensor inside of the front door
handle to unlock the doors.
3. All of the doors will unlock. When the
doors unlock, the hazard warning
lights will blink two times and the
chime will sound.
• The door handle button will only
operate when the smart key is within
28~40 inches (0.7~1 m) from the
outside door handle.
• If you do not open the door after
unlocking within 30 seconds, it will
return to the lock mode.
• If you unlocked the door with the door
handle, the doors cannot be locked
with the sensor within 2 seconds.
Page 173 of 598
05
5-15
After unlock the door or start up the
vehicle with digital key, even though
the driver tries to lock the doors by the
central door lock switch, the door lock
will be once locked and immediately
released at the moment of door closed.
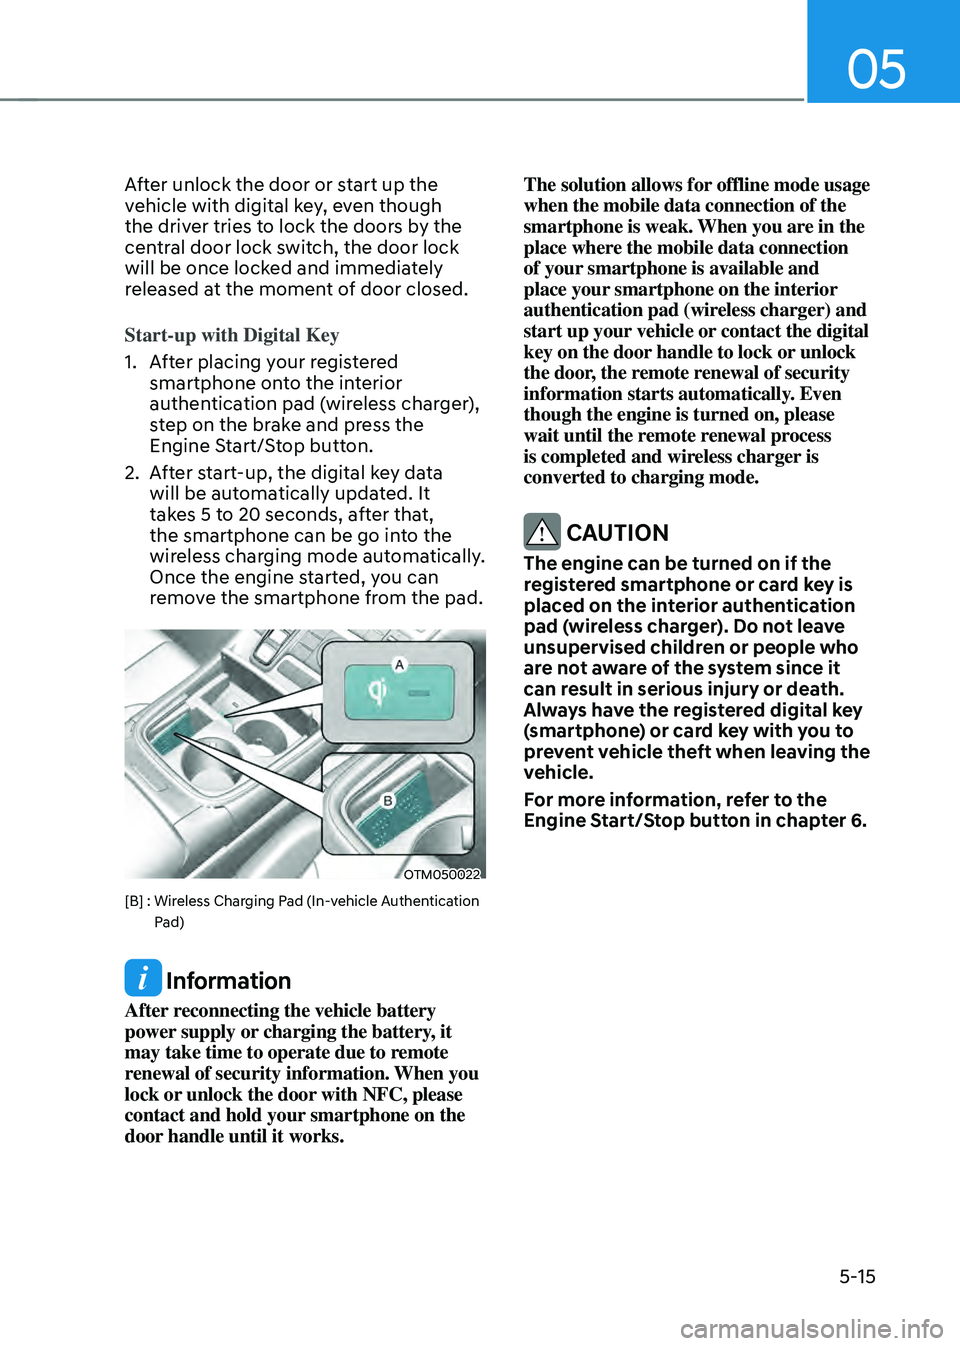
Start-up with Digital Key
1. After placing your registered
smartphone onto the interior
authentication pad (wireless charger),
step on the brake and press the
Engine Start/Stop button.
2. After start-up, the digital key data
will be automatically updated. It
takes 5 to 20 seconds, after that,
the smartphone can be go into the
wireless charging mode automatically.
Once the engine started, you can
remove the smartphone from the pad.
OTM050022
[B] : Wireless Charging Pad (In-vehicle Authentication Pad)
Information
After reconnecting the vehicle battery
power supply or charging the battery, it
may take time to operate due to remote
renewal of security information. When you
lock or unlock the door with NFC, please
contact and hold your smartphone on the
door handle until it works. The solution allows for offline mode usage
when the mobile data connection of the
smartphone is weak. When you are in the
place where the mobile data connection
of your smartphone is available and
place your smartphone on the interior
authentication pad (wireless charger) and
start up your vehicle or contact the digital
key on the door handle to lock or unlock
the door, the remote renewal of security
information starts automatically. Even
though the engine is turned on, please
wait until the remote renewal process
is completed and wireless charger is
converted to charging mode.
CAUTION
The engine can be turned on if the
registered smartphone or card key is
placed on the interior authentication
pad (wireless charger). Do not leave
unsupervised children or people who
are not aware of the system since it
can result in serious injury or death.
Always have the registered digital key
(smartphone) or card key with you to
prevent vehicle theft when leaving the
vehicle.
For more information, refer to the
Engine Start/Stop button in chapter 6.
Page 175 of 598
05
5-17
Remote Start with Digital Key
• When the shift button of your vehicle
is in P (Park) and all of the doors
including trunk and hood is locked
and the vehicle is off, press the Door
Lock button in the Hyundai Digital
Key app then press the Remote Start
button within 4 seconds.
You can confirm the engine is on if the
hazard warning lights blinks two times
and the chime sounds.
• If you want to turn off the engine,
press Remote Engine Stop. Air
Conditioner / Heating system
maintains the same status as when
you last used the vehicle.
• Unless you put the registered digital
key(smartphone) on the interior
authentication pad (wireless charger)
when the remote start function is on,
the engine will turn off.
• If you do not get on the vehicle within
10 minutes after the engine turns on,
the vehicle will turn off.
For more information, refer to the Engine
Start/Stop button in chapter 6.
Vehicle information Display
The digital key application displays
the vehicle information such as
driving or door conditions through the
communication with the vehicle.
• How to check : Select the vehicle
what you want to check and touch
the vehicle image, then vehicle
information display page will be
shown.
• Contents : accumulated odometer,
latest fuel economy, driving range,
fuel remaining, tire pressure, doors
lock/unlock status and last data
updated time.
à Displayed vehicle date could be
differed from the current vehicle
condition.
ÃFor more information, please refer to
the ‘Tutorial’ on your Digital key app. Smartphone change/App deletion
If you change your smartphone or delete
the Hyundai Digital Key App, please refer
to the following to set up your Digital
Key:
Smartphone Change/ Reset
If you change or reset the smartphone,
the registered digital key in your previous
smartphone may not be used. Please
refer to following procedure to use the
digital key.
1. Install the digital key application and
log in.
2. If you are the owner, retry the Digital
key save process.
3. If you are the sharer, need to re-share
the key from owner.
App delete & reinstall/ Delete App data
You can re-download the digital key
from server in these cases as follow
procedure.
1. Reinstall the application and log in.
2. Input the PIN number for user
verification.
3. If PIN is correct, digital key data
will be re-downloaded to your
smartphone and you can use it
without any further registration or
sharing.
Smartphone operability with Digital Key
The digital key application may not
be available to old type smartphones.
Please check the available smartphone
models with your dealer. NFC antenna
position on the smartphone can be
confirmed on each smartphone’s manual
or contact to customer service center of
the smartphone manufacture.
Page 199 of 598
05
5-41
Automatic-Dimming Night Vision Safety™
(NVS®) Mirror (if equipped)
The NVS® Mirror automatically reduces
glare by monitoring light levels in the
front and the rear of the vehicle. Any
object that obstructs either light sensor
will degrade the automatic dimming
control feature.
For more information regarding NVS®
mirrors and other applications, please
refer to the Gentex website:
www.gentex.com
Your mirror will automatically dim
upon detecting glare from the vehicles
traveling behind you.
The mirror defaults to the ON position
each time the vehicle is started.
Integrated HomeLink
® Wireless Control
System
The HomeLink® Wireless Control System
provides a convenient way to replace
up to three hand held radio-frequency
transmitters used to activate compatible
devices such as gate operators, garage
door openers, entry door locks, security
systems, and home lighting.
NOTICE
HomeLink® operates while the ignition
switch is in the ACC or ON position
for safety reasons. It is to prevent
unintentional security problems from
happening when the vehicle is parked
outside the garage.
WARNING
Before programming HomeLink® to a
garage door opener or gate operator,
make sure people and objects are out
of the way of the device to prevent
potential harm or damage. Do not
use the HomeLink® with any garage
door opener that lacks the safety
stop and reverse features required
by U.S. federal safety standards (this
includes any garage door opener model
manufactured before April 1, 1982).
A garage door that cannot detect an
object - signaling the door to stop and
reverse - does not meet current U.S.
federal safety standards. Using a garage
door opener without these features
increases the risk of serious injury or
death.
For more information, contact
HomeLink® at www.homelink.com, or
call Home-Link customer support at
1-800-355-3515.
It is also recommended that a new
battery be replaced in the handheld
transmitter of the device being trained
to HomeLink® for quicker training and
accurate transmission of the radio
frequency.
Page 200 of 598
Convenient features
5-42
1. Programming HomeLink®
The following steps show how to
program HomeLink. If you have any
questions or are having difficulty
programming your HomeLink buttons,
refer to the HomeLink website or call the
HomeLink customer support toll-free
number. Do this before going back to the
dealer who sold you the car.
• Visit the HomeLink website at: www.
homelink.com. Then at the top of the
page, choose your vehicle make. Then
watch the You Tube video, and/or
access additional website information.
• If you choose to access the website
via your cell phone, scan the QR code.
• Or call HomeLink customer support
at 1-800-355-3515 (Please have the
vehicle make/model and the opener
device make/model readily available.)
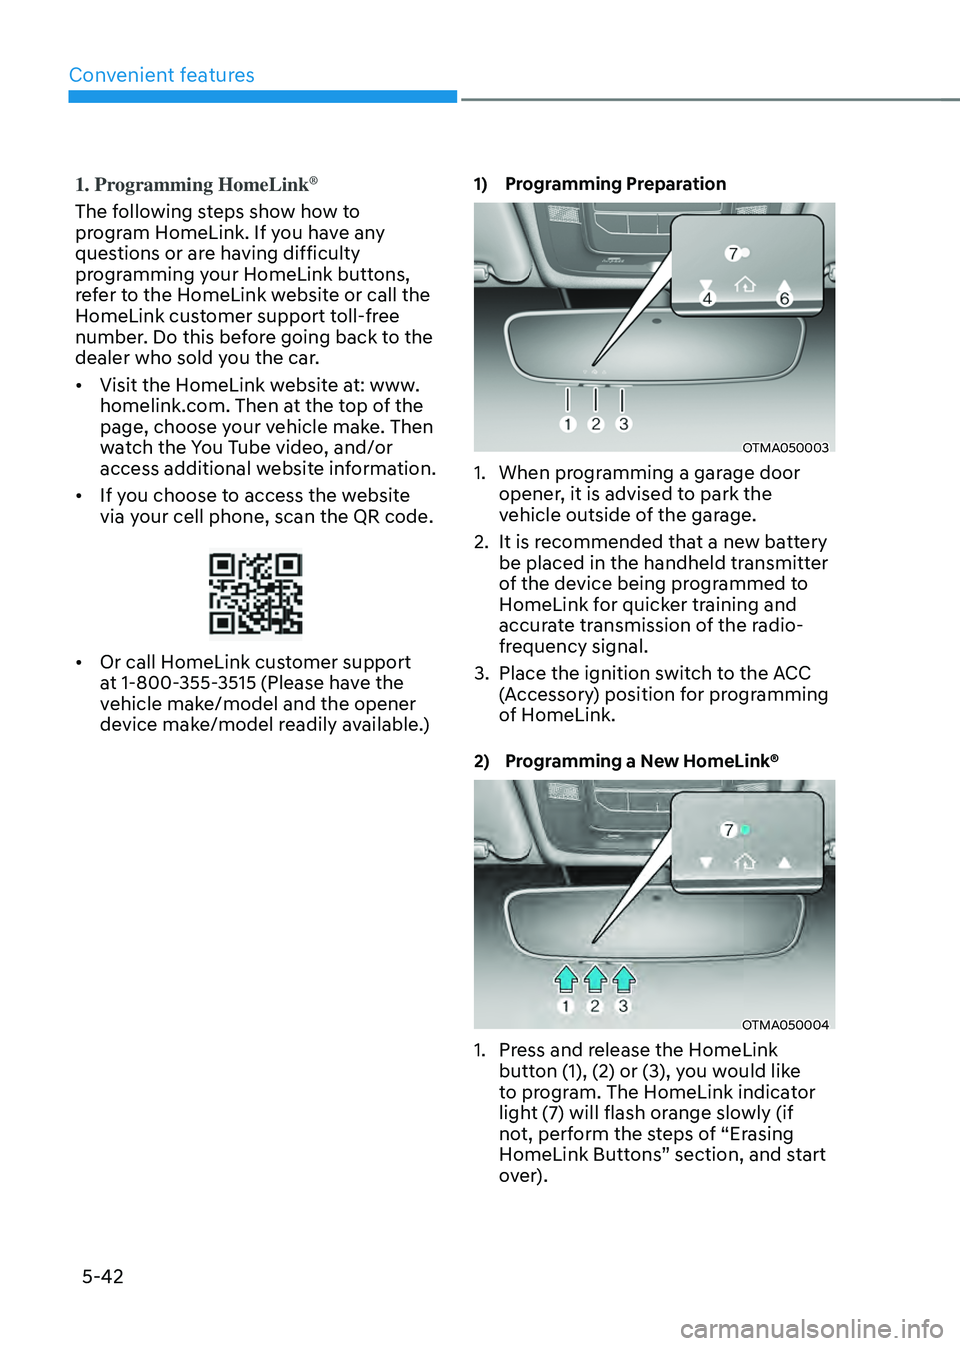
1) Programming Preparation
OTMA050003
1. When programming a garage door
opener, it is advised to park the
vehicle outside of the garage.
2. It is recommended that a new battery
be placed in the handheld transmitter
of the device being programmed to
HomeLink for quicker training and
accurate transmission of the radio-
frequency signal.
3. Place the ignition switch to the ACC
(Accessory) position for programming
of HomeLink.
2) Programming a New HomeLink®
OTMA050004
1. Press and release the HomeLink
button (1), (2) or (3), you would like
to program. The HomeLink indicator
light (7) will flash orange slowly (if
not, perform the steps of “Erasing
HomeLink Buttons” section, and start
over).
Page 211 of 598
05
5-53
Auto reverse user settings
If you cannot secure enough visibility
with the angles provided as factory
default conditions, you can readjust and
store the angles of outside rear view
mirrors.
The factory default angles of the right
and left rear view mirrors might be set
differently to improve visibility.
1. Set the shift button to P (Parking).
Make sure that the vehicle is stopped
and the mirrors are not working.
2. Position the lever to L (left) or R (right)
depending on the mirror that you
want adjust.
3. Step on the break pedal and shift the
shift button to R (Reverse).
4. When the downward movement of
the rear view mirror is finished, adjust
the mirror to the desired angle by
pressing the switches, ▼, ▲, t, u.
5. If you shift the shift button to a
position other than R (Reverse), or
change the rear view mirror selector
lever to the neutral position, and
the automatic return of the mirror is
finished, the adjusted angle will be
automatically saved.
6. You can adjust the rear view mirror on
the other side by following the same
procedures (1-5).
How to reset auto reverse user
settings
If you want to change the automatic
control function of rear view mirrors to
factory-default conditions, follow the
steps below.
1. Shift the shift button to P (Park). Make
sure that the vehicle is stopped and
the mirrors is not working.
2. Choose the mirror to be adjusted by
positioning the lever to L (left) or R
(right).
3. Step on the brake pedal and shift the
shift button to R (Reverse).
4. When the downward movement of
the rear view mirror is finished, press
the switch ▲ to locate the mirror in
the position higher than before (P, N
or D).
(Adjust the mirror in the higher
position compared to its position in
the driving mode.)
5. It is initialized when the shift button
is shifted to a position other than
R (Reverse), or the rear view mirror
selector lever is changed to the
neutral position. (Initialized position
will be applied from next operation.)
6. You can initialize settings for the
mirror on the other side by following
the same procedures (1-5).
CAUTION
We recommend following the
procedures in an orderly manner to
change or initialize the auto reversing
user settings.
If you move to the next step before
completing the previous one, the
changed angle may not be changed or
initialization may not work properly.
Page 227 of 598
05
5-69
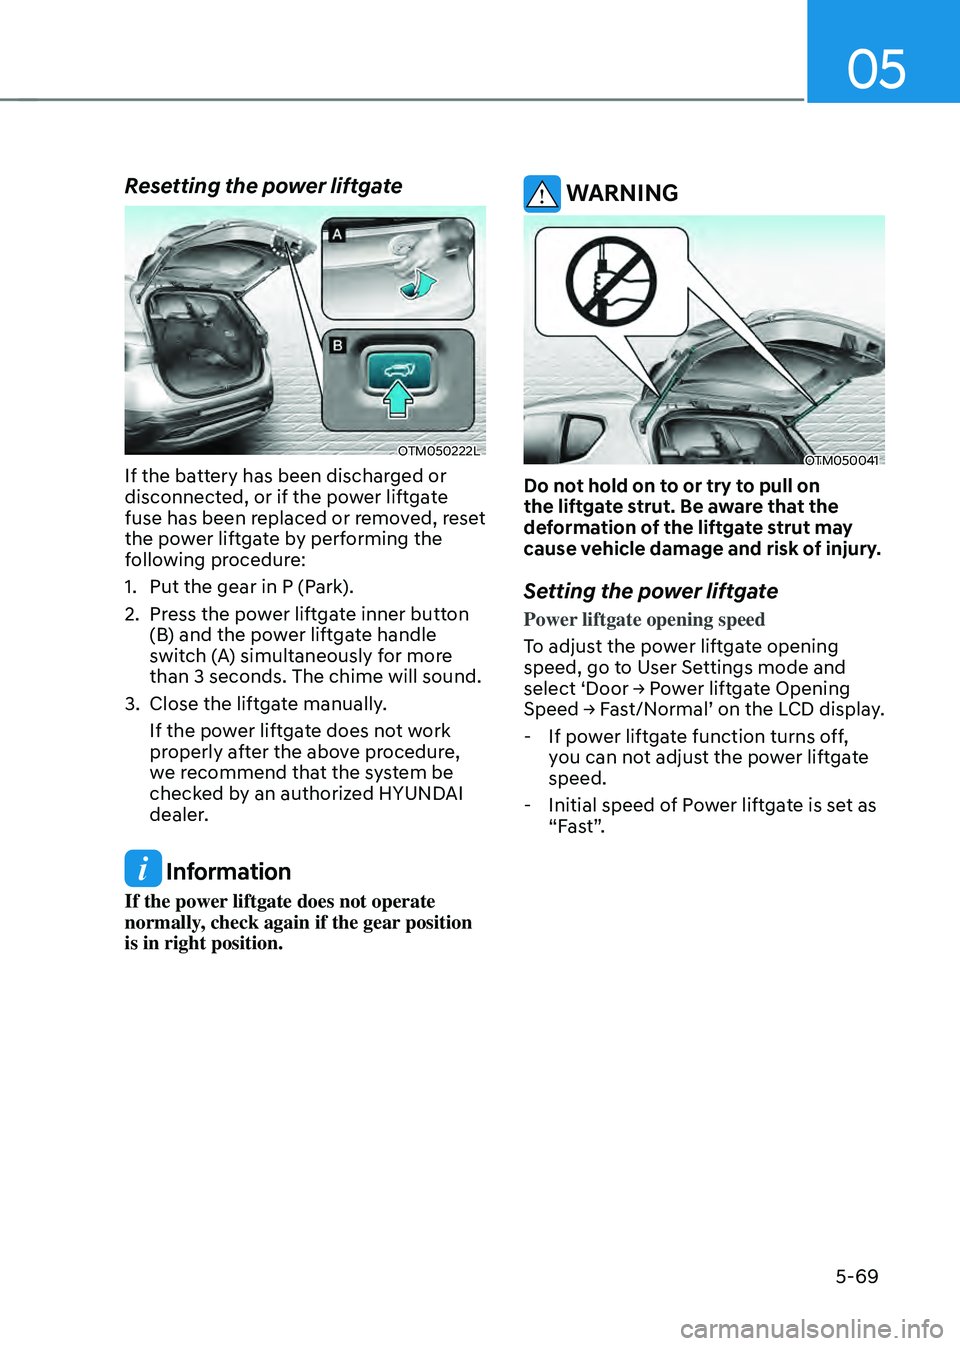
Resetting the power liftgate
OTM050222L
If the battery has been discharged or
disconnected, or if the power liftgate
fuse has been replaced or removed, reset
the power liftgate by performing the
following procedure:
1. Put the gear in P (Park).
2. Press the power liftgate inner button
(B) and the power liftgate handle
switch (A) simultaneously for more
than 3 seconds. The chime will sound.
3. Close the liftgate manually.
If the power liftgate does not work
properly after the above procedure,
we recommend that the system be
checked by an authorized HYUNDAI
dealer.
Information
If the power liftgate does not operate
normally, check again if the gear position
is in right position.
WARNING
OTM050041
Do not hold on to or try to pull on
the liftgate strut. Be aware that the
deformation of the liftgate strut may
cause vehicle damage and risk of injury.
Setting the power liftgate
Power liftgate opening speed
To adjust the power liftgate opening
speed, go to User Settings mode and
select ‘Door → Power liftgate Opening
Speed → Fast/Normal’ on the LCD display.
-If power liftgate function turns off,
you can not adjust the power liftgate
speed.
-Initial speed of Power liftgate is set as
“Fast”.
Page 229 of 598
05
5-71
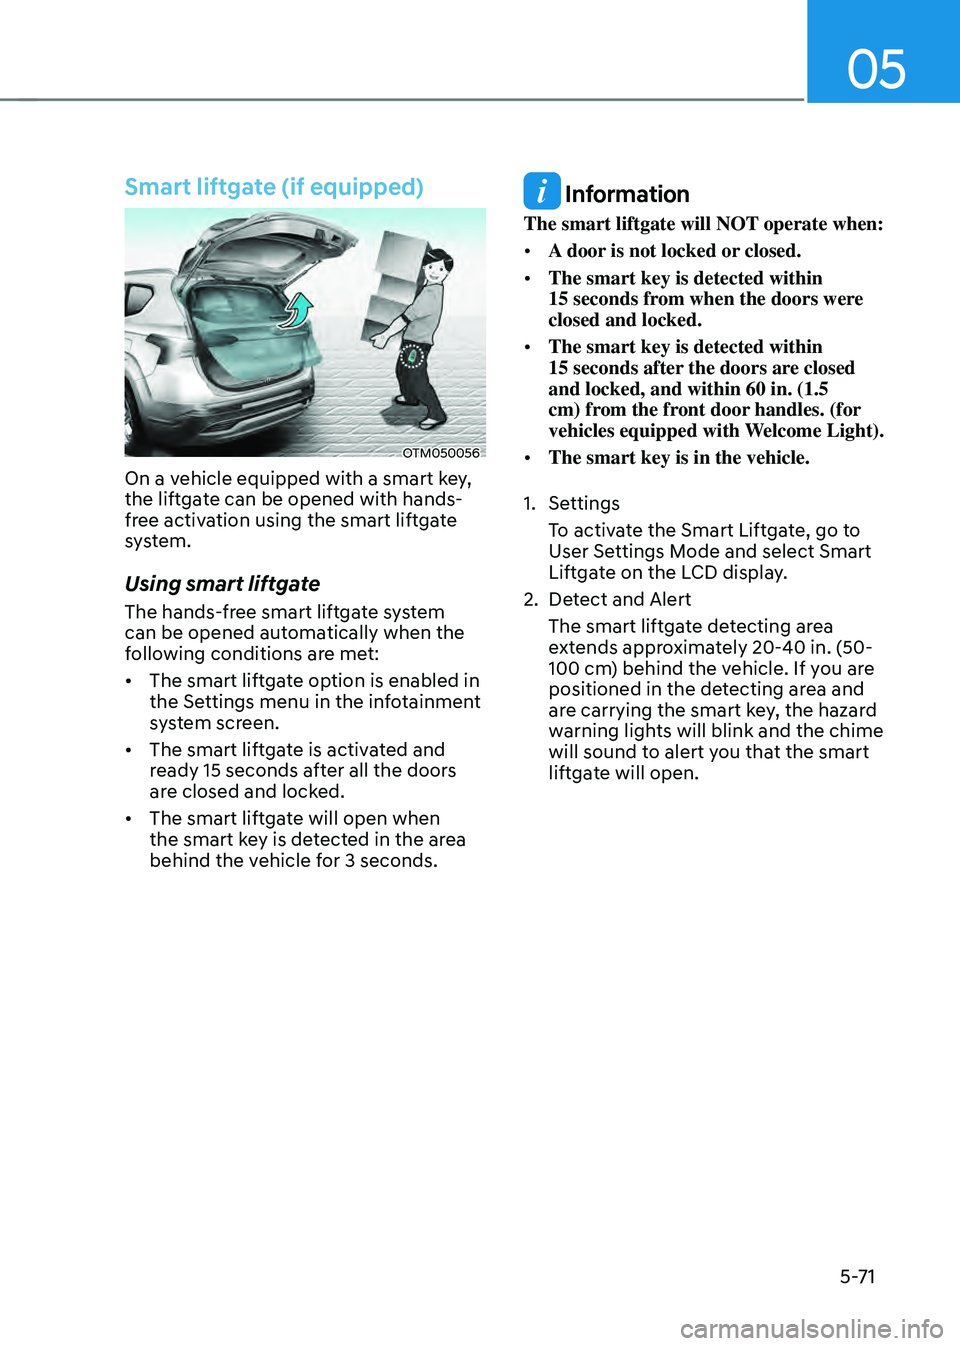
Smart liftgate (if equipped)
OTM050056
On a vehicle equipped with a smart key,
the liftgate can be opened with hands-
free activation using the smart liftgate
system.
Using smart liftgate
The hands-free smart liftgate system
can be opened automatically when the
following conditions are met:
• The smart liftgate option is enabled in
the Settings menu in the infotainment
system screen.
• The smart liftgate is activated and
ready 15 seconds after all the doors
are closed and locked.
• The smart liftgate will open when
the smart key is detected in the area
behind the vehicle for 3 seconds.
Information
The smart liftgate will NOT operate when:
• A door is not locked or closed.
• The smart key is detected within 15 seconds from when the doors were closed and locked.
• The smart key is detected within 15 seconds after the doors are closed and locked, and within 60 in. (1.5
cm) from the front door handles. (for
vehicles equipped with Welcome Light).
• The smart key is in the vehicle.
1. Settings
To activate the Smart Liftgate, go to
User Settings Mode and select Smart
Liftgate on the LCD display.
2. Detect and Alert
The smart liftgate detecting area
extends approximately 20-40 in. (50-
100 cm) behind the vehicle. If you are
positioned in the detecting area and
are carrying the smart key, the hazard
warning lights will blink and the chime
will sound to alert you that the smart
liftgate will open.
Page 246 of 598
Convenient features
5-88
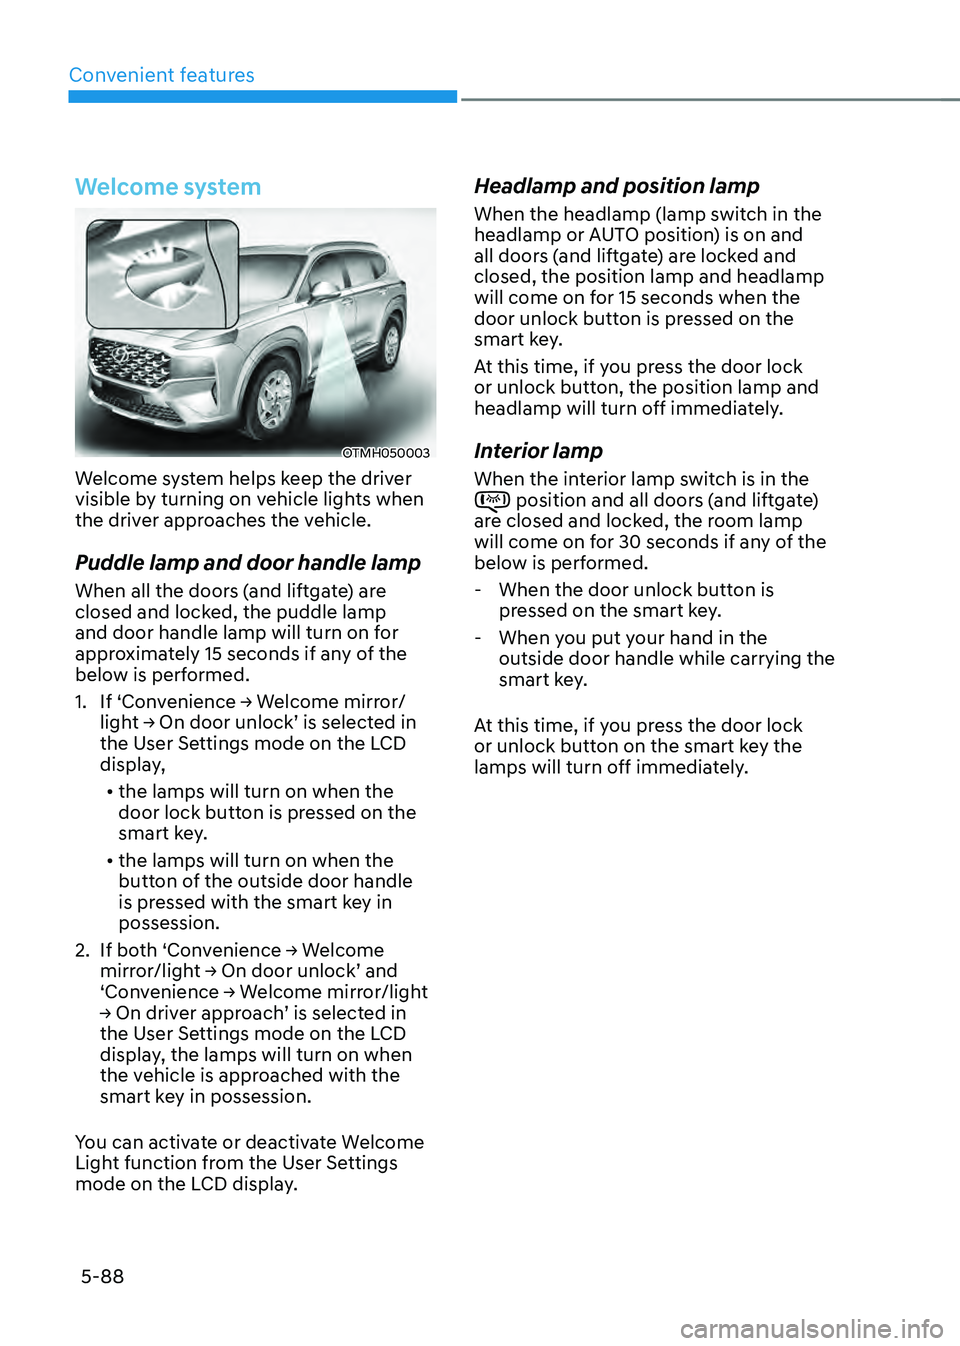
Welcome system
OTMH050003
Welcome system helps keep the driver
visible by turning on vehicle lights when
the driver approaches the vehicle.
Puddle lamp and door handle lamp
When all the doors (and liftgate) are
closed and locked, the puddle lamp
and door handle lamp will turn on for
approximately 15 seconds if any of the
below is performed.
1. If ‘Convenience → Welcome mirror/
light → On door unlock’ is selected in
the User Settings mode on the LCD
display,
• the lamps will turn on when the
door lock button is pressed on the
smart key.
• the lamps will turn on when the
button of the outside door handle
is pressed with the smart key in
possession.
2. If both ‘Convenience → Welcome
mirror/light → On door unlock’ and
‘Convenience → Welcome mirror/light
→ On driver approach’ is selected in
the User Settings mode on the LCD
display, the lamps will turn on when
the vehicle is approached with the
smart key in possession.
You can activate or deactivate Welcome
Light function from the User Settings
mode on the LCD display.
Headlamp and position lamp
When the headlamp (lamp switch in the
headlamp or AUTO position) is on and
all doors (and liftgate) are locked and
closed, the position lamp and headlamp
will come on for 15 seconds when the
door unlock button is pressed on the
smart key.
At this time, if you press the door lock
or unlock button, the position lamp and
headlamp will turn off immediately.
Interior lamp
When the interior lamp switch is in the position and all doors (and liftgate) are closed and locked, the room lamp
will come on for 30 seconds if any of the
below is performed.
- When the door unlock button is
pressed on the smart key.
-When you put your hand in the
outside door handle while carrying the
smart key.
At this time, if you press the door lock
or unlock button on the smart key the
lamps will turn off immediately.
Page 256 of 598
Convenient features
5-98
Temperature conversion
If the battery has been discharged or
disconnected, the temperature mode
display will reset to Centigrade.
To change the temperature unit from °C
to °F or °F to °C :
-Automatic climate control system
Press the AUTO button for 3 seconds
while pressing the OFF button.
-Instrument cluster
Go to User Settings Mode → Units →
Temperature Unit.
The temperature unit on both the cluster
LCD display and the climate control
screen will change.
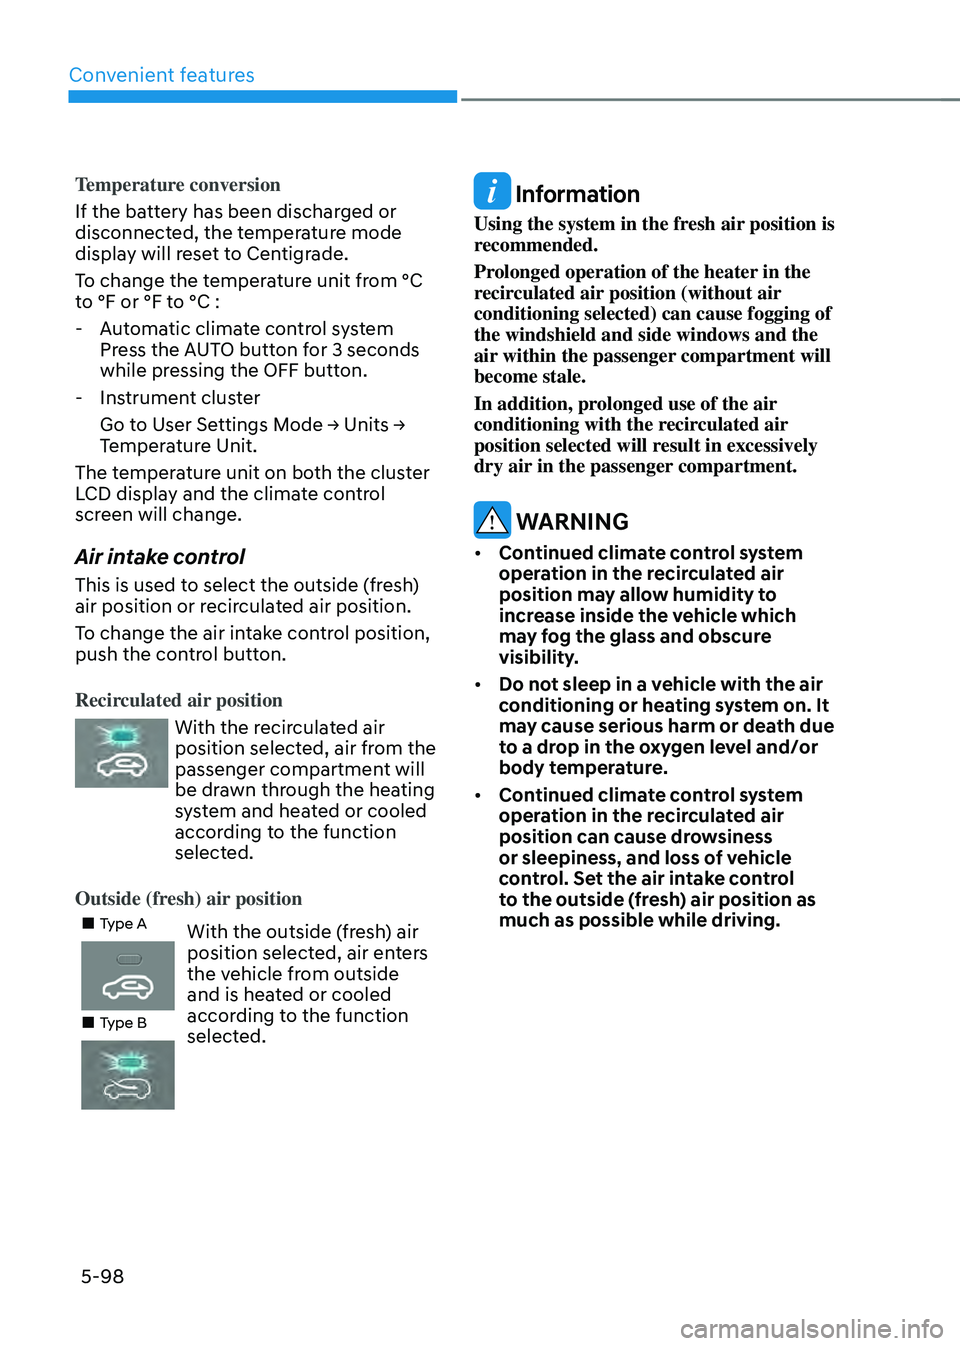
Air intake control
This is used to select the outside (fresh)
air position or recirculated air position.
To change the air intake control position,
push the control button.
Recirculated air position
With the recirculated air
position selected, air from the
passenger compartment will
be drawn through the heating
system and heated or cooled
according to the function
selected.
Outside (fresh) air position
„„Type AWith the outside (fresh) air
position selected, air enters
the vehicle from outside
and is heated or cooled
according to the function
selected.
„„Type B
Information
Using the system in the fresh air position is
recommended.
Prolonged operation of the heater in the
recirculated air position (without air
conditioning selected) can cause fogging of
the windshield and side windows and the
air within the passenger compartment will
become stale.
In addition, prolonged use of the air
conditioning with the recirculated air
position selected will result in excessively
dry air in the passenger compartment.
WARNING
• Continued climate control system
operation in the recirculated air
position may allow humidity to
increase inside the vehicle which
may fog the glass and obscure
visibility.
• Do not sleep in a vehicle with the air
conditioning or heating system on. It
may cause serious harm or death due
to a drop in the oxygen level and/or
body temperature.
• Continued climate control system
operation in the recirculated air
position can cause drowsiness
or sleepiness, and loss of vehicle
control. Set the air intake control
to the outside (fresh) air position as
much as possible while driving.