set clock Hyundai Sonata
[x] Cancel search | Manufacturer: HYUNDAI, Model Year: , Model line: , Model:Pages: 340, PDF Size: 18.45 MB
Page 143 of 340
485
Features of your vehicle
D280600AUN
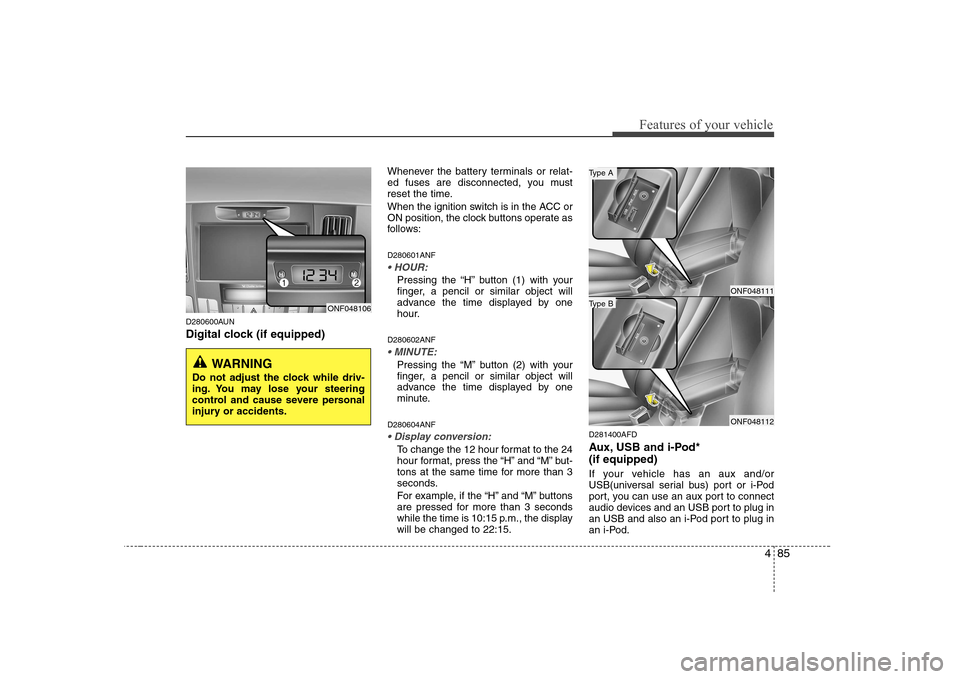
Digital clock (if equipped)Whenever the battery terminals or relat-
ed fuses are disconnected, you must
reset the time.
When the ignition switch is in the ACC or
ON position, the clock buttons operate as
follows: D280601ANF
Pressing the “H” button (1) with your
finger, a pencil or similar object will
advance the time displayed by one
hour.
D280602ANF
Pressing the “M” button (2) with your
finger, a pencil or similar object will
advance the time displayed by one
minute.
D280604ANF
To change the 12 hour format to the 24
hour format, press the “H” and “M” but-
tons at the same time for more than 3
seconds.
For example, if the “H” and “M” buttons
are pressed for more than 3 seconds
while the time is 10:15 p.m., the displaywill be changed to 22:15. D281400AFD
Aux, USB and i-Pod* (if equipped)
If your vehicle has an aux and/or
USB(universal serial bus) port or i-Pod
port, you can use an aux port to connect
audio devices and an USB port to plug in
an USB and also an i-Pod port to plug in
an i-Pod.
ONF048106
WARNING
Do not adjust the clock while driv-
ing. You may lose your steering
control and cause severe personal
injury or accidents.
ONF048111
ONF048112
Type B
Type A
Page 152 of 340
Features of your vehicle
94
4
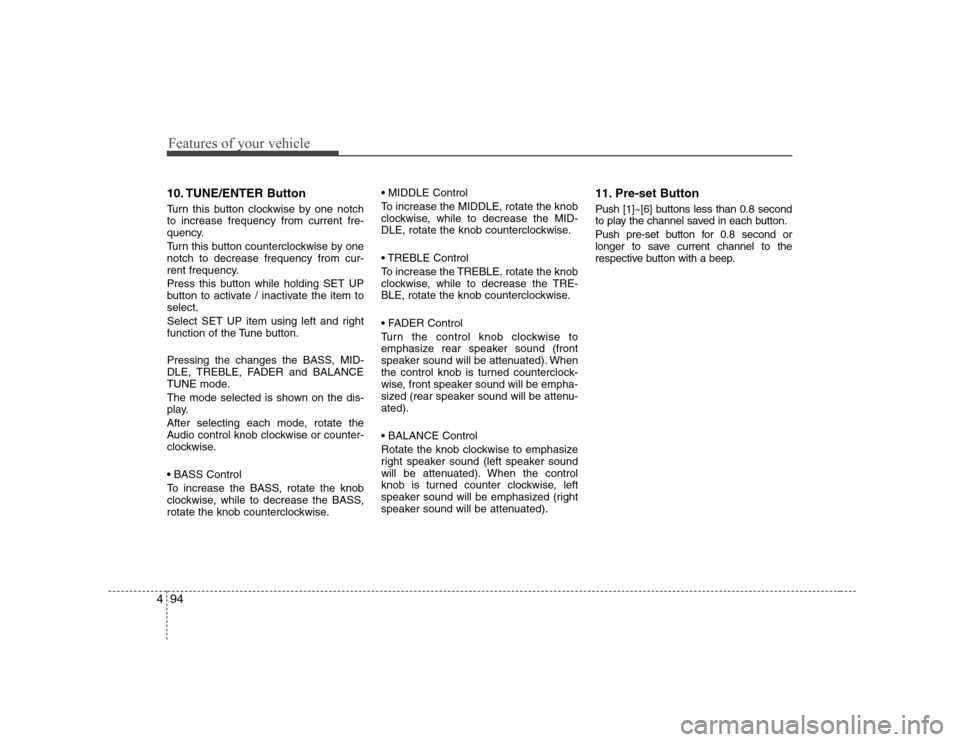
10. TUNE/ENTER Button
Turn this button clockwise by one notch to increase frequency from current fre-
quency.
Turn this button counterclockwise by one notch to decrease frequency from cur-
rent frequency.
Press this button while holding SET UP
button to activate / inactivate the item toselect.
Select SET UP item using left and right
function of the Tune button.
Pressing the changes the BASS, MID-
DLE, TREBLE, FADER and BALANCE
TUNE mode.
The mode selected is shown on the dis-
play.
After selecting each mode, rotate the
Audio control knob clockwise or counter-
clockwise.
To increase the BASS, rotate the knob
clockwise, while to decrease the BASS,
rotate the knob counterclockwise.
To increase the MIDDLE, rotate the knob
clockwise, while to decrease the MID-
DLE, rotate the knob counterclockwise.
Control
To increase the TREBLE, rotate the knob
clockwise, while to decrease the TRE-
BLE, rotate the knob counterclockwise.
Turn the control knob clockwise to
emphasize rear speaker sound (front
speaker sound will be attenuated). When
the control knob is turned counterclock-
wise, front speaker sound will be empha-
sized (rear speaker sound will be attenu-ated).
Rotate the knob clockwise to emphasize
right speaker sound (left speaker sound
will be attenuated). When the control
knob is turned counter clockwise, left
speaker sound will be emphasized (right
speaker sound will be attenuated).
11. Pre-set Button
Push [1]~[6] buttons less than 0.8 second
to play the channel saved in each button.
Push pre-set button for 0.8 second or
longer to save current channel to the
respective button with a beep.
Page 162 of 340
Features of your vehicle
104
4
In case the i-Pod exclusive cable is con-
nected to the multiple terminal inside the
console on the left hand side of the dri-
ver’s seat. When the i-Pod is connected,
the ‘i-Pod’ icon will be displayed on the
top right corner of the display screen.
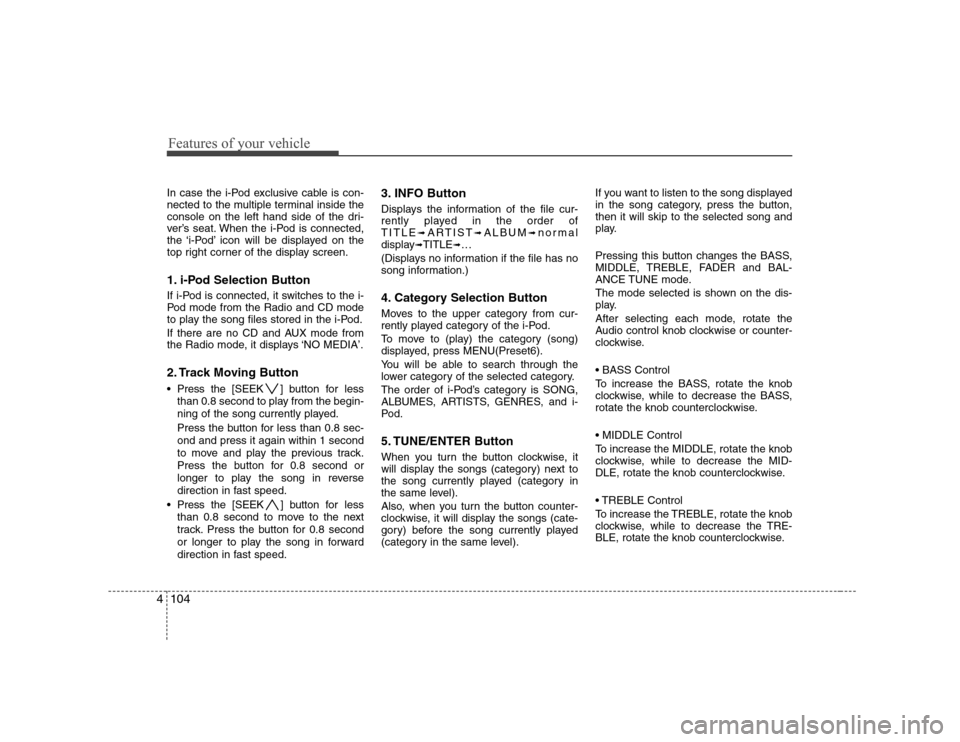
1. i-Pod Selection Button
If i-Pod is connected, it switches to the i-
Pod mode from the Radio and CD mode
to play the song files stored in the i-Pod.
If there are no CD and AUX mode from
the Radio mode, it displays ‘NO MEDIA’.
2. Track Moving Button
Press the [SEEK ] button for less
than 0.8 second to play from the begin-
ning of the song currently played.
Press the button for less than 0.8 sec- ond and press it again within 1 second
to move and play the previous track.
Press the button for 0.8 second or
longer to play the song in reverse
direction in fast speed.
Press the [SEEK ] button for less
than 0.8 second to move to the next
track. Press the button for 0.8 second
or longer to play the song in forward
direction in fast speed. 3. INFO Button
Displays the information of the file cur-
rently played in the order ofTITLE
➟ARTIST ➟ALBUM ➟normal
display ➟TITLE ➟…
(Displays no information if the file has no
song information.)
4. Category Selection Button
Moves to the upper category from cur-
rently played category of the i-Pod.
To move to (play) the category (song)
displayed, press MENU(Preset6).
You will be able to search through the
lower category of the selected category.
The order of i-Pod’s category is SONG,
ALBUMES, ARTISTS, GENRES, and i-
Pod.
5. TUNE/ENTER Button
When you turn the button clockwise, it
will display the songs (category) next to
the song currently played (category in
the same level).
Also, when you turn the button counter-
clockwise, it will display the songs (cate-
gory) before the song currently played
(category in the same level). If you want to listen to the song displayed
in the song category, press the button,then it will skip to the selected song and
play.
Pressing this button changes the BASS,
MIDDLE, TREBLE, FADER and BAL-
ANCE TUNE mode.
The mode selected is shown on the dis-
play.
After selecting each mode, rotate the
Audio control knob clockwise or counter-
clockwise.
To increase the BASS, rotate the knob
clockwise, while to decrease the BASS,
rotate the knob counterclockwise.
To increase the MIDDLE, rotate the knob
clockwise, while to decrease the MID-
DLE, rotate the knob counterclockwise.
Control
To increase the TREBLE, rotate the knob
clockwise, while to decrease the TRE-
BLE, rotate the knob counterclockwise.
Page 166 of 340
Features of your vehicle
108
4
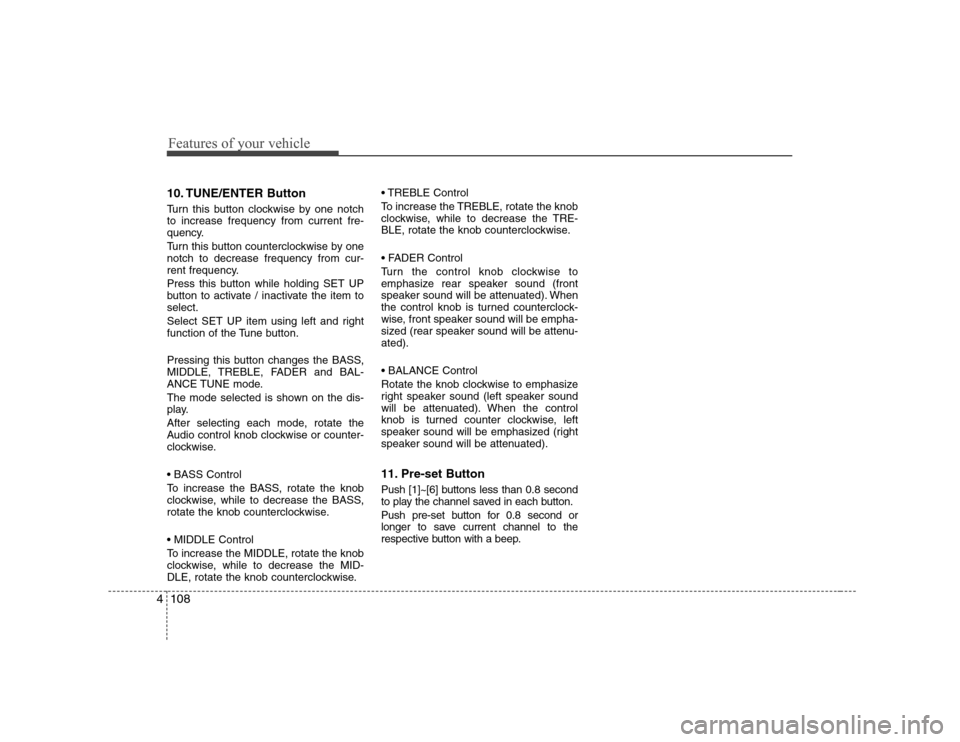
10. TUNE/ENTER Button
Turn this button clockwise by one notch to increase frequency from current fre-
quency.
Turn this button counterclockwise by one notch to decrease frequency from cur-
rent frequency.
Press this button while holding SET UP
button to activate / inactivate the item toselect.
Select SET UP item using left and right
function of the Tune button.
Pressing this button changes the BASS,
MIDDLE, TREBLE, FADER and BAL-
ANCE TUNE mode.
The mode selected is shown on the dis-
play.
After selecting each mode, rotate the
Audio control knob clockwise or counter-
clockwise.
To increase the BASS, rotate the knob
clockwise, while to decrease the BASS,
rotate the knob counterclockwise.
To increase the MIDDLE, rotate the knob
clockwise, while to decrease the MID-
DLE, rotate the knob counterclockwise. Control
To increase the TREBLE, rotate the knob
clockwise, while to decrease the TRE-
BLE, rotate the knob counterclockwise.
Turn the control knob clockwise to
emphasize rear speaker sound (front
speaker sound will be attenuated). When
the control knob is turned counterclock-
wise, front speaker sound will be empha-
sized (rear speaker sound will be attenu-ated).
Rotate the knob clockwise to emphasize
right speaker sound (left speaker sound
will be attenuated). When the control
knob is turned counter clockwise, left
speaker sound will be emphasized (right
speaker sound will be attenuated).
11. Pre-set Button
Push [1]~[6] buttons less than 0.8 second
to play the channel saved in each button.
Push pre-set button for 0.8 second or
longer to save current channel to the
respective button with a beep.
Page 176 of 340
Features of your vehicle
118
4
In case the i-Pod exclusive cable is con-
nected to the multiple terminal inside the
console on the left hand side of the dri-
ver’s seat. When the i-Pod is connected,
the ‘i-Pod’ icon will be displayed on the
top right corner of the display screen.
1. i-Pod Selection Button
If an i-Pod is connected, the audio
switches to the i-Pod mode to play the
song files stored in the i-Pod. If there are
no CD and AUX input when the AUX but-
ton is pressed, the audio unit will display'NO MEDIA'.
2. Track Moving Button
Press the [SEEK ] button for less
than 0.8 second to play from the begin-
ning of the song currently played.
Press the button for less than 0.8 sec- ond and press it again within 1 second
to move and play the previous track.
Press the button for 0.8 second or
longer to play the song in reverse
direction in fast speed.
Press the [SEEK ] button for less
than 0.8 second to move to the next
track. Press the button for 0.8 second
or longer to play the song in forward
direction in fast speed. 3. INFO Button
Displays the information of the file cur-
rently played in the order ofTITLE
➟ARTIST ➟ALBUM ➟normal
display ➟TITLE ➟…
(Displays no information if the file has no
song information.)
4. Category Selection Button
Moves to the upper category from cur-
rently played category of the i-Pod.
To move to (play) the category (song)
displayed, press MENU(Preset6).
You will be able to search through the
lower category of the selected category.
The order of i-Pod’s category is SONG,
ALBUMES, ARTISTS, GENRES, and i-
Pod.
5. TUNE/ENTER Button
When you turn the button clockwise, it
will display the songs (category) next to
the song currently played (category in
the same level).
Also, when you turn the button counter-
clockwise, it will display the songs (cate-
gory) before the song currently played
(category in the same level). If you want to listen to the song displayed
in the song category, press the button,then it will skip to the selected song and
play.
Pressing this button changes the BASS,
MIDDLE, TREBLE, FADER and BAL-
ANCE TUNE mode.
The mode selected is shown on the dis-
play.
After selecting each mode, rotate the
Audio control knob clockwise or counter-
clockwise.
To increase the BASS, rotate the knob
clockwise, while to decrease the BASS,
rotate the knob counterclockwise.
To increase the MIDDLE, rotate the knob
clockwise, while to decrease the MID-
DLE, rotate the knob counterclockwise.
Control
To increase the TREBLE, rotate the knob
clockwise, while to decrease the TRE-
BLE, rotate the knob counterclockwise.
Page 236 of 340
69
What to do in an emergency
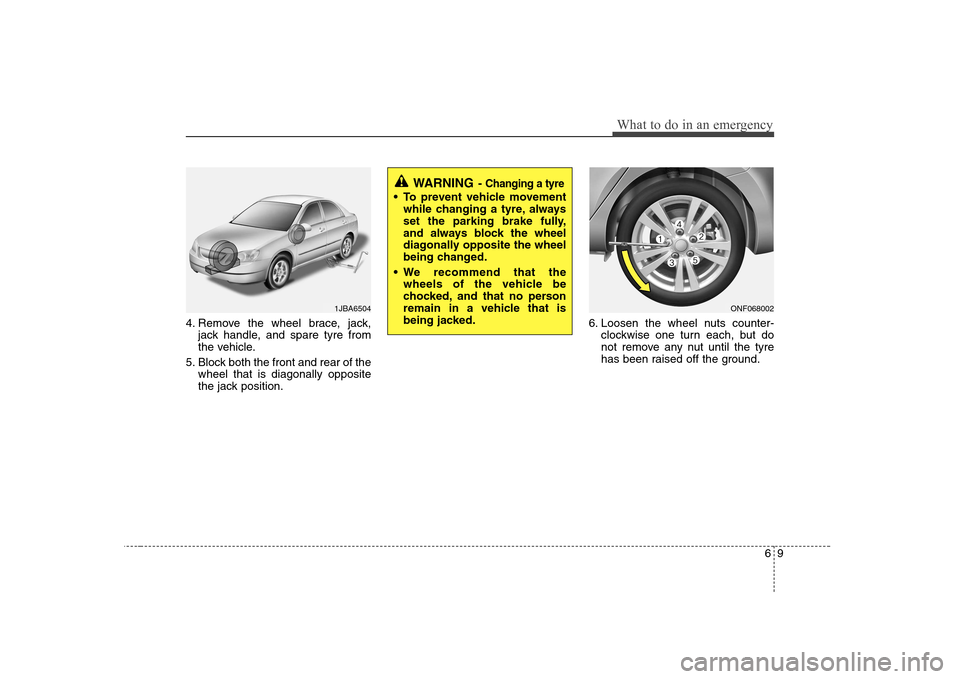
4. Remove the wheel brace, jack,jack handle, and spare tyre from
the vehicle.
5. Block both the front and rear of the wheel that is diagonally opposite
the jack position. 6. Loosen the wheel nuts counter-
clockwise one turn each, but do
not remove any nut until the tyre
has been raised off the ground.
1JBA6504ONF068002
WARNING - Changing a tyre
To prevent vehicle movement
while changing a tyre, always
set the parking brake fully,
and always block the wheel
diagonally opposite the wheel
being changed.
We recommend that the wheels of the vehicle be
chocked, and that no person
remain in a vehicle that is
being jacked.
Page 285 of 340
Maintenance
42
7
G130300AUN Reset items
Items should be reset after the battery
has been discharged or the battery hasbeen disconnected.
Auto up/down window (See section 4)
Sunroof (See section 4)
Trip computer (See section 4)
Climate control system
(See section 4)
Clock (See section 4)
Audio (See section 4)(Continued)
Disconnect the battery charger in the following order.
1. Turn off the battery charger main switch.
2. Unhook the negative clamp from the negative battery terminal.
3. Unhook the positive clamp from the positive battery terminal.
Before performing maintenance or recharging the battery, turn off all accessories and stop the
engine.
The negative battery cable must be removed first and installed
last when the battery is discon-nected.