Hyundai Sonata 2014 Owner's Manual
Manufacturer: HYUNDAI, Model Year: 2014, Model line: Sonata, Model: Hyundai Sonata 2014Pages: 665, PDF Size: 17.43 MB
Page 191 of 665
3-95
Convenient features of your vehicle
3
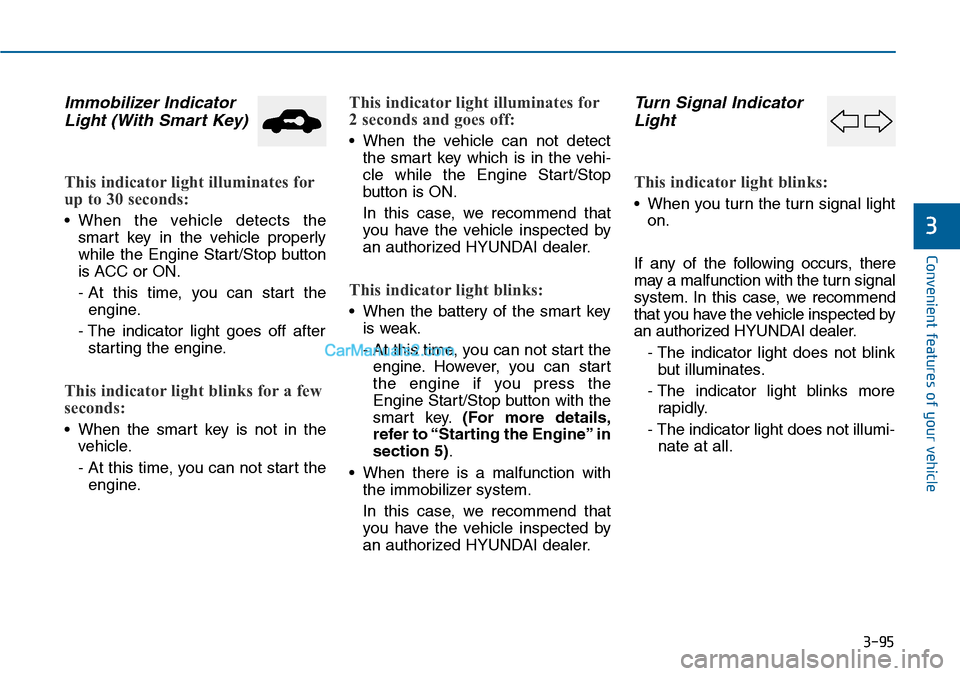
Immobilizer Indicator
Light (With Smart Key)
This indicator light illuminates for
up to 30 seconds:
•When the vehicle detects the
smart key in the vehicle properly
while the Engine Start/Stop button
is ACC or ON.
- At this time, you can start the
engine.
- The indicator light goes off after
starting the engine.
This indicator light blinks for a few
seconds:
•When the smart key is not in the
vehicle.
- At this time, you can not start the
engine.
This indicator light illuminates for
2 seconds and goes off:
•When the vehicle can not detect
the smart key which is in the vehi-
cle while the Engine Start/Stop
button is ON.
In this case, we recommend that
you have the vehicle inspected by
an authorized HYUNDAI dealer.
This indicator light blinks:
•When the battery of the smart key
is weak.
- At this time, you can not start the
engine. However, you can start
the engine if you press the
Engine Start/Stop button with the
smart key.(For more details,
refer to “Starting the Engine” in
section 5).
•When there is a malfunction with
the immobilizer system.
In this case, we recommend that
you have the vehicle inspected by
an authorized HYUNDAI dealer.
Turn Signal Indicator
Light
This indicator light blinks:
•When you turn the turn signal light
on.
If any of the following occurs, there
may a malfunction with the turn signal
system. In this case, we recommend
that you have the vehicle inspected by
an authorized HYUNDAI dealer.
- The indicator light does not blink
but illuminates.
- The indicator light blinks more
rapidly.
- The indicator light does not illumi-
nate at all.
Page 192 of 665
3-96
Convenient features of your vehicle
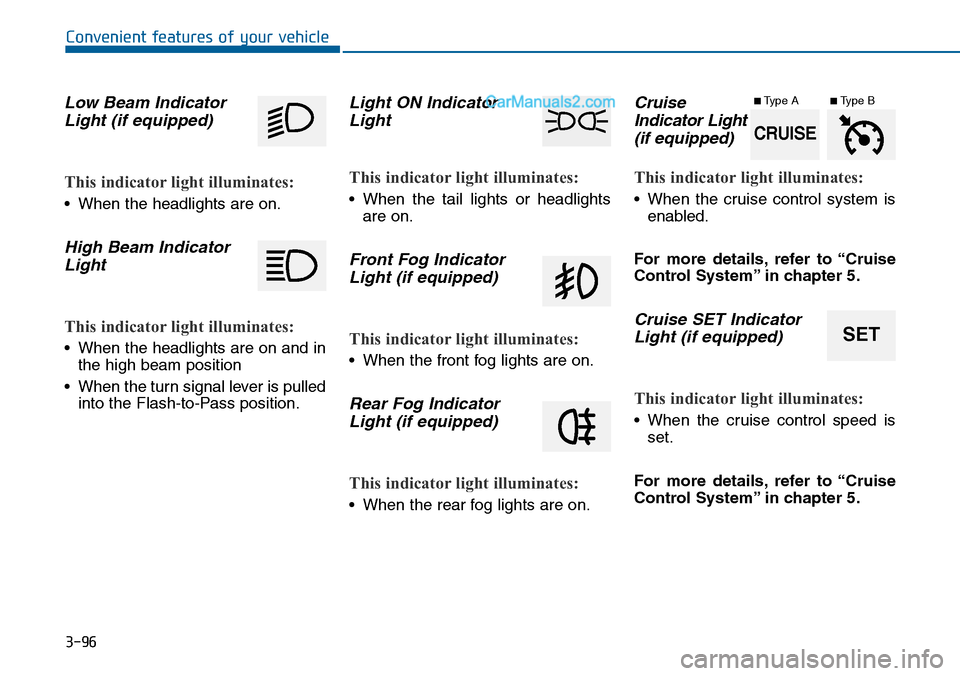
Low Beam Indicator
Light (if equipped)
This indicator light illuminates:
•When the headlights are on.
High Beam Indicator
Light
This indicator light illuminates:
•When the headlights are on and in
the high beam position
•When the turn signal lever is pulled
into the Flash-to-Pass position.
Light ON Indicator
Light
This indicator light illuminates:
•When the tail lights or headlights
are on.
Front Fog Indicator
Light (if equipped)
This indicator light illuminates:
•When the front fog lights are on.
Rear Fog Indicator
Light (if equipped)
This indicator light illuminates:
•When the rear fog lights are on.
Cruise
Indicator Light
(if equipped)
This indicator light illuminates:
•When the cruise control system is
enabled.
For more details, refer to “Cruise
Control System” in chapter 5.
Cruise SET Indicator
Light (if equipped)
This indicator light illuminates:
•When the cruise control speed is
set.
For more details, refer to “Cruise
Control System” in chapter 5.
SET
CRUISE
■Type A■Type B
Page 193 of 665
![Hyundai Sonata 2014 Owners Manual 3-97
Convenient features of your vehicle
3
AUTO HOLD Indicator
Light (if equipped)
This indicator light illuminates:
•[White] When you activate the auto
hold system by pressing the AUTO
HOLD butto Hyundai Sonata 2014 Owners Manual 3-97
Convenient features of your vehicle
3
AUTO HOLD Indicator
Light (if equipped)
This indicator light illuminates:
•[White] When you activate the auto
hold system by pressing the AUTO
HOLD butto](/img/35/16805/w960_16805-192.png)
3-97
Convenient features of your vehicle
3
AUTO HOLD Indicator
Light (if equipped)
This indicator light illuminates:
•[White] When you activate the auto
hold system by pressing the AUTO
HOLD button.
•[Green] When you stop the vehicle
completely by depressing the
brake pedal with the auto hold sys-
tem activated.
•[Yellow] When there is a malfunc-
tion with the auto hold system.
In this case, we recommend that
you have the vehicle inspected by
an authorized HYUNDAI dealer.
For more details, refer to “Auto
Hold” in chapter 5.
SPORT Mode Indicator
Light (if equipped)
This indicator light illuminates
•When you select "SPORT" mode
as drive mode.
For more details, refer to "Drive
Mode Integrated Control System"
in chapter 5.
ECO Mode Indicator
Light (if equipped)
This indicator light illuminates:
•When you select “ECO”mode as
drive mode.
For more details, refer to “Drive
Mode Integrated Control System”
in chapter 5.
AUTO
HOLDSPORTECO
Do not watch the ECO indicator
light while driving. This will dis-
tract you and may cause an
accident that results in severe
personal injury.
WARNING
Page 194 of 665
3-98
Convenient features of your vehicle
Exterior lights
Lighting control
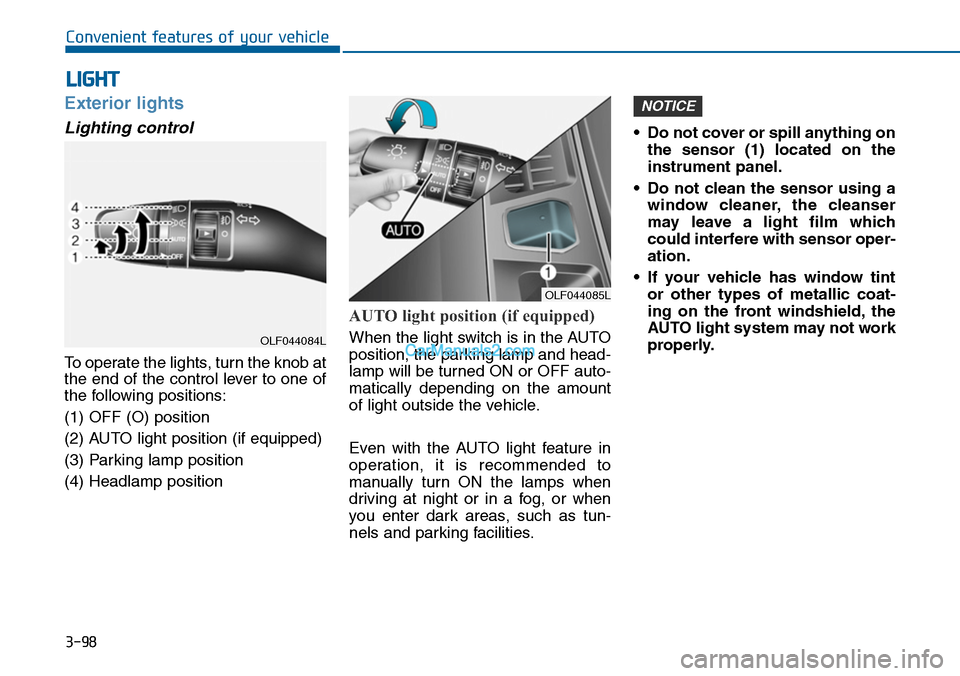
To operate the lights, turn the knob at
the end of the control lever to one of
the following positions:
(1) OFF (O) position
(2) AUTO light position (if equipped)
(3) Parking lamp position
(4) Headlamp position
AUTO light position (if equipped)
When the light switch is in the AUTO
position, the parking lamp and head-
lamp will be turned ON or OFF auto-
matically depending on the amount
of light outside the vehicle.
Even with the AUTO light feature in
operation, it is recommended to
manually turn ON the lamps when
driving at night or in a fog, or when
you enter dark areas, such as tun-
nels and parking facilities.
•Do not cover or spill anything on
the sensor (1) located on the
instrument panel.
•Do not clean the sensor using a
window cleaner, the cleanser
may leave a light film which
could interfere with sensor oper-
ation.
•If your vehicle has window tint
or other types of metallic coat-
ing on the front windshield, the
AUTO light system may not work
properly.
NOTICE
LIGHT
OLF044085L
OLF044084L
Page 195 of 665
3-99
Convenient features of your vehicle
3
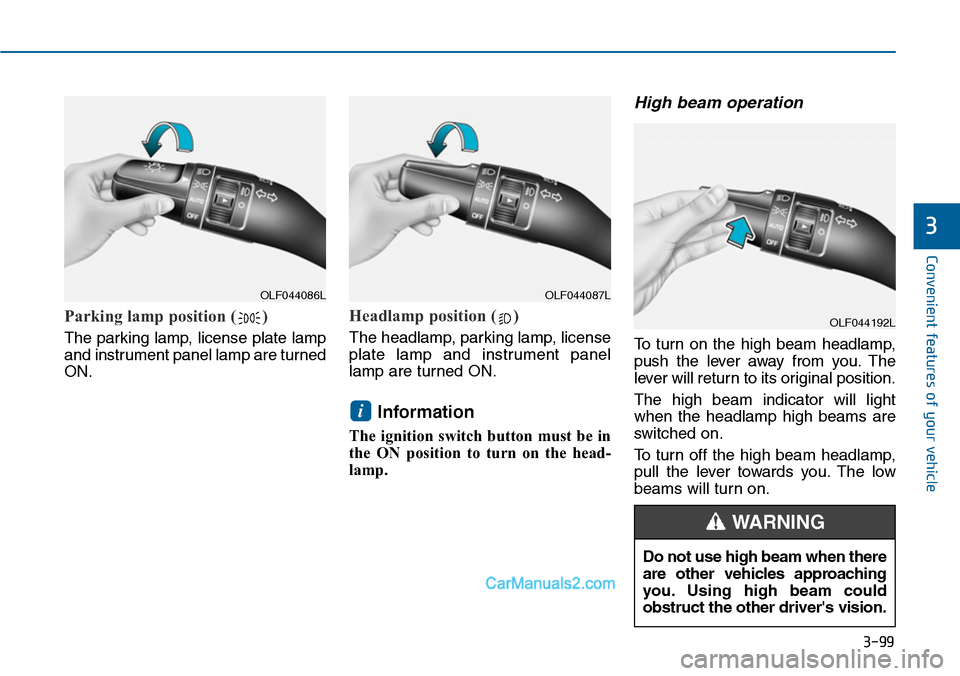
Parking lamp position ( )
The parking lamp, license plate lamp
and instrument panel lamp are turned
ON.
Headlamp position ( )
The headlamp, parking lamp, license
plate lamp and instrument panel
lamp are turned ON.
Information
The ignition switch button must be in
the ON position to turn on the head-
lamp.
High beam operation
To t u r n o n t h e h i g h b e a m h e a d l a m p ,
push the lever away from you. The
lever will return to its original position.
The high beam indicator will light
when the headlamp high beams are
switched on.
To turn off the high beam headlamp,
pull the lever towards you. The low
beams will turn on.
i
OLF044086LOLF044087L
OLF044192L
Do not use high beam when there
are other vehicles approaching
you. Using high beam could
obstruct the other driver's vision.
WARNING
Page 196 of 665
3-100
Convenient features of your vehicle
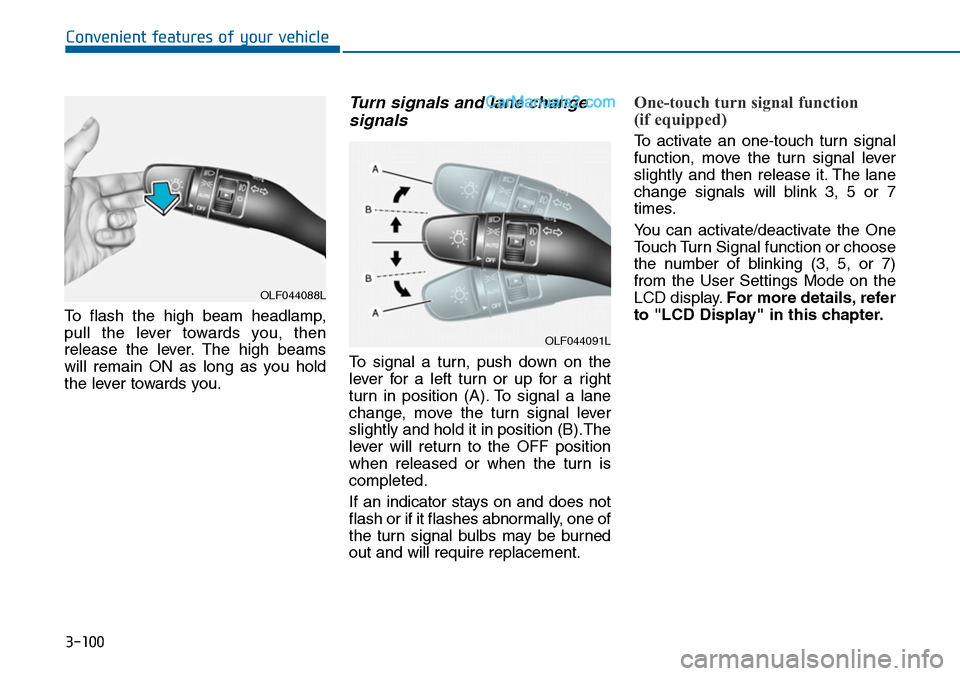
To flash the high beam headlamp,
pull the lever towards you, then
release the lever. The high beams
will remain ON as long as you hold
the lever towards you.
Turn signals and lane change
signals
To signal a turn, push down on the
lever for a left turn or up for a right
turn in position (A). To signal a lane
change, move the turn signal lever
slightly and hold it in position (B).The
lever will return to the OFF position
when released or when the turn is
completed.
If an indicator stays on and does not
flash or if it flashes abnormally, one of
the turn signal bulbs may be burned
out and will require replacement.
One-touch turn signal function
(if equipped)
To activate an one-touch turn signal
function, move the turn signal lever
slightly and then release it. The lane
change signals will blink 3, 5 or 7
times.
Yo u c a n a c t i v a t e / d e a c t i v a t e t h e O n e
Touch Turn Signal function or choose
the number of blinking (3, 5, or 7)
from the User Settings Mode on the
LCD display.For more details, refer
to "LCD Display" in this chapter.
OLF044088L
OLF044091L
Page 197 of 665
3-101
Convenient features of your vehicle
3
Front fog lamp (if equipped)
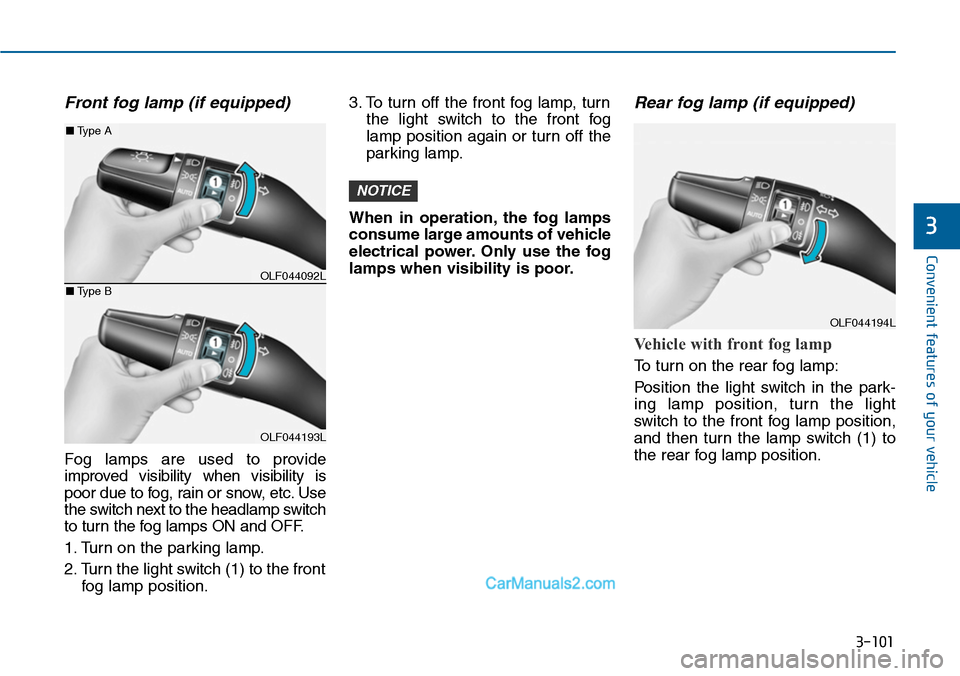
Fog lamps are used to provide
improved visibility when visibility is
poor due to fog, rain or snow, etc. Use
the switch next to the headlamp switch
to turn the fog lamps ON and OFF.
1. Turn on the parking lamp.
2. Turn the light switch (1) to the front
fog lamp position.
3. To turn off the front fog lamp, turn
the light switch to the front fog
lamp position again or turn off the
parking lamp.
When in operation, the fog lamps
consume large amounts of vehicle
electrical power. Only use the fog
lamps when visibility is poor.
Rear fog lamp (if equipped)
Vehicle with front fog lamp
To turn on the rear fog lamp:
Position the light switch in the par k-
ing lamp position, turn the light
switch to the front fog lamp position,
and then turn the lamp switch (1) to
the rear fog lamp position.
NOTICE
OLF044092L
OLF044193L
■Type A
■Type B
OLF044194L
Page 198 of 665
3-102
Convenient features of your vehicle
Vehicle without front fog lamp
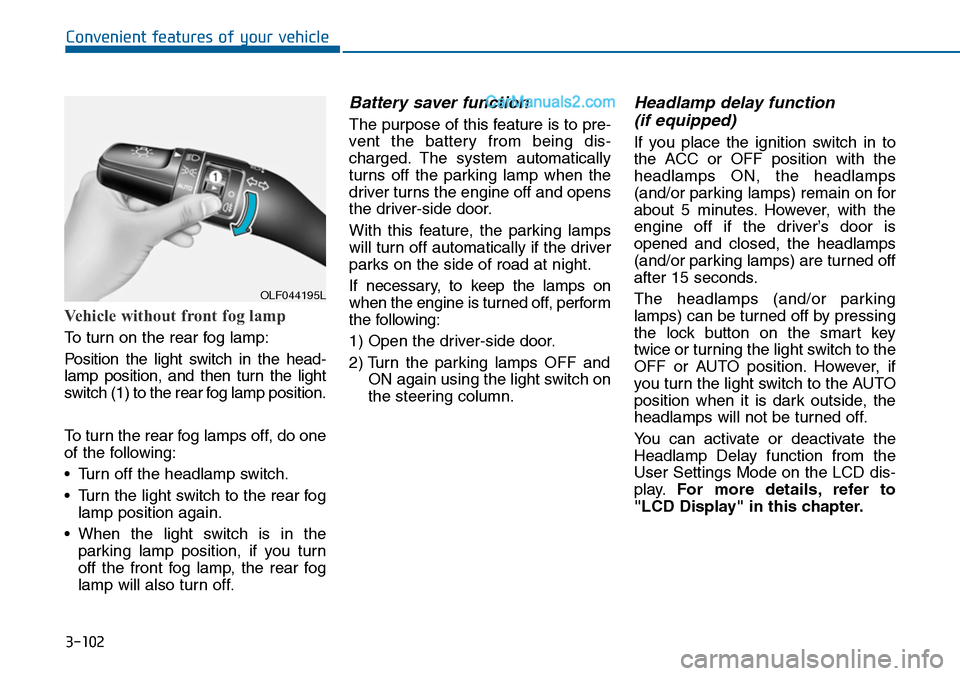
To turn on the rear fog lamp:
Position the light switch in the head-
lamp position, and then turn the light
switch (1) to the rear fog lamp position.
To turn the rear fog lamps off, do one
of the following:
•Turn off the headlamp switch.
•Turn the light switch to the rear fog
lamp position again.
•When the light switch is in the
parking lamp position, if you turn
off the front fog lamp, the rear fog
lamp will also turn off.
Battery saver function
The purpose of this feature is to pre-
vent the batter y from being dis-
charged. The system automatically
turns off the parking lamp when the
driver turns the engine off and opens
the driver-side door.
With this feature, the parking lamps
will turn off automatically if the driver
parks on the side of road at night.
If necessary, to keep the lamps on
when the engine is turned off, perform
the following:
1) Open the driver-side door.
2) Turn the parking lamps OFF and
ON again using the light switch on
the steering column.
Headlamp delay function
(if equipped)
If you place the ignition switch in to
the ACC or OFF position with the
headlamps ON, the headlamps
(and/or parking lamps) remain on for
about 5 minutes. However, with the
engine off if the driver’s door is
opened and closed, the headlamps
(and/or parking lamps) are turned off
after 15 seconds.
The headlamps (and/or parking
lamps) can be turned off by pressing
the lock button on the smart key
twice or turning the light switch to the
OFF or AUTO position. However, if
you turn the light switch to the AUTO
position when it is dark outside, the
headlamps will not be turned off.
Yo u c a n a c t i v a t e o r d e a c t i v a t e t h e
Headlamp Delay function from the
User Settings Mode on the LCD dis-
play.For more details, refer to
"LCD Display" in this chapter.
OLF044195L
Page 199 of 665
3-103
Convenient features of your vehicle
3
If the driver gets out of the vehicle
through other doors (except dri-
ver's door), the battery saver func-
tion does not operate and the
headlamp delay function does not
turn off automatically. Therefore, It
causes the battery to be dis-
charged. In this case, make sure to
turn off the lamp before getting out
of the vehicle.
Daytime running light (DRL)
(if equipped)
The Daytime Running Lights (DRL)
can make it easier for others to see
the front of your vehicle during the
day, especially after dawn and before
sunset.
The DRL system will turn the dedi-
cated lamp OFF when:
1. The headlights or front fog lights
are in the ON position.
2. The parking switch is in the ON
position.
3. The engine is turned off.
Headlight leveling device
(if equipped)
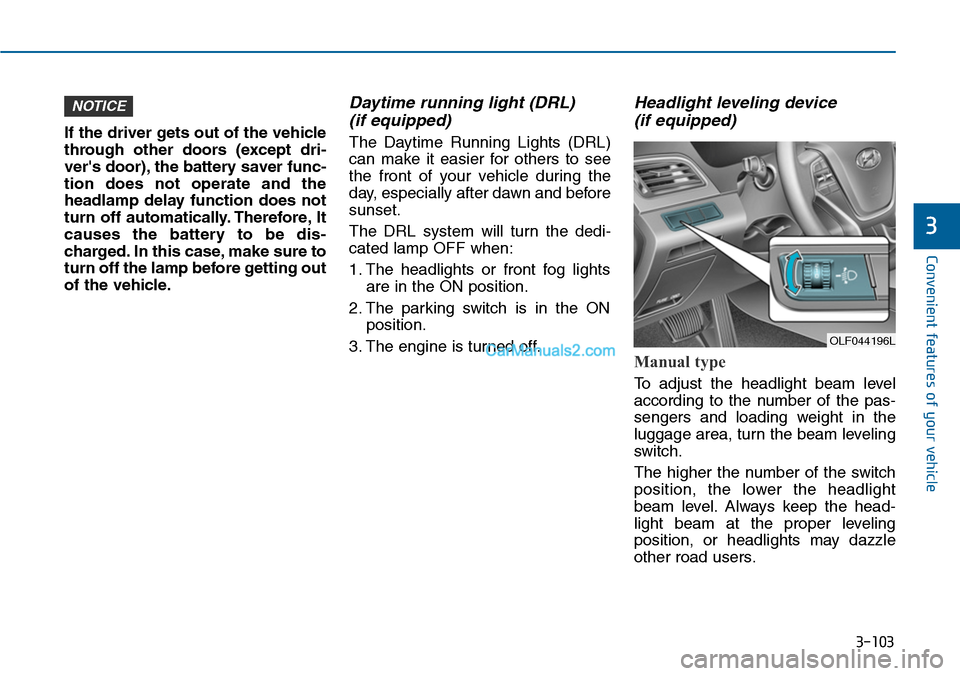
Manual type
To adjust the headlight beam level
according to the number of the pas-
sengers and loading weight in the
luggage area, turn the beam leveling
switch.
The higher the number of the switch
position, the lower the headlight
beam level. Always keep the head-
light beam at the proper leveling
position, or headlights may dazzle
other road users.
NOTICE
OLF044196L
Page 200 of 665
3-104
Convenient features of your vehicle
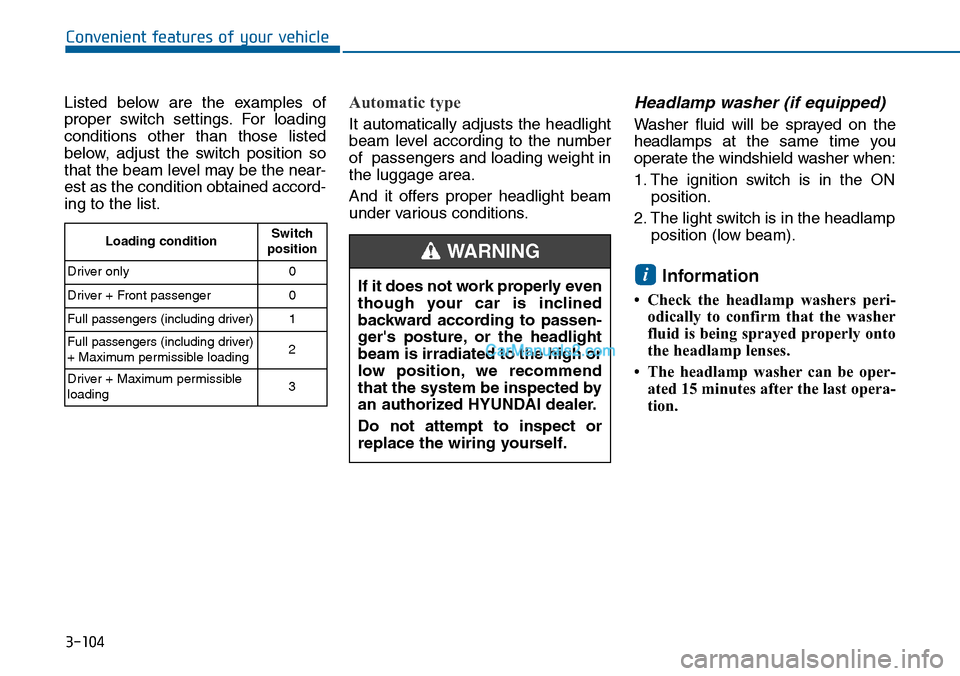
Listed below are the examples of
proper switch settings. For loading
conditions other than those listed
below, adjust the switch position so
that the beam level may be the near-
est as the condition obtained accord-
ing to the list.
Automatic type
It automatically adjusts the headlight
beam level according to the number
of passengers and loading weight in
the luggage area.
And it offers proper headlight beam
under various conditions.
Headlamp washer (if equipped)
Washer fluid will be sprayed on the
headlamps at the same time you
operate the windshield washer when:
1. The ignition switch is in the ON
position.
2. The light switch is in the headlamp
position (low beam).
Information
• Check the headlamp washers peri-
odically to confirm that the washer
fluid is being sprayed properly onto
the headlamp lenses.
• The headlamp washer can be oper-
ated 15 minutes after the last opera-
tion.
i
Loading conditionSwitchposition
Driver only 0
Driver + Front passenger 0
Full passengers (including driver) 1
Full passengers (including driver)+ Maximum permissible loading2
Driver + Maximum permissibleloading 3
If it does not work properly even
though your car is inclined
backward according to passen-
ger's posture, or the headlight
beam is irradiated to the high or
low position, we recommend
that the system be inspected by
an authorized HYUNDAI dealer.
Do not attempt to inspect or
replace the wiring yourself.
WARNING