buttons HYUNDAI SONATA 2023 Owners Manual
[x] Cancel search | Manufacturer: HYUNDAI, Model Year: 2023, Model line: SONATA, Model: HYUNDAI SONATA 2023Pages: 555, PDF Size: 42.72 MB
Page 93 of 555
04
4 -7
Information
• The fuel tank capacity is given in
chapter 2.
• The fuel gauge is supplemented by a low fuel warning light, which will illuminate when the fuel tank is nearly
empty.
• On inclines or curves, the fuel gauge
pointer may fluctuate or the low fuel
warning light may come on earlier than usual due to the movement of fuel in the tank.
WARNING
Running out of fuel can expose vehicle
occupants to danger.
You must stop and obtain additional
fuel as soon as possible after the
warning light comes on or when the
gauge indicator comes close to the "E
(Empty)" level.
NOTICE
Avoid driving with an extremely low
fuel level. Running out of fuel could
cause the engine to misfire and damage
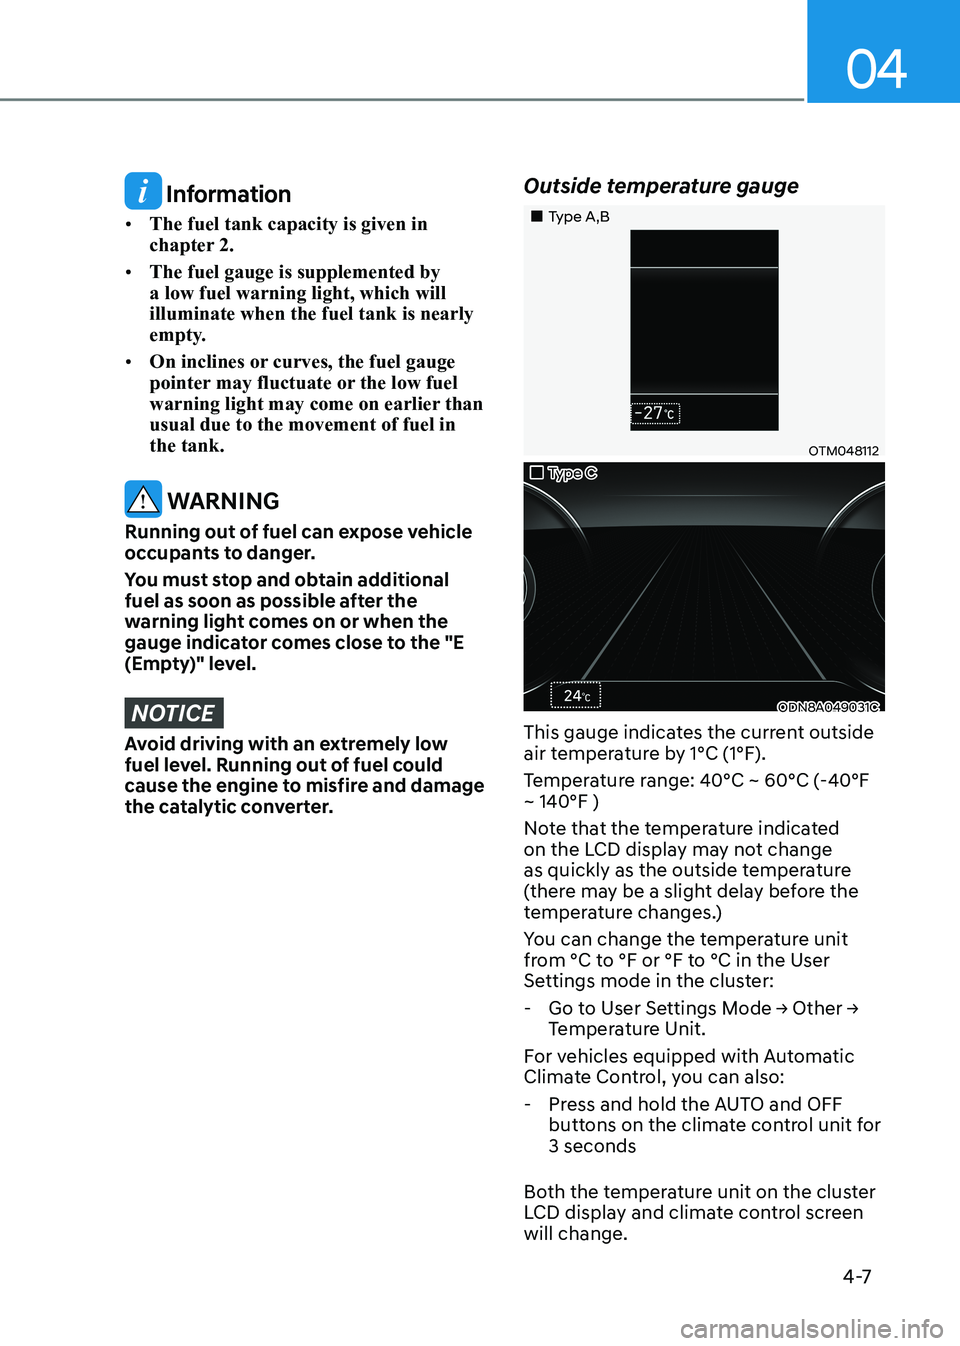
the catalytic converter. Outside temperature gauge
„„Type A,B
OTM048112
„„Type C
ODN8A049031C
This gauge indicates the current outside
air temperature by 1°C (1°F).
Temperature range: 40°C ~ 60°C (-40°F ~ 140°F )
Note that the temperature indicated
on the LCD display may not change
as quickly as the outside temperature
(there may be a slight delay before the
temperature changes.)
You can change the temperature unit
from °C to °F or °F to °C in the User
Settings mode in the cluster:
- Go to User Settings Mode → Other →
Temperature Unit.
For vehicles equipped with Automatic
Climate Control, you can also: - Press and hold the AUTO and OFF buttons on the climate control unit for 3 seconds
Both the temperature unit on the cluster
LCD display and climate control screen will change.
Page 108 of 555
4-22
Instrument Cluster
LCD Display Control
ODN8A069203
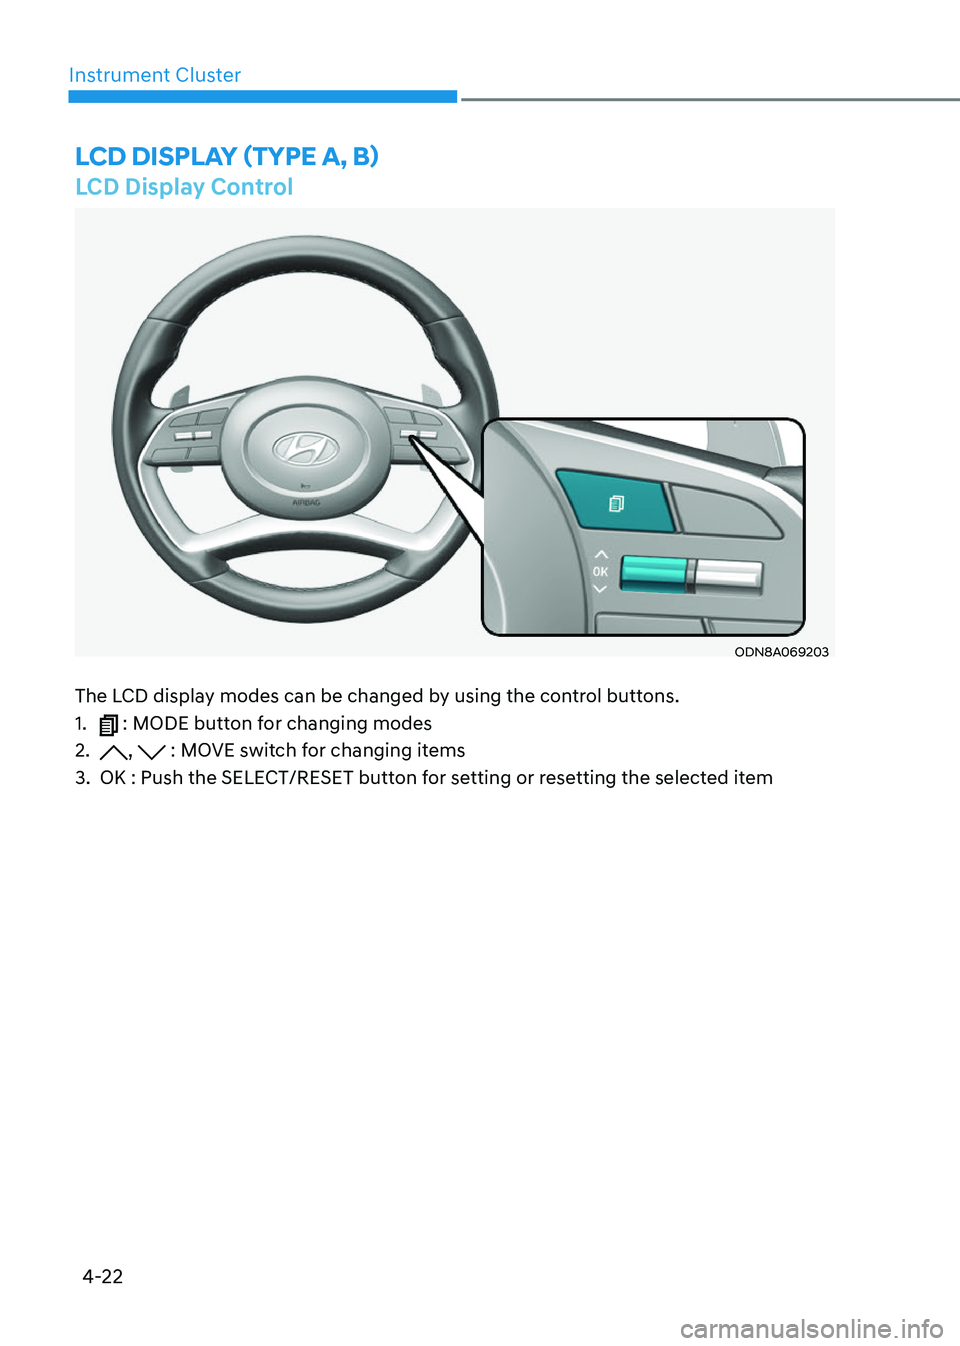
The LCD display modes can be changed by using the control buttons. 1.
: MODE button for changing modes
2.
, : MOVE switch for changing items
3. OK : Push the SELECT/RESET button for setting or resetting the selected item
LCD DispLay (TypE a, B)
Page 123 of 555
4-37
04
LCD Display Control
ODN8A069203
LCD DispLay (TypE C)
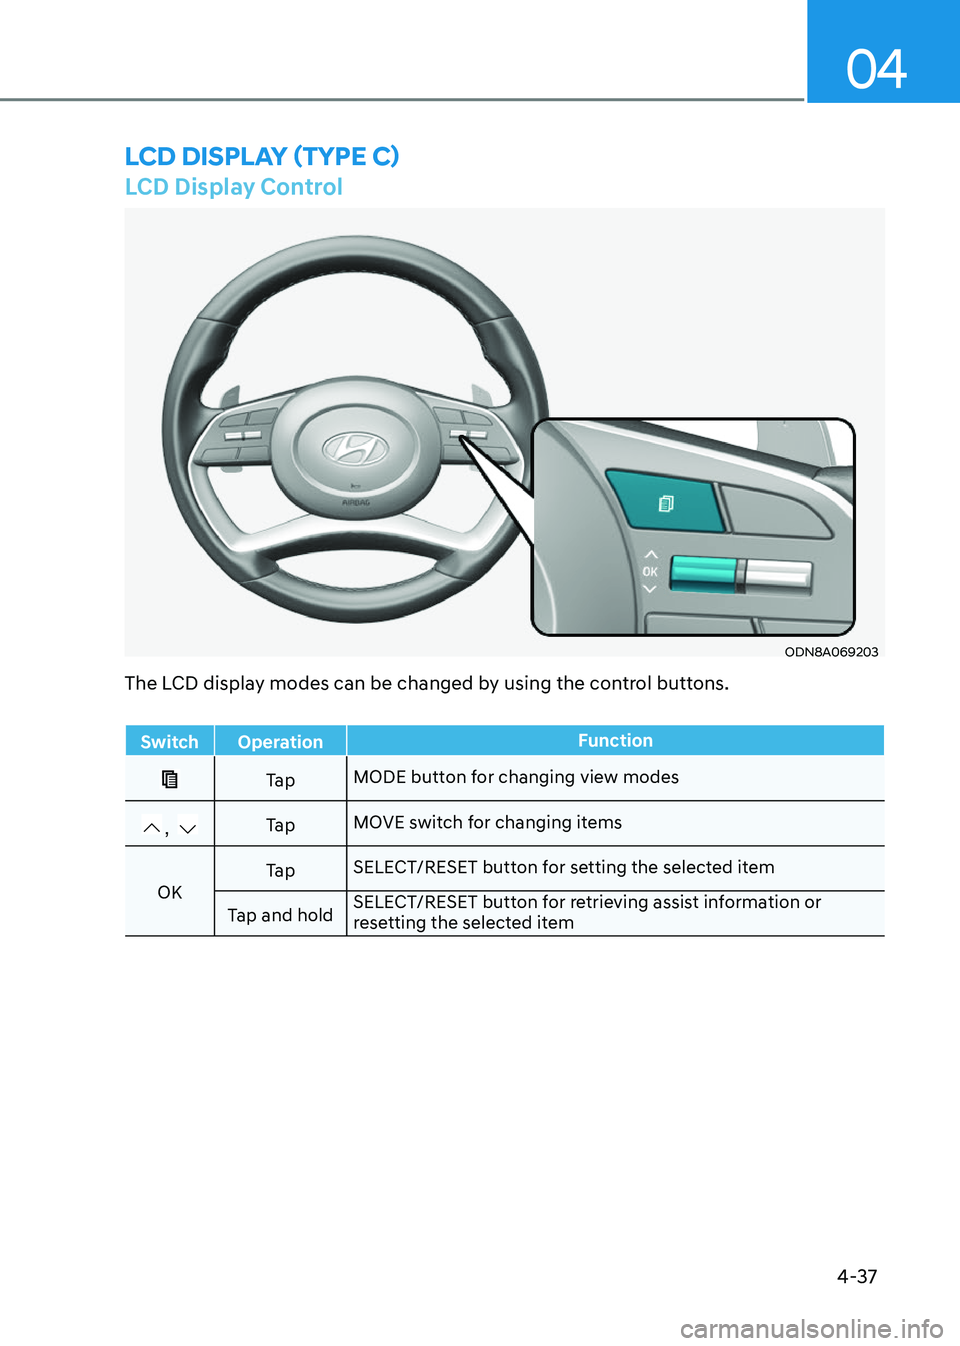
The LCD display modes can be changed by using the control buttons.
Switch OperationFunction
Ta pMODE button for changing view modes
, Ta p
MOVE switch for changing items
OK Ta p
SELECT/RESET button for setting the selected item
Tap and hold SELECT/RESET button for retrieving assist information or
resetting the selected item
Page 135 of 555
4-49
04
LCD Display Control
ODN8A069203
LCD DispLay (TypE D)
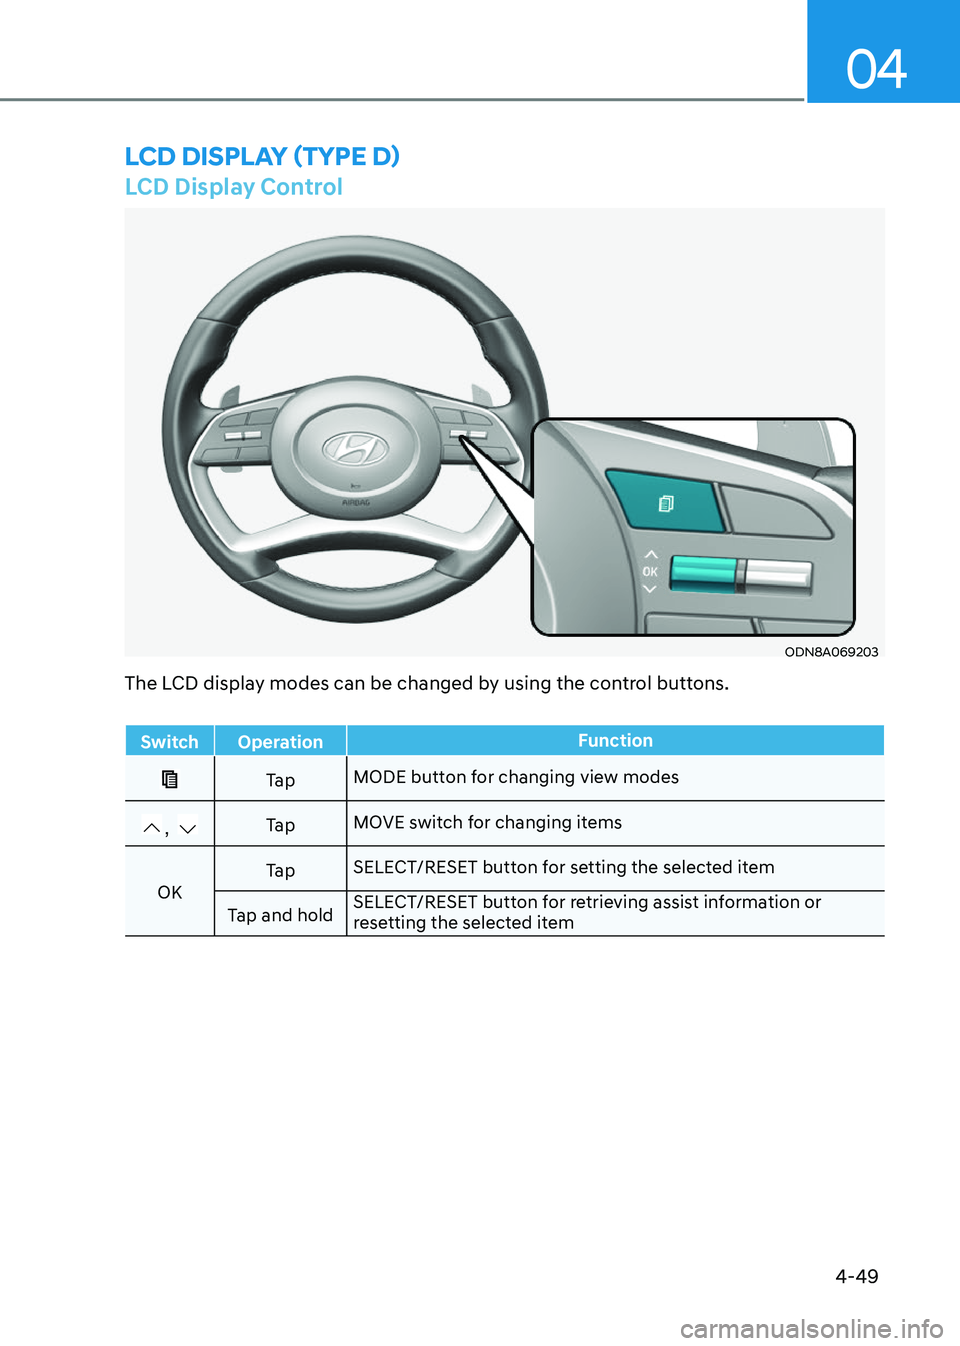
The LCD display modes can be changed by using the control buttons.
Switch OperationFunction
Ta pMODE button for changing view modes
, Ta p
MOVE switch for changing items
OK Ta p
SELECT/RESET button for setting the selected item
Tap and hold SELECT/RESET button for retrieving assist information or
resetting the selected item
Page 156 of 555
Convenience Features
5-10
Two Press Unlock Feature
The priority for unlocking the driver door
only, or unlocking all the doors with
one press may be adjusted in the User
Settings mode in the cluster LCD display.
The Two Press Unlock feature, when
enabled, will require the user to press
the door unlock button once for driver
door only and twice for unlocking all the
doors.
Select or Deselect the Two Press Unlock
feature in the User Settings mode in the
cluster LCD display. The option can be
found under the following menu:
User Settings → Door → Two Press Unlock
The Two Press Unlock feature can also be
enabled or disabled by pressing the door
lock and unlock buttons simultaneously
on the Key FOB:
Press and hold both the Door Lock
button and the Door Unlock button
simultaneously until the hazard warning
lights blink.
This will enable or disable the Two Press
Unlock feature. Repeat this procedure to enable/disable the mode again.
Information
If you press the front passenger outside
door handle with the smart key in your possession, all the doors will unlock. Smart Key Reminder
If the smart key is in the vehicle and
any door is opened, the doors will not
lock even though the lock button of the
central door lock switch is pressed.
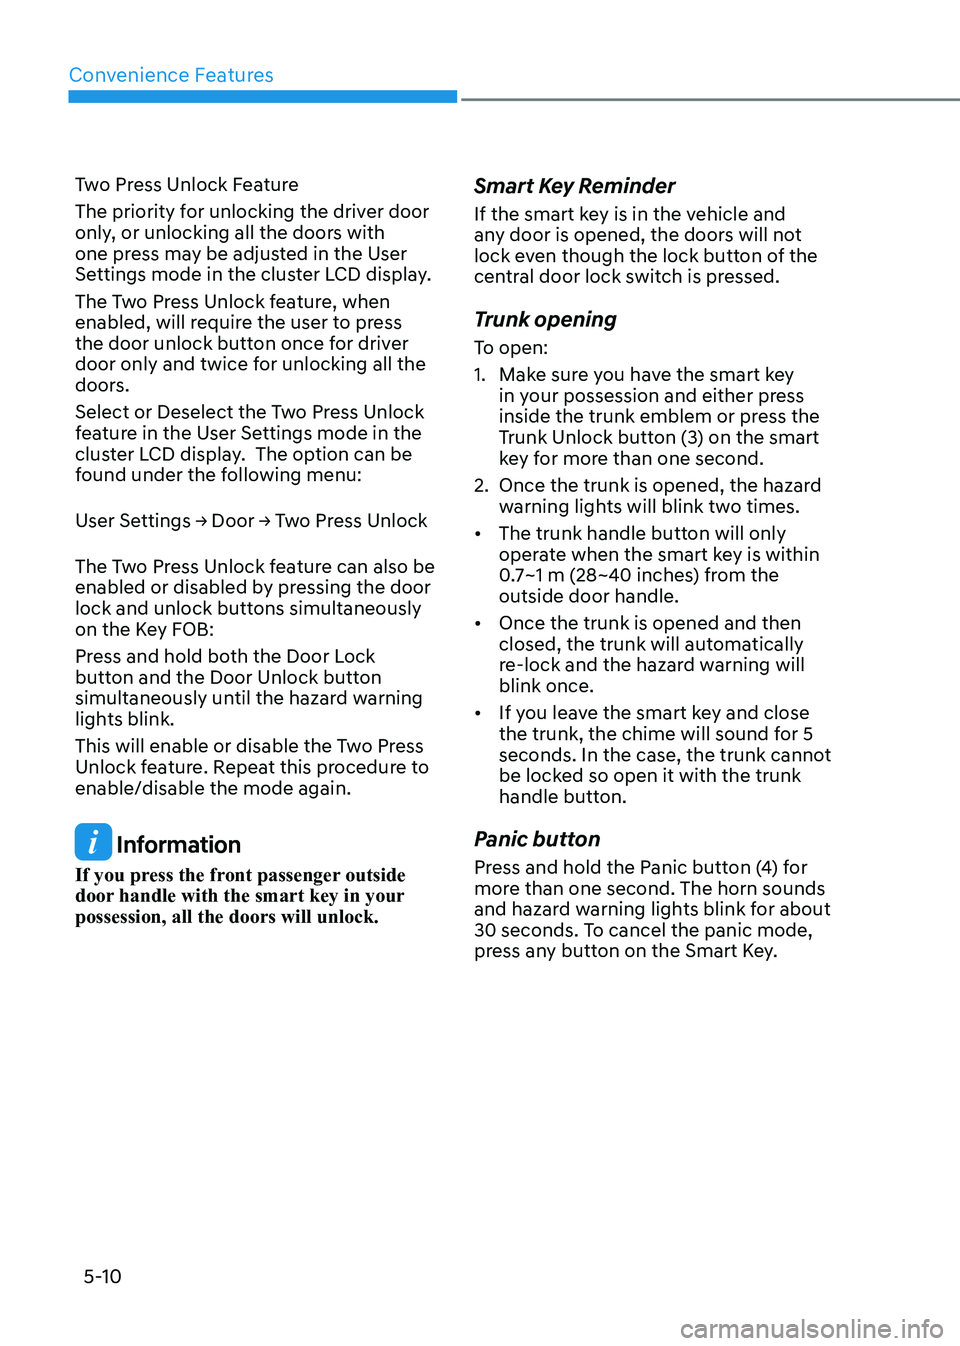
Trunk opening
To open:
1. Make sure you have the smart key
in your possession and either press
inside the trunk emblem or press the
Trunk Unlock button (3) on the smart
key for more than one second.
2. Once the trunk is opened, the hazard warning lights will blink two times.
• The trunk handle button will only
operate when the smart key is within
0.7~1 m (28~40 inches) from the outside door handle.
• Once the trunk is opened and then
closed, the trunk will automatically
re-lock and the hazard warning will blink once.
• If you leave the smart key and close
the trunk, the chime will sound for 5
seconds. In the case, the trunk cannot
be locked so open it with the trunk
handle button.
Panic button
Press and hold the Panic button (4) for
more than one second. The horn sounds
and hazard warning lights blink for about
30 seconds. To cancel the panic mode,
press any button on the Smart Key.
Page 157 of 555
05
5-11
Start-up
You can start the vehicle without
inserting the key.
For information, refer to the “Engine
Start/Stop Button” section in chapter 6.
NOTICE
To prevent damaging the smart key: • Keep the smart key in a cool,
dry place to avoid damage or
malfunction. Exposure to moisture
or high temperature may cause
the internal circuit of the smart key
to malfunction which may not be
covered under warranty.
• Avoid dropping or throwing the
smart key.
• Protect the smart key from extreme
temperatures. Remote start
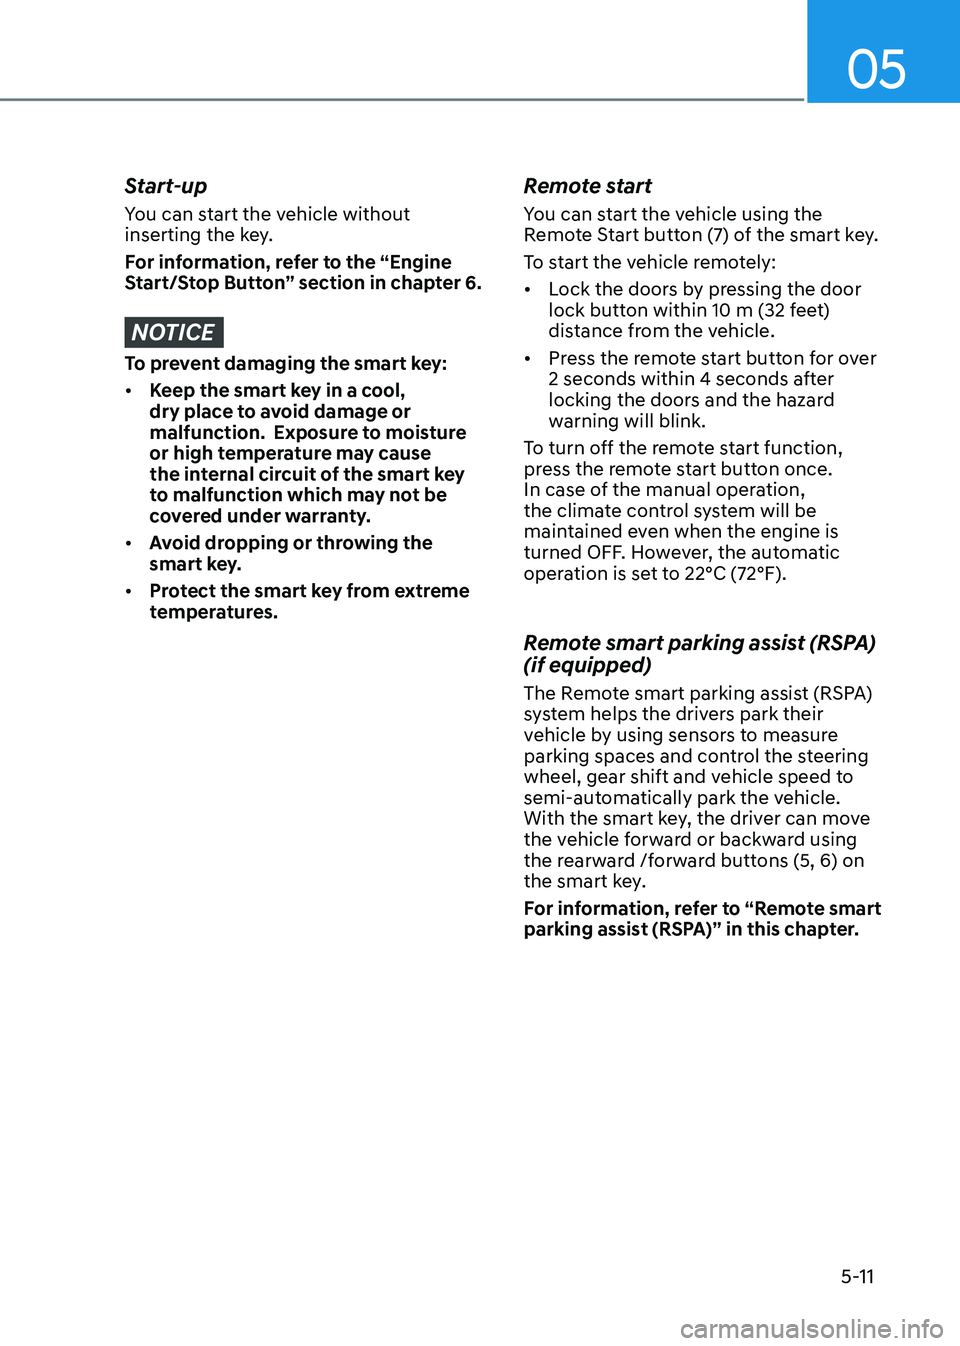
You can start the vehicle using the
Remote Start button (7) of the smart key.
To start the vehicle remotely:•
Lock the doors by pressing the door
lock button within 10 m (32 feet)
distance from the vehicle.
• Press the remote start button for over
2 seconds within 4 seconds after
locking the doors and the hazard
warning will blink.
To turn off the remote start function,
press the remote start button once.
In case of the manual operation,
the climate control system will be
maintained even when the engine is
turned OFF. However, the automatic
operation is set to 22°C (72°F).
Remote smart parking assist (RSPA) (if equipped)
The Remote smart parking assist (RSPA)
system helps the drivers park their
vehicle by using sensors to measure
parking spaces and control the steering
wheel, gear shift and vehicle speed to
semi-automatically park the vehicle.
With the smart key, the driver can move
the vehicle forward or backward using
the rearward /forward buttons (5, 6) on
the smart key.
For information, refer to “Remote smart
parking assist (RSPA)” in this chapter.
Page 170 of 555
Convenience Features
5-24
Driver poSiTion memory SySTem (if eQUippeD)
ODN8A059019
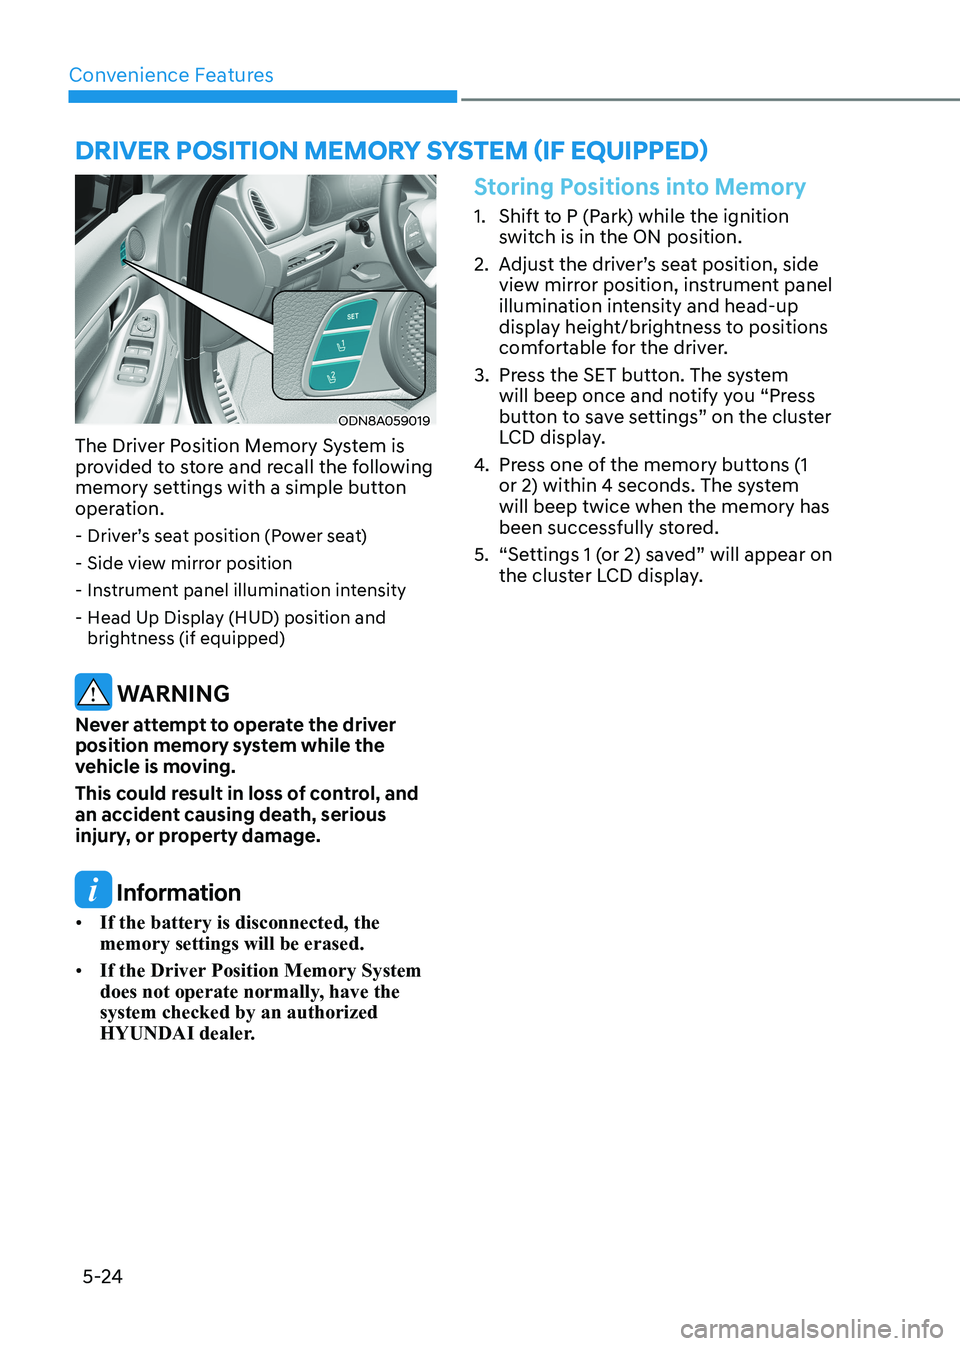
The Driver Position Memory System is
provided to store and recall the following
memory settings with a simple button
operation. - Driver’s seat position (Power seat)
- Side view mirror position
- Instrument panel illumination intensity
- Head Up Display (HUD) position and brightness (if equipped)
WARNING
Never attempt to operate the driver
position memory system while the
vehicle is moving.
This could result in loss of control, and
an accident causing death, serious
injury, or property damage.
Information
• If the battery is disconnected, the memory settings will be erased.
• If the Driver Position Memory System
does not operate normally, have the system checked by an authorized
HYUNDAI dealer.
Storing Positions into Memory
1. Shift to P (Park) while the ignition
switch is in the ON position.
2. Adjust the driver’s seat position, side view mirror position, instrument panel
illumination intensity and head-up
display height/brightness to positions
comfortable for the driver.
3. Press the SET button. The system will beep once and notify you “Press
button to save settings” on the cluster
LCD display.
4. Press one of the memory buttons (1
or 2) within 4 seconds. The system will beep twice when the memory has
been successfully stored.
5. “Settings 1 (or 2) saved” will appear on the cluster LCD display.
Page 171 of 555
05
5-25
Recalling Positions from Memory
1. Shift to P (Park) while the ignition switch is in the ON position.
2. Press the desired memory button (1 or 2). The system will beep once,
and then the driver’s seat position,
side view mirror position, instrument
panel illumination intensity and
head-up display height/brightness
will automatically adjust to the stored positions.
3. “Settings 1 (or 2) applied” will appear on the cluster LCD display.
If your vehicle is equipped with
additional navigation, please refer to the
infotainment system manual separately supplied.
Information
• While recalling the “1” memory
position, pressing the SET or 1 button temporarily stops the adjustment of
the recalled memory position. Pressing
the 2 button recalls the “2” memory position.
• While recalling the “2” memory
position, pressing the SET or 2 button temporarily stops the adjustment of
the recalled memory position. Pressing
the 1 button recalls the “1” memory position.
• While recalling the stored positions,
pressing one of the control buttons
for the driver’s seat, side view mirror,
instrument panel illumination or head-up display will cause the movement of that component to stop and move in
the direction that the control button is
pressed.
Resetting the Driver’s Seat
Memory System
Take the following procedures to reset
the driver’s seat memory system, when it
does not operate properly.
To reset the driver’s seat memory
system
1. Place the ignition switch to the ON
position, shift to P (Park), and open
the driver’s door.
2. Operate the control switch to set the driver’s seat and seatback to the
foremost position.
3. Simultaneously press the SET button and push forward the seat movement
switch over 2 seconds.
While resetting the driver’s seat
memory system
1. It starts with the notification sound.
2. The driver’s seat and seatback is adjusted to the rearward position with
the notification sound.
3. The driver’s seat and seatback is re-adjusted to the default position
(central position) with the notification sound.
However, in the following cases, the
resetting procedure and the notification
sound may stop.
- The memory button is pressed.
- The control switch is operated.
- The gear is shifted out of P (Park) .
- The driving speed exceeds 3 km/h (2 mph).
- The driver’s door is closed.
Page 179 of 555
05
5-33
Automatic-Dimming Night Vision Safety™ (NVS®
) Mirror (if equipped)
The NVS® Mirror automatically reduces
glare by monitoring light levels in the
front and the rear of the vehicle. Any
object that obstructs either light sensor
will degrade the automatic dimming
control feature.
For more information regarding NVS®
mirrors and other applications, please
refer to the Gentex website:
www.gentex.com
Your mirror will automatically dim
upon detecting glare from the vehicles
traveling behind you.
The mirror defaults to the ON position
each time the vehicle is started. Integrated HomeLink ®
Wireless Control
System
The HomeLink® Wireless Control System
can replace up to three hand-held
radio-frequency (RF) transmitters with
a single built-in device. This innovative
feature will learn the radio frequency
codes of most current transmitters to
operate devices such as gate operators,
garage door openers, entry door locks,
security systems, even home lighting.
Both standard and rolling code-equipped
transmitters can be programmed by
following the outlined procedures.
Additional HomeLink® information can
be found at: www.homelink.com, www.
youtube.com/HomeLinkGentex or by
calling 1-800-355-3515.
Retain the original transmitter of the
RF device you are programming for use
in other vehicles as well as for future
HomeLink® programming. It is also
suggested that upon the sale of the
vehicle, the programmed HomeLink®
buttons be erased for security purposes.
WARNING
Before programming HomeLink® to a
garage door opener or gate operator,
make sure people and objects are out
of the way of the device to prevent
potential harm or damage. Do not
use the HomeLink® with any garage
door opener that lacks the safety
stop and reverse features required by
federal safety standards (this includes
any garage door opener model
manufactured before April 1, 1982).
A garage door that cannot detect an
object - signaling the door to stop
and reverse does not meet current
federal safety standards.Using a garage
door opener without these features
increases the risk of serious injury or
death.
Programming HomeLink ®
Please note the following:
• When programming a garage door opener, it is advised to park the
vehicle outside of the garage.
• It is recommended that a new battery be placed in the hand-held transmitter
of the device being programmed to
HomeLink® for quicker training and
accurate transmission of the radio-
frequency signal.
• Some vehicles may require the Engine Start/Stop button to be in the
ACC (or “Accessories”) position for
programming and/or operation of
HomeLink®.
• In the event that there are still programming difficulties or questions
after following the programming steps
listed below, contact HomeLink® at:
www.homelink.com, www.youtube.
com/HomeLinkGentex or by calling
1-800-355-3515.
Page 181 of 555
05
5-35
7. Return to the vehicle and firmly press,
hold for two seconds and release the
HomeLink button up to three times.
Do not press the HomeLink button
rapidly. At this point programming
is complete and your device should
operate when the HomeLink button is
pressed and released.
Information
• Some garage door openers require to
press the programmed button on the
mirror up to three times right after
the programming is just completed to
operate the garage door.
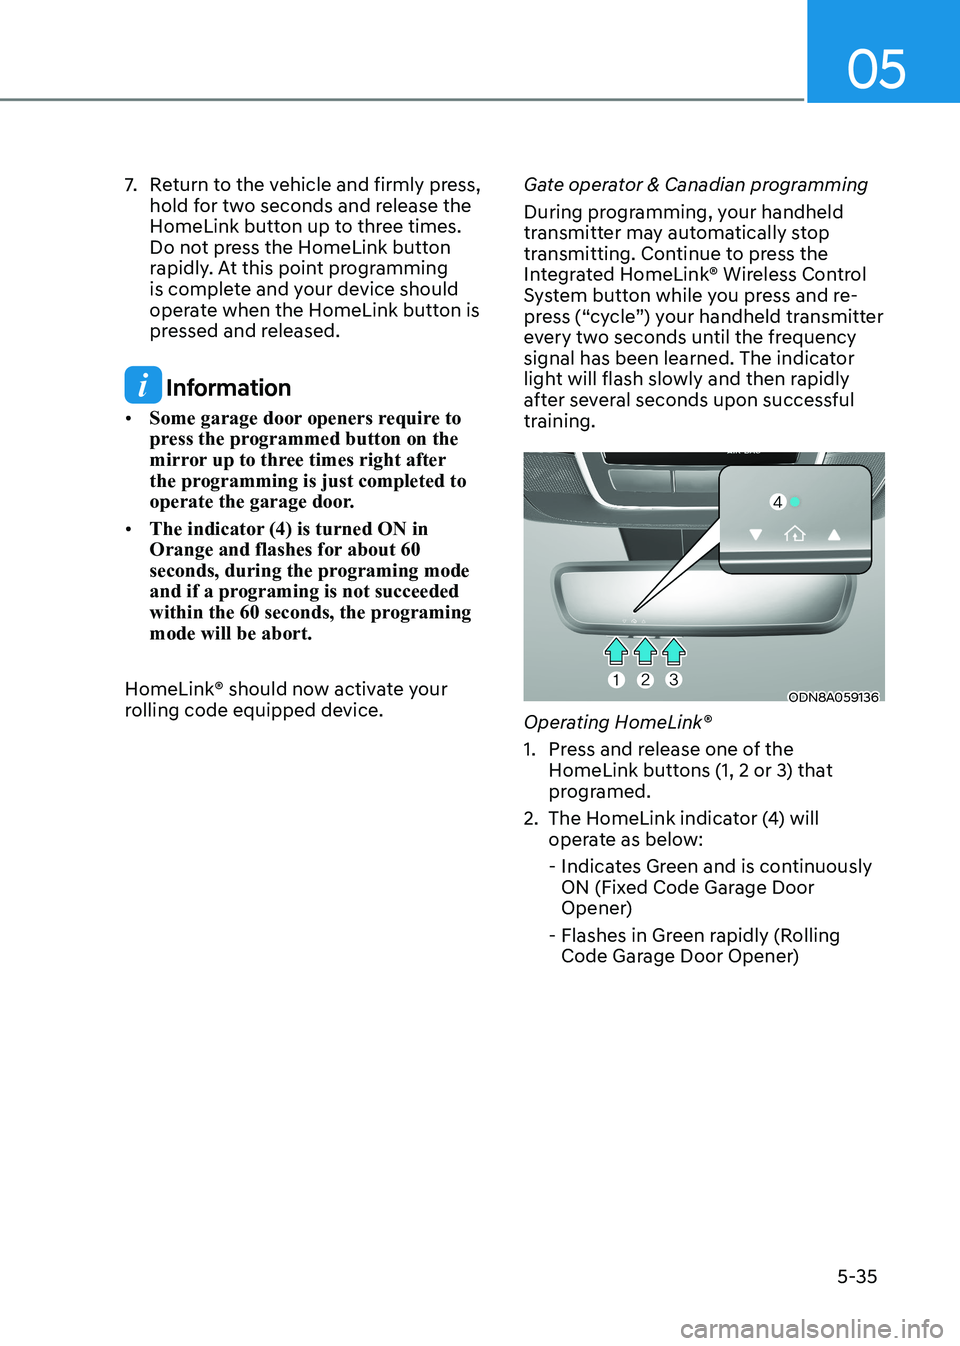
• The indicator (4) is turned ON in
Orange and flashes for about 60
seconds, during the programing mode
and if a programing is not succeeded
within the 60 seconds, the programing mode will be abort.
HomeLink® should now activate your
rolling code equipped device. Gate operator & Canadian programming
During programming, your handheld
transmitter may automatically stop
transmitting. Continue to press the
Integrated HomeLink® Wireless Control
System button while you press and re-
press (“cycle”) your handheld transmitter
every two seconds until the frequency
signal has been learned. The indicator
light will flash slowly and then rapidly
after several seconds upon successful
training.
ODN8A059136
Operating HomeLink®
1. Press and release one of the HomeLink buttons (1, 2 or 3) that
programed.
2. The HomeLink indicator (4) will operate as below:
- Indicates Green and is continuously ON (Fixed Code Garage Door
Opener)
- Flashes in Green rapidly (Rolling Code Garage Door Opener)