jump start Hyundai Sonata Hybrid 2013 Owner's Manual
[x] Cancel search | Manufacturer: HYUNDAI, Model Year: 2013, Model line: Sonata Hybrid, Model: Hyundai Sonata Hybrid 2013Pages: 425, PDF Size: 36.95 MB
Page 261 of 425
519
Driving your vehicle
✽ ✽
NOTICE
When you jump start your vehicle
because of a drained battery, the engine
may not run as smoothly and the ABS
warning light may turn on at the same
time. This happens because of the low
battery voltage. It does not mean your
ABS is malfunctioning.
• Do not pump your brakes!
• Have the battery recharged before
driving the vehicle.
Electronic stability control (ESC)
The Electronic Stability control (ESC)
system is designed to stabilize the vehicle
during cornering maneuvers. ESC checks
where you are steering and where the
vehicle is actually going. ESC applies the
brakes at individual wheels and
intervenes in the engine management
system to stabilize the vehicle.
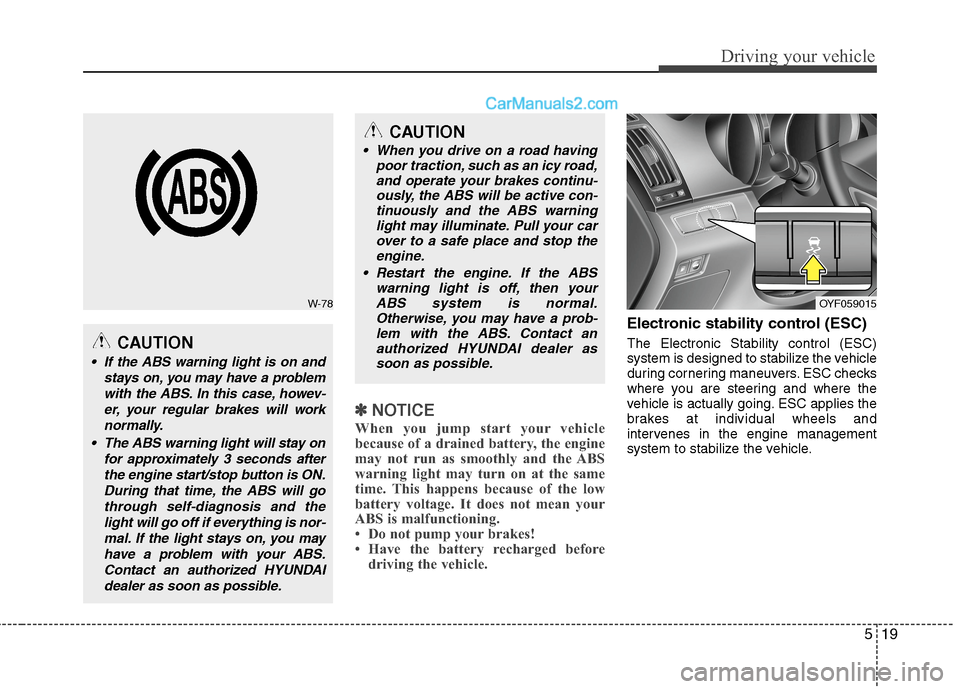
W-78
CAUTION
If the ABS warning light is on and
stays on, you may have a problem
with the ABS. In this case, howev-
er, your regular brakes will work
normally.
The ABS warning light will stay on
for approximately 3 seconds after
the engine start/stop button is ON.
During that time, the ABS will go
through self-diagnosis and the
light will go off if everything is nor-
mal. If the light stays on, you may
have a problem with your ABS.
Contact an authorized HYUNDAI
dealer as soon as possible.
CAUTION
When you drive on a road having
poor traction, such as an icy road,
and operate your brakes continu-
ously, the ABS will be active con-
tinuously and the ABS warning
light may illuminate. Pull your car
over to a safe place and stop the
engine.
Restart the engine. If the ABS
warning light is off, then your
ABS system is normal.
Otherwise, you may have a prob-
lem with the ABS. Contact an
authorized HYUNDAI dealer as
soon as possible.
OYF059015
Page 291 of 425
65
What to do in an emergency
1. If your vehicle has an automatic
transaxle, be sure the shift lever is in N
(Neutral) or P (Park) and the emer-
gency brake is set.
2. Check the 12 volt battery connections
to be sure they are clean and tight.
3. Turn on the interior light. If the light
dims or goes out when you operate the
starter, the battery is discharged.
4. Do not push or pull the vehicle to start
it. See instructions for "Jump starting".If engine turns over normally but
does not start
1. Check fuel level.
2. With the engine start/stop button in
the LOCK position, check all connec-
tors at ignition coils and spark plugs.
Reconnect any that may be discon-
nected or loose.
3. If the engine still does not start, call an
authorized HYUNDAI dealer or seek
other qualified assistance.
IF THE VEHICLE WILL NOT START
WARNING
If the vehicle will not start, do not
push or pull the vehicle to start it.
This could result in a collision or
cause other damage. In addition,
push or pull starting may cause the
catalytic converter to be over-
loaded and create a fire hazard.
Page 292 of 425
What to do in an emergency
6 6
EMERGENCY STARTING
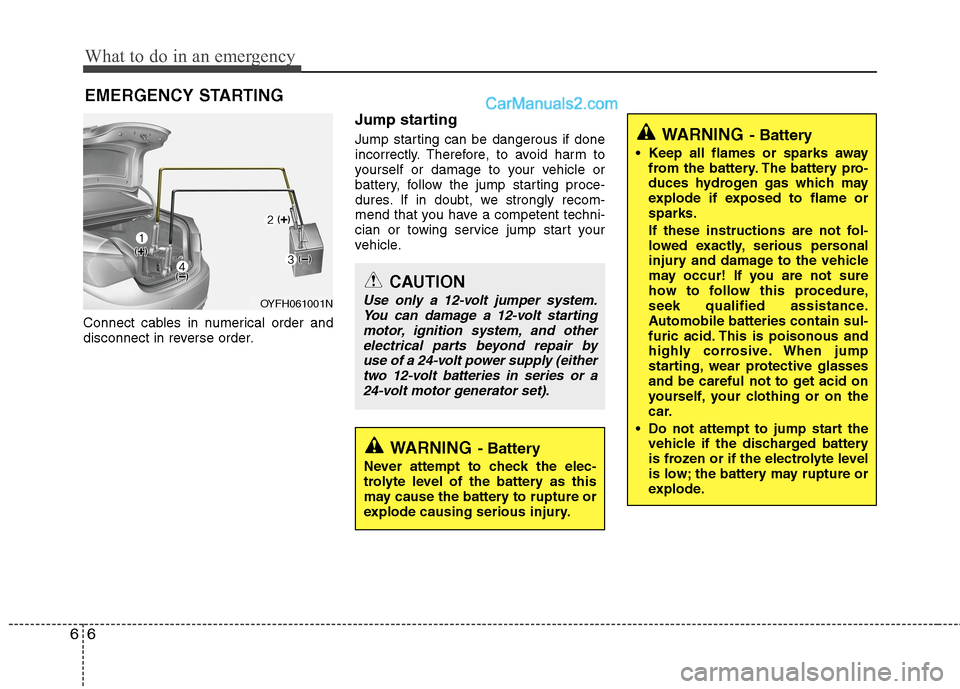
Connect cables in numerical order and
disconnect in reverse order.
Jump starting
Jump starting can be dangerous if done
incorrectly. Therefore, to avoid harm to
yourself or damage to your vehicle or
battery, follow the jump starting proce-
dures. If in doubt, we strongly recom-
mend that you have a competent techni-
cian or towing service jump start your
vehicle.
CAUTION
Use only a 12-volt jumper system.
You can damage a 12-volt starting
motor, ignition system, and other
electrical parts beyond repair by
use of a 24-volt power supply (either
two 12-volt batteries in series or a
24-volt motor generator set).
WARNING- Battery
Keep all flames or sparks away
from the battery. The battery pro-
duces hydrogen gas which may
explode if exposed to flame or
sparks.
If these instructions are not fol-
lowed exactly, serious personal
injury and damage to the vehicle
may occur! If you are not sure
how to follow this procedure,
seek qualified assistance.
Automobile batteries contain sul-
furic acid. This is poisonous and
highly corrosive. When jump
starting, wear protective glasses
and be careful not to get acid on
yourself, your clothing or on the
car.
Do not attempt to jump start the
vehicle if the discharged battery
is frozen or if the electrolyte level
is low; the battery may rupture or
explode.
WARNING- Battery
Never attempt to check the elec-
trolyte level of the battery as this
may cause the battery to rupture or
explode causing serious injury.
OYFH061001N
Page 293 of 425
67
What to do in an emergency
Jump starting procedure
1. Open the cover of battery in trunk room.
2. Make sure the booster battery is 12-
volt and that its negative terminal is
grounded.
3. If the booster battery is in another vehi-
cle, do not allow the vehicles to touch.
4. Turn off all unnecessary electrical loads.
5. Connect the jumper cables in the exact
sequence shown in the illustration.
First connect one end of a jumper
cable to the positive terminal of the
discharged battery (1), then connect
the other end to the positive terminal
on the booster battery (2). Proceed to
connect one end of the other jumper
cable to the negative terminal of the
booster battery (3), then the other end
to a solid, stationary, metallic point (for
example, the trunk latch) away from
the battery (4). Do not connect it to or
near any part that moves when the
engine is cranked.
Do not allow the jumper cables to con-
tact anything except the correct battery
terminals or the correct ground. Do not
lean over the battery when making
connections.6. Start the engine of the vehicle with the
booster battery and let it run at 2,000
rpm, then start the engine of the vehi-
cle with the discharged battery.
If the cause of your battery discharging is
not apparent, you should have your vehi-
cle checked by an authorized HYUNDAI
dealer.
Push-starting
Vehicles equipped with automatic
transaxles cannot be push-started.
Follow the directions in this section for
jump-starting.CAUTION- Battery cables
Do not connect the jumper cable
from the negative terminal of the
booster battery to the negative ter-
minal of the discharged battery.
This can cause the discharged bat-
tery to overheat and crack, releas-
ing battery acid.
WARNING
Never tow a vehicle to start it
because the sudden surge forward
when the engine starts could cause
a collision with the tow vehicle,
resulting in serious injury or death.
Page 349 of 425
735
Maintenance
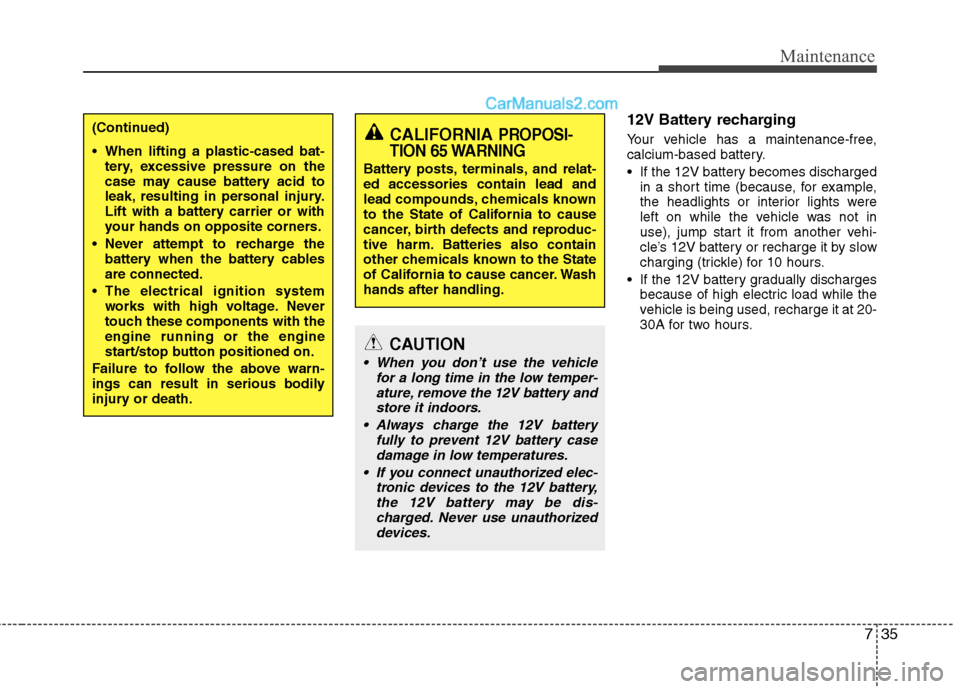
12V Battery recharging
Your vehicle has a maintenance-free,
calcium-based battery.
If the 12V battery becomes discharged
in a short time (because, for example,
the headlights or interior lights were
left on while the vehicle was not in
use), jump start it from another vehi-
cle’s 12V battery or recharge it by slow
charging (trickle) for 10 hours.
If the 12V battery gradually discharges
because of high electric load while the
vehicle is being used, recharge it at 20-
30A for two hours.CALIFORNIA PROPOSI-
TION 65 WARNING
Battery posts, terminals, and relat-
ed accessories contain lead and
lead compounds, chemicals known
to the State of California to cause
cancer, birth defects and reproduc-
tive harm. Batteries also contain
other chemicals known to the State
of California to cause cancer. Wash
hands after handling.
CAUTION
When you don’t use the vehicle
for a long time in the low temper-
ature, remove the 12V battery and
store it indoors.
Always charge the 12V battery
fully to prevent 12V battery case
damage in low temperatures.
If you connect unauthorized elec-
tronic devices to the 12V battery,
the 12V battery may be dis-
charged. Never use unauthorized
devices.
(Continued)
When lifting a plastic-cased bat-
tery, excessive pressure on the
case may cause battery acid to
leak, resulting in personal injury.
Lift with a battery carrier or with
your hands on opposite corners.
Never attempt to recharge the
battery when the battery cables
are connected.
The electrical ignition system
works with high voltage. Never
touch these components with the
engine running or the engine
start/stop button positioned on.
Failure to follow the above warn-
ings can result in serious bodily
injury or death.
Page 413 of 425
H11
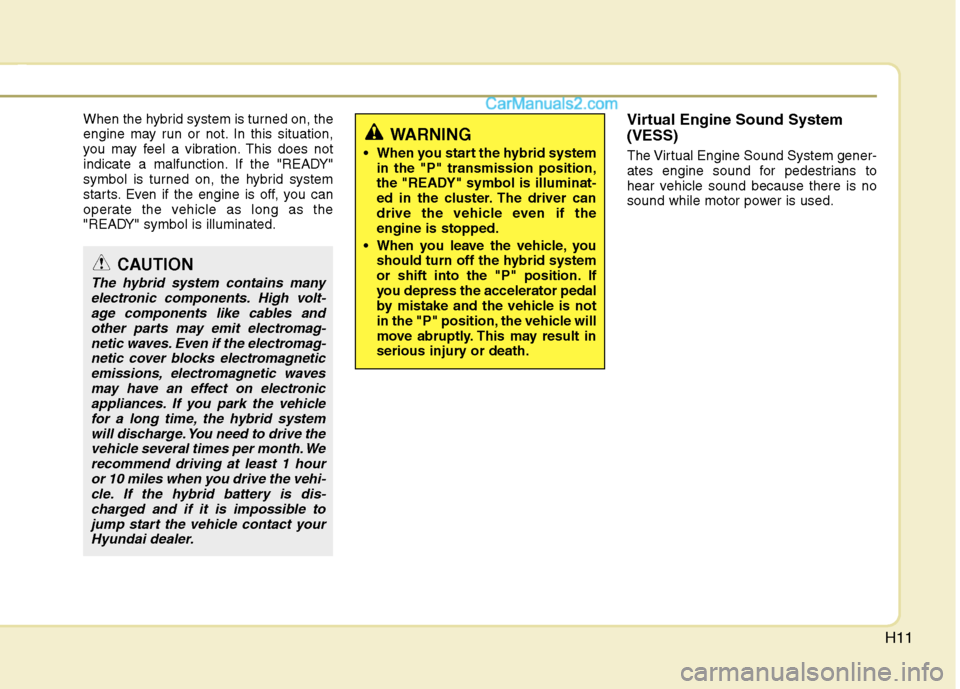
When the hybrid system is turned on, the
engine may run or not. In this situation,
you may feel a vibration. This does not
indicate a malfunction. If the "READY"
symbol is turned on, the hybrid system
starts. Even if the engine is off, you can
operate the vehicle as long as the
"READY" symbol is illuminated.Virtual Engine Sound System
(VESS)
The Virtual Engine Sound System gener-
ates engine sound for pedestrians to
hear vehicle sound because there is no
sound while motor power is used.
WARNING
When you start the hybrid system
in the "P" transmission position,
the "READY" symbol is illuminat-
ed in the cluster. The driver can
drive the vehicle even if the
engine is stopped.
When you leave the vehicle, you
should turn off the hybrid system
or shift into the "P" position. If
you depress the accelerator pedal
by mistake and the vehicle is not
in the "P" position, the vehicle will
move abruptly. This may result in
serious injury or death.
CAUTION
The hybrid system contains many
electronic components. High volt-
age components like cables and
other parts may emit electromag-
netic waves. Even if the electromag-
netic cover blocks electromagnetic
emissions, electromagnetic waves
may have an effect on electronic
appliances. If you park the vehicle
for a long time, the hybrid system
will discharge. You need to drive the
vehicle several times per month. We
recommend driving at least 1 hour
or 10 miles when you drive the vehi-
cle. If the hybrid battery is dis-
charged and if it is impossible to
jump start the vehicle contact your
Hyundai dealer.
Page 416 of 425
H14
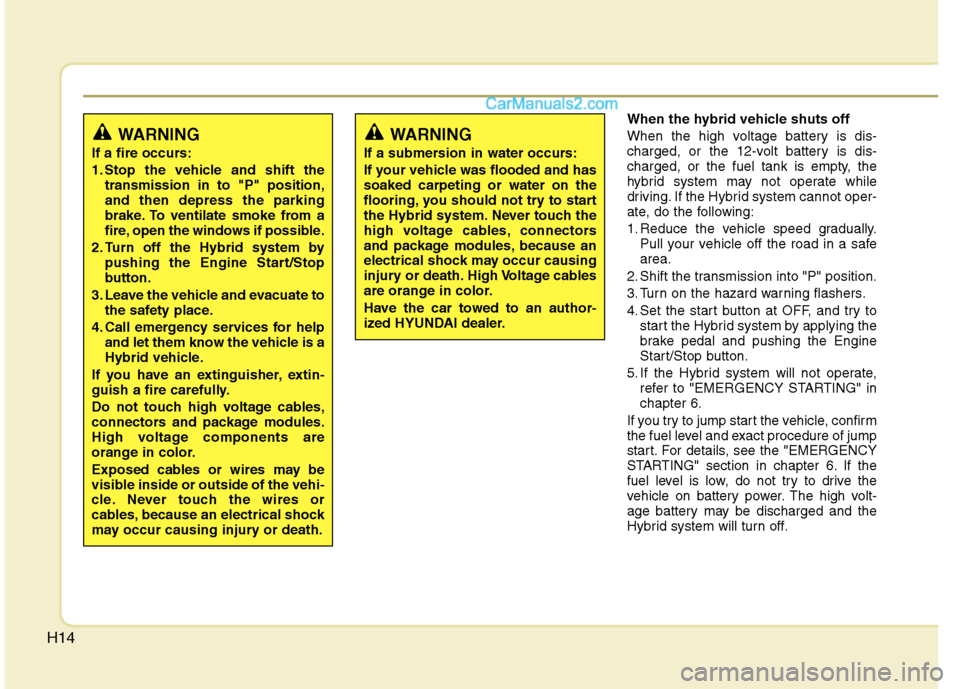
When the hybrid vehicle shuts off
When the high voltage battery is dis-
charged, or the 12-volt battery is dis-
charged, or the fuel tank is empty, the
hybrid system may not operate while
driving. If the Hybrid system cannot oper-
ate, do the following:
1. Reduce the vehicle speed gradually.
Pull your vehicle off the road in a safe
area.
2. Shift the transmission into "P" position.
3. Turn on the hazard warning flashers.
4. Set the start button at OFF, and try to
start the Hybrid system by applying the
brake pedal and pushing the Engine
Start/Stop button.
5. If the Hybrid system will not operate,
refer to "EMERGENCY STARTING" in
chapter 6.
If you try to jump start the vehicle, confirm
the fuel level and exact procedure of jump
start. For details, see the "EMERGENCY
STARTING" section in chapter 6. If the
fuel level is low, do not try to drive the
vehicle on battery power. The high volt-
age battery may be discharged and the
Hybrid system will turn off.
WARNING
If a fire occurs:
1. Stop the vehicle and shift the
transmission in to "P" position,
and then depress the parking
brake. To ventilate smoke from a
fire, open the windows if possible.
2. Turn off the Hybrid system by
pushing the Engine Start/Stop
button.
3. Leave the vehicle and evacuate to
the safety place.
4. Call emergency services for help
and let them know the vehicle is a
Hybrid vehicle.
If you have an extinguisher, extin-
guish a fire carefully.
Do not touch high voltage cables,
connectors and package modules.
High voltage components are
orange in color.
Exposed cables or wires may be
visible inside or outside of the vehi-
cle. Never touch the wires or
cables, because an electrical shock
may occur causing injury or death.
WARNING
If a submersion in water occurs:
If your vehicle was flooded and has
soaked carpeting or water on the
flooring, you should not try to start
the Hybrid system. Never touch the
high voltage cables, connectors
and package modules, because an
electrical shock may occur causing
injury or death. High Voltage cables
are orange in color.
Have the car towed to an author-
ized HYUNDAI dealer.
Page 420 of 425
Index
4I
ECO GUIDE gauge ·······················································4-43
Economical operation ····················································5-28
Electric chromic mirror (ECM) with HomeLink system··4-31
Electric power steering ··················································4-29
Electronic stability control (ESC) ·································5-19
Emergency starting ··························································6-6
Jump starting ·······························································6-6
Push starting ································································6-7
Emergency while driving·················································6-2
Emission control system ················································7-75
Crankcase emission control system ··························7-75
Evaporative emission control system························7-75
Exhaust emission control system ······························7-76
Engine ··············································································8-2
Engine compartment ················································2-4, 7-2
Engine compartment fuse ··············································7-52
Engine coolant ·······························································7-24
Engine number ·································································8-7
Engine oil ·······································································7-22
Engine overheats······························································6-8
Engine start/stop button ···················································5-5
Engine temperature gauge ·············································4-42
Engine will not start·························································6-5
Evaporative emission control system ····························7-75
Exhaust emission control system···································7-76
Explanation of scheduled maintenance items ···············7-19Exterior care···································································7-69
Flat tire (with spare tire) ················································6-14
Changing tires ···························································6-15
Compact spare tire ····················································6-20
Jack and tools ····························································6-14
Removing and storing the spare tire ·························6-15
Flat tire (with tire mobility kit) ·····································6-22
Components of the tire mobility kit ··························6-24
Technical data····························································6-27
Using the tire mobility kit ·········································6-25
Floor mat anchor(s) ······················································4-111
Fluid
Brakes fluid ·······························································7-27
Washer fluid ······························································7-28
Front passenger and rear seat 3-point system with
combination locking retractor ···································3-19
Front seat adjustment ·······················································3-4
Fuel filler lid ··································································4-22
Fuel gauge······································································4-43
Fuel requirements ····························································1-3
Fuse/relay panel description ··········································7-54
Fuses ··············································································7-50
Engine compartment fuse··········································7-52
Fuse/relay panel description······································7-54
Instrument panel fuse ················································7-51
Memory fuse ·····························································7-51
E
F
Page 422 of 425
Index
6I
Aux, USB and iPod port ·········································4-112
Clothes hanger ·························································4-111
Cup holder ·······························································4-108
Digital clock ····························································4-110
Floor mat anchor(s) ·················································4-111
Power outlet·····························································4-110
Sunvisor···································································4-109
Interior light ···································································4-78
Interior overview ·····························································2-2
Inverter coolant ······························································7-24
Jack and tools (with spare tire) ······································6-14
Jump starting····································································6-6
Label
Air bag warning label················································3-62
Tire sidewall labeling ················································7-43
Tire specification and pressure label···························8-8
Vehicle certification label············································8-7
Latch system, see lower anchor system ························3-33
Light bulbs ·····································································7-60
Lighting··········································································4-71
Battery saver function ···············································4-71
Lower anchor system ·····················································3-33
Lubricants and capacities·················································8-5Maintenance
Explanation of scheduled maintenance items ···········7-19
Maintenance services ··················································7-3
Maintenance under severe usage conditions ·············7-18
Normal maintenance schedule ····································7-8
Owner maintenance·····················································7-5
Scheduled maintenance service ··································7-7
Tire maintenance ·······················································7-42
Maintenance schedule······················································7-7
Maintenance under severe usage conditions ·············7-18
Normal maintenance schedule ····································7-8
Maintenance services ·······················································7-3
Memory fuse ··································································7-51
Mirrors ···········································································4-31
Day/night rearview mirror ········································4-31
Electric chromic mirror (ECM) with Homelink system ··4-31
Inside rearview mirror···············································4-31
Outside rearview mirror ············································4-38
Multi box ·····································································4-108
Multi fuse ·······································································7-53
Neck restraints, see headrest ··································3-7, 3-11
J
L
M
N