buttons Hyundai Sonata Plug-in Hybrid 2017 User Guide
[x] Cancel search | Manufacturer: HYUNDAI, Model Year: 2017, Model line: Sonata Plug-in Hybrid, Model: Hyundai Sonata Plug-in Hybrid 2017Pages: 744, PDF Size: 27.87 MB
Page 148 of 744
3-61
Convenient features of your vehicle
3
Instrument cluster control
Adjusting Instrument PanelIllumination
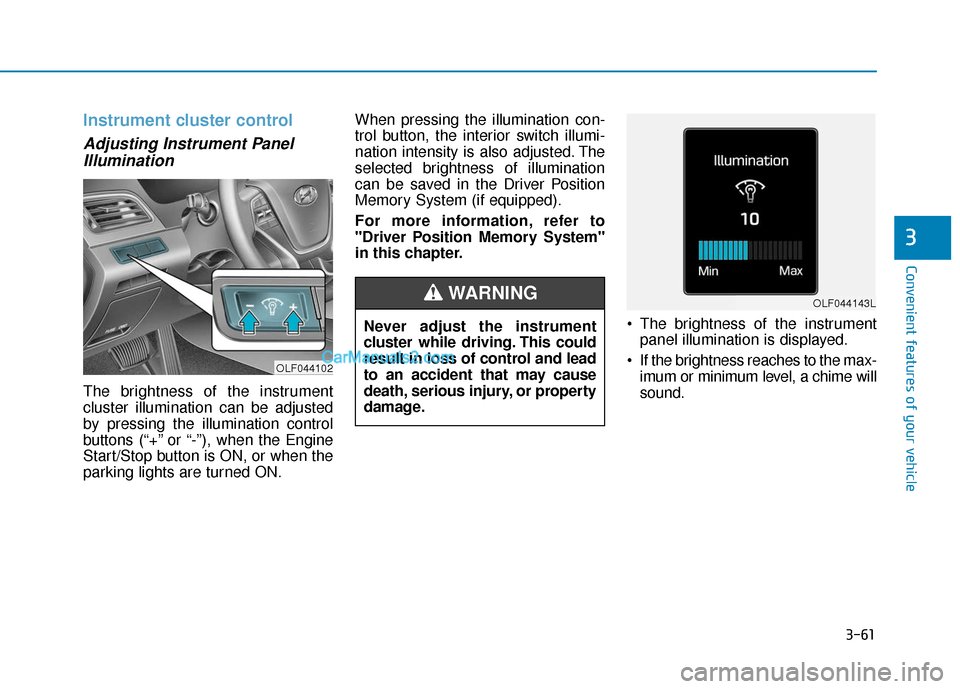
The brightness of the instrument
cluster illumination can be adjusted
by pressing the illumination control
buttons (“+” or “-”), when the Engine
Start/Stop button is ON, or when the
parking lights are turned ON. When pressing the illumination con-
trol button, the interior switch illumi-
nation intensity is also adjusted. The
selected brightness of illumination
can be saved in the Driver Position
Memory System (if equipped).
For more information, refer to
"Driver Position Memory System"
in this chapter.
The brightness of the instrumentpanel illumination is displayed.
If the brightness reaches to the max- imum or minimum level, a chime will
sound.
Never adjust the instrument
cluster while driving. This could
result in loss of control and lead
to an accident that may cause
death, serious injury, or property
damage.
WARNING
OLF044102
OLF044143L
Page 225 of 744
3-138
Convenient features of your vehicle
Information
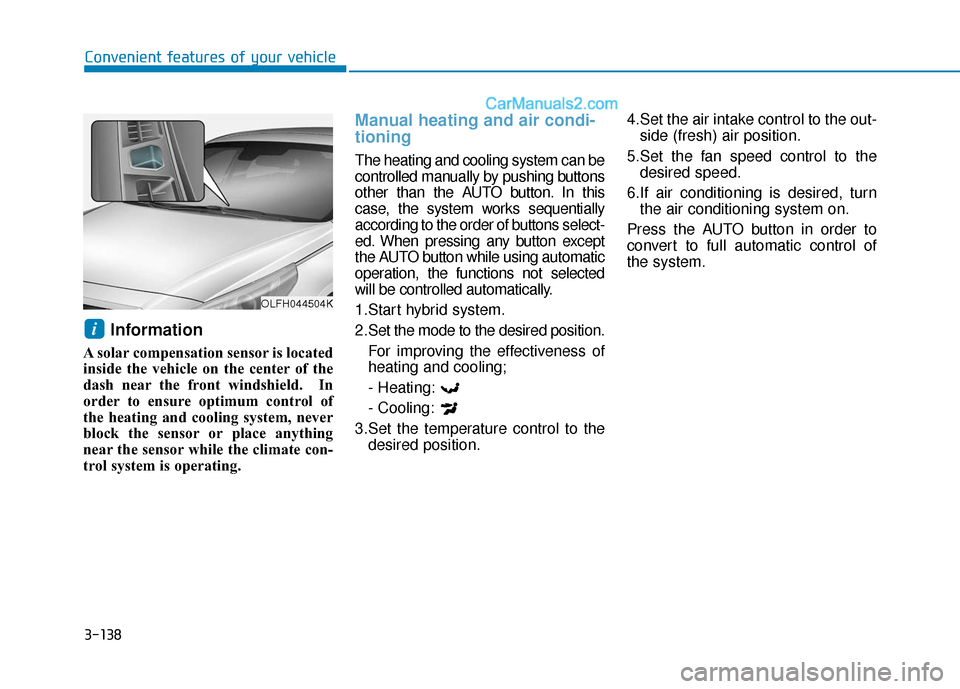
A solar compensation sensor is located
inside the vehicle on the center of the
dash near the front windshield. In
order to ensure optimum control of
the heating and cooling system, never
block the sensor or place anything
near the sensor while the climate con-
trol system is operating.
Manual heating and air condi-
tioning
The heating and cooling system can be
controlled manually by pushing buttons
other than the AUTO button. In this
case, the system works sequentially
according to the order of buttons select-
ed. When pressing any button except
the AUTO button while using automatic
operation, the functions not selected
will be controlled automatically.
1.Start hybrid system.
2.Set the mode to the desired position.For improving the effectiveness of
heating and cooling;
- Heating:
- Cooling:
3.Set the temperature control to the desired position. 4.Set the air intake control to the out-
side (fresh) air position.
5.Set the fan speed control to the desired speed.
6.If air conditioning is desired, turn the air conditioning system on.
Press the AUTO button in order to
convert to full automatic control of
the system.
i
OLFH044504K
Page 232 of 744
3-145
Convenient features of your vehicle
3
Air conditioning
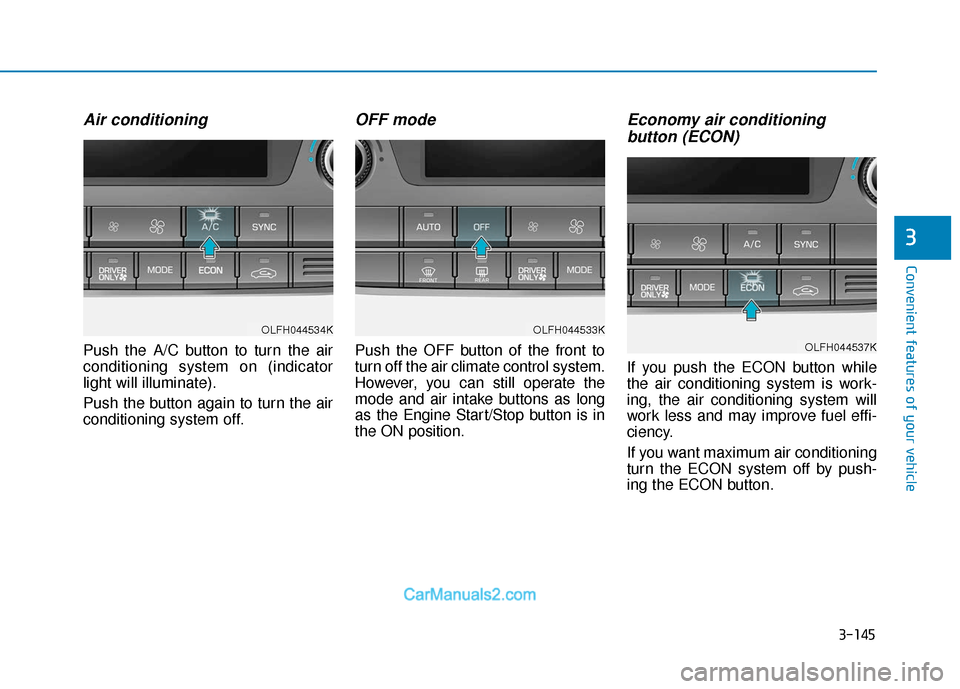
Push the A/C button to turn the air
conditioning system on (indicator
light will illuminate).
Push the button again to turn the air
conditioning system off.
OFF mode
Push the OFF button of the front to
turn off the air climate control system.
However, you can still operate the
mode and air intake buttons as long
as the Engine Start/Stop button is in
the ON position.
Economy air conditioning button (ECON)
If you push the ECON button while
the air conditioning system is work-
ing, the air conditioning system will
work less and may improve fuel effi-
ciency.
If you want maximum air conditioning
turn the ECON system off by push-
ing the ECON button.
OLFH044533K
OLFH044537K
OLFH044534K
Page 252 of 744
4-3
Multimedia System
4
Do not clean the inside of therear window glass with a cleaner
or scraper to remove foreign
deposits as this may cause dam-
age to the antenna elements.
Avoid adding metallic coatings such as Ni, Cd, and so on. These
can degrade the receiving AM
and FM broadcast signals.
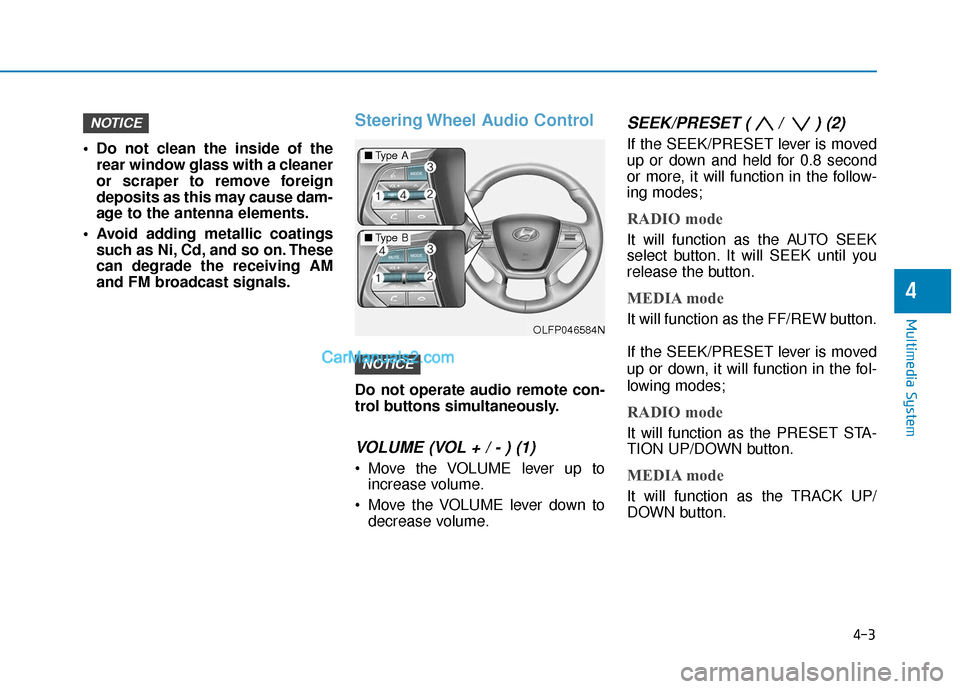
Steering Wheel Audio Control
Do not operate audio remote con-
trol buttons simultaneously.
VOLUME (VOL + / - ) (1)
Move the VOLUME lever up toincrease volume.
Move the VOLUME lever down to decrease volume.
SEEK/PRESET ( / ) (2)
If the SEEK/PRESET lever is moved
up or down and held for 0.8 second
or more, it will function in the follow-
ing modes;
RADIO mode
It will function as the AUTO SEEK
select button. It will SEEK until you
release the button.
MEDIA mode
It will function as the FF/REW button.
If the SEEK/PRESET lever is moved
up or down, it will function in the fol-
lowing modes;
RADIO mode
It will function as the PRESET STA-
TION UP/DOWN button.
MEDIA mode
It will function as the TRACK UP/
DOWN button.
NOTICE
NOTICE
■ Type A
■Type B
OLFP046584N
Page 253 of 744

4-4
MODE (3)
Press the MODE button to select
Radio, XM, Disc, or AUX.
MUTE ( ) (4)
• Press the button to mute the sound.
Press the button again to activatethe sound.
Information
Detailed information for audio control
buttons are described in the following
pages in this chapter.
Audio (Display Audio) / Video /
Navigation System (AVN)
Detailed information for the AVN sys-
tem is described in a separately sup-
plied manual.
Bluetooth®Wireless
Technology Hands-Free
You can use the phone wirelessly by
using the
Bluetooth®Wireless
Technology.
(1) Call / Answer button
(2) Call end button
(3) Microphone Detailed information for the
Bluetooth®
Wireless Technology hands-free is
described in the following pages in
this chapter or in the manual sup-
plied separately.
i
Multimedia System
OLF044276
OLF044242N
Page 308 of 744
4-59
Multimedia System
4
R
RA
A D
DI
IO
O
M
M O
OD
DE
E
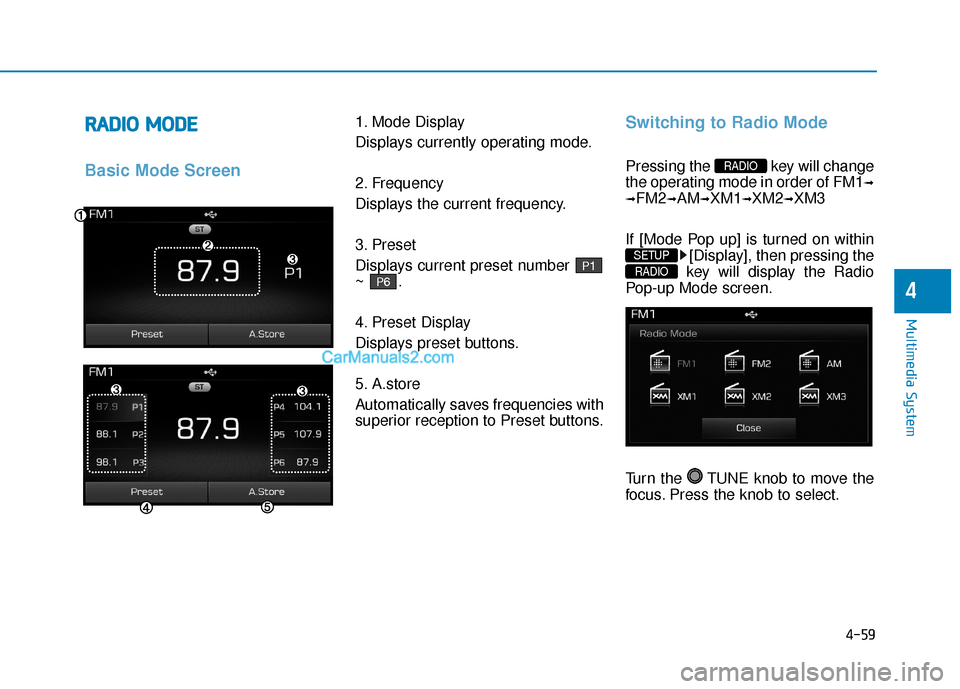
Basic Mode Screen
1. Mode Display
Displays currently operating mode.
2. Frequency
Displays the current frequency.
3. Preset
Displays current preset number
~ .
4. Preset Display
Displays preset buttons.
5. A.store
Automatically saves frequencies with
superior reception to Preset buttons.Switching to Radio Mode
Pressing the key will change
the operating mode in order of FM1
➟
➟
FM2➟AM➟XM1➟XM2➟XM3
If [Mode Pop up] is turned on within [Display], then pressing the
key will display the Radio
Pop-up Mode screen.
Turn the TUNE knob to move the
focus. Press the knob to select.
RADIO
SETUP
RADIO
P6
P1
Page 309 of 744
4-60
Multimedia System
Searching Radio Frequencies
Using Seek
Press the key to play the
previous/next frequency.
Using TUNE
Turn the TUNE knob to select the
desired frequency.
FM : Increases/decreased by200kHz
AM : Increased/decreased by 9 (Only GUAM), 10kHz
Using Radio Mode
Selecting Presets/Saving Presets
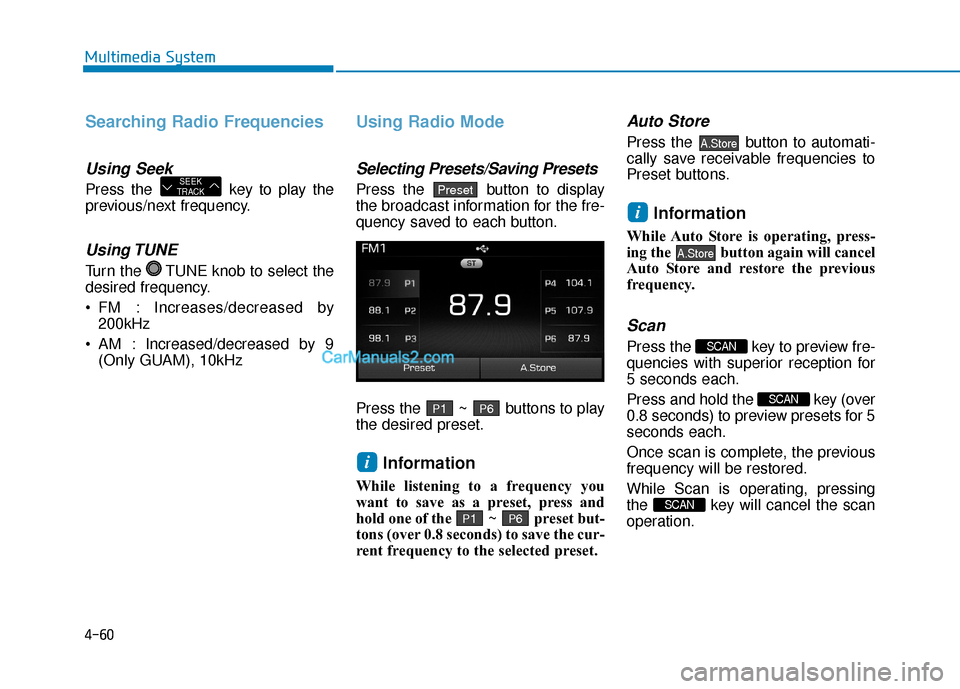
Press the button to display
the broadcast information for the fre-
quency saved to each button.
Press the ~ buttons to play
the desired preset.
Information
While listening to a frequency you
want to save as a preset, press and
hold one of the ~ preset but-
tons (over 0.8 seconds) to save the cur-
rent frequency to the selected preset.
Auto Store
Press the button to automati-
cally save receivable frequencies to
Preset buttons.
Information
While Auto Store is operating, press-
ing the button again will cancel
Auto Store and restore the previous
frequency.
Scan
Press the key to preview fre-
quencies with superior reception for
5 seconds each.
Press and hold the key (over
0.8 seconds) to preview presets for 5
seconds each.
Once scan is complete, the previous
frequency will be restored.
While Scan is operating, pressing
the key will cancel the scan
operation.
SCAN
SCAN
SCAN
A.Store
i
A.Store
P6P1
i
P6P1
PresetSEEK
TRACK
Page 313 of 744
4-64
Multimedia System
SCAN
Press the key to scan all
channels with superior reception for
5 seconds each.
Once scan is complete, the previous-
ly played channel will be restored.
During Scan, pressing the
key again will cancel the scan opera-
tion and restore the previously
played channel.
If the “Category” icon is displayed,
channels are changed within the cur-
rent category.
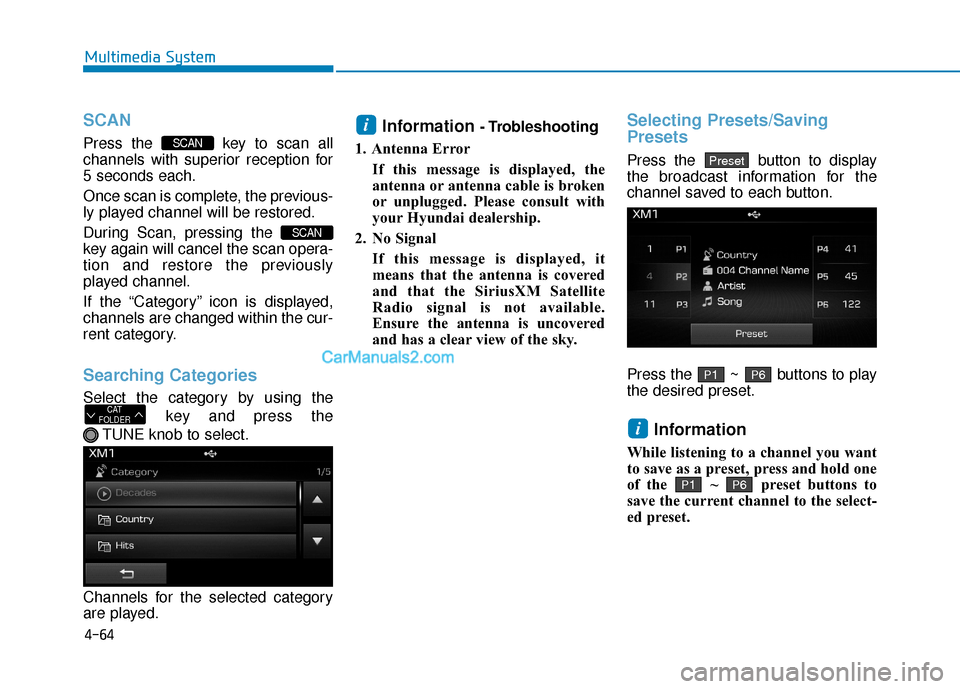
Searching Categories
Select the category by using thekey and press the
TUNE knob to select.
Channels for the selected category
are played.
Information - Trobleshooting
1. Antenna Error If this message is displayed, the
antenna or antenna cable is broken
or unplugged. Please consult with
your Hyundai dealership.
2. No Signal If this message is displayed, it
means that the antenna is covered
and that the SiriusXM Satellite
Radio signal is not available.
Ensure the antenna is uncovered
and has a clear view of the sky.Selecting Presets/Saving
Presets
Press the button to display
the broadcast information for the
channel saved to each button.
Press the ~ buttons to play
the desired preset.
Information
While listening to a channel you want
to save as a preset, press and hold one
of the ~ preset buttons to
save the current channel to the select-
ed preset.
P6P1
i
P6P1
Preset
i
CAT
FOLDER
SCAN
SCAN
Page 328 of 744
4-79
Multimedia System
4
List Menu
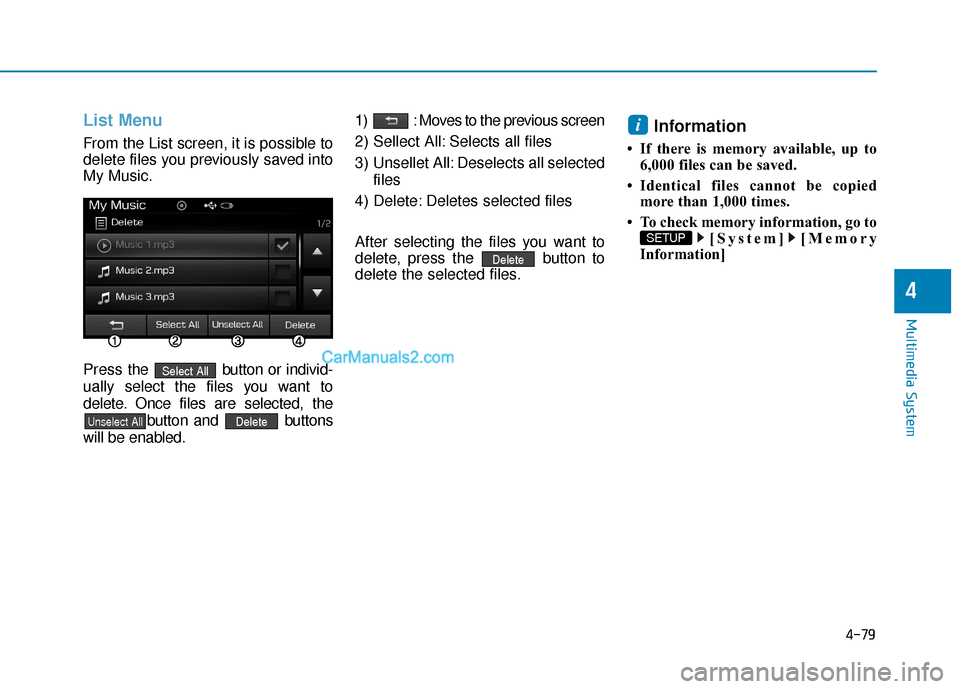
From the List screen, it is possible to
delete files you previously saved into
My Music.
Press the button or individ-
ually select the files you want to
delete. Once files are selected, the button and buttons
will be enabled. 1) : Moves to the previous screen
2) Sellect All: Selects all files
3) Unsellet All: Deselects all selected
files
4) Delete: Deletes selected files
After selecting the files you want to
delete, press the button to
delete the selected files.
Information
• If there is memory available, up to 6,000 files can be saved.
• Identical files cannot be copied more than 1,000 times.
• To check memory information, go to [System] [Memory
Information]
SETUP
i
Delete
DeleteUnselect All
Select All
Page 342 of 744
4-93
Multimedia System
4
Information- Before down-
loading contacts
• Only contacts within connected phones can be downloaded. Also
check to see that your mobile phone
supports the download feature.
• To learn more about whether your mobile phone supports contacts
downloads, refer to your mobile
phone user’s manual.
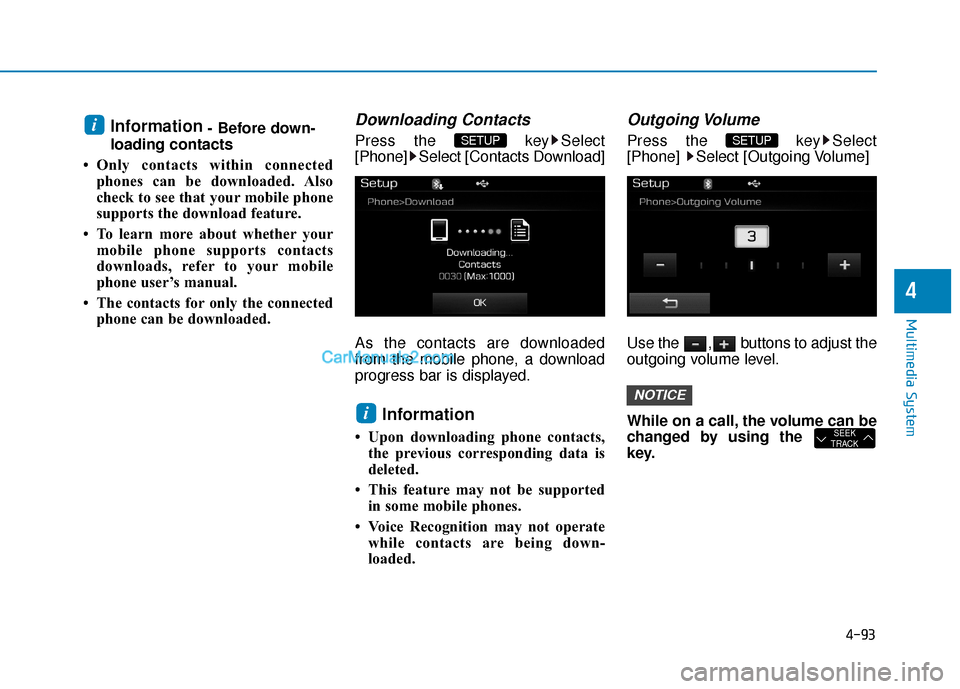
• The contacts for only the connected phone can be downloaded.Downloading Contacts
Press the key Select
[Phone] Select [Contacts Download]
As the contacts are downloaded
from the mobile phone, a download
progress bar is displayed.
Information
• Upon downloading phone contacts,the previous corresponding data is
deleted.
• This feature may not be supported in some mobile phones.
• Voice Recognition may not operate while contacts are being down-
loaded.
Outgoing Volume
Press the key Select
[Phone] Select [Outgoing Volume]
Use the , buttons to adjust the
outgoing volume level.
While on a call, the volume can be
changed by using the
key.
SEEK
TRACK
NOTICE
SETUP
i
SETUP i