stop start HYUNDAI TUCSON 2012 Owners Manual
[x] Cancel search | Manufacturer: HYUNDAI, Model Year: 2012, Model line: TUCSON, Model: HYUNDAI TUCSON 2012Pages: 371, PDF Size: 5.39 MB
Page 85 of 371
Features of your vehicle
4
4
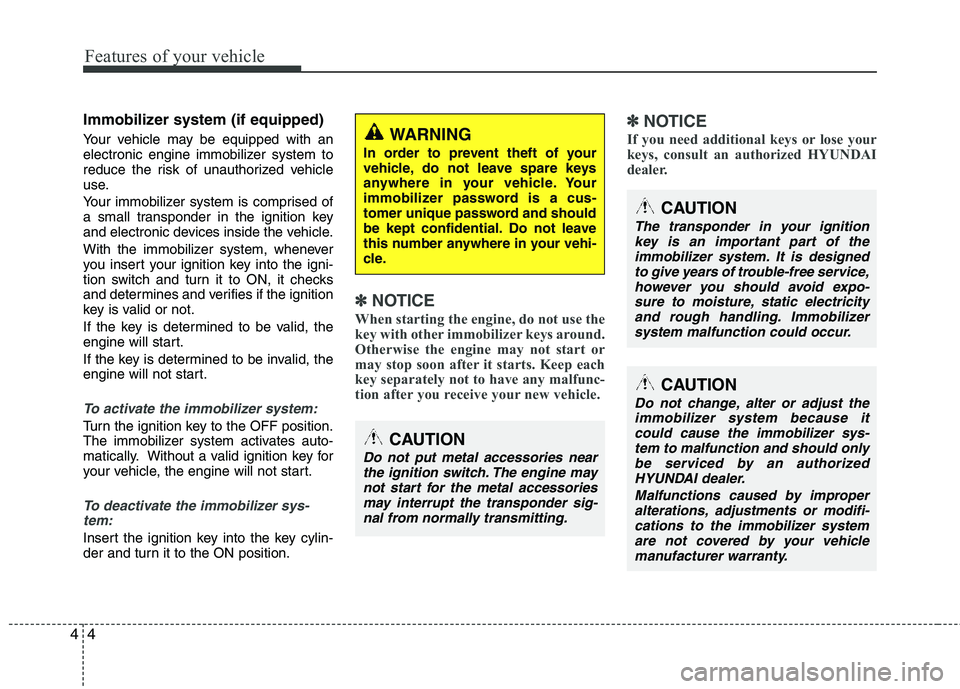
Immobilizer system (if equipped)
Your vehicle may be equipped with an
electronic engine immobilizer system to
reduce the risk of unauthorized vehicle
use.
Your immobilizer system is comprised of
a small transponder in the ignition key
and electronic devices inside the vehicle.
With the immobilizer system, whenever
you insert your ignition key into the igni-
tion switch and turn it to ON, it checks
and determines and verifies if the ignition
key is valid or not.
If the key is determined to be valid, the
engine will start.
If the key is determined to be invalid, the
engine will not start.
To activate the immobilizer system:
Turn the ignition key to the OFF position.
The immobilizer system activates auto-
matically. Without a valid ignition key for
your vehicle, the engine will not start.
To deactivate the immobilizer sys-
tem:
Insert the ignition key into the key cylin-
der and turn it to the ON position.
✽✽ NOTICE
When starting the engine, do not use the
key with other immobilizer keys around.
Otherwise the engine may not start or
may stop soon after it starts. Keep each
key separately not to have any malfunc-
tion after you receive your new vehicle. ✽
✽
NOTICE
If you need additional keys or lose your
keys, consult an authorized HYUNDAI
dealer.WARNING
In order to prevent theft of your
vehicle, do not leave spare keys
anywhere in your vehicle. Your
immobilizer password is a cus-
tomer unique password and should
be kept confidential. Do not leave
this number anywhere in your vehi-
cle.
CAUTION
The transponder in your ignition key is an important part of theimmobilizer system. It is designedto give years of trouble-free service,however you should avoid expo-
sure to moisture, static electricityand rough handling. Immobilizersystem malfunction could occur.
CAUTION
Do not put metal accessories near
the ignition switch. The engine maynot start for the metal accessories
may interrupt the transponder sig-nal from normally transmitting.
CAUTION
Do not change, alter or adjust the immobilizer system because itcould cause the immobilizer sys-
tem to malfunction and should onlybe serviced by an authorizedHYUNDAI dealer.
Malfunctions caused by improperalterations, adjustments or modifi-cations to the immobilizer systemare not covered by your vehicle
manufacturer warranty.
Page 122 of 371
441
Features of your vehicle
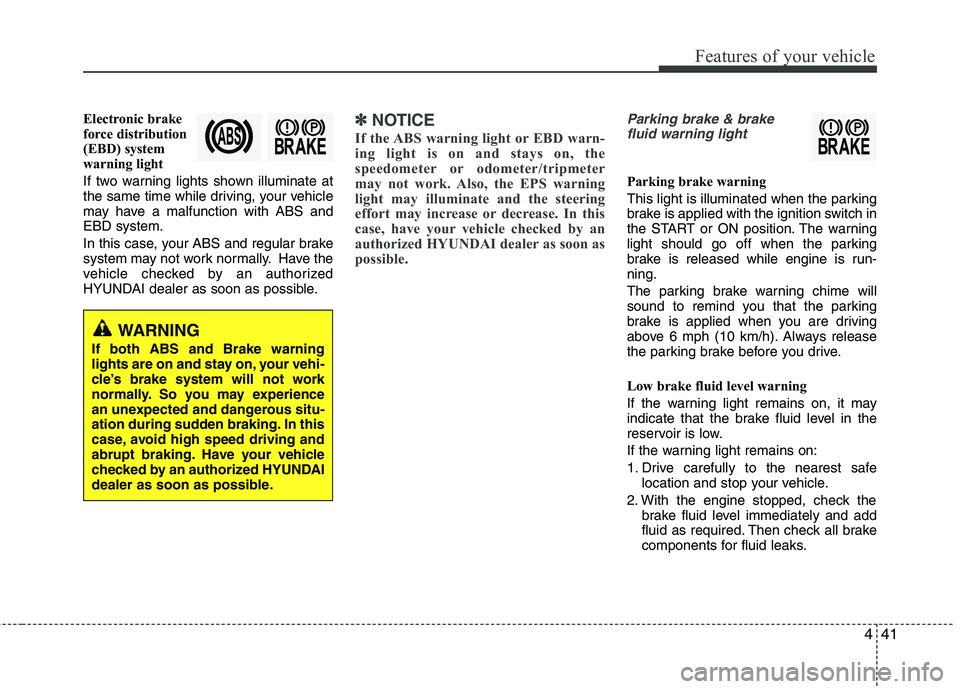
Electronic brake
force distribution
(EBD) system
warning light
If two warning lights shown illuminate at
the same time while driving, your vehicle
may have a malfunction with ABS andEBD system.
In this case, your ABS and regular brake
system may not work normally. Have the
vehicle checked by an authorized
HYUNDAI dealer as soon as possible.✽✽NOTICE
If the ABS warning light or EBD warn-
ing light is on and stays on, the
speedometer or odometer/tripmeter
may not work. Also, the EPS warning
light may illuminate and the steering
effort may increase or decrease. In this
case, have your vehicle checked by an
authorized HYUNDAI dealer as soon as
possible.Parking brake & brake fluid warning light
Parking brake warning
This light is illuminated when the parking
brake is applied with the ignition switch in
the START or ON position. The warning
light should go off when the parking
brake is released while engine is run-ning.
The parking brake warning chime will
sound to remind you that the parking
brake is applied when you are driving
above 6 mph (10 km/h). Always release
the parking brake before you drive.
Low brake fluid level warning
If the warning light remains on, it may
indicate that the brake fluid level in the
reservoir is low.
If the warning light remains on:
1. Drive carefully to the nearest safe location and stop your vehicle.
2. With the engine stopped, check the brake fluid level immediately and add
fluid as required. Then check all brake
components for fluid leaks.
WARNING
If both ABS and Brake warning
lights are on and stay on, your vehi-
cle’s brake system will not work
normally. So you may experience
an unexpected and dangerous situ-
ation during sudden braking. In this
case, avoid high speed driving and
abrupt braking. Have your vehicle
checked by an authorized HYUNDAI
dealer as soon as possible.
Page 124 of 371
443
Features of your vehicle
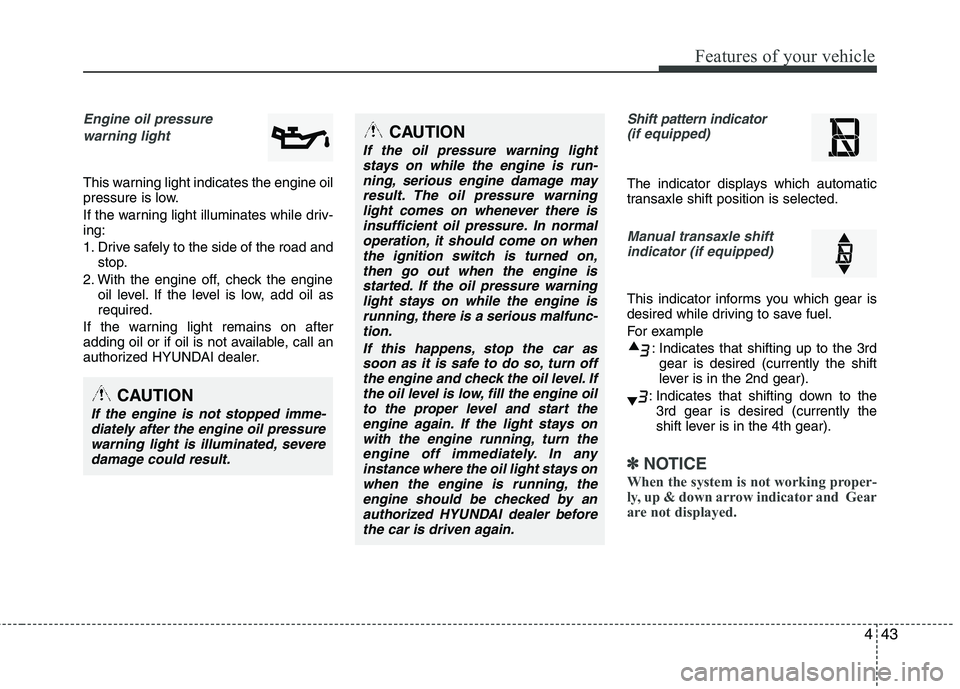
Engine oil pressure warning light
This warning light indicates the engine oil
pressure is low.
If the warning light illuminates while driv- ing:
1. Drive safely to the side of the road and stop.
2. With the engine off, check the engine oil level. If the level is low, add oil as required.
If the warning light remains on after
adding oil or if oil is not available, call an
authorized HYUNDAI dealer.
Shift pattern indicator (if equipped)
The indicator displays which automatic
transaxle shift position is selected.
Manual transaxle shift
indicator (if equipped)
This indicator informs you which gear is
desired while driving to save fuel.
For example
: Indicates that shifting up to the 3rdgear is desired (currently the shift
lever is in the 2nd gear).
: Indicates that shifting down to the 3rd gear is desired (currently the
shift lever is in the 4th gear).
✽✽ NOTICE
When the system is not working proper-
ly, up & down arrow indicator and Gear
are not displayed.
CAUTION
If the oil pressure warning light stays on while the engine is run- ning, serious engine damage may
result. The oil pressure warninglight comes on whenever there is insufficient oil pressure. In normaloperation, it should come on when
the ignition switch is turned on,then go out when the engine is started. If the oil pressure warning
light stays on while the engine isrunning, there is a serious malfunc-tion.
If this happens, stop the car assoon as it is safe to do so, turn off the engine and check the oil level. Ifthe oil level is low, fill the engine oil
to the proper level and start theengine again. If the light stays on with the engine running, turn theengine off immediately. In any
instance where the oil light stays onwhen the engine is running, theengine should be checked by anauthorized HYUNDAI dealer before
the car is driven again.
CAUTION
If the engine is not stopped imme-diately after the engine oil pressurewarning light is illuminated, severedamage could result.
Page 177 of 371
![HYUNDAI TUCSON 2012 Owners Manual Features of your vehicle
96
4
Using RADIO, SETUP, VOLUME
and AUDIO CONTROL
1. AM Selection Button
Pressing the [AM] button selects the AM
band. AM Mode is displayed on the LCD.
2. FM Selection But HYUNDAI TUCSON 2012 Owners Manual Features of your vehicle
96
4
Using RADIO, SETUP, VOLUME
and AUDIO CONTROL
1. AM Selection Button
Pressing the [AM] button selects the AM
band. AM Mode is displayed on the LCD.
2. FM Selection But](/img/35/56205/w960_56205-176.png)
Features of your vehicle
96
4
Using RADIO, SETUP, VOLUME
and AUDIO CONTROL
1. AM Selection Button
Pressing the [AM] button selects the AM
band. AM Mode is displayed on the LCD.
2. FM Selection Button Turns to FM mode and toggles FM1 and
FM2 when the button is pressed each
time.
3. Automatic Station Seek Button
When the [SEEK ] is pressed, it will
automatically tune to the next lower station.
When the [SEEK ] is pressed, it will automatically tune to the next higher station.
4. Power ON/OFF Button & Volume Control Knob
Turns the audio system on/off whenthe ignition switch is on ACC or ON.
If the knob is turned clockwise/counter- clockwise, the volume will increase
/decrease.
5. Preset Selection Button
Press [1]~[6] buttons less than 0.8 sec-onds to play the station saved in each
button.
Press [1]~[6] b utton more than 0.8 sec-
onds or longer to save the current sta-
tion to the respective button with a
beep.
6. SCAN Button
When the button is pressed, it auto- matically scans the radio stations
upwards.
The SCAN feature steps through each station, starting from the initial station,
for ten seconds.
Press the [SCAN] button again to stop the scan feature and to listen to the currently selected channel.
7. DISP Button
Turn the LCD Display & Backlight on/off
when [DISP] button press.
8. SETUP Button
Press this Button to enter SETUP mode,
If no action is taken for 8 seconds, it will
return to previous mode.
In “SETUP” mode, rotate the TUNE knob
to move the cursor between items, and
push the TUNE knob to select.
Select whether long file names are
scrolled continuously (“ON”) or just once(“OFF”).
Select this item to turn the SDVC(Speed
Dependent Volume Control) feature ON
or OFF. If it is turned ON, volume level is adjusted automatically according to the
vehicle speed.
This function creates virtual sound
effects and allows adjustments to the
BASS level. HIGH
➟MID ➟LOW ➟OFF
Select default display of XM mode.
“Category/Channel name” or “Artist/Song
Title” can be selected.
Page 194 of 371
4113
Features of your vehicle
NOTE:
all music and sound files your cellu-
lar phone supports can be played
by the audio system.
®
compatible cellular
phones must include A2DP and
AVRCP capabilities.
AVRCP compatible
Bluetooth ®
cellular phones may not
play music through the audio sys-
tem initially. These cellular phones
may need to have the Bluetooth ®
streaming enabled, for example;
i.e : Menu
➟Filemanager➟Music➟Option➟Play via Bluetooth
cellular phone for more information.
To cancel Bluetooth ®
cellular phone
music streaming, stop music play-
back on the cellular phone or
change the audio mode to AM/FM,
XM, CD, iPod, ect.
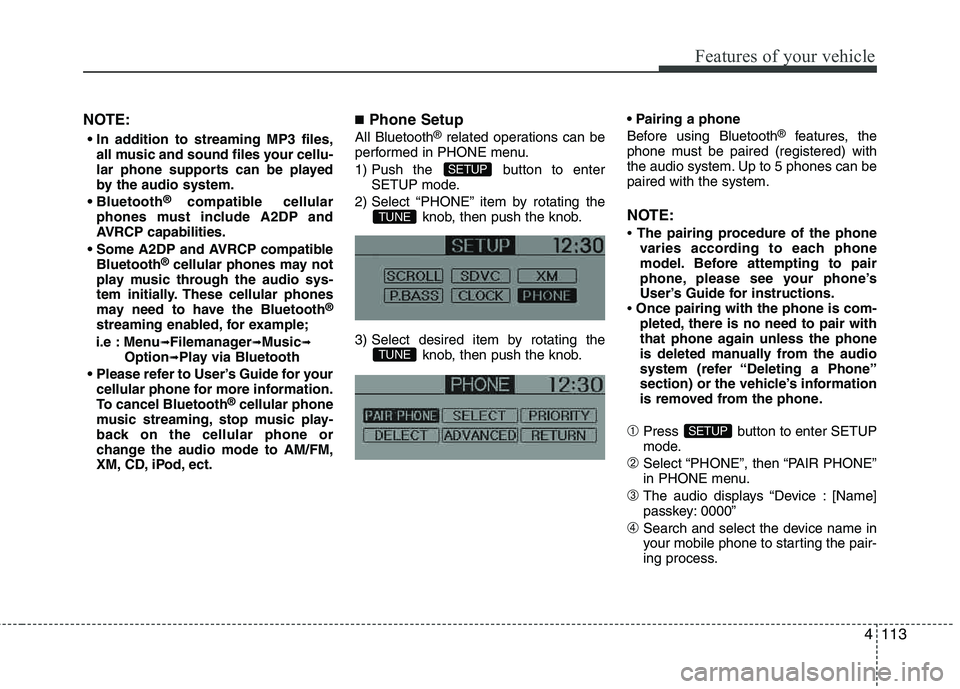
■ Phone Setup
All Bluetooth ®
related operations can be
performed in PHONE menu.
1) Push the button to enter SETUP mode.
2) Select “PHONE” item by rotating the knob, then push the knob.
3) Select desired item by rotating the knob, then push the knob.
Before using Bluetooth
®
features, the
phone must be paired (registered) with
the audio system. Up to 5 phones can be paired with the system.
NOTE:
The pairing procedure of the phone
varies according to each phone
model. Before attempting to pair
phone, please see your phone’s
User’s Guide for instructions.
Once pairing with the phone is com-
pleted, there is no need to pair with
that phone again unless the phone
is deleted manually from the audio
system (refer “Deleting a Phone”
section) or the vehicle’s information
is removed from the phone.
➀Press button to enter SETUP
mode.
➁Select “PHONE”, then “PAIR PHONE”
in PHONE menu.
➂The audio displays “Device : [Name]
passkey: 0000”
➃Search and select the device name in
your mobile phone to starting the pair-
ing process.
SETUP
TUNE
TUNE
SETUP
Page 205 of 371
Driving your vehicle
4
5
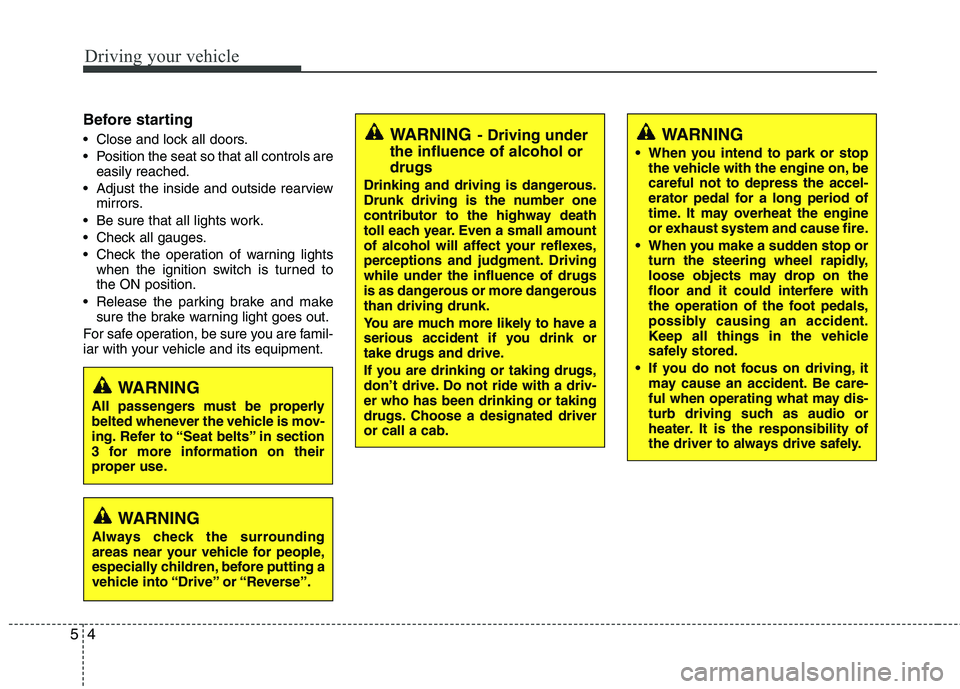
Before starting
Close and lock all doors.
Position the seat so that all controls are
easily reached.
Adjust the inside and outside rearview mirrors.
Be sure that all lights work.
Check all gauges.
Check the operation of warning lights when the ignition switch is turned to the ON position.
Release the parking brake and make sure the brake warning light goes out.
For safe operation, be sure you are famil-
iar with your vehicle and its equipment.WARNING- Driving under
the influence of alcohol or drugs
Drinking and driving is dangerous.
Drunk driving is the number one
contributor to the highway death
toll each year. Even a small amount
of alcohol will affect your reflexes,
perceptions and judgment. Drivingwhile under the influence of drugs
is as dangerous or more dangerous than driving drunk.
You are much more likely to have a
serious accident if you drink or
take drugs and drive.
If you are drinking or taking drugs,
don’t drive. Do not ride with a driv- er who has been drinking or taking
drugs. Choose a designated driveror call a cab.
WARNING
When you intend to park or stop the vehicle with the engine on, be careful not to depress the accel-
erator pedal for a long period of
time. It may overheat the engine
or exhaust system and cause fire.
When you make a sudden stop or turn the steering wheel rapidly,
loose objects may drop on the
floor and it could interfere with
the operation of the foot pedals,
possibly causing an accident.
Keep all things in the vehicle
safely stored.
If you do not focus on driving, it may cause an accident. Be care-
ful when operating what may dis-
turb driving such as audio or
heater. It is the responsibility of
the driver to always drive safely.
WARNING
All passengers must be properly
belted whenever the vehicle is mov-
ing. Refer to “Seat belts” in section
3 for more information on their
proper use.
WARNING
Always check the surrounding
areas near your vehicle for people,
especially children, before putting a
vehicle into “Drive” or “Reverse”.
Page 208 of 371
57
Driving your vehicle
Manual transaxle operation
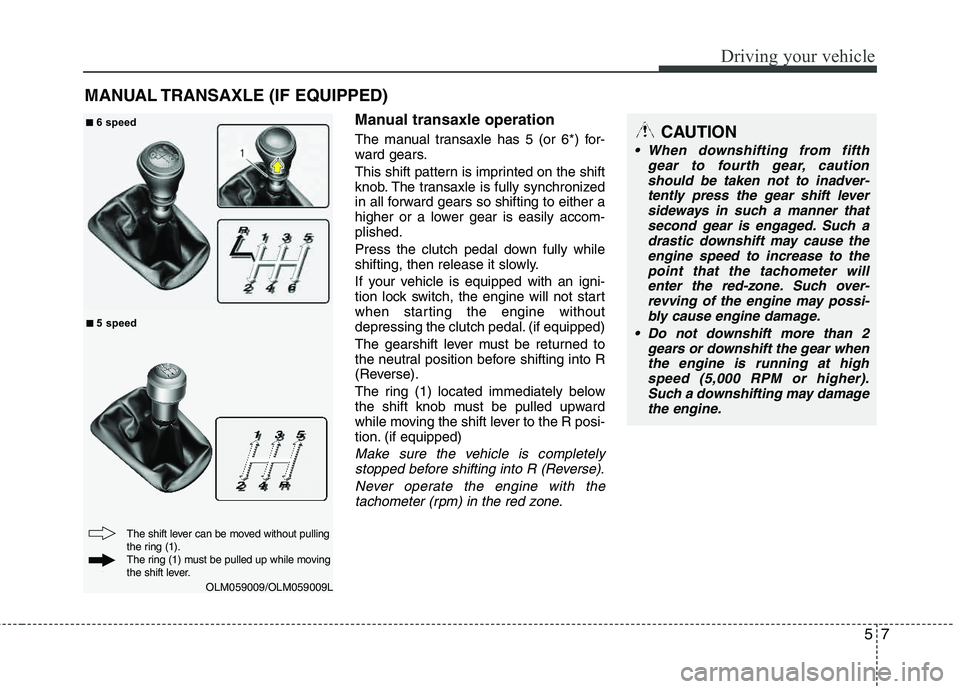
The manual transaxle has 5 (or 6*) for-
ward gears.
This shift pattern is imprinted on the shift
knob. The transaxle is fully synchronized
in all forward gears so shifting to either a
higher or a lower gear is easily accom- plished.
Press the clutch pedal down fully while
shifting, then release it slowly.
If your vehicle is equipped with an igni-
tion lock switch, the engine will not start
when starting the engine without
depressing the clutch pedal. (if equipped)
The gearshift lever must be returned to
the neutral position before shifting into R
(Reverse).
The ring (1) located immediately below
the shift knob must be pulled upward
while moving the shift lever to the R posi-
tion. (if equipped)
Make sure the vehicle is completelystopped before shifting into R (Reverse).
Never operate the engine with thetachometer (rpm) in the red zone.
MANUAL TRANSAXLE (IF EQUIPPED)
OLM059009/OLM059009L
CAUTION
When downshifting from fifth gear to fourth gear, cautionshould be taken not to inadver-
tently press the gear shift leversideways in such a manner that second gear is engaged. Such adrastic downshift may cause the
engine speed to increase to thepoint that the tachometer willenter the red-zone. Such over-
revving of the engine may possi-bly cause engine damage.
Do not downshift more than 2 gears or downshift the gear when
the engine is running at high speed (5,000 RPM or higher).Such a downshifting may damage
the engine.
The shift lever can be moved without pulling
the ring (1).
The ring (1) must be pulled up while moving
the shift lever.
■■ 6 speed
■
■ 5 speed
Page 209 of 371
Driving your vehicle
8
5
During cold weather, shifting may be
difficult until the transaxle lubricant has
warmed up. This is normal and not
harmful to the transaxle.
If you've come to a complete stop and it's hard to shift into 1st or R (Reverse),
put the shift lever in N (Neutral) posi-
tion and release the clutch. Press the
clutch pedal back down, and then shift
into 1st or R (Reverse) gear position.Using the clutch
The clutch should be pressed all the way
to the floor before shifting, then released
slowly. The clutch pedal should always be
fully released while driving. Do not rest
your foot on the clutch pedal while driv-
ing. This can cause unnecessary wear.
Do not partially engage the clutch to hold
the vehicle on an incline. This causes
unnecessary wear. Use the foot brake or
parking brake to hold the vehicle on an
incline. Do not operate the clutch pedal
rapidly and repeatedly.
This vehicle is equipped with a Hill-start
Assist Control(HAC) that will hold the
vehicle in place for about 2 seconds
when the brake is released on a sleep
enough uphill grade (about 8° incline).
Practice releasing the brake and apply-
ing the throttle with your right foot while
releasing the clutch with your left foot, so
you learn how the HAC works.
CAUTION
To avoid premature clutch wear
and damage, do not drive withyour foot resting on the clutch
pedal. Also, don’t use the clutchto hold the vehicle stopped on an uphill grade, while waiting for atraffic light, etc.
Do not use the shift lever as a handrest during driving, as thiscan result in premature wear of
the transaxle shift forks.
When operating the clutch pedal, press the clutch pedal down fully.
If you don't press the clutch pedalfully, the clutch may be damagedor noise may occur.
WARNING
Before leaving the driver’s seat,
always set the parking brake fully
and shut the engine off. Then makesure the transaxle is shifted into 1st
gear when the vehicle is parked on
a level or uphill grade, and shifted
into R (Reverse) on a downhill
grade. Unexpected and sudden
vehicle movement can occur if
these precautions are not followed
in the order identified.
WARNING
The HAC is activated only for about
2 seconds, so when the vehicle is
starting off always depress theaccelerator pedal.
Page 210 of 371
59
Driving your vehicle
Downshifting
When you must slow down in heavy traf-
fic or while driving up steep hills, down-
shift before the engine starts to labor.
Downshifting reduces the chance of
stalling and gives better acceleration
when you again need to increase your
speed. When the vehicle is traveling
down steep hills, downshifting helps
maintain safe speed and prolongs brake
life.
This vehicle is geared for improved fuel
economy and may need to be driven in a
lower gear when driving up hills or into
high winds. Using top gear is best for fuel
economy, but you should use the best
gear for the road conditions.
Good driving practices
Never take the vehicle out of gear andcoast down a hill. This is extremely
hazardous. Always leave the vehicle in
gear.
Don't "ride" the brakes. This can cause them to overheat and malfunction.
Instead, when you are driving down a
long hill, slow down and shift to a lower
gear. When you do this, engine braking
will help slow down the vehicle.
Slow down before shifting to a lower gear. This will help avoid over-revving
the engine, which can cause damage.
Slow down when you encounter cross winds. This gives you much better con-
trol of your vehicle.
Be sure the vehicle is completely stopped before you attempt to shift into
reverse. The transaxle can be dam-
aged if you do not. To shift into reverse,
depress the clutch, move the shift lever
to neutral, then shift to the reverseposition.
Exercise extreme caution when driving on a slippery surface. Be especially
careful when braking, accelerating or
shifting gears. On a slippery surface,
an abrupt change in vehicle speed can
cause the drive wheels to lose traction
and the vehicle to go out of control.WARNING
Always buckle-up! In a collision, an unbelted occupant is signifi-
cantly more likely to be seriously
injured or killed than a properly belted occupant.
Avoid high speeds when corner- ing or turning.
Do not make quick steering wheel movements, such as sharp
lane changes or fast, sharp turns.
The risk of rollover is greatly increased if you lose control of
your vehicle at highway speeds.
Loss of control often occurs if two or more wheels drop off the
roadway and the driver over-
steers to reenter the roadway.
In the event your vehicle leaves the roadway, do not steer sharply.
Instead, slow down before pulling
back into the travel lanes.
Never exceed posted speed lim- its.
Page 221 of 371
Driving your vehicle
20
5
You must consciously take the effort to
learn how to corner in a AWD vehicle.
Do not rely on your experience in con-
ventional 2WD vehicles in choosing
safe cornering speed in AWD mode.
For starters, you must drive more slow-
ly in AWD.
Drive carefully off-road because your vehicle may be damaged by rocks or
roots of trees. Become familiar with the
off-road conditions where you are
going to drive before you begin driving.
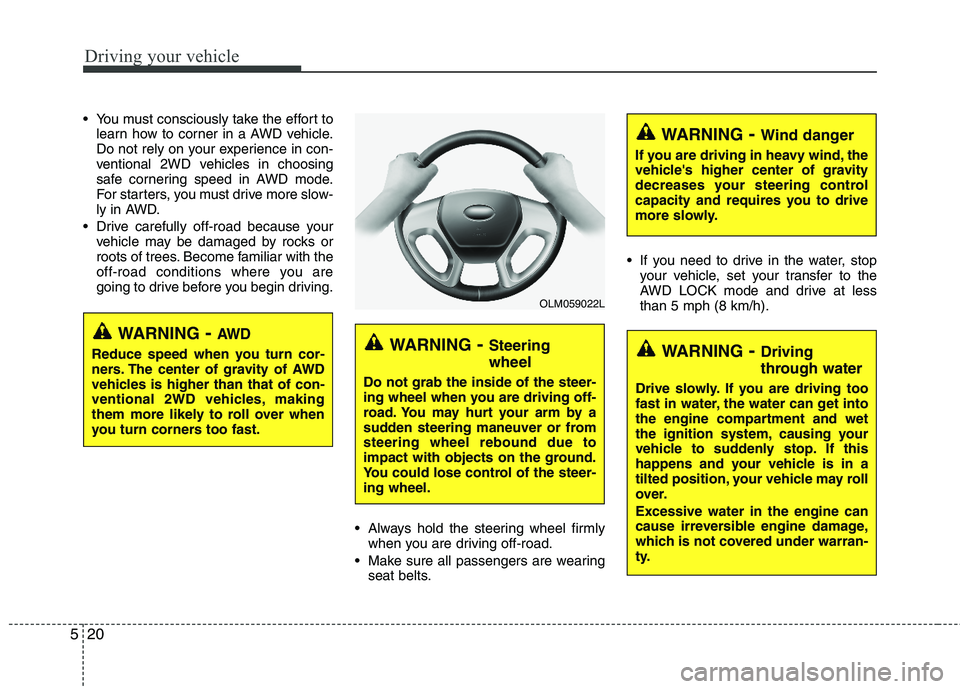
Always hold the steering wheel firmlywhen you are driving off-road.
Make sure all passengers are wearing seat belts. If you need to drive in the water, stop
your vehicle, set your transfer to the
AWD LOCK mode and drive at lessthan 5 mph (8 km/h).
WARNING - Steering wheel
Do not grab the inside of the steer-
ing wheel when you are driving off-
road. You may hurt your arm by a
sudden steering maneuver or fromsteering wheel rebound due to
impact with objects on the ground.
You could lose control of the steer-ing wheel.
WARNING- Wind danger
If you are driving in heavy wind, the
vehicle's higher center of gravity
decreases your steering control
capacity and requires you to drive
more slowly.
WARNING- Driving
through water
Drive slowly. If you are driving too
fast in water, the water can get into
the engine compartment and wet
the ignition system, causing your
vehicle to suddenly stop. If this
happens and your vehicle is in a
tilted position, your vehicle may roll
over. Excessive water in the engine can
cause irreversible engine damage,
which is not covered under warran-
ty.
OLM059022L
WARNING - AW D
Reduce speed when you turn cor-
ners. The center of gravity of AWD
vehicles is higher than that of con-
ventional 2WD vehicles, making
them more likely to roll over when
you turn corners too fast.