ECO mode HYUNDAI VERACRUZ 2008 User Guide
[x] Cancel search | Manufacturer: HYUNDAI, Model Year: 2008, Model line: VERACRUZ, Model: HYUNDAI VERACRUZ 2008Pages: 440, PDF Size: 8.08 MB
Page 176 of 440
Features of your vehicle94 4✽
✽
NOTICE• When using the air conditioning sys-
tem, monitor the temperature gauge
closely while driving up hills or in
heavy traffic when outside tempera-
tures are high. Air conditioning sys-
tem operation may cause engine over-
heating. Continue to use the blower
fan but turn the air conditioning sys-
tem off if the temperature gauge indi-
cates engine overheating.
• When opening the windows in humid
weather air conditioning may create
water droplets inside the vehicle.
Since excessive water droplets may
cause damage to electrical equipment,
air conditioning should only be run
with the windows closed.
Air conditioning system operation tips
If the vehicle has been parked in direct
sunlight during hot weather, open the
windows for a short time to let the hot
air inside the vehicle escape.
To help reduce moisture inside of the
windows on rainy or humid days,
decrease the humidity inside the vehi-
cle by operating the air conditioning
system.
During air conditioning system opera-
tion, you may occasionally notice a
slight change in engine speed as the
air conditioning compressor cycles.
This is a normal system operation
characteristic.
Use the air conditioning system every
month only for a few minutes to ensure
maximum system performance. When using the air conditioning sys-
tem, you may notice clear water drip-
ping (or even puddling) on the ground
under the passenger side of the vehi-
cle. This is a normal system operation
characteristic.
Operating the air conditioning system
in the recirculated air position provides
maximum cooling, however, continual
operation in this mode may cause the
air inside the vehicle to become stale.
During cooling operation, you may
occasionally notice a misty air flow
because of rapid cooling and humid air
intake. This is a normal system opera-
tion characteristics.
procarmanuals.com
Page 182 of 440
Features of your vehicle100 4Adjusting the driver and passenger side
temperature individually
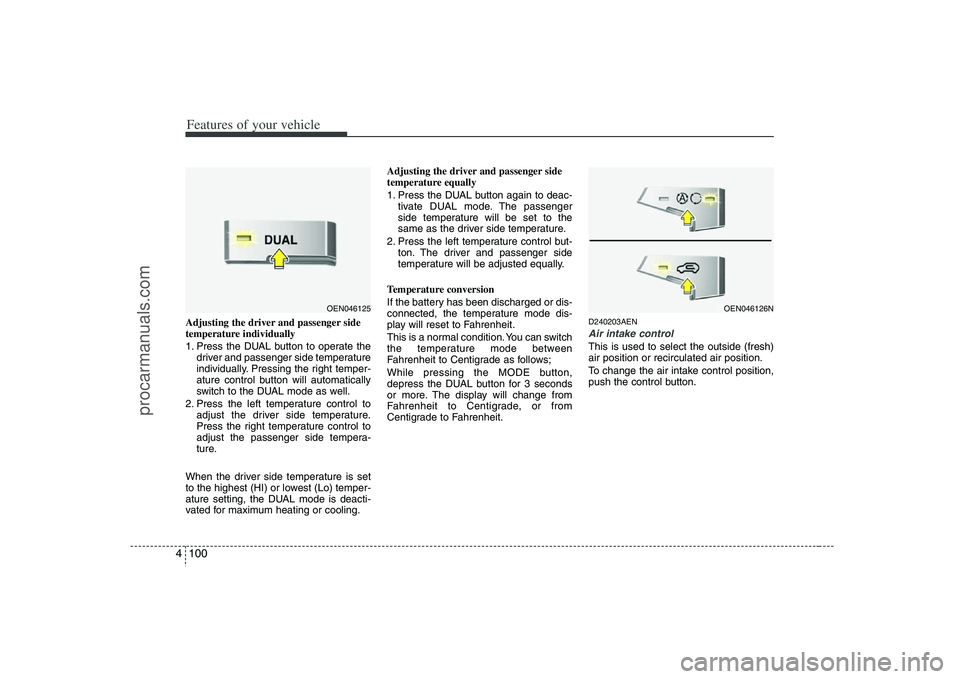
1. Press the DUAL button to operate the
driver and passenger side temperature
individually. Pressing the right temper-
ature control button will automatically
switch to the DUAL mode as well.
2. Press the left temperature control to
adjust the driver side temperature.
Press the right temperature control to
adjust the passenger side tempera-
ture.
When the driver side temperature is set
to the highest (HI) or lowest (Lo) temper-
ature setting, the DUAL mode is deacti-
vated for maximum heating or cooling.Adjusting the driver and passenger side
temperature equally
1. Press the DUAL button again to deac-
tivate DUAL mode. The passenger
side temperature will be set to the
same as the driver side temperature.
2. Press the left temperature control but-
ton. The driver and passenger side
temperature will be adjusted equally.
Temperature conversion
If the battery has been discharged or dis-
connected, the temperature mode dis-
play will reset to Fahrenheit.
This is a normal condition. You can switch
the temperature mode between
Fahrenheit to Centigrade as follows;
While pressing the MODE button,
depress the DUAL button for 3 seconds
or more. The display will change from
Fahrenheit to Centigrade, or from
Centigrade to Fahrenheit.
D240203AENAir intake controlThis is used to select the outside (fresh)
air position or recirculated air position.
To change the air intake control position,
push the control button.
OEN046125
OEN046126N
procarmanuals.com
Page 183 of 440
4 101
Features of your vehicle
Recirculated air position
With the recirculated air
position selected, air from
the passenger compart-
ment will be drawn through
the heating system and
heated or cooled according
to the function selected.
Outside (fresh) air position
With the outside (fresh) air
position selected, air enters
the vehicle from outside and
is heated or cooled accord-
ing to the function selected.✽ ✽
NOTICEProlonged operation of the heater in the
recirculated air position (without air
conditioning selected) may cause fog-
ging of the windshield and side windows
and the air within the passenger com-
partment may become stale.
In addition, prolonged use of the air con-
ditioning with the recirculated air posi-
tion selected will result in excessively dry
air in the passenger compartment.
D240204AENAir quality control (if equipped)The air inflow from outside the vehicle
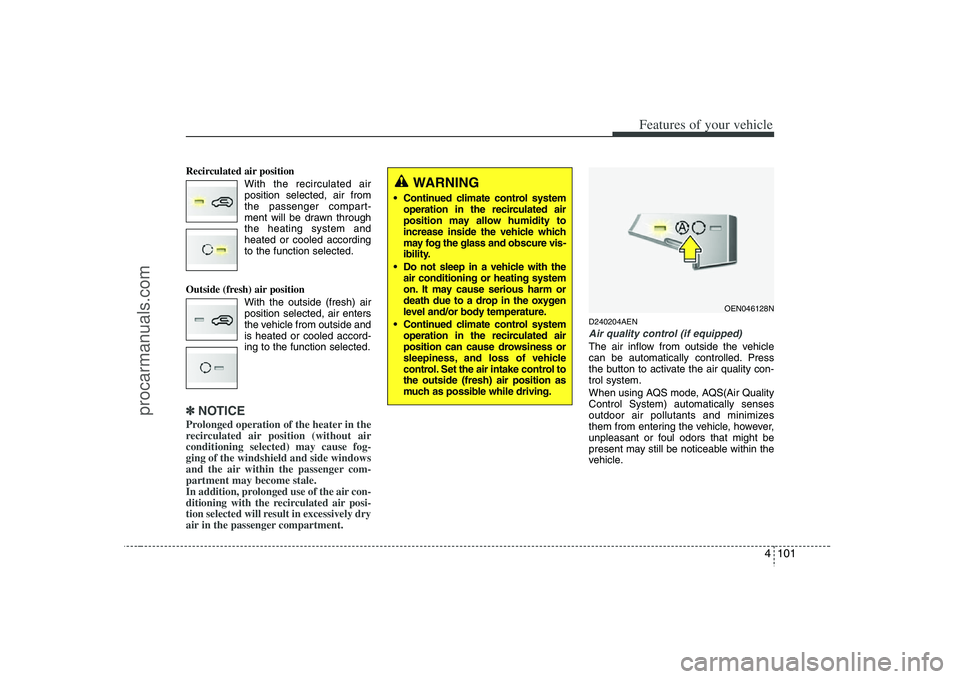
can be automatically controlled. Press
the button to activate the air quality con-
trol system.
When using AQS mode, AQS(Air Quality
Control System) automatically senses
outdoor air pollutants and minimizes
them from entering the vehicle, however,
unpleasant or foul odors that might be
present may still be noticeable within the
vehicle.
WARNING
Continued climate control system
operation in the recirculated air
position may allow humidity to
increase inside the vehicle which
may fog the glass and obscure vis-
ibility.
Do not sleep in a vehicle with the
air conditioning or heating system
on. It may cause serious harm or
death due to a drop in the oxygen
level and/or body temperature.
Continued climate control system
operation in the recirculated air
position can cause drowsiness or
sleepiness, and loss of vehicle
control. Set the air intake control to
the outside (fresh) air position as
much as possible while driving.
OEN046128N
procarmanuals.com
Page 184 of 440
Features of your vehicle102 4Exhaust gas cutoff mode :
Air enters the vehicle from the outside.
If exhaust gas enters the vehicle from the
outside, the exhaust gas cutoff mode is
automatically converted from the outside
air position to the recirculated air position
to prevent exhaust gas from entering the
vehicle.✽ ✽
NOTICEIt should be noted that prolonged oper-
ation of the heating system in recircula-
tion mode will give rise to misting of the
windshield and side windows and the air
within the passenger compartment will
become stale. In addition, prolonged use
of the air conditioning with the recircu-
lation mode selected may result in the
air within the passenger compartment
becoming excessively dry.
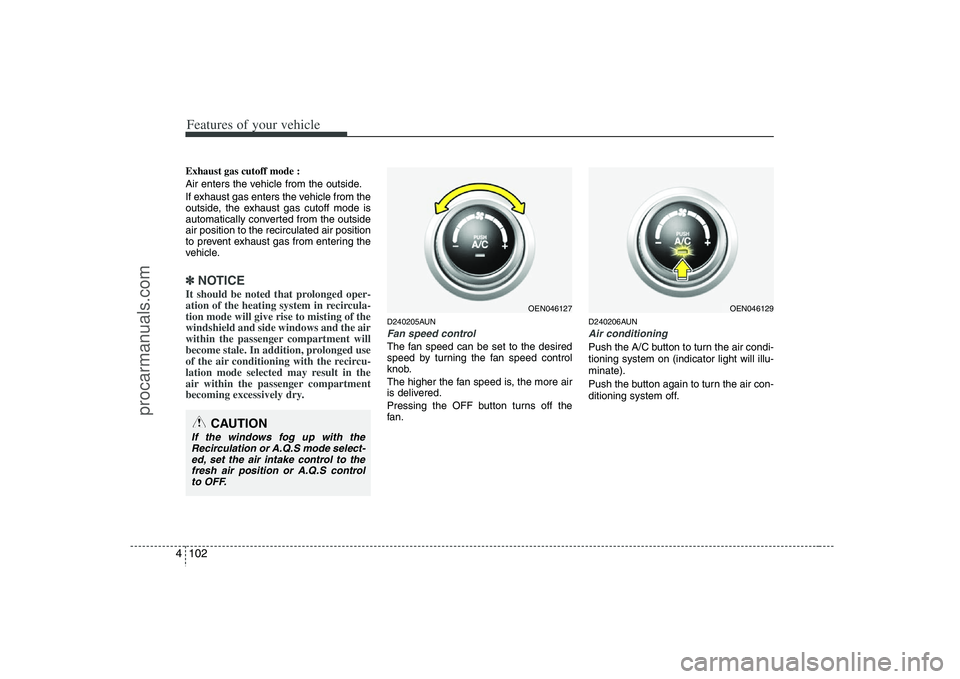
D240205AUNFan speed controlThe fan speed can be set to the desired
speed by turning the fan speed control
knob.
The higher the fan speed is, the more air
is delivered.
Pressing the OFF button turns off the
fan.
D240206AUNAir conditioningPush the A/C button to turn the air condi-
tioning system on (indicator light will illu-
minate).
Push the button again to turn the air con-
ditioning system off.
CAUTION
If the windows fog up with the
Recirculation or A.Q.S mode select-
ed, set the air intake control to the
fresh air position or A.Q.S control
to OFF.
OEN046127
OEN046129
procarmanuals.com
Page 190 of 440
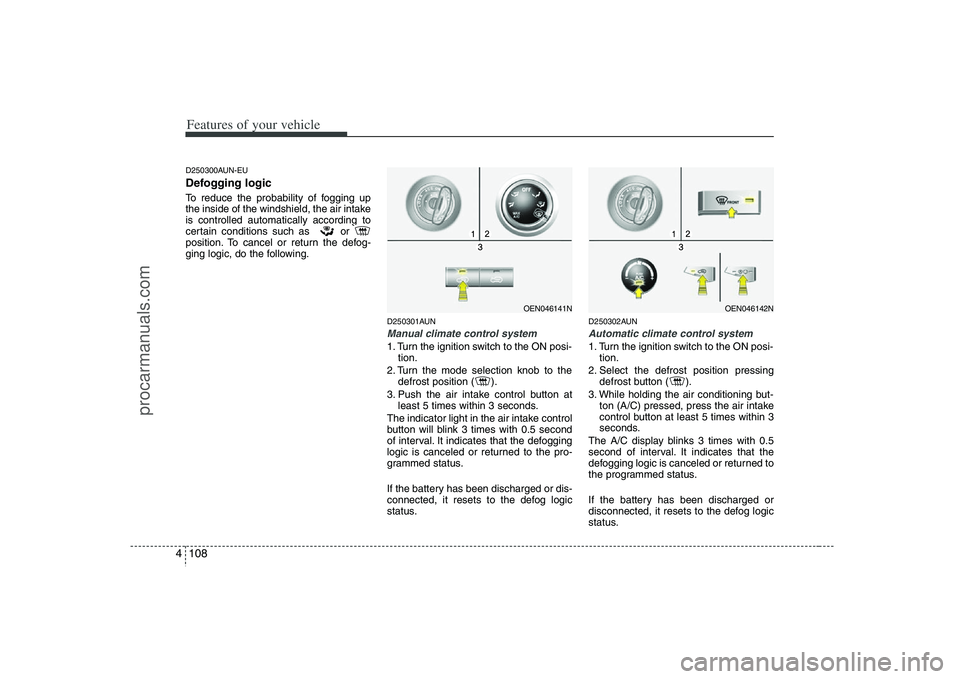
Features of your vehicle108 4D250300AUN-EUDefogging logicTo reduce the probability of fogging up
the inside of the windshield, the air intake
is controlled automatically according to
certain conditions such as or
position. To cancel or return the defog-
ging logic, do the following.
D250301AUNManual climate control system1. Turn the ignition switch to the ON posi-
tion.
2. Turn the mode selection knob to the
defrost position ( ).
3. Push the air intake control button at
least 5 times within 3 seconds.
The indicator light in the air intake control
button will blink 3 times with 0.5 second
of interval. It indicates that the defogging
logic is canceled or returned to the pro-
grammed status.
If the battery has been discharged or dis-
connected, it resets to the defog logic
status.
D250302AUNAutomatic climate control system1. Turn the ignition switch to the ON posi-
tion.
2. Select the defrost position pressing
defrost button ( ).
3. While holding the air conditioning but-
ton (A/C) pressed, press the air intake
control button at least 5 times within 3
seconds.
The A/C display blinks 3 times with 0.5
second of interval. It indicates that the
defogging logic is canceled or returned to
the programmed status.
If the battery has been discharged or
disconnected, it resets to the defog logic
status.
OEN046141N
OEN046142N
procarmanuals.com
Page 204 of 440
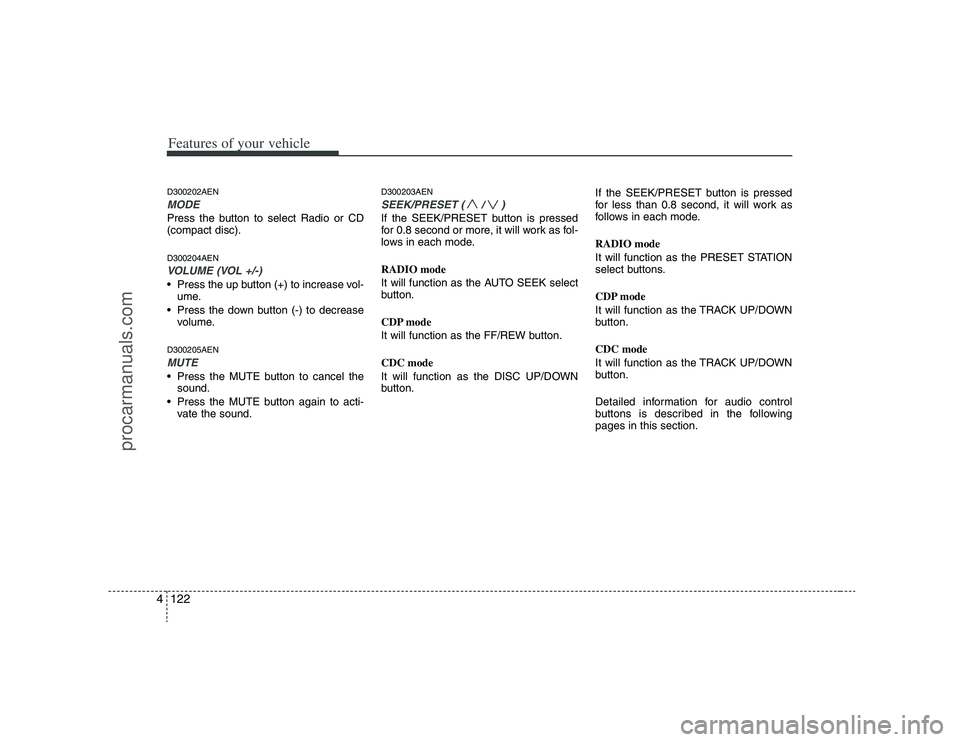
Features of your vehicle122 4D300202AENMODEPress the button to select Radio or CD
(compact disc).D300204AENVOLUME (VOL +/-)• Press the up button (+) to increase vol-
ume.
Press the down button (-) to decrease
volume.D300205AENMUTE Press the MUTE button to cancel the
sound.
Press the MUTE button again to acti-
vate the sound.
D300203AENSEEK/PRESET ( / )If the SEEK/PRESET button is pressed
for 0.8 second or more, it will work as fol-
lows in each mode.
RADIO mode
It will function as the AUTO SEEK select
button.
CDP mode
It will function as the FF/REW button.
CDC mode
It will function as the DISC UP/DOWN
button.If the SEEK/PRESET button is pressed
for less than 0.8 second, it will work as
follows in each mode.
RADIO mode
It will function as the PRESET STATION
select buttons.
CDP mode
It will function as the TRACK UP/DOWN
button.
CDC mode
It will function as the TRACK UP/DOWN
button.
Detailed information for audio control
buttons is described in the following
pages in this section.
procarmanuals.com
Page 212 of 440
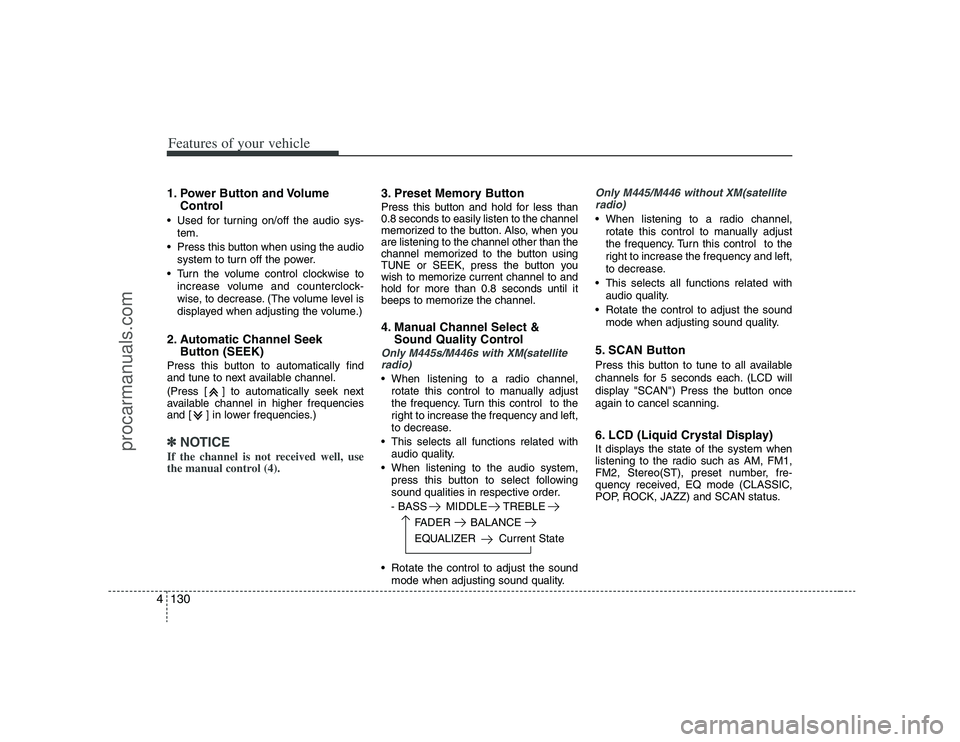
Features of your vehicle130 41. Power Button and Volume
Control Used for turning on/off the audio sys-
tem.
Press this button when using the audio
system to turn off the power.
Turn the volume control clockwise to
increase volume and counterclock-
wise, to decrease. (The volume level is
displayed when adjusting the volume.)2. Automatic Channel Seek
Button (SEEK)Press this button to automatically find
and tune to next available channel.
(Press [ ] to automatically seek next
available channel in higher frequencies
and [ ] in lower frequencies.)✽ ✽
NOTICEIf the channel is not received well, use
the manual control (4).
3. Preset Memory ButtonPress this button and hold for less than
0.8 seconds to easily listen to the channel
memorized to the button. Also, when you
are listening to the channel other than the
channel memorized to the button using
TUNE or SEEK, press the button you
wish to memorize current channel to and
hold for more than 0.8 seconds until it
beeps to memorize the channel.4. Manual Channel Select &
Sound Quality ControlOnly M445s/M446s with XM(satellite
radio) When listening to a radio channel,
rotate this control to manually adjust
the frequency. Turn this control to the
right to increase the frequency and left,
to decrease.
This selects all functions related with
audio quality.
When listening to the audio system,
press this button to select following
sound qualities in respective order.
- BASS MIDDLE TREBLE
FADER BALANCE
EQUALIZER Current State
Rotate the control to adjust the sound
mode when adjusting sound quality.
Only M445/M446 without XM(satellite
radio) When listening to a radio channel,
rotate this control to manually adjust
the frequency. Turn this control to the
right to increase the frequency and left,
to decrease.
This selects all functions related with
audio quality.
Rotate the control to adjust the sound
mode when adjusting sound quality.5. SCAN ButtonPress this button to tune to all available
channels for 5 seconds each. (LCD will
display "SCAN") Press the button once
again to cancel scanning.6. LCD (Liquid Crystal Display)It displays the state of the system when
listening to the radio such as AM, FM1,
FM2, Stereo(ST), preset number, fre-
quency received, EQ mode (CLASSIC,
POP, ROCK, JAZZ) and SCAN status.
procarmanuals.com
Page 218 of 440
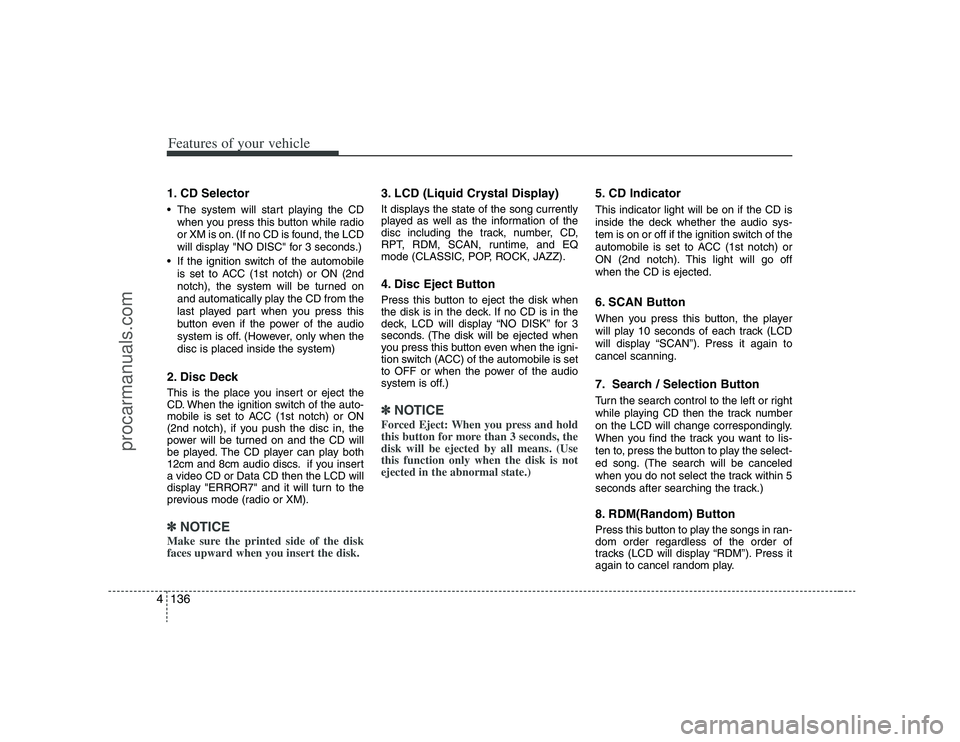
Features of your vehicle136 41. CD Selector The system will start playing the CD
when you press this button while radio
or XM is on. (If no CD is found, the LCD
will display "NO DISC" for 3 seconds.)
If the ignition switch of the automobile
is set to ACC (1st notch) or ON (2nd
notch), the system will be turned on
and automatically play the CD from the
last played part when you press this
button even if the power of the audio
system is off. (However, only when the
disc is placed inside the system)2. Disc DeckThis is the place you insert or eject the
CD. When the ignition switch of the auto-
mobile is set to ACC (1st notch) or ON
(2nd notch), if you push the disc in, the
power will be turned on and the CD will
be played. The CD player can play both
12cm and 8cm audio discs. if you insert
a video CD or Data CD then the LCD will
display "ERROR7" and it will turn to the
previous mode (radio or XM).✽ ✽
NOTICEMake sure the printed side of the disk
faces upward when you insert the disk.
3. LCD (Liquid Crystal Display)It displays the state of the song currently
played as well as the information of the
disc including the track, number, CD,
RPT, RDM, SCAN, runtime, and EQ
mode (CLASSIC, POP, ROCK, JAZZ).4. Disc Eject ButtonPress this button to eject the disk when
the disk is in the deck. If no CD is in the
deck, LCD will display “NO DISK” for 3
seconds. (The disk will be ejected when
you press this button even when the igni-
tion switch (ACC) of the automobile is set
to OFF or when the power of the audio
system is off.)✽ ✽
NOTICEForced Eject: When you press and hold
this button for more than 3 seconds, the
disk will be ejected by all means. (Use
this function only when the disk is not
ejected in the abnormal state.)
5. CD IndicatorThis indicator light will be on if the CD is
inside the deck whether the audio sys-
tem is on or off if the ignition switch of the
automobile is set to ACC (1st notch) or
ON (2nd notch). This light will go off
when the CD is ejected.6. SCAN ButtonWhen you press this button, the player
will play 10 seconds of each track (LCD
will display “SCAN”). Press it again to
cancel scanning.7. Search / Selection ButtonTurn the search control to the left or right
while playing CD then the track number
on the LCD will change correspondingly.
When you find the track you want to lis-
ten to, press the button to play the select-
ed song. (The search will be canceled
when you do not select the track within 5
seconds after searching the track.)8. RDM(Random) ButtonPress this button to play the songs in ran-
dom order regardless of the order of
tracks (LCD will display “RDM”). Press it
again to cancel random play.
procarmanuals.com
Page 222 of 440
Features of your vehicle140 41. XM Selector The XM selector will turn to each mode
in the following order each time you
press the button.
- XM1 XM2 XM3
When you press this button when you
are listening to CD or RADIO, the sys-
tem will automatically turn to XM
mode.
When the ignition switch is set to ACC
(1st notch) or ON (2nd notch) and
when you press this button, XM will be
on even when the audio system was
turned off.2. LCD (Liquid Crystal Display)It displays the XM1, XM2, XM3, Preset
Number, Title of the Channel Received,
EQ Mode (CLASSIC, POP, ROCK,
JAZZ), and SCAN Status when listening
to XM.
3. SCAN ButtonWhen you press this button, the player
will play 10 seconds of each channel
(LCD will display "SCAN"). Press it again
to cancel scanning. Also, press and this
button for more than 0.8 seconds to play
the channels memorized to the preset
buttons for 10 seconds each. (LCD will
display "corresponding channel number",
"
", and "SCAN".) Press it again to
cancel scanning.4. Information ButtonYou can see the information of the chan-
nel currently received and you can switch
to different information by pressing this
button in the following order.
- Title Name Category Current
State
5. Channel Move (Seek Up/Down)
Button When you press this button, the chan-
nel will move automatically and stop at
the next available channel and play the
channel. The display will cycle once
through the Channel, Title, Name and
Category for selected channel.
(Press [ ] to move to the higher fre-
quencies, press [ ] to the lower fre-
quencies automatically.)
Press and hold either the down or up at
a fast rate. The display will show the
Channel Name and Number while tun-
ing at the fast rate.
Radio ID :Seek or tune to XM channel
0 to display the Radio ID.
procarmanuals.com
Page 226 of 440
Features of your vehicle144 41. Power Button and Volume
Control Used for turning on/off the audio sys-
tem.
Press this button when using the audio
system to turn off the power.
Turn the volume control clockwise to
increase volume and counterclock-
wise, to decrease. (The volume level is
displayed when adjusting the volume.)2. Automatic Channel Seek
Button (SEEK)Press this button to automatically find
and tune to next available channel.
(Press [ ] to automatically seek next
available channel in higher frequencies
and [ ] in lower frequencies.)✽ ✽
NOTICEIf the channel is not received well, use
the manual control (4).
3. Preset Memory ButtonPress this button and hold for less than
0.8 seconds to easily listen to the channel
memorized to the button. Also, when you
are listening to the channel other than the
channel memorized to the button using
TUNE or SEEK, press the button you
wish to memorize current channel to and
hold for more than 0.8 seconds until it
beeps to memorize the channel.4. Manual Channel Select &
Sound Quality ControlOnly M466s with XM(satellite radio) When listening to a radio channel,
rotate this control to manually adjust
the frequency. Turn this control to the
right to increase the frequency and left,
to decrease.
This selects all functions related with
audio quality.
When listening to the audio system,
press this button to select following
sound qualities in respective order.
- BASS MIDDLE TREBLE
FADER BALANCE
EQUALIZER Current State
mode when adjusting sound quality.
Only M466 without XM(satellite radio) When listening to a radio channel,
rotate this control to manually adjust
the frequency. Turn this control to the
right to increase the frequency and left,
to decrease.
This selects all functions related with
audio quality.
Rotate the control to adjust the sound
mode when adjusting sound quality.5. SCAN ButtonPress this button to tune to all available
channels for 5 seconds each. (LCD will
display "SCAN") Press the button once
again to cancel scanning.6. LCD (Liquid Crystal Display)It displays the state of the system when
listening to the radio such as AM, FM1,
FM2, Stereo(ST), preset number, fre-
quency received, EQ mode (CLASSIC,
POP, ROCK, JAZZ) and SCAN status.
procarmanuals.com