maintenance INFINITI QX60 2015 Owner's Manual
[x] Cancel search | Manufacturer: INFINITI, Model Year: 2015, Model line: QX60, Model: INFINITI QX60 2015Pages: 554, PDF Size: 5.84 MB
Page 2 of 554
Your INFINITI represents a new way of thinking
about vehicle design. It integrates advanced en-
gineering and superior craftsmanship with a
simple, refined aesthetic sensitivity associated
with traditional Japanese culture.
The result is a different notion of luxury and
beauty. The car itself is important, but so is the
sense of harmony that the vehicle evokes in its
driver, and the sense of satisfaction you feel with
the INFINITI — from the way it looks and drives to
the high level of retailer service.
To ensure that you enjoy your INFINITI to the
fullest, we encourage you to read this Owner’s
Manual immediately. It explains all of the features,
controls and performance characteristics of your
INFINITI; it also provides important instructions
and safety information.
A separate Warranty Information Booklet
is included in your Owner’s literature port-
folio. The INFINITI Service and Mainte-
nance Guide explains details about main-
taining and servicing your vehicle. Always
carry it with you when you take your vehicle
to an INFINITI retailer. The Warranty Infor-
mation Booklet contents provide complete
information about all warranties covering
this vehicle, the requirements to keep the
warranties in effect as well as the INFINITI
Roadside Assistance program.Additionally, a separate Customer Care
and Lemon Law Information Booklet will
explain how to resolve any concerns you
may have with your vehicle, as well as
clarify your rights under your state’s lemon
law.
In addition to factory-installed options, your ve-
hicle may also be equipped with additional ac-
cessories installed by INFINITI or by your INFINITI
retailer prior to delivery. It is important that you
familiarize yourself with all disclosures, warnings,
cautions and instructions concerning proper use
of such accessories prior to operating the vehicle
and/or accessory. See an INFINITI retailer for
details concerning the particular accessories
with which your vehicle is equipped.
Before driving your vehicle, please read this
Owner’s Manual carefully. This will ensure famil-
iarity with controls and maintenance require-
ments, assisting you in the safe operation of your
vehicle.
WARNING
IMPORTANT SAFETY INFORMATION RE-
MINDERS FOR SAFETY!
Follow these important driving rules to
help ensure a safe and comfortable trip
for you and your passengers!
●
NEVER drive under the influence of al-
cohol or drugs.
● ALWAYS observe posted speed limits
and never drive too fast for conditions.
●
ALWAYS give your full attention to driving
and avoid using vehicle features or taking
other actions that could distract you.
●ALWAYS use your seat belts and appro-
priate child restraint systems. Pre-teen
children should be seated in the rear seat.
● ALWAYS provide information about the
proper use of vehicle safety features to
all occupants of the vehicle.
● ALWAYS review this Owner’s Manual
for important safety information.
FOREWORD READ FIRST—THEN DRIVE SAFELY
Page 8 of 554
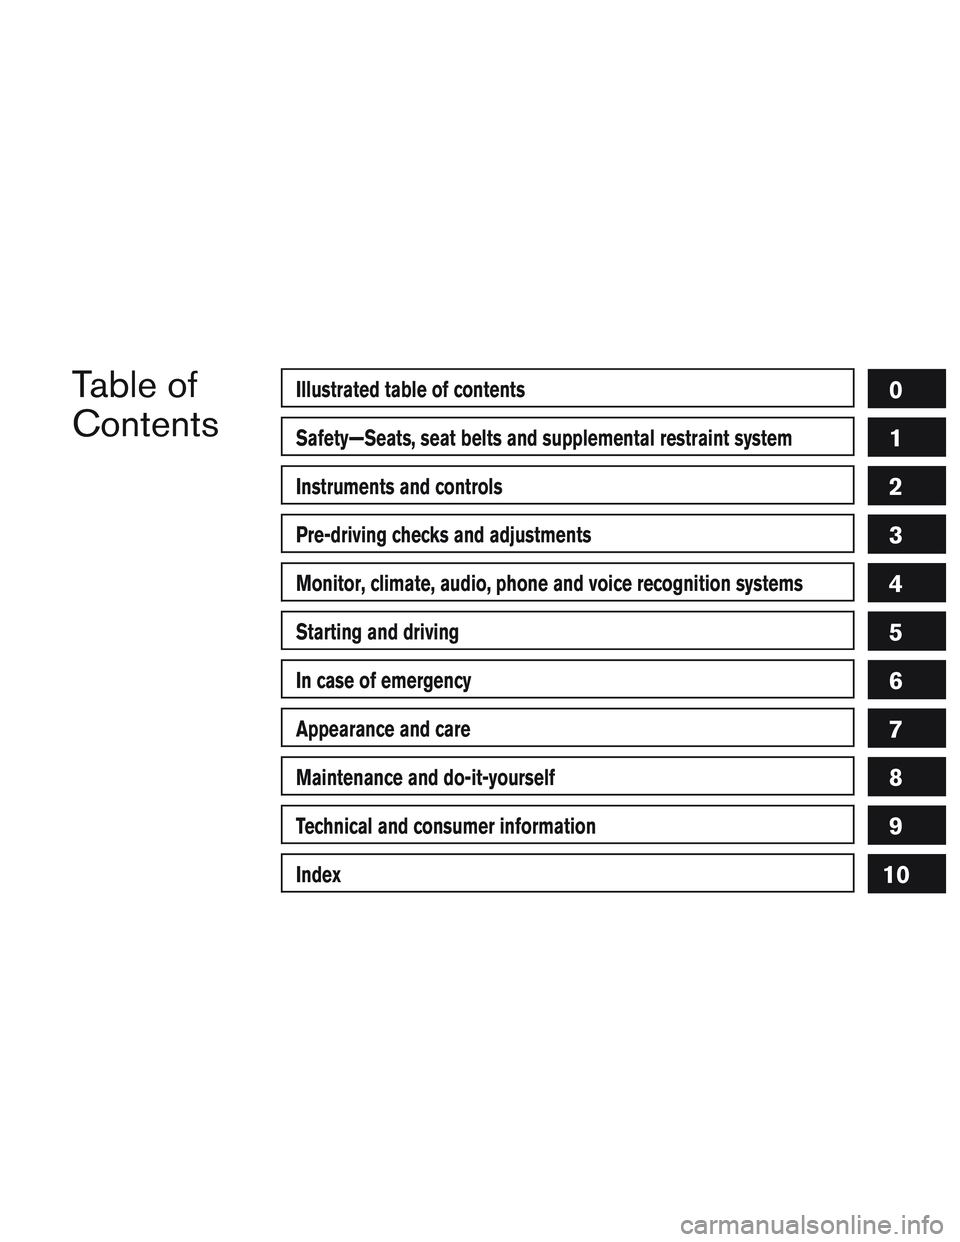
Table of
ContentsIllustrated table of contents
Safety—Seats, seat belts and supplemental restraint system
Instruments and controls
Pre-driving checks and adjustments
Monitor, climate, audio, phone and voice recognition systems
Starting and driving
In case of emergency
Appearance and care
Maintenance and do-it-yourself
Technical and consumer information
Index
0
1
2
3
4
5
6
7
8
9
10
Page 20 of 554
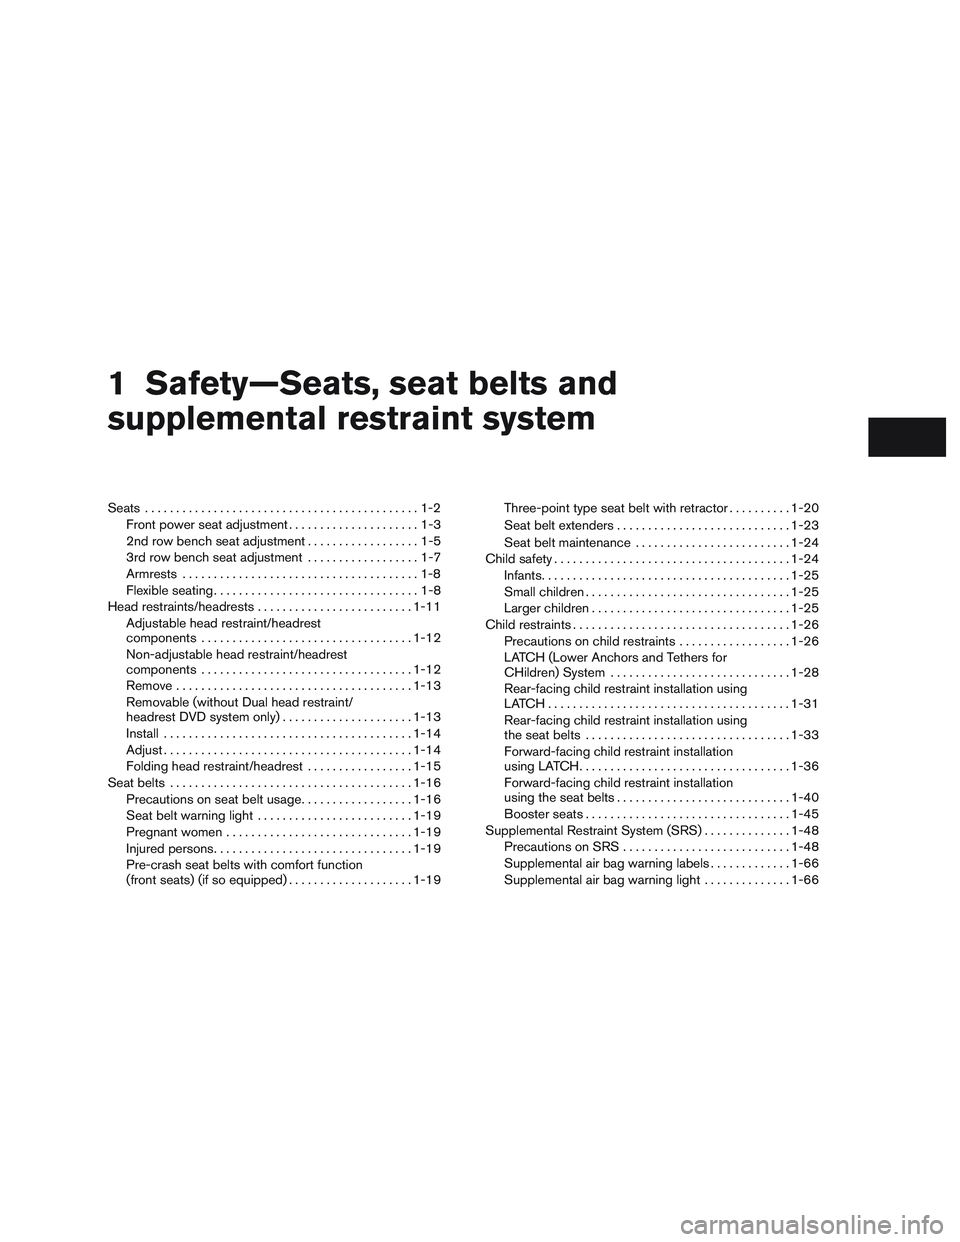
1 Safety—Seats, seat belts and
supplemental restraint system
Seats............................................1-2
Front power seat adjustment .....................1-3
2nd row bench seat adjustment ..................1-5
3rd row bench seat adjustment ..................1-7
Armrests ......................................1-8
Flexible seating .................................1-8
Head restraints/headrests ......................... 1-11
Adjustable head restraint/headrest
components .................................. 1-12
Non-adjustable head restraint/headrest
components .................................. 1-12
Remove ...................................... 1-13
Removable (without Dual head restraint/
headrest DVD system only) .....................1-13
Install ........................................ 1-14
Adjust ........................................ 1-14
Folding head restraint/headrest .................1-15
Seat belts ....................................... 1-16
Precautions on seat belt usage ..................1-16
Seat belt warning light ......................... 1-19
Pregnant women .............................. 1-19
Injured persons ................................ 1-19
Pre-crash seat belts with comfort function
(front seats) (if so equipped) ....................1-19Three-point type seat belt with retractor
..........1-20
Seat belt extenders ............................ 1-23
Seat belt maintenance ......................... 1-24
Child safety ...................................... 1-24
Infants ........................................ 1-25
Small children ................................. 1-25
Larger children ................................ 1-25
Child restraints ................................... 1-26
Precautions on child restraints ..................1-26
LATCH (Lower Anchors and Tethers for
CHildren) System ............................. 1-28
Rear-facing child restraint installation using
LATCH....................................... 1-31
Rear-facing child restraint installation using
the seat belts ................................. 1-33
Forward-facing child restraint installation
using LATCH .................................. 1-36
Forward-facing child restraint installation
using the seat belts ............................ 1-40
Booster
seats................................. 1-45
Supplemental Restraint System (SRS) ..............1-48
Precautions on SRS ........................... 1-48
Supplemental air bag warning labels .............1-66
Supplemental air bag warning light ..............1-66
Page 43 of 554

SEAT BELT MAINTENANCE
●To clean the seat belt webbing, apply a
mild soap solution or any solution recom-
mended for cleaning upholstery or carpet.
Then wipe with a cloth and allow the seat
belts to dry in the shade. Do not allow the
seat belts to retract until they are completely
dry.
● If dirt builds up in the shoulder belt
guide of the seat belt anchors, the seat
belts may retract slowly. Wipe the shoulder
belt guide with a clean, dry cloth.
● Periodically check to see that the seat
belt and the metal components, such as
buckles, tongues, retractors, flexible wires
and anchors, work properly. If loose parts,
deterioration, cuts or other damage on the
webbing is found, the entire seat belt as-
sembly should be replaced.
WARNING
Do not allow children to play with the seat
belts. Most seating positions are
equipped with Automatic Locking Retrac-
tor (ALR) mode seat belts. If the seat belt
becomes wrapped around a child’s neck
with the ALR mode activated, the child can
be seriously injured or killed if the seat
belt retracts and becomes tight. This can
occur even if the vehicle is parked. Un-
buckle the seat belt to release the child. If
the seat belt cannot be unbuckled or is
already unbuckled, release the child by
cutting the seat belt with a suitable tool
(such as a knife or scissors) to release the
seat belt.
Children need adults to help protect them.
They need to be properly restrained.
In addition to the general information in this
manual, child safety information is available from
many other sources, including doctors, teachers,
government traffic safety offices, and community
organizations. Every child is different, so be sure
to learn the best way to transport your child.
There are three basic types of child restraint
systems: ● Rear-facing child restraint ●
Forward-facing child restraint
● Booster seat
The proper restraint depends on the child’s size.
Generally, infants up to about 1 year and less
than 20 lbs (9 kg) should be placed in rear-facing
child restraints. Forward-facing child restraints
are available for children who outgrow rear-
facing child restraints and are at least 1 year old.
Booster seats are used to help position a vehicle
lap/shoulder belt on a child who can no longer
use a forward-facing child restraint.
WARNING
Infants and children need special protec-
tion. The vehicle’s seat belts may not fit
them properly. The shoulder belt may
come too close to the face or neck. The lap
belt may not fit over their small hip bones.
In an accident, an improperly fitting seat
belt could cause serious or fatal injury.
Always use appropriate child restraints.
All U.S. states and Canadian provinces or territo-
ries require the use of approved child restraints
for infants and small children. For additional infor-
mation, refer to “Child restraints” in this section.
CHILD SAFETY
1-24Safety—Seats, seat belts and supplemental restraint system
Page 86 of 554

Repair and replacement procedure
The front air bags, side air bags, curtain air bags
and pretensioners are designed to inflate on a
one-time-only basis. As a reminder, unless it is
damaged, the supplemental air bag warning light
remains illuminated after inflation has occurred.
Repair and replacement of these supplemental
air bag systems should be done only by an
INFINITI retailer.
When maintenance work is required on the ve-
hicle, the front air bags, side air bags, curtain air
bags, pretensioners and related parts should be
pointed out to the person performing the mainte-
nance. The ignition switch should always be in
the LOCK position when working under the hood
or inside the vehicle.
WARNING
●Once a front air bag, side air bag, or
curtain air bag has inflated, the air bag
module will not function again and
must be replaced. Additionally, the acti-
vated pretensioners must also be re-
placed. The air bag module and preten-
sioner should be replaced by an
INFINITI retailer. The air bag module
and pretensioner cannot be repaired. ●
The front air bag, side air bag, curtain
air bag systems and the pretensioner
system should be inspected by an
INFINITI retailer if there is any damage
to the front end or side portion of the
vehicle.
● If you need to dispose of a supplemen-
tal air bag or pretensioner or scrap the
vehicle, contact an INFINITI retailer. In-
correct disposal procedures could
cause personal injury.
Safety—Seats, seat belts and supplemental restraint system1-67
Page 96 of 554

WARNING LIGHTS
For additional information, refer to “Vehicle infor-
mation display” in this section.
Anti-lock Braking System(ABS) warning light
When the ignition switch is placed in the ON
position, the Anti-lock Braking System ABS
warning light illuminates and then turns off. This
indicates the ABS is operational.
If the ABS light comes on while the engine is
running, it may indicate the anti-lock braking sys-
tem is not functioning properly. Have the system
checked by an INFINITI retailer.
If an ABS malfunction occurs, the anti-lock func-
tion is turned off. The brake system then operates
normally, but without anti-lock assistance. For
additional information, refer to “Brake system” in
the “Starting and driving” section.
orBrake warning light
This light functions for both the parking brake and
the foot brake systems.
Parking brake indicator
When the ignition switch is placed in the ON
position, the light comes on when the parking
brake is applied. Low brake fluid warning light
When the ignition switch is placed in the ON
position, the light warns of a low brake fluid level.
If the light comes on while the engine is running
with the parking brake not applied, stop the ve-
hicle and perform the following:
1. Check the brake fluid level. Add brake fluid as necessary. For additional information, re-
fer to “Brake fluid” in the “Maintenance and
do-it-yourself” section of this manual.
2. If the brake fluid level is correct, have the warning system checked by an INFINITI re-
tailer.
WARNING
●Your brake system may not be working
properly if the warning light is on. Driv-
ing could be dangerous. If you judge it
to be safe, drive carefully to the nearest
service station for repairs. Otherwise,
have your vehicle towed because driv-
ing it could be dangerous.
● Pressing the brake pedal with the en-
gine stopped and/or a low brake fluid
level may increase your stopping dis-
tance and braking will require greater
pedal effort as well as pedal travel. ●
If the brake fluid level is below the
MINIMUM or MIN mark on the brake
fluid reservoir, do not drive until the
brake system has been checked at an
INFINITI retailer.
Anti-lock Braking System (ABS) warning
indicator
When the parking brake is released and the
brake fluid level is sufficient, if both the brake
warning light and the ABS warning light illumi-
nate, it may indicate the ABS is not functioning
properly. Have the brake system checked, and if
necessary, repaired by an INFINITI retailer
promptly. Avoid high-speed driving and abrupt
braking. For additional information, refer to “Anti-
lock Braking System (ABS) warning light” in this
section.
Charge warning light
If this light comes on while the engine is running,
it may indicate the charging system is not func-
tioning properly. Turn the engine off and check
the generator belt. If the belt is loose, broken,
missing, or if the light remains on, see an INFINITI
retailer immediately.
Instruments and controls2-9
Page 97 of 554
CAUTION
●Do not ground electrical accessories di-
rectly to the battery terminal. Doing so
will bypass the variable control system
and the vehicle battery may not charge
completely. For additional information,
refer to “Variable voltage control sys-
tem” in the “Maintenance and do-it-
yourself” section of this manual.
● Do not continue driving if the generator
belt is loose, broken or missing.
Engine oil pressure warning
light
This light warns of low engine oil pressure. If the
light flickers or comes on during normal driving,
pull off the road in a safe area, stop the engine
immediately, and call a INFINITI retailer or other
authorized repair shop.
The engine oil pressure warning light is not
designed to indicate a low oil level. Use the
dipstick to check the oil level. For additional in-
formation, refer to “Engine oil” in the “Mainte-
nance and do-it-yourself” section of this manual.
CAUTION
Running the engine with the engine oil
pressure warning light on could cause se-
rious damage to the engine almost imme-
diately. Such damage is not covered by
warranty. Turn off the engine as soon as it
is safe to do so.
Low tire pressure warning light
Your vehicle is equipped with a TPMS that moni-
tors the tire pressure of all tires except the spare.
The low tire pressure warning light warns of low
tire pressure or indicates that the TPMS is not
functioning properly.
After the ignition switch is placed in the ON
position, this light illuminates for about 1 second
and turns off.
Low tire pressure warning
If the vehicle is being driven with low tire
pressure, the warning light will illuminate.
A “Tire Press Low - Add Air” warning also
appears in the vehicle information display.
When the low tire pressure warning light
illuminates, you should stop and adjust the
tire pressure of all four tires to the recom-
mended COLD tire pressure shown on the Tire and Loading Information label located
in the driver’s door opening. The low tire
pressure warning light does not automati-
cally turn off when the tire pressure is ad-
justed. After the tire is inflated to the rec-
ommended pressure, the vehicle must be
driven at speeds above 16 MPH (25 km/h)
to activate the TPMS and turn off the low
tire pressure warning light. Use a tire pres-
sure gauge to check the tire pressure.
The “Tire Press Low - Add Air” warning appears
each time the ignition switch is placed in the ON
position as long as the low tire pressure warning
light remains illuminated.
For additional information, refer to “Vehicle infor-
mation display” in the “Instruments and controls”
section and “Tire Pressure Monitoring System
(TPMS)” in the “Starting and driving” section and
in the “In case of emergency” section of this
manual.
TPMS malfunction
If the TPMS is not functioning properly, the low
tire pressure warning light will flash for approxi-
mately 1 minute when the ignition switch is
placed in the ON position. The light will remain on
after the 1 minute. Have the system checked by
an INFINITI retailer. The “Tire Pressure Low - Add
2-10Instruments and controls
Page 100 of 554

●The supplemental air bag warning light does
not come on at all.
Unless checked and repaired, the supplemental
restraint system (air bag system) and/or the pre-
tensioner systems may not function properly. For
additional information, refer to “Supplemental re-
straint system (SRS)” in the “Safety—Seats, seat
belts and supplemental restraint system” section
of this manual.
WARNING
If the supplemental air bag warning light
is on, it could mean that the front air bag,
side air bag, curtain air bag systems
and/or pretensioner systems will not op-
erate in an accident. To help avoid injury to
yourself or others, have your vehicle
checked by an INFINITI retailer as soon as
possible.
INDICATOR LIGHTS
For additional information, refer to “Vehicle infor-
mation display” in this section.
Fog light indicator light
The front fog light indicator light illuminates when
the front fog lights are ON when the headlights
are ON. For additional information, refer to “Fog
light switch” in this section.
Front passenger air bag status light
The front passenger air bag status light will be lit
and the passenger front air bag will be OFF
depending on how the front passenger seat is
being used.
For additional information, refer to “Front passen-
ger air bag and status light” in the “Safety —
Seats, seat belts and supplemental restraint sys-
tem” section of this manual.
High beam indicator light(blue)
This blue light comes on when the headlight high
beams are on and goes out when the low beams
are selected.
The high beam indicator light also comes on
when the passing signal is activated.
Intelligent Brake Assist (IBA)OFF indicator light (if so
equipped)
The light illuminates when the Warning System
Switch is off and the IBA is disabled in the vehicle
information display. This indicates that the IBA
system is not operating. When the IBA OFF indicator light illuminates
while the system is enabled this indicates that the
system control is temporarily disabled.
If the IBA OFF indicator light illuminates when the
system is enabled and the Warning System
switch is on, have the system checked at a
NISSAN dealer.
Malfunction Indicator Light
(MIL)
If this indicator light comes on steady or blinks
while the engine is running, it may indicate a
potential emission control malfunction.
The MIL may also come on steady if the fuel-filler
cap is loose or missing, or if the vehicle runs out
of fuel. Check to make sure the fuel-filler cap is
installed and closed tightly, and that the vehicle
has at least 3 gal (11.4 L) of fuel in the fuel tank.
After a few driving trips, the
light should
turn off if no other potential emission control
system malfunction exists.
If this indicator light comes on steady for 20 sec-
onds and then blinks for 10 seconds when the
engine is not running, it indicates that the vehicle
is not ready for an emission control system
inspection/maintenance test. For additional infor-
mation, refer to “Readiness for
Instruments and controls2-13
Page 101 of 554

inspection/maintenance (I/M) test” in the “Tech-
nical and consumer information” section of this
manual.
Operation
The MIL will come on in one of two ways:● MIL on steady — An emission control system
malfunction has been detected. Check the
fuel-filler cap if the LOOSE FUEL CAP
warning appears in the Vehicle Information
Display. If the fuel-filler cap is loose or miss-
ing, tighten or install the cap and continue to
drive the vehicle. The
light should turn
off after a few driving trips. If the
light
does not turn off after a few driving trips,
have the vehicle inspected by an INFINITI
retailer. You do not need to have your vehicle
towed to an INFINITI retailer.
● MIL blinking — An engine misfire has been
detected which may damage the emission
control system. To reduce or avoid emission
control system damage:
– do not drive at speeds above 45 MPH (72 km/h).
– avoid hard acceleration or deceleration.
– avoid steep uphill grades.
– if possible, reduce the amount of cargo being hauled or towed. The MIL may stop blinking and come on steady.
Have the vehicle inspected by an INFINITI re-
tailer. You do not need to have your vehicle towed
to an INFINITI retailer.
CAUTION
Continued vehicle operation without hav-
ing the emission control system checked
and repaired as necessary could lead to
poor driveability, reduced fuel economy,
and possible damage to the emission con-
trol system.
Security indicator light
This light blinks whenever the ignition switch is in
the LOCK, OFF or ACC position. This function
indicates the security system equipped on the
vehicle is operational.
For additional information, refer to “Security sys-
tems” in this section.
Side light and headlight
indicator light (green) (if so
equipped)
The side light and headlight indicator light illumi-
nates when the side light or headlight position is
selected. For additional information, refer to
“Headlight and turn signal switch” in this section.
Slip indicator light
This indicator will blink when the VDC system or
the “Traction Control System (TCS)” is operating,
thus alerting that the vehicle is nearing its traction
limits. The road surface may be slippery.
Turn signal/hazard indicator
lights
The appropriate light flashes when the turn signal
switch is activated.
Both lights flash when the hazard switch is turned
on.
Vehicle Dynamic Control(VDC) OFF indicator light
This indicator light comes on when the VDC off
switch is pushed to OFF. This indicates the VDC
has been turned off.
Push the VDC off switch again or restart the
engine and the system will be reactivated. For
additional information, refer to “Vehicle Dynamic
Control (VDC) system” in the “Starting and driv-
ing” section of this manual.
The VDC light also comes on when the ignition
switch is placed to the ON position. The light will
turn off after about 2 seconds if the system is
operational. If the light stays on or comes on
2-14Instruments and controls
Page 104 of 554
SETTINGS
The setting mode allows you to change the infor-
mation displayed in the vehicle information display:
●Driver Assistance (if so equipped)
● Vehicle Settings
● Main Menu Selection
● Body Color
● Maintenance
● Alarms
● Language
● Unit
● Welcome Effects
● Factory Reset
Driver Assistance (if so equipped)
To change the status, warnings or turn on or off
any of the systems/warnings displayed in the
“Driver Assistance” menu:
Use the
button to select and the ENTER
button to change a menu item:
● Driving Aids (if so equipped)
● Back-up Collision Inter. (if so equipped)
● Intelligent Brake Assist (if so equipped) Driving Aids (if so equipped)
To change the status, warnings or turn on or off
any of the systems/warnings displayed in the
“Driving Aids” menu.
Use the
button to select and the ENTER
button to change a menu item:
● Forward
● Warning (FCW)
●Assistance (DCA)
● Lane
● Warning (LDW)
●Assistance (LDP)
● Blind Spot
● Warning (BSW)
●Assistance (BSI)
●Brightness — Bright/STD/Dark
Back-up Collision Interv. (if so equipped)
The Back-up Collision Intervention system can
be changed to be ON when the ignition switch is
placed in the ON position and to Auto Resume.
Use the
button to select and the ENTER
button to change a menu item:
● Ignition On Status – On/Off Intelligent Brake Assist (if so equipped)
The intelligent brake assist system can be
enabled/disabled in the vehicle information dis-
play.
Use the
button to select and the ENTER
button to change a menu item:
● System – On/Off
Vehicle Settings
Vehicle settings allow the customer to change
settings for rain sensor (if so equipped) , interior
lights, Intelligent Key settings, unlock settings
and other vehicle settings.
The vehicle settings can be changed using
the
,, and the ENTER buttons.
Welcome light
The welcome light can be set to be ON or OFF.
From the Vehicle Settings menu, select “Wel-
come Light”. Use the ENTER button to turn this
feature ON or OFF.
Auto Room Lamp
The interior lights can be set to be ON or OFF if
any door is unlocked. From the Vehicle Settings
menu, select “Auto Room Light”. Use the ENTER
button to turn this feature ON or OFF.
Instruments and controls2-17