JEEP CHEROKEE 2014 KL / 5.G Owners Manual
Manufacturer: JEEP, Model Year: 2014, Model line: CHEROKEE, Model: JEEP CHEROKEE 2014 KL / 5.GPages: 690, PDF Size: 4.74 MB
Page 131 of 690
mounting. The mirror head can be adjusted up, down,
left, and right for various drivers. The mirror should be
adjusted to center on the view through the rear window.
If equipped, the rearview mirror contains an ASSIST and
a 9-1-1 button.NOTE:
The ASSIST and 9–1–1 features operate through
the Uconnect® Access service. These buttons will only
operate as long as your Uconnect® Access service is
active. Refer to your “Uconnect® System supplement
manual” for further information.
ASSIST Call
The ASSIST Button is used to automatically connect you
to any one of the following support centers:
• Roadside Assistance – If you get a flat tire, or need a
tow, just press the Assist button and you’ll be con-
nected to someone who can help. Roadside Assistance
will know what vehicle you’re driving and its location.
Additional fees may apply for roadside Assistance.
• Uconnect® Access Customer Care – In-vehicle support
for Uconnect® Access and Uconnect® Access Via
Mobile features.
• Vehicle Customer Care – Total support for all other
vehicle issues.
Assist And 9–1–1 Mirror
3
UNDERSTANDING THE FEATURES OF YOUR VEHICLE 129
Page 132 of 690
9-1-1 Call
1. Press the 9-1-1 Call button on the Rearview Mirror.
NOTE:In case the 9-1-1 Call button is pushed in error,
there will be a 10 second delay before the 9-1-1 Call
system initiates a call to a 9-1-1 operator. To cancel the
9-1-1 Call connection, press the 9-1-1 Call button on the
Rearview Mirror or press the cancellation button on the
Phone Screen. Termination of the 9-1-1 Call will turn the
green LED light on the Rearview Mirror off.
2. The LED light located between the Assist and 9-1-1 buttons on the Rearview Mirror will turn green once a
connection to a 9-1-1 operator has been made. 3. Once a connection between the vehicle and a 9-1-1
operator is made, the 9-1-1 Call system may transmit
the following important vehicle information to a 9-1-1
operator:
• Indication that the occupant placed a 9-1-1 Call.
• The vehicle brand.
• The last known GPS coordinates of the vehicle.
4. You should be able to speak with the 9-1-1 operator through the vehicle audio system to determine if
additional help is needed.
NOTE:
Once a connection is made between the vehicle’s
9-1-1 Call system and the 9-1-1 operator, the 9-1-1 operator
may be able to open a voice connection with the vehicle to
determine if additional help is needed. Once the 9-1-1
130 UNDERSTANDING THE FEATURES OF YOUR VEHICLE
Page 133 of 690
operator opens a voice connection with the vehicle’s 9-1-1
Call system, the operator should be able to speak with you
or other vehicle occupants and hear sounds occurring in
the vehicle. The vehicle’s 9-1-1 Call system will attempt to
remain connected with the 9-1-1 operator until the 9-1-1
operator terminates the connection.
5. The 9-1-1 operator may attempt to contact appropriateemergency responders and provide them with impor-
tant vehicle information and GPS coordinates.
WARNING!
•If anyone in the vehicle could be in danger (e.g.,
fire or smoke is visible, dangerous road conditions
or location), do not wait for voice contact from a
9-1-1 operator. All occupants should exit the vehicle
immediately and move to a safe location.
(Continued)
WARNING! (Continued)
•The 9-1-1 Call system is embedded into the vehi-
cle’s electrical system. Do not add aftermarket
electrical equipment to the vehicle’s electrical sys-
tem. This may prevent your vehicle from sending a
signal to initiate an emergency call. To avoid inter-
ference that can cause the 9-1-1 Call system to fail,
never add aftermarket equipment (e.g., two-way
mobile radio, CB radio, data recorder, etc.) to your
vehicle’s electrical system or modify the antennas
on your vehicle.
• Modifications to any part of the 9-1-1 Call system
could cause the air bag system to fail when you
need it. You could be injured if the air bag system
is not there to help protect you.
3
UNDERSTANDING THE FEATURES OF YOUR VEHICLE 131
Page 134 of 690
9-1-1 Call System Limitations
Vehicles sold in Canada and MexicoDO NOThave 9-1-1
Call system capabilities.
9-1-1 or other emergency line operators in Canada and
Mexico may not answer or respond to 9-1-1 system calls.
If the 9-1-1 Call system detects a malfunction, any of the
following may occur at the time the malfunction is
detected, and at the beginning of each ignition cycle:
• The Rearview Mirror light located between the Assist
and 9-1-1 buttons will continuously be illuminated
red.
• The Phone Screen will display the following message
“Vehicle phone requires service. Please contact your
dealer.”
• An In-Vehicle Audio message will state “Vehicle phone
requires service. Please contact your dealer.”WARNING!
• Ignoring the Rearview Mirror light could mean you
will not have 9-1-1 Call services. If the Rearview
Mirror light is illuminated, have an authorized
dealer service the 9-1-1 Call system immediately.
• The ORC turns on the air bag Warning Light on the
instrument panel if a malfunction in any part of the
system is detected. If the air bag Warning Light is
illuminated, have an authorized dealer service the
ORC system immediately.
Even if the 9-1-1 Call system is fully functional, factors
beyond Chrysler Group LLC’s control may prevent or
stop the 9-1-1 Call system operation. These include, but
are not limited to, the following factors:
• The ignition key has been removed from the ignition
and the delayed accessories mode is active.
• The ignition key is in OFF position.
132 UNDERSTANDING THE FEATURES OF YOUR VEHICLE
Page 135 of 690
•The vehicle’s electrical systems are not intact.
• The 9-1-1 Call system software and/or hardware are
damaged during a crash.
• The vehicle battery loses power or becomes discon-
nected during a vehicle crash.
• Wireless and/or Global Positioning Satellite signals
are unavailable or obstructed.
• Equipment malfunction at the 9-1-1 operator facility.
• Operator error by the 9-1-1 operator.
• Wireless network congestion.
• Weather.
• Buildings, structures, geographic terrain, or tunnels.
NOTE: Never place anything on or near the vehicle’s
wireless and GPS antennas. You could prevent wireless
and GPS signal reception, which can prevent your vehicle from placing an emergency call. Wireless and GPS signal
reception is required for the 9-1-1 Call system to function
properly.
General Information
This device complies with Part 15 of the FCC Rules.
Operation is subject to the following two conditions: (1)
This device may not cause harmful interference, and (2)
this device must accept any interference received, includ-
ing interference that may cause undesired operation.
CAUTION!
To avoid damage to the mirror during cleaning, never
spray any cleaning solution directly onto the mirror.
Apply the solution onto a clean cloth and wipe the
mirror clean.
3
UNDERSTANDING THE FEATURES OF YOUR VEHICLE 133
Page 136 of 690
Outside Mirrors
To receive maximum benefit, adjust the outside mirror(s)
to center on the adjacent lane of traffic and a slight
overlap of the view obtained from the inside mirror.
NOTE:The passenger side convex outside mirror will
give a much wider view to the rear, and especially of the
lane next to your vehicle.
WARNING!
Vehicles and other objects seen in the passenger side
convex mirror will look smaller and farther away
than they really are. Relying too much on your
passenger side convex mirror could cause you to
collide with another vehicle or other object. Use your
inside mirror when judging the size or distance of a
vehicle seen in the passenger side convex mirror.
Power Mirrors
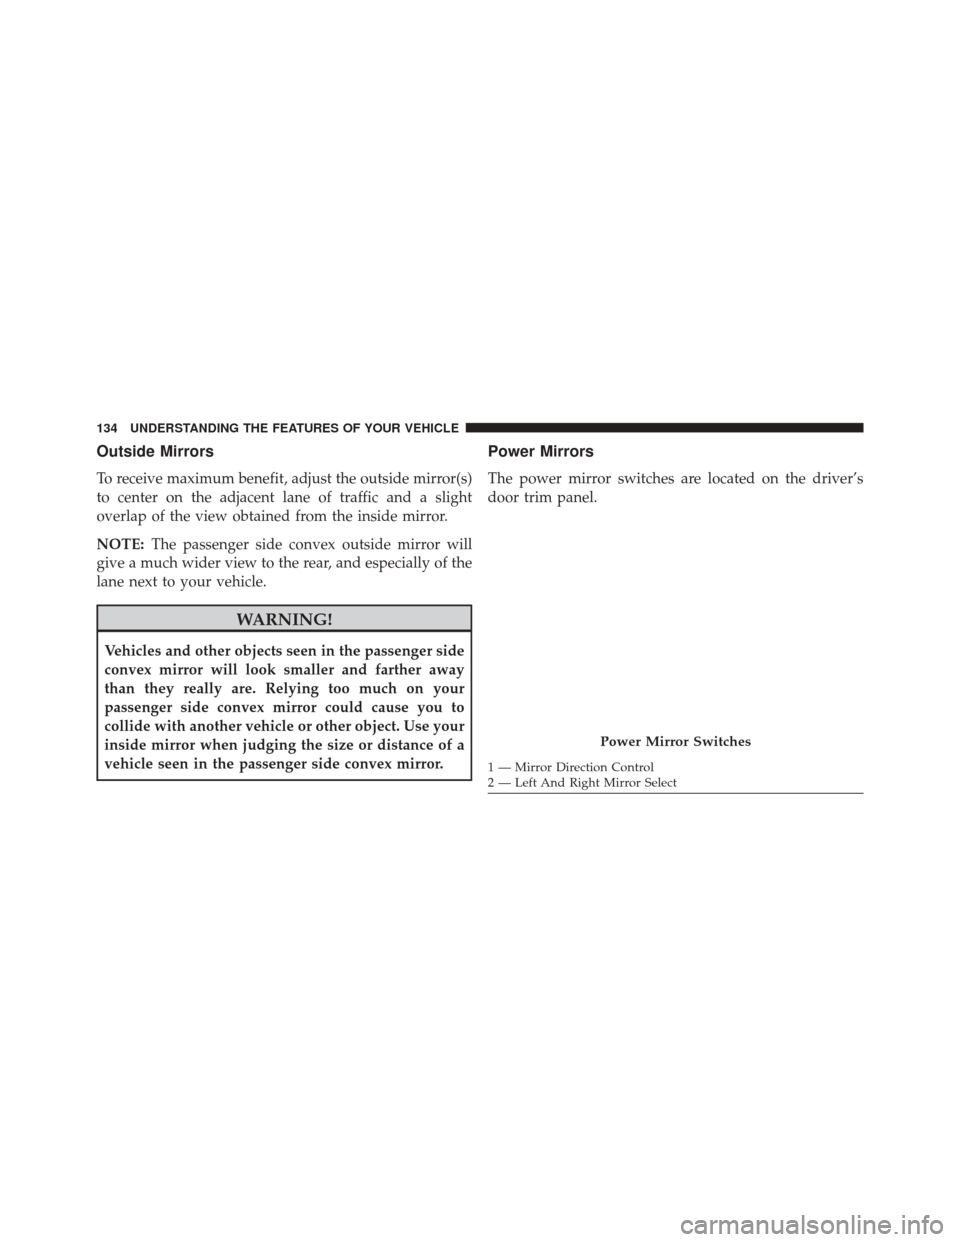
The power mirror switches are located on the driver’s
door trim panel.
Power Mirror Switches
1 — Mirror Direction Control
2 — Left And Right Mirror Select
134 UNDERSTANDING THE FEATURES OF YOUR VEHICLE
Page 137 of 690
Models With Express Window Feature
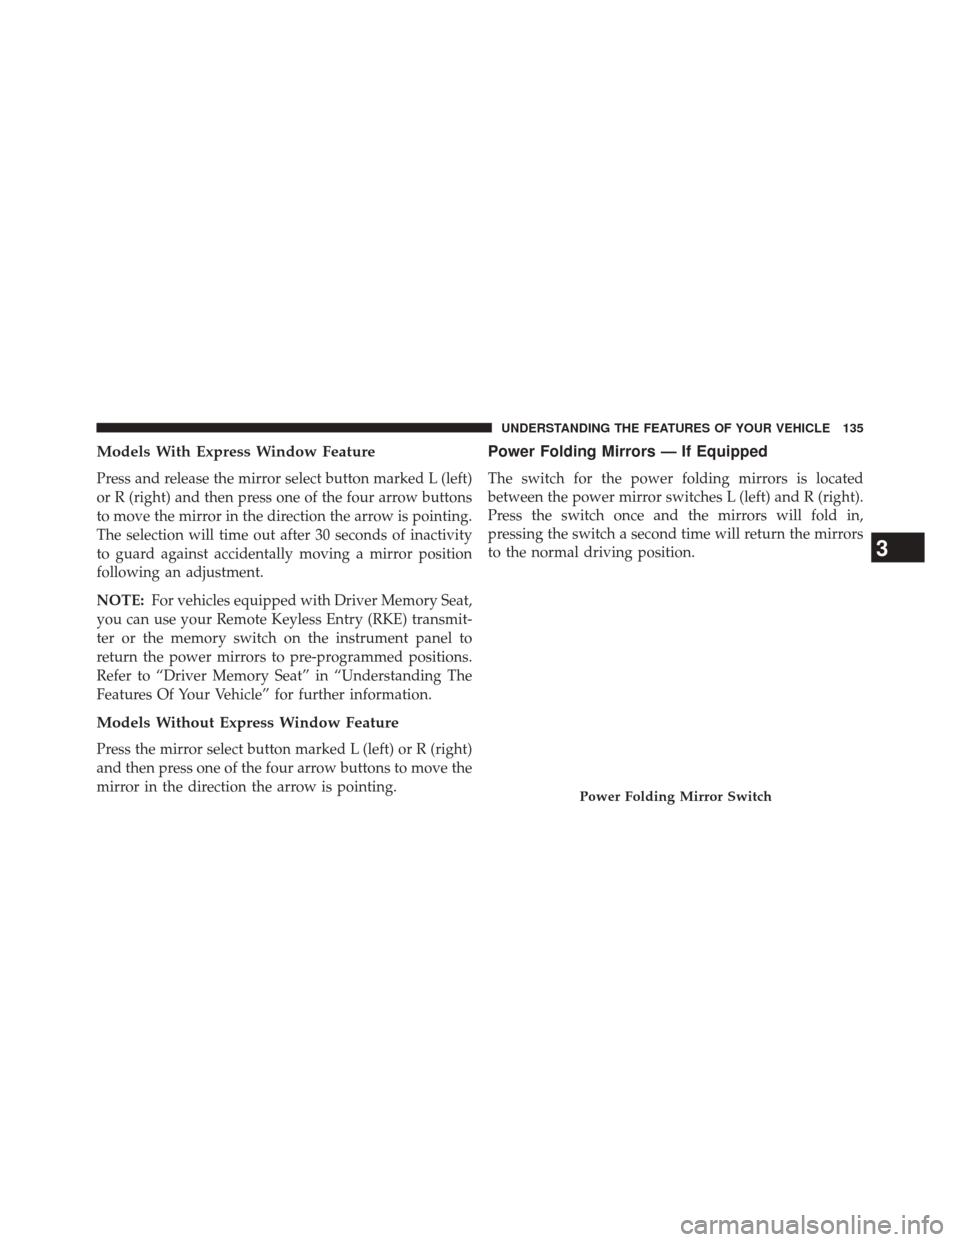
Press and release the mirror select button marked L (left)
or R (right) and then press one of the four arrow buttons
to move the mirror in the direction the arrow is pointing.
The selection will time out after 30 seconds of inactivity
to guard against accidentally moving a mirror position
following an adjustment.
NOTE:For vehicles equipped with Driver Memory Seat,
you can use your Remote Keyless Entry (RKE) transmit-
ter or the memory switch on the instrument panel to
return the power mirrors to pre-programmed positions.
Refer to “Driver Memory Seat” in “Understanding The
Features Of Your Vehicle” for further information.
Models Without Express Window Feature
Press the mirror select button marked L (left) or R (right)
and then press one of the four arrow buttons to move the
mirror in the direction the arrow is pointing.
Power Folding Mirrors — If Equipped
The switch for the power folding mirrors is located
between the power mirror switches L (left) and R (right).
Press the switch once and the mirrors will fold in,
pressing the switch a second time will return the mirrors
to the normal driving position.
Power Folding Mirror Switch
3
UNDERSTANDING THE FEATURES OF YOUR VEHICLE 135
Page 138 of 690
NOTE:If the vehicle speed is greater than 10 mph
(16 km/h) the folding feature will be disabled.
If the mirrors are in the folded position, and vehicle
speed is equal or greater than 10 mph (16 km/h), they
will automatically unfold.
Resetting The Power Folding Outside Mirrors
You may need to reset the power folding mirrors if the
following occurs:
• The mirrors are accidentally blocked while folding.
• The mirrors are accidentally manually folded/
unfolded.
• The mirrors come out of the unfolded position.
• The mirrors shake and vibrate at normal driving
speeds. To reset the power folding mirrors: Fold and unfold them
by pressing the button. (This may require multiple button
pushes). This resets them to their normal position.
Heated Mirrors — If Equipped
These mirrors are heated to melt frost or ice. This
feature can be activated whenever you turn on the
rear window defroster (if equipped). Refer to “Rear
Window Features” in “Understanding The Features Of
Your Vehicle” for further information.
Illuminated Vanity Mirrors — If Equipped
An illuminated vanity mirror is on each sun visor. To use
the mirror, rotate the sun visor down and swing the
mirror cover upward. The lights will turn on automati-
cally. Closing the mirror cover will turn off the light.
136 UNDERSTANDING THE FEATURES OF YOUR VEHICLE
Page 139 of 690
Sun Visor “Slide-On-Rod” Feature — If Equipped
The sun visor “Slide-On-Rod” feature allows for addi-
tional flexibility in positioning the sun visor to block out
the sun.
1. Fold down the sun visor.
2. Unclip the visor from the center clip.
3. Pull the sun visor toward the inside rearview mirror toextend it.
Illuminated Vanity Mirror
3
UNDERSTANDING THE FEATURES OF YOUR VEHICLE 137
Page 140 of 690
BLIND SPOT MONITORING (BSM) — IF EQUIPPED
The Blind Spot Monitoring (BSM) system uses two radar-
based sensors, located inside the rear bumper fascia, to
detect highway licensable vehicles (automobiles, trucks,
motorcycles, etc.) that enter the blind spot zones from the
rear/front/side of the vehicle.When the vehicle is started, the BSM warning light will
momentarily illuminate in both outside rear view mirrors
to let the driver know that the system is operational. The
BSM system sensors operate when the vehicle is in any
forward gear or REVERSE and enters stand-by mode
when the vehicle is in PARK.
The BSM detection zone covers approximately one lane
on both sides of the vehicle (12 ft or 3.8 m). The zone
starts at the outside rear view mirror and extends ap-
proximately 23 ft (7 m) to the rear of the vehicle. The BSM
system monitors the detection zones on both sides of the
vehicle when the vehicle speed has reached approxi-
mately 6 mph (10 km/h) or higher and will alert the
driver of vehicles in these areas.
Rear Detection Zones
138 UNDERSTANDING THE FEATURES OF YOUR VEHICLE