bulb JEEP CHEROKEE 2014 KL / 5.G User Guide
[x] Cancel search | Manufacturer: JEEP, Model Year: 2014, Model line: CHEROKEE, Model: JEEP CHEROKEE 2014 KL / 5.GPages: 690, PDF Size: 4.74 MB
Page 599 of 690

Your vehicle has a simple ignition actuated test, which
you can use prior to going to the test station. To check if
your vehicle’s OBD II system is ready, you must do the
following:
1. Cycle the ignition switch to the ON position, but donot crank or start the engine.
NOTE: If you crank or start the engine, you will have to
start this test over.
2. As soon as you cycle the ignition switch to the ON position, you will see the MIL symbol come on as part
of a normal bulb check.
3. Approximately 15 seconds later, one of two things will happen:
• The MIL will flash for about 10 seconds and then
return to being fully illuminated until you turn OFF
the ignition or start the engine. This means that your
vehicle’s OBD II system is not readyand you should
not proceed to the I/M station. •
The MIL will not flash at all and will remain fully
illuminated until you turn OFF the ignition or start the
engine. This means that your vehicle’s OBD II system
is ready and you can proceed to the I/M station.
If your OBD II system is not ready,you should see your
authorized dealer or repair facility. If your vehicle was
recently serviced or had a battery failure or replacement,
you may need to do nothing more than drive your
vehicle as you normally would in order for your OBD II
system to update. A recheck with the above test routine
may then indicate that the system is now ready.
Regardless of whether your vehicle’s OBD II system is
ready or not, if the MIL is illuminated during normal
vehicle operation you should have your vehicle serviced
before going to the I/M station. The I/M station can fail
your vehicle because the MIL is on with the engine
running.
7
MAINTAINING YOUR VEHICLE 597
Page 644 of 690

VEHICLE STORAGE
If you are leaving your vehicle dormant for more than 21
days you may want to take steps to protect your battery.
You may:
•Disconnect the negative cable from the battery.
• Anytime you store your vehicle, or keep it out of
service (i.e. vacation) for two weeks or more, run the
air conditioning system at idle for about five minutes
in the fresh air and high blower setting. This will
ensure adequate system lubrication to minimize the
possibility of compressor damage when the system is
started again.
REPLACEMENT BULBS
Interior Bulbs
Bulb Number
Cargo Lamp TL212–2
Overhead Console Lamp PLW214–2A Reading Lamp WL212–2
Exterior Bulbs
Bulb Number
Low Beam/High Beam
(Bi-Halogen) Headlamps HIR2
Low Beam/High Beam (Bi-Xenon) Headlamps D3S (Serviced at an
Authorized Dealer)
Front Park/Daytime Running Lamps LED (Serviced at an
Authorized Dealer)
642 MAINTAINING YOUR VEHICLE
Page 645 of 690

Bulb Number
Front Turn Signal Lamps WY21W
Front Fog Lamps H11
Front Fog Lamps (Trailhawk) PSX24W
Rear Tail/Stop Lamps LED ( Serviced at an Authorized Dealer)
Rear Turn Signal Lamps WY21W
Center High Mounted Stop Lamp (CHMSL) LED (Serviced at an
Authorized Dealer)
Back-Up Lamps W16W
License Plate Lamp W5WBULB REPLACEMENT
NOTE:Lens fogging can occur under certain atmo-
spheric conditions. This will usually clear as atmospheric
conditions change to allow the condensation to change
back into a vapor. Turning the lamps on will usually
accelerate the clearing process.
Low Beam And High Beam Headlamps
Bi-Xenon High Intensity Discharge (HID)
Headlamps — If Equipped
The headlamps contain a type of high voltage discharge
light source. High voltage can remain in the circuit even
with the headlamp switch off and the key removed.
Because of this, you should not attempt to service a HID
headlamp light source yourself. If an HID headlamp light
source fails, take your vehicle to an authorized dealer for
service.
7
MAINTAINING YOUR VEHICLE 643
Page 646 of 690

NOTE:On vehicles equipped with HID headlamps,
when the headlamps are turned on, there is a blue hue to
the lights. This diminishes and becomes more white after
approximately 10 seconds, as the system charges.
WARNING!
A transient high voltage occurs at the bulb sockets of
HID headlamps when the headlamp switch is turned
ON. It may cause serious electrical shock or electro-
cution if not serviced properly. See your authorized
dealer for service.
Bi-Halogen Headlamps
1. Unlock upper access door in wheel liner.
2. Reach behind the headlamp housing to access the headlamp bulb cap. 3. Firmly grasp the cap and rotate it counterclockwise to
unlock it.
4. Firmly grasp the bulb and connector assembly and rotate counterclockwise to remove from the housing.
5. Disconnect the bulb from the electrical connector and then connect the replacement bulb.
CAUTION!
Do not touch the new bulb with your fingers. Oil
contamination will severely shorten bulb life. If the
bulb comes in contact with any oily surface, clean the
bulb with rubbing alcohol.
6. Install the bulb and connector assembly into the headlamp housing and rotate clockwise to lock it in
place.
644 MAINTAINING YOUR VEHICLE
Page 647 of 690

7. Install the bulb cap in the headlamp housing androtate clockwise to lock it in place.
8. Lock upper door in wheel liner.
Front Turn Signals
1. Open the hood.
NOTE: Removal of the air cleaner filter housing may be
necessary prior to replacing bulbs in the upper lamp
assembly on the passenger side of the vehicle.
2. Twist the bulb and socket assembly counterclockwise, and then remove the bulb and socket assembly from
the lamp housing.
3. Pull the bulb out of the socket and insert the replace- ment bulb.
4. Install the bulb and socket assembly into the housing, and rotate the socket clockwise to lock it in place.
5. Re-install air cleaner filter housing, if removed.
Front Fog Lamp
1. Unlock lower access door in wheel liner.
2. Reach behind the fog lamp housing to access the bulb.
3. Rotate the bulb’s socket counterclockwise, and remove the bulb and socket assembly from the fog lamp
housing.
4. Pull the bulb out of the socket and insert the replace- ment bulb.
CAUTION!
Do not touch the new bulb with your fingers. Oil
contamination will severely shorten bulb life. If the
bulb comes in contact with any oily surface, clean the
bulb with rubbing alcohol.7
MAINTAINING YOUR VEHICLE 645
Page 648 of 690

5. Install the bulb and socket assembly into the into thefog lamp housing, and rotate the connector clockwise
to lock it in place.
6. Lock the lower door in the wheel liner.
Front Fog Lamp (Trailhawk)
1. Unlock lower access door in wheel liner.
2. Reach behind the fog lamp housing to access the bulb.
3. Squeeze the two tabs on the side of the bulb socket and pull straight out from the fog lamp.
4. Disconnect the wire harness from the bulb.
CAUTION!
Do not touch the new bulb with your fingers. Oil
contamination will severely shorten bulb life. If the
bulb comes in contact with any oily surface, clean the
bulb with rubbing alcohol. 5. Reconnect the wiring harness to the new bulb and
reinstall by inserting the new bulb straight into the fog
lamp housing until it locks in place.
6. Lock the lower door in the wheel liner.
Rear Turn Signal Lamp
1. Open the liftgate.
2. Remove the screws that fasten the tail lamp housing to the vehicle.
3. Grasp the tail lamp and pull firmly rearward to disengage the lamp from the vehicle.
4. Disconnect the electrical connector.
5. Twist the socket counterclockwise and remove from housing.
6. Pull the bulb to remove it from the socket.
7. Replace the bulb and install the socket.
646 MAINTAINING YOUR VEHICLE
Page 649 of 690

8. Reconnect the electrical connector.
9. Reinstall the tail lamp housing and screws.
10. Close the liftgate.
Back-up Lamp
1. Open the liftgate.
2. Use a fiber stick or flat blade screw driver to pry thelower trim from the liftgate.
3. Once the trim is loose, pull it back exposing the trim panel.
4. Using a fiber stick or flat blade screw driver, open the trim panel exposing the back of the liftgate lamp.
5. Disconnect the electrical connector.
6. Twist the socket counterclockwise and remove from lamp. 7. Pull the bulb to remove it from the socket.
8. Replace the bulb, reinstall the socket.
9. Connect the electrical connector.
10. Reinstall the trim panel and the lower trim.
11. Close the liftgate.
License Plate Lamp
1. Using a small screwdriver, press inward the locking
tab on the side of the lamp assembly and pull down on
the lamp assembly for removal.
2. Pull bulb from socket, replace, and reinstall the lamp assembly into place ensuring the locking tab is secure.
7
MAINTAINING YOUR VEHICLE 647
Page 671 of 690
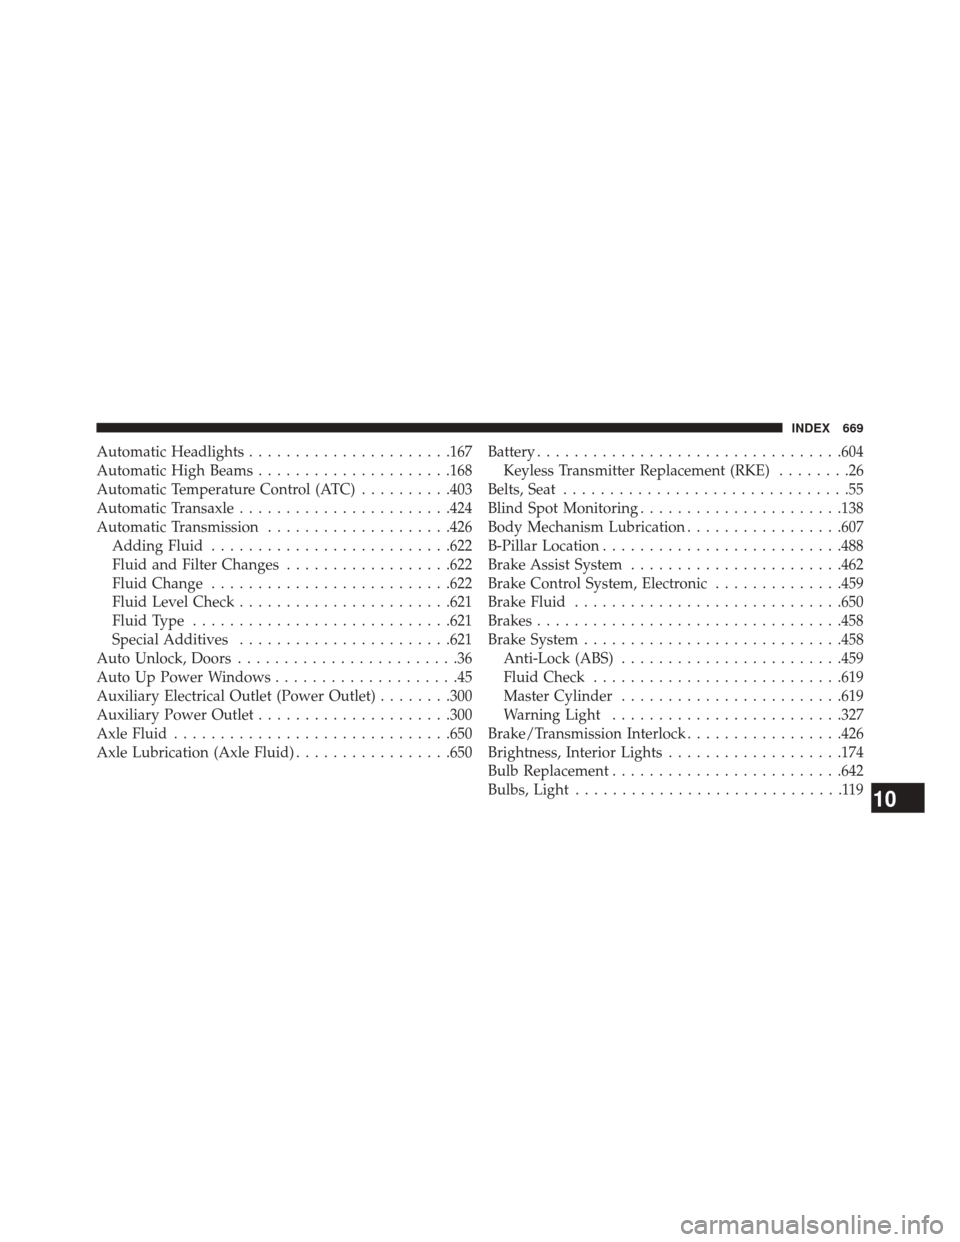
Automatic Headlights..................... .167
Automatic High Beams .....................168
Automatic Temperature Control (ATC) ..........403
Automatic Transaxle ...................... .424
Automatic Transmission ....................426
Adding Fluid ......................... .622
Fluid and Filter Changes ..................622
Fluid Change ......................... .622
Fluid Level Check ...................... .621
Fluid Type ........................... .621
Special Additives ...................... .621
Auto Unlock, Doors ........................36
Auto Up Power Windows ....................45
Auxiliary Electrical Outlet (Power Outlet) ........300
Auxiliary Power Outlet .....................300
Axle Fluid ............................. .650
Axle Lubrication (Axle Fluid) .................650Battery
................................ .604
Keyless Transmitter Replacement (RKE) ........26
Belts, Seat ...............................55
Blind Spot Monitoring ..................... .138
Body Mechanism Lubrication .................607
B-Pillar Location ......................... .488
Brake Assist System ...................... .462
Brake Control System, Electronic ..............459
Brake Fluid ............................ .650
Brakes ................................ .458
Brake System ........................... .458
Anti-Lock (ABS) ....................... .459
Fluid Check .......................... .619
Master Cylinder ....................... .619
Warning Light ........................ .327
Brake/Transmission Interlock .................426
Brightness, Interior Lights ...................174
Bulb Replacement ........................ .642
Bulbs, Light .............................
11910
INDEX 669
Page 676 of 690
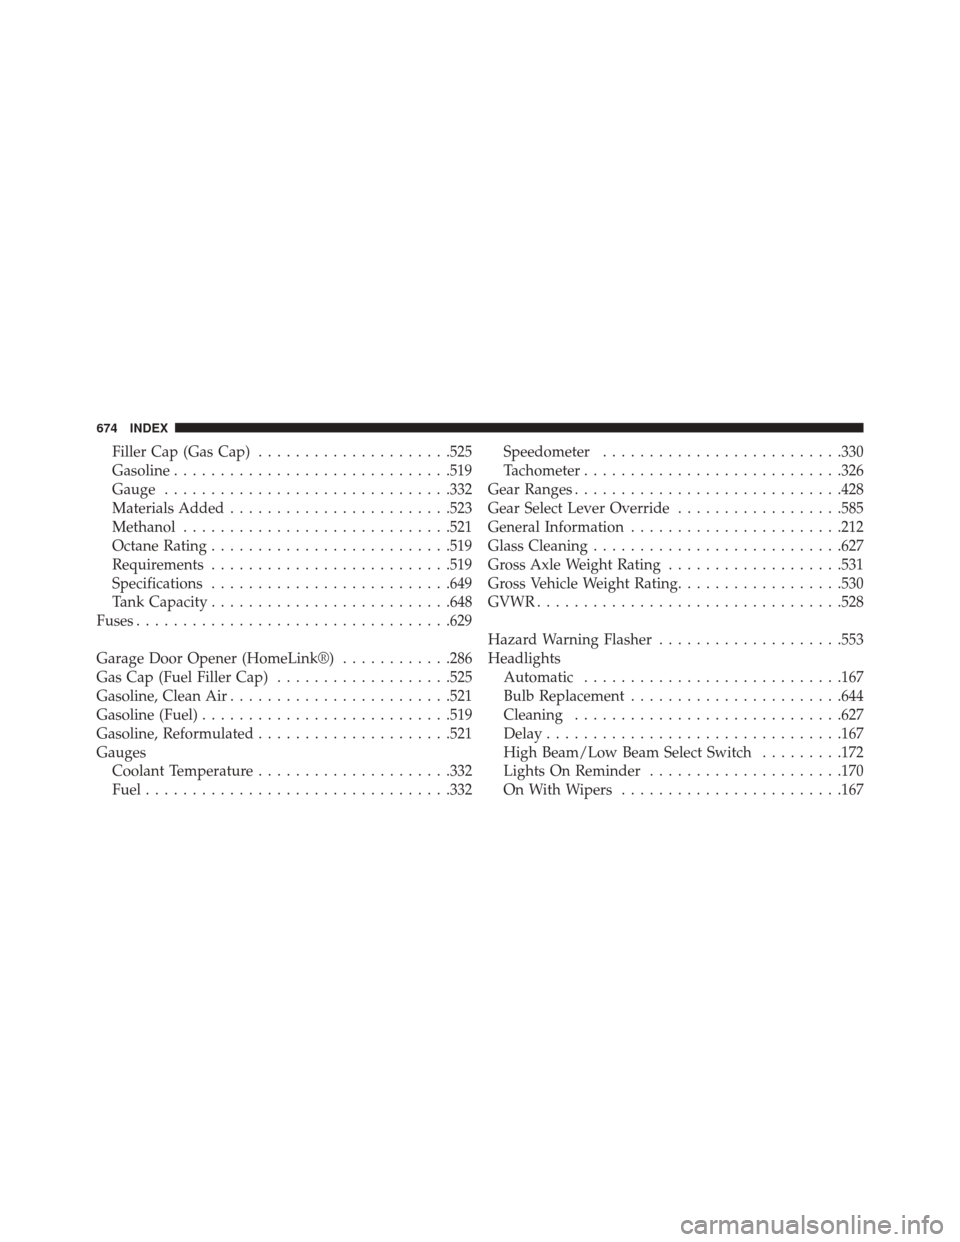
Filler Cap (Gas Cap).....................525
Gasoline ............................. .519
Gauge .............................. .332
Materials Added ....................... .523
Methanol ............................ .521
Octane Rating ......................... .519
Requirements ......................... .519
Specifications ......................... .649
Tank Capacity ......................... .648
Fuses ................................. .629
Garage Door Opener (HomeLink®) ............286
Gas Cap (Fuel Filler Cap) ...................525
Gasoline, Clean Air ....................... .521
Gasoline (Fuel) .......................... .519
Gasoline, Reformulated .....................521
Gauges Coolant Temperature .....................332
Fuel ................................ .332Speedometer
......................... .330
Tachometer ........................... .326
Gear Ranges ............................ .428
Gear Select Lever Override ..................585
General Information ...................... .212
Glass Cleaning .......................... .627
Gross Axle Weight Rating ...................531
Gross Vehicle Weight Rating ..................530
GVWR ................................ .528
Hazard Warning Flasher ....................553
Headlights Automatic ........................... .167
Bulb Replacement ...................... .644
Cleaning ............................ .627
Delay ............................... .167
High Beam/Low Beam Select Switch .........172
Lights On Reminder .....................170
On With Wipers ....................... .167
674 INDEX
Page 678 of 690

Jacking Instructions....................... .570
Jack Location ........................... .567
Jack Operation .......................... .566
Jump Starting ........................... .578
Key Fob Arm The Alarm .........................19
Panic Alarm ............................25
Programming Additional Key Fobs ...........18
Programming Additional Transmitters .........18
Key-In Reminder ..........................15
Keyless Enter-N-Go ........................38
Keyless Entry System .......................22
Key, Replacement ..........................18
Keys ...................................12
Key, Sentry (Immobilizer) ....................16
Lane Change and Turn Signals ................172
Lane Change Assist ....................... .172Lap/Shoulder Belts
.........................55
Latches ................................119
Hood ............................... .164
Latch Plate ...............................56
Lead Free Gasoline ....................... .519
Leaks, Fluid .............................119
Life of Tires ............................ .501
Liftgate .................................47
Liftgate Window Wiper/Washer ...............317
Light Bulbs ..............................119
Lights .................................119
Airbag ................................74
Anti-Lock ............................ .328
Automatic Headlights ....................167
Back-Up ............................. .646
Battery Saver ......................... .176
Brake Assist Warning ....................478
Brake Warning ........................ .327
Bulb Replacement ...................... .642
676 INDEX