key JEEP CHEROKEE 2014 KL / 5.G Owner's Manual
[x] Cancel search | Manufacturer: JEEP, Model Year: 2014, Model line: CHEROKEE, Model: JEEP CHEROKEE 2014 KL / 5.GPages: 204, PDF Size: 3.84 MB
Page 18 of 204
Lock Or Unlock The Liftgate
• To Lock The Liftgate — With a valid Passive Entry RKE transmitter within 5 ft(1.5 m) of the liftgate, press the passive entry lock button located to the right of
electronic liftgate handle.
• To Unlock/Enter The Liftgate — The liftgate passive entry unlock feature is built into the electronic liftgate handle. With a valid passive entry RKE transmitter
within 5 ft (1.5 m) of the liftgate, press the electronic release switch to open the
liftgate.
NOTE:
Refer to your Owner's Manual on the DVD for further information.
ENGINE STARTING/STOPPING
Starting
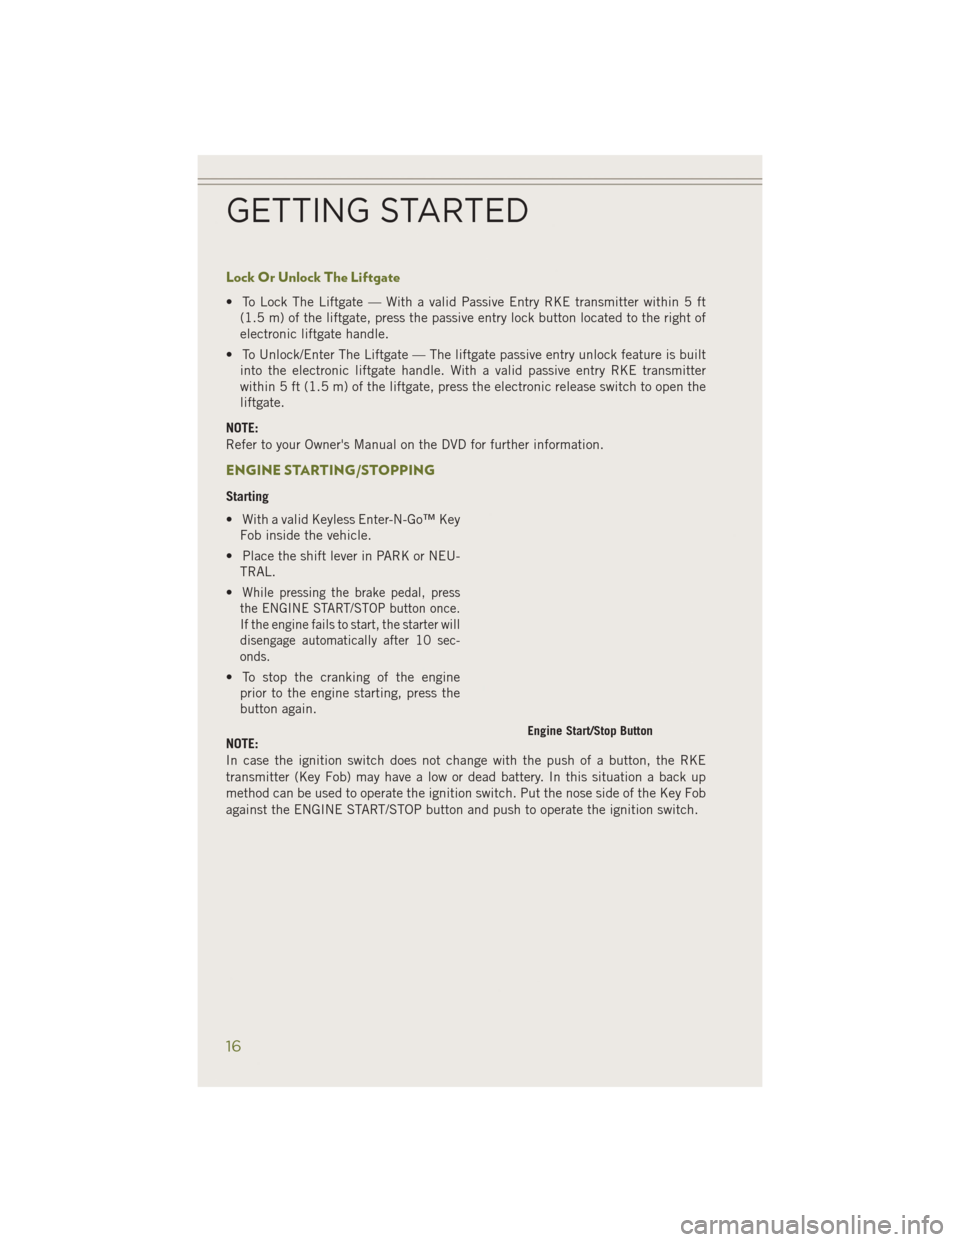
• With a valid Keyless Enter-N-Go™ Key Fob inside the vehicle.
• Place the shift lever in PARK or NEU- TRAL.
•
While pressing the brake pedal, press
the ENGINE START/STOP button once.
If the engine fails to start, the starter will
disengage automatically after 10 sec-
onds.
• To stop the cranking of the engine prior to the engine starting, press the
button again.
NOTE:
In case the ignition switch does not change with the push of a button, the RKE
transmitter (Key Fob) may have a low or dead battery. In this situation a back up
method can be used to operate the ignition switch. Put the nose side of the Key Fob
against the ENGINE START/STOP button and push to operate the ignition switch.
Engine Start/Stop Button
GETTING STARTED
16
Page 19 of 204
Stopping
• Place the shift lever in PARK.
• Press the ENGINE START/STOP button once. The ignition switch will return to theOFF position.
•
If the shift lever is not in PARK, the ENGINE START/STOP button must be held for two
seconds and vehicle speed must be above 5 mph (8 km/h) before the engine will shut off.
Accessory Positions With Engine Off
NOTE:
The following functions are with the driver’s foot OFF the Brake Pedal (Transmission
in PARK or NEUTRAL Position).
Starting With The Ignition Switch In The OFF Position:
• Press the ENGINE START/STOP button once to change the ignition switch to the ACC position.
• Press the ENGINE START/STOP button a second time to change the ignition switch to the ON/RUN position.
• Press the ENGINE START/STOP button a third time to return the ignition switch to the OFF position.
NOTE:
If the ignition switch is left in the ACC or
ON/RUN (engine not running) position
and the transmission is in PARK, the
system will automatically time out after
30 minutes of inactivity and the ignition
will switch to the OFF position.
• In case the ignition switch does not change with the push of a button, the
RKE transmitter (Key Fob) may have a
low or dead battery. In this situation a
back up method can be used to operate the ignition switch. Put the nose side (side
opposite of the emergency key) of the Key Fob against the ENGINE START/STOP
button and push to operate the ignition switch.
GETTING STARTED
17
Page 27 of 204
FRONT SEATS
Power Seats
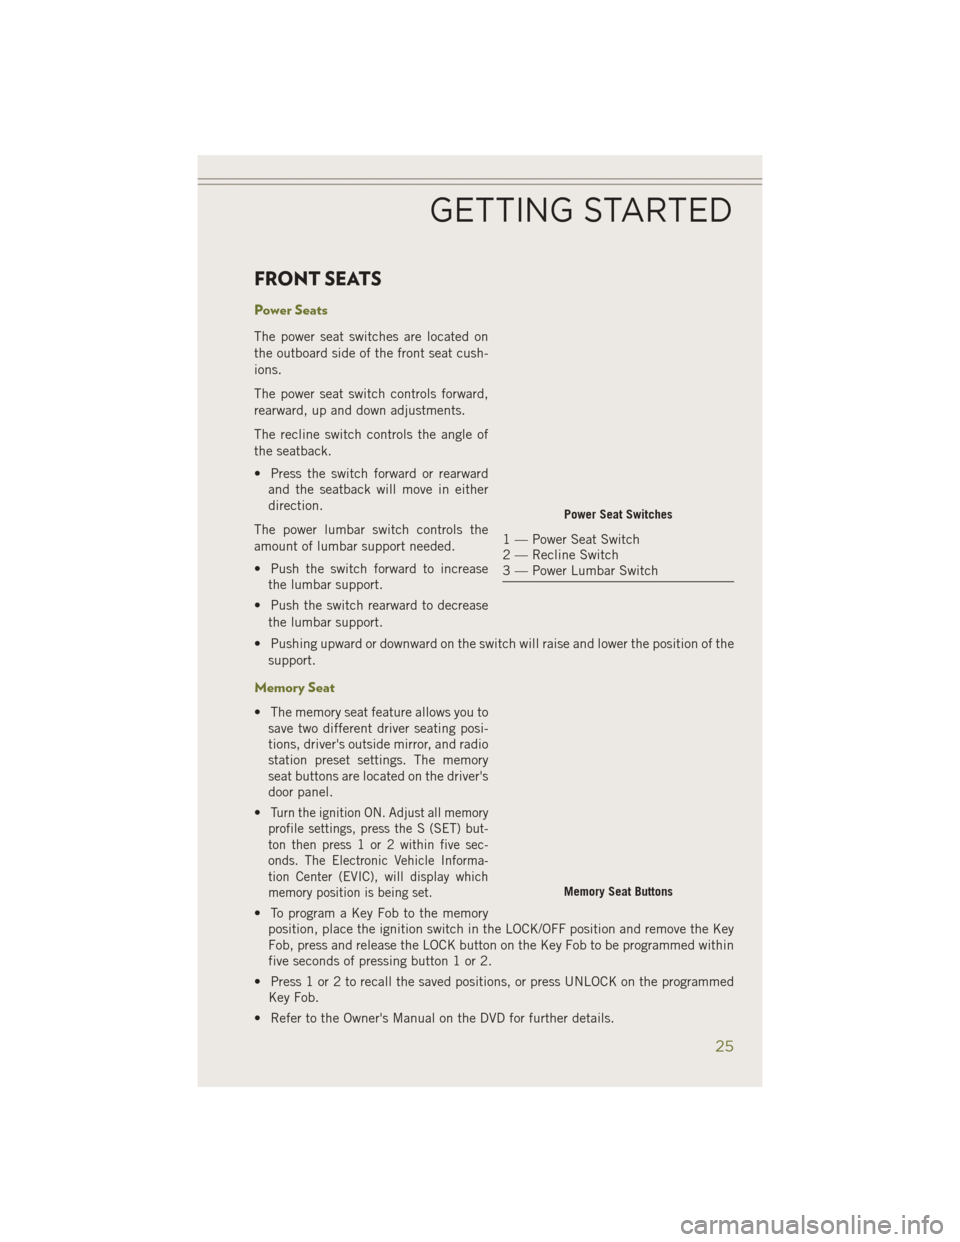
The power seat switches are located on
the outboard side of the front seat cush-
ions.
The power seat switch controls forward,
rearward, up and down adjustments.
The recline switch controls the angle of
the seatback.
• Press the switch forward or rearwardand the seatback will move in either
direction.
The power lumbar switch controls the
amount of lumbar support needed.
• Push the switch forward to increase the lumbar support.
• Push the switch rearward to decrease the lumbar support.
• Pushing upward or downward on the switch will raise and lower the position of the support.
Memory Seat
• The memory seat feature allows you tosave two different driver seating posi-
tions, driver's outside mirror, and radio
station preset settings. The memory
seat buttons are located on the driver's
door panel.
•
Turn the ignition ON. Adjust all memory
profile settings, press the S (SET) but-
ton then press 1 or 2 within five sec-
onds. The Electronic Vehicle Informa-
tion Center (EVIC), will display which
memory position is being set.
• To program a Key Fob to the memory position, place the ignition switch in the LOCK/OFF position and remove the Key
Fob, press and release the LOCK button on the Key Fob to be programmed within
five seconds of pressing button 1 or 2.
• Press 1 or 2 to recall the saved positions, or press UNLOCK on the programmed Key Fob.
• Refer to the Owner's Manual on the DVD for further details.
Power Seat Switches
1 — Power Seat Switch
2 — Recline Switch
3 — Power Lumbar Switch
Memory Seat Buttons
GETTING STARTED
25
Page 30 of 204
HEATED/VENTILATED SEATS
Front Ventilated Seats
Located in the seat cushion and seatback are small fans that draw the air from the
passenger compartment and pull air through fine perforations in the seat cover to
help keep the driver and front passenger cooler in higher ambient temperatures.
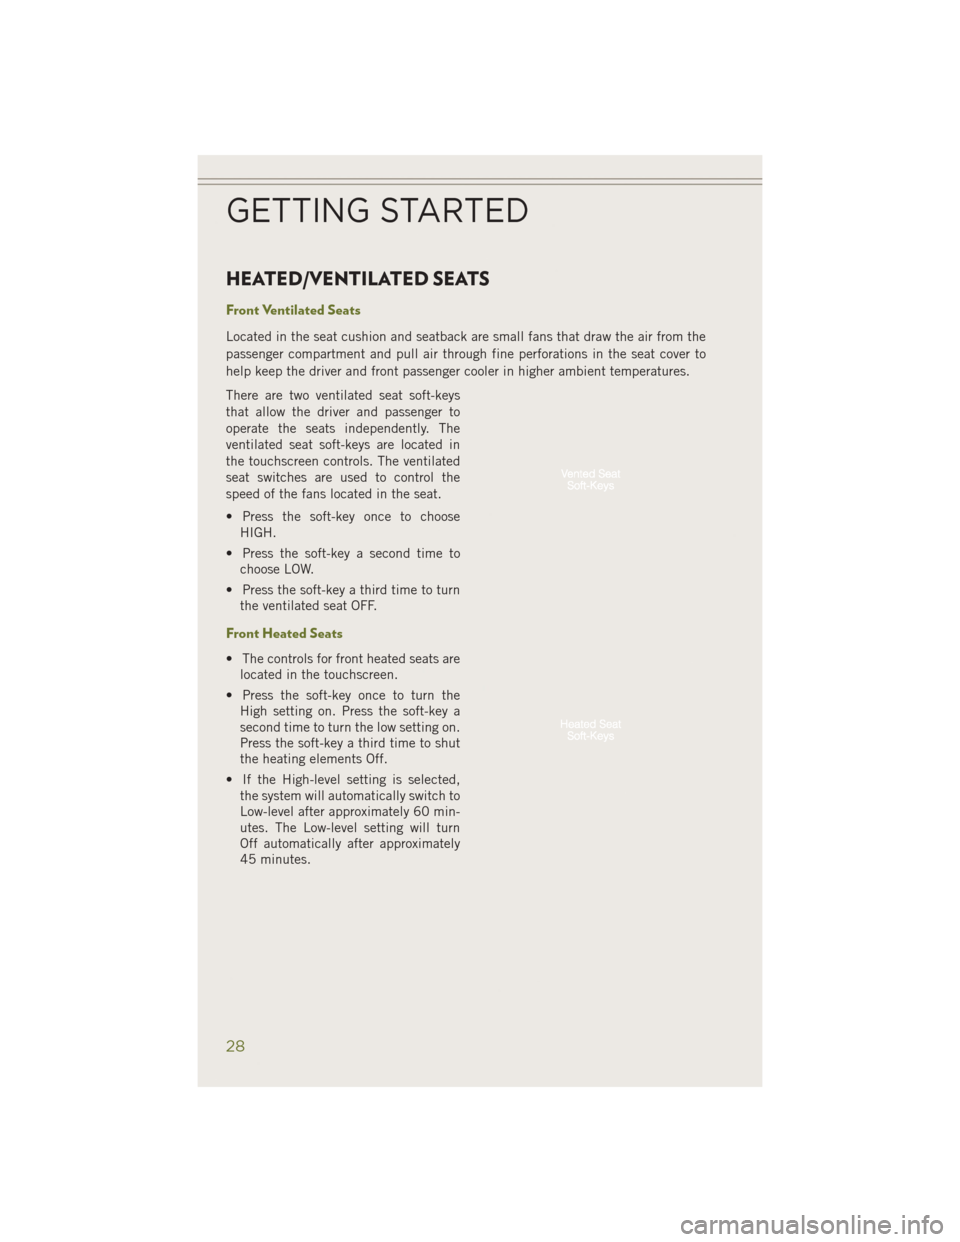
There are two ventilated seat soft-keys
that allow the driver and passenger to
operate the seats independently. The
ventilated seat soft-keys are located in
the touchscreen controls. The ventilated
seat switches are used to control the
speed of the fans located in the seat.
• Press the soft-key once to chooseHIGH.
• Press the soft-key a second time to choose LOW.
• Press the soft-key a third time to turn the ventilated seat OFF.
Front Heated Seats
• The controls for front heated seats arelocated in the touchscreen.
• Press the soft-key once to turn the High setting on. Press the soft-key a
second time to turn the low setting on.
Press the soft-key a third time to shut
the heating elements Off.
• If the High-level setting is selected, the system will automatically switch to
Low-level after approximately 60 min-
utes. The Low-level setting will turn
Off automatically after approximately
45 minutes.
GETTING STARTED
28
Page 31 of 204
WARNING!
• Persons who are unable to feel pain to the skin because of advanced age,chronic illness, diabetes, spinal cord injury, medication, alcohol use, exhaus-
tion or other physical conditions must exercise care when using the seat heater.
It may cause burns even at low temperatures, especially if used for long periods
of time.
• Do not place anything on the seat that insulates against heat, such as a blanket
or cushion. This may cause the seat heater to overheat. Sitting in a seat that
has been overheated could cause serious burns due to the increased surface
temperature of the seat.
HEATED STEERING WHEEL
• The steering wheel contains a heatingelement that heats the steering wheel
to one temperature setting.
• To access the Heated Steering Wheel soft-key, touch the “Controls” soft-key
located on the Uconnect
®display.
• Touch the soft-key once to turn the heating element On. Press the soft-key
a second time to turn the heating ele-
ment Off.
• Once the heated steering wheel has been turned on, it will operate for up to
80 minutes before automatically shut-
ting off. The heated steering wheel can
shut off early or may not turn on when
the steering wheel is already warm.
WARNING!
• Persons who are unable to feel pain to the skin because of advanced age,
chronic illness, diabetes, spinal cord injury, medication, alcohol use, exhaus-
tion, or other physical conditions must exercise care when using the steering
wheel heater. It may cause burns even at low temperatures, especially if used
for long periods.
• Do not place anything on the steering wheel that insulates against heat, such
as a blanket or steering wheel covers of any type and material. This may cause
the steering wheel heater to overheat.
GETTING STARTED
29
Page 46 of 204
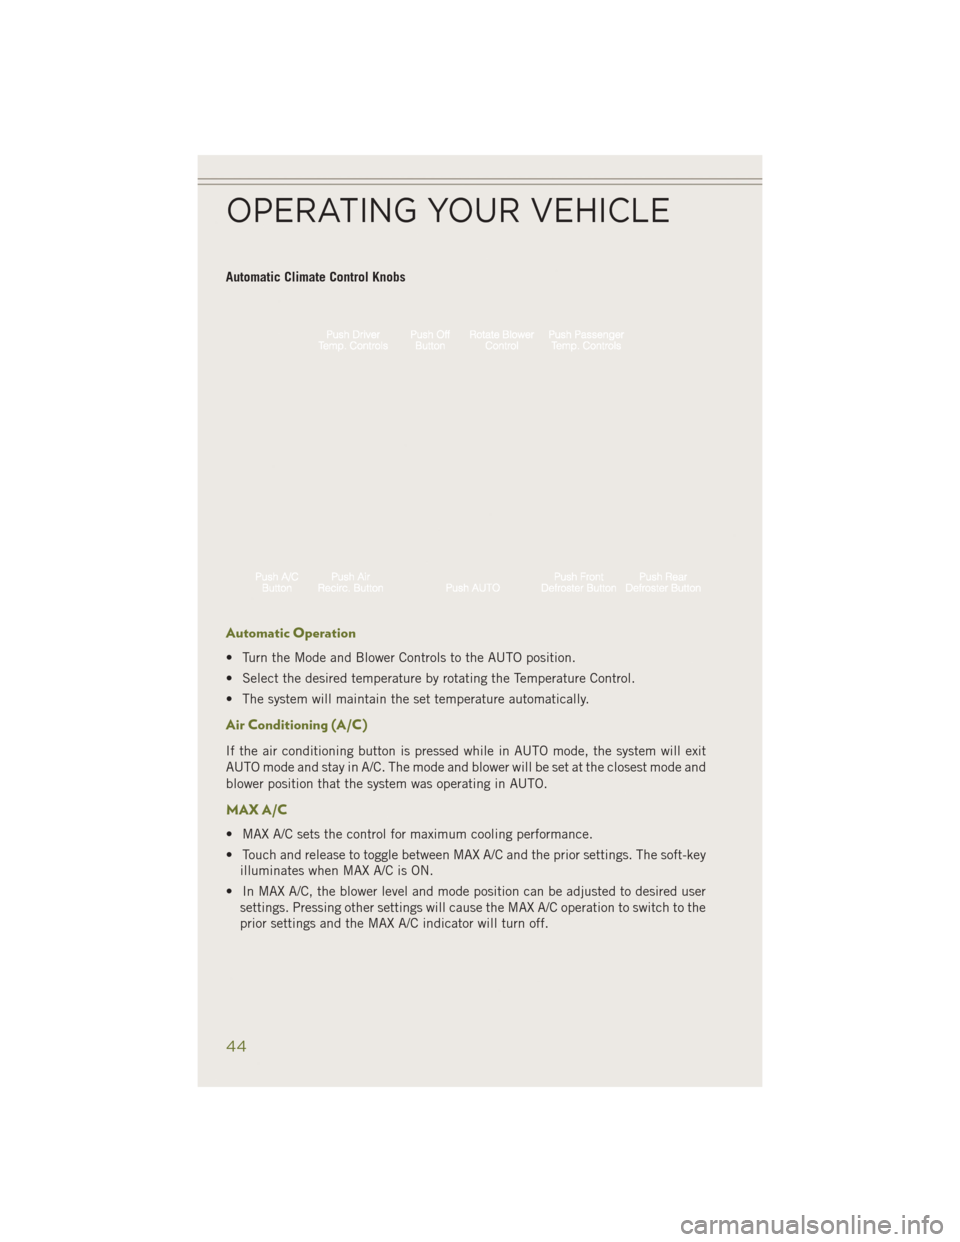
Automatic Climate Control Knobs
Automatic Operation
• Turn the Mode and Blower Controls to the AUTO position.
• Select the desired temperature by rotating the Temperature Control.
• The system will maintain the set temperature automatically.
Air Conditioning (A/C)
If the air conditioning button is pressed while in AUTO mode, the system will exit
AUTO mode and stay in A/C. The mode and blower will be set at the closest mode and
blower position that the system was operating in AUTO.
MAX A/C
• MAX A/C sets the control for maximum cooling performance.
• Touch and release to toggle between MAX A/C and the prior settings. The soft-keyilluminates when MAX A/C is ON.
• In MAX A/C, the blower level and mode position can be adjusted to desired user settings. Pressing other settings will cause the MAX A/C operation to switch to the
prior settings and the MAX A/C indicator will turn off.
OPERATING YOUR VEHICLE
44
Page 55 of 204
WARNING!
• Do not let children play with the sunroof. Never leave children unattended in avehicle, or with access to an unlocked vehicle. Do not leave the Key Fob in or
near the vehicle, and do not leave the ignition of a vehicle equipped with
Keyless Enter-N-Go™ in the ACC or ON/RUN mode. Occupants, particularly
unattended children, can become entrapped by the power sunroof while
operating the power sunroof switch. Such entrapment may result in serious
injury or death.
• In a collision, there is a greater risk of being thrown from a vehicle with an open
sunroof. You could also be severely injured or killed. Always fasten your seat
belt properly and make sure all passengers are properly secured.
• Do not allow small children to operate the sunroof. Never allow your fingers,
other body parts, or any object to project through the sunroof opening. Injury
may result.
WIND BUFFETING
Wind buffeting can be described as a helicopter-type percussion sound. If buffeting
occurs with the rear windows open, adjust the front and rear windows together.
If buffeting occurs with the sunroof open, adjust the sunroof opening, or adjust any
window. This will minimize buffeting.
OPERATING YOUR VEHICLE
53
Page 58 of 204
IDENTIFYING YOUR RADIO
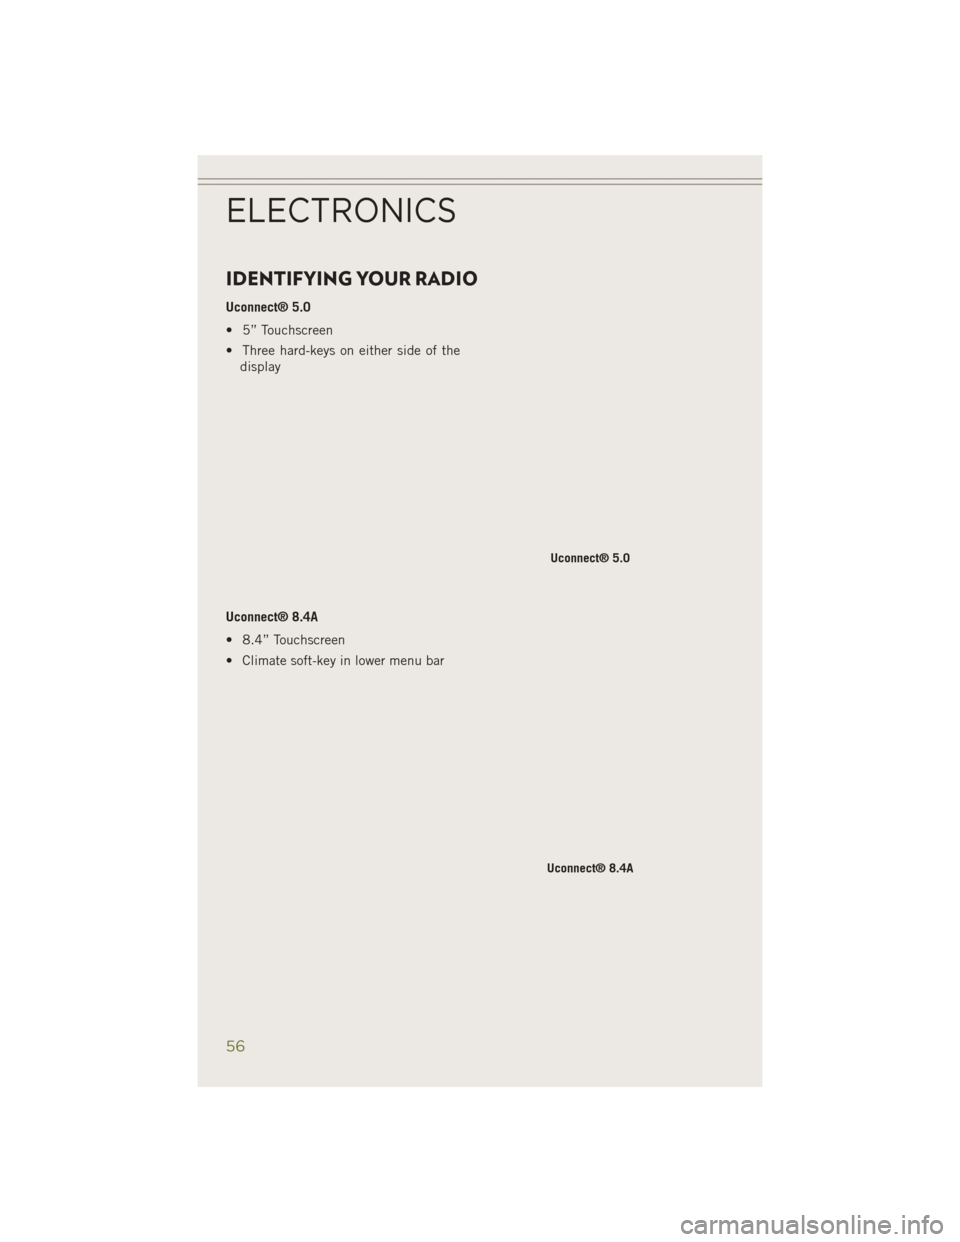
Uconnect® 5.0
• 5” Touchscreen
• Three hard-keys on either side of thedisplay
Uconnect® 8.4A
• 8.4” Touchscreen
• Climate soft-key in lower menu bar
Uconnect® 5.0
Uconnect® 8.4A
ELECTRONICS
56
Page 59 of 204
Uconnect® 8.4AN
• 8.4” Touchscreen
• Climate soft-key in lower menu bar
• HD Button will be visible on right sideof screen when viewing AM or FM
• SiriusXM Travel Link feature listed within Apps (US Market Only)
Uconnect® ACCESS
Uconnect® Access — If Equipped (Available On Uconnect® 8.4AN)
WARNING!
ALWAYS drive safely with your hands on the steering wheel. You have full
responsibility and assume all risks related to the use of the Uconnect®features
and applications in this vehicle. Only use Uconnect®when it is safe to do so.
Failure to do so may result in an accident involving serious injury or death.
Uconnect
®Access enhances your ownership and driving experience by connecting
your vehicle with a built-in cellular connection. With Uconnect®Access, you can:
• Place a call to a local 911 Operator for emergency assistance.
• Remotely lock/unlock your doors and start your vehicle from virtually anywhere, using the Uconnect
®Access App for your smartphone. You can also do so by
logging into Mopar Owner Connect, or by calling Uconnect®Care. (Vehicle must be
within the United States and have network coverage).
• Turn your vehicle into a WiFi Hotspot and connect your devices to the internet.
• Receive text or email notifications if your vehicle's theft alarm goes off.
• Receive stolen vehicle assistance, using GPS technology to help authorities locate your vehicle if it is stolen.
• Listen to your text messages or send free-form text messages with your voice while keeping your hands on the wheel, using the Voice Texting feature. Requires a cell
phone that supports Bluetooth Message Access Profile (MAP).
Uconnect® 8.4AN
ELECTRONICS
57
Page 63 of 204
4. This will launch the selected item into purchase mode along with providingadditional information. The purchase process begins when you press the “Buy”
button on the touchscreen.
5. The Uconnect
®Store will display a “Purchase Overview” message confirming the
financial details of your purchase. Press the “Purchase” key to continue.
6. The Uconnect
®Store will ask you to “Confirm Payment” using your default
payment method on file in your Payment Account. Press the “Complete” key to
continue.
7. The Uconnect
®Payment Account will then ask for your “Payment Account PIN,”
which you established when setting up your Uconnect®payment account. After
entering this four digit PIN, press the “Complete” key to make the purchase.
8. You will receive a confirmation message that your purchase has been submitted. Press the OK button to end the process.
Purchasing WiFi Hotspot While In Your Vehicle
You must set up a Uconnect
®Access Payment Account online (log in to
moparownerconnect.com, go to Edit Profile, then Uconnect®Payment Account,to
set up and manage your Payment Account).
To purchase WiFi while in your vehicle, ensure the vehicle is running and in Park.
Press the Apps button on the touchscreen, then select WiFi within the Tools menu.
Follow the on-screen instructions. When asked for your payment PIN, use the 4-digit
PIN you established when setting up your payment account on Mopar Owner
Connect.
NOTE:
This may be different than the Uconnect
®Security PIN you established for using
features such as Remote Vehicle Start.
After purchasing WiFi, it may take up to 30 minutes (with the vehicle running) before
the WiFi will be active in your vehicle.
Select WiFi again, then note the hotspot name. Select this network when connecting
devices to the hotspot. Also click on View/Edit Passphrase, then note the security
passphrase you will need to connect to the network on each device.
If your devices cannot see the WiFi Hotspot network after 30 minutes, please contact
Uconnect
®Care by pressing the Assist button on the rear view mirror, or by calling
855-792-4241.
ELECTRONICS
61