park assist JEEP CHEROKEE 2015 KL / 5.G Owner's Manual
[x] Cancel search | Manufacturer: JEEP, Model Year: 2015, Model line: CHEROKEE, Model: JEEP CHEROKEE 2015 KL / 5.GPages: 772, PDF Size: 18.21 MB
Page 281 of 772
NOTE:
•It is the drivers responsibility to use the brake and
accelerator during the semi-automatic parking maneu-
ver.
•When the system instructs the driver to remove their
hands from the steering wheel, the driver should check
their surroundings and begin to back up slowly.
•The ParkSense® Active Park Assist system will allow a
maximum of six shifts between DRIVE (automatic
transmission) or forward gear (manual transmission)
and REVERSE. If the maneuver cannot be completed
within six shifts, the system will cancel and the EVIC/
DID will instruct the driver to complete the maneuver
manually.
•The system will cancel the maneuver if the vehicle
speed exceeds 5 mph (7 km/h) during active steering
guidance into the parking space. The system will
provide a warning to the driver at 3 mph (5 km/h) that
tells them to slow down. The driver is then responsible
for completing the maneuver if the system is canceled.
•If the system is canceled during the maneuver for any
reason, the driver must take control of the vehicle.
When the vehicle has reached the end of its backward
movement, the system will instruct the driver to check
their surroundings and stop the vehicle’s movement.
3
UNDERSTANDING THE FEATURES OF YOUR VEHICLE 279
Page 286 of 772
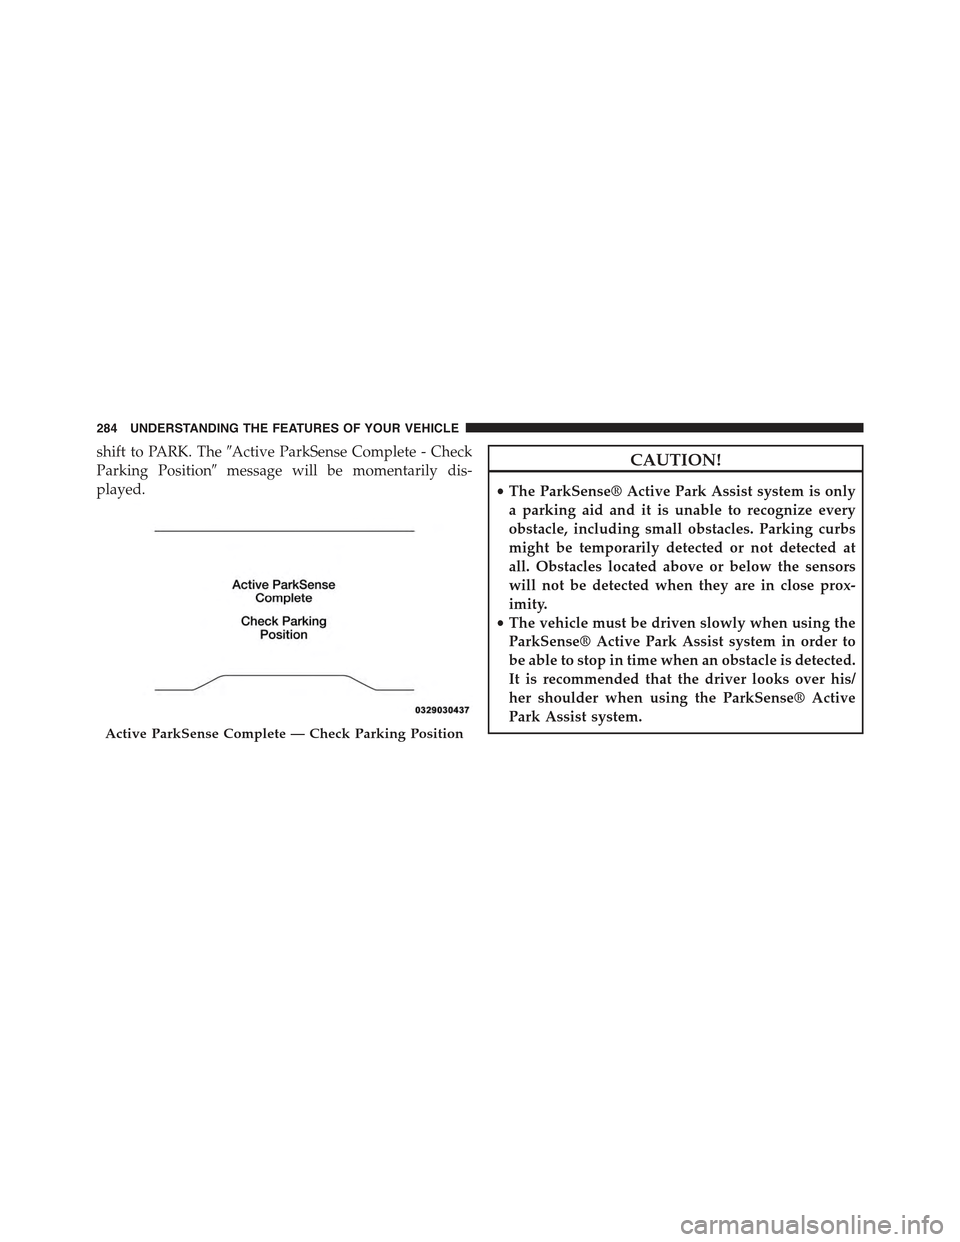
shift to PARK. The#Active ParkSense Complete - Check
Parking Position#message will be momentarily dis-
played.
CAUTION!
•The ParkSense® Active Park Assist system is only
a parking aid and it is unable to recognize every
obstacle, including small obstacles. Parking curbs
might be temporarily detected or not detected at
all. Obstacles located above or below the sensors
will not be detected when they are in close prox-
imity.
•The vehicle must be driven slowly when using the
ParkSense® Active Park Assist system in order to
be able to stop in time when an obstacle is detected.
It is recommended that the driver looks over his/
her shoulder when using the ParkSense® Active
Park Assist system.
Active ParkSense Complete — Check Parking Position
284 UNDERSTANDING THE FEATURES OF YOUR VEHICLE
Page 287 of 772
WARNING!
•Drivers must be careful when performing parallel
or perpendicular parking maneuvers even when
using the ParkSense® Active Park Assist system.
Always check carefully behind and in front of your
vehicle, look behind and in front of you, and be
sure to check for pedestrians, animals, other ve-
hicles, obstructions, and blind spots before back-
ing up and moving forward. You are responsible
for safety and must continue to pay attention to
your surroundings. Failure to do so can result in
serious injury or death.
(Continued)
WARNING!(Continued)
•Before using the ParkSense® Active Park Assist
system, it is strongly recommended that the ball
mount and hitch ball assembly is disconnected
from the vehicle when the vehicle is not used for
towing. Failure to do so can result in injury or
damage to vehicles or obstacles because the hitch
ball will be much closer to the obstacle than the
rear fascia when the loudspeaker sounds the con-
tinuous tone. Also, the sensors could detect the ball
mount and hitch ball assembly, depending on its
size and shape, giving a false indication that an
obstacle is behind the vehicle.
3
UNDERSTANDING THE FEATURES OF YOUR VEHICLE 285
Page 288 of 772
PARKVIEW® REAR BACK UP CAMERA — IF
EQUIPPED
Your vehicle may be equipped with the ParkView® Rear
Back Up Camera that allows you to see an on-screen
image of the rear surroundings of your vehicle whenever
the shift lever is put into REVERSE. The image will be
displayed in the touchscreen display along with a caution
note to “check entire surroundings” across the top of the
screen. After five seconds this note will disappear. The
ParkView® camera is located on the rear of the vehicle
above the rear License plate.
NOTE:The ParkView® Rear Back Up Camera has pro-
grammable modes of operation that may be selected
through the Uconnect® System. Refer to “Uconnect®
Settings” in “Understanding Your Instrument Panel” for
further information.
When the vehicle is shifted out of REVERSE (with camera
delay turned OFF), the rear camera mode is exited and
the navigation or audio screen appears again. When the
vehicle is shifted out of REVERSE (with camera delay
turned ON), the camera image will continue to be
displayed for up to 10 seconds after shifting out of
REVERSE unless the vehicle speed exceeds 8 mph
(13 km/h), the vehicle is shifted into PARK or the
vehicles ignition is cycled to the OFF position.
When enabled, active guide lines are overlaid on the
image to illustrate the width of the vehicle and its
projected backup path based on the steering wheel
position. A dashed center line overlay indicates the center
of the vehicle to assist with parking or aligning to a
hitch/receiver.
When enabled, fixed guide lines are overlaid on the
image to illustrate the width of the vehicle.
Different colored zones indicate the distance to the rear of
the vehicle.
286 UNDERSTANDING THE FEATURES OF YOUR VEHICLE
Page 291 of 772
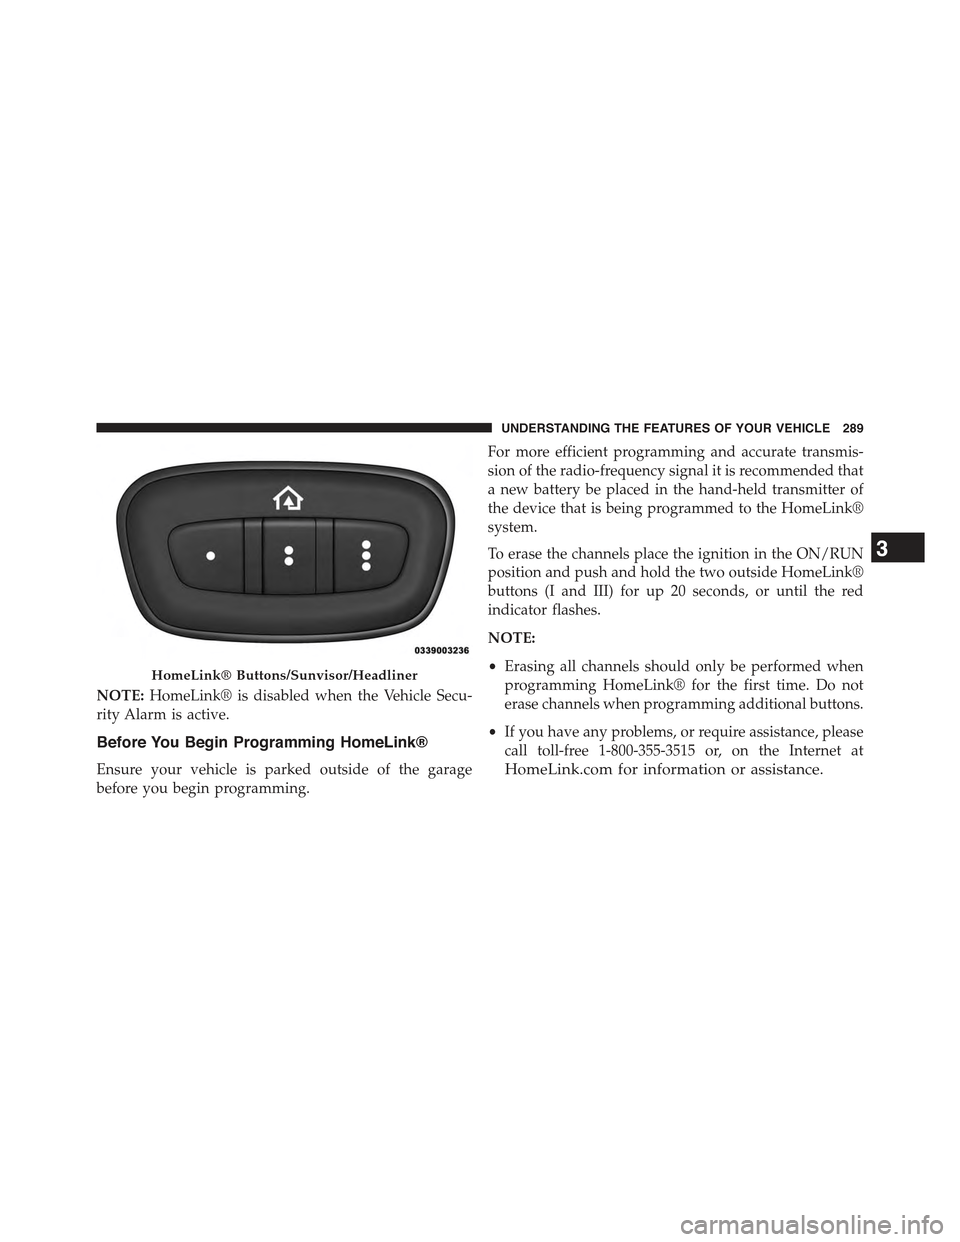
NOTE:HomeLink® is disabled when the Vehicle Secu-
rity Alarm is active.
Before You Begin Programming HomeLink®
Ensure your vehicle is parked outside of the garage
before you begin programming.
For more efficient programming and accurate transmis-
sion of the radio-frequency signal it is recommended that
a new battery be placed in the hand-held transmitter of
the device that is being programmed to the HomeLink®
system.
To erase the channels place the ignition in the ON/RUN
position and push and hold the two outside HomeLink®
buttons (I and III) for up 20 seconds, or until the red
indicator flashes.
NOTE:
•Erasing all channels should only be performed when
programming HomeLink® for the first time. Do not
erase channels when programming additional buttons.
•If you have any problems, or require assistance, please
call toll-free 1-800-355-3515 or, on the Internet at
HomeLink.com for information or assistance.
HomeLink® Buttons/Sunvisor/Headliner
3
UNDERSTANDING THE FEATURES OF YOUR VEHICLE 289
Page 342 of 772
19. Vehicle Security Light
This light will flash rapidly for approximately
15 – seconds when the vehicle security alarm is
arming. The light will flash at a slower speed
continuously after the alarm is set. The security
light will also come on for about three seconds when the
ignition is first turned on.
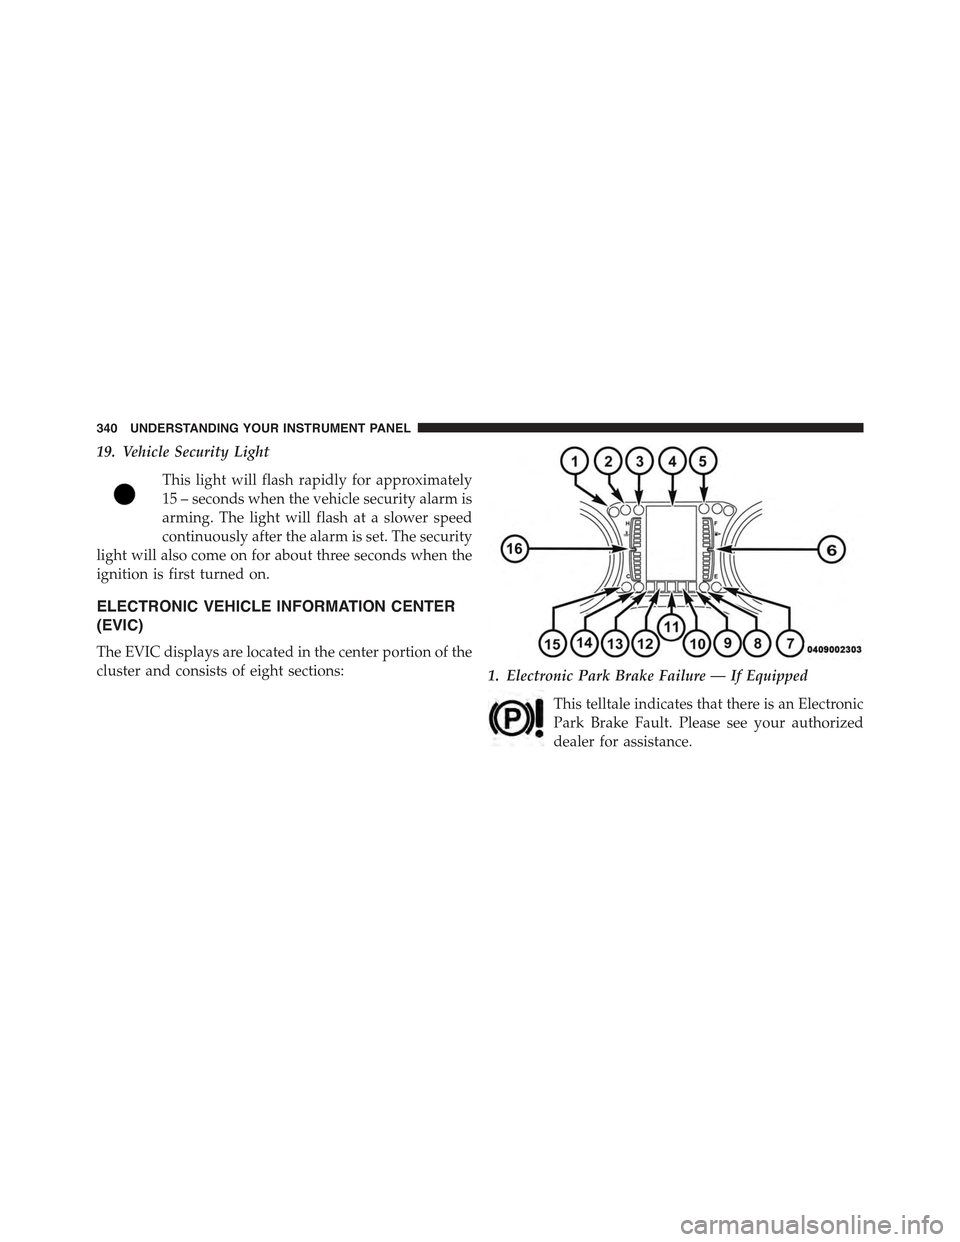
ELECTRONIC VEHICLE INFORMATION CENTER
(EVIC)
The EVIC displays are located in the center portion of the
cluster and consists of eight sections:1. Electronic Park Brake Failure — If Equipped
This telltale indicates that there is an Electronic
Park Brake Fault. Please see your authorized
dealer for assistance.
340 UNDERSTANDING YOUR INSTRUMENT PANEL
Page 349 of 772
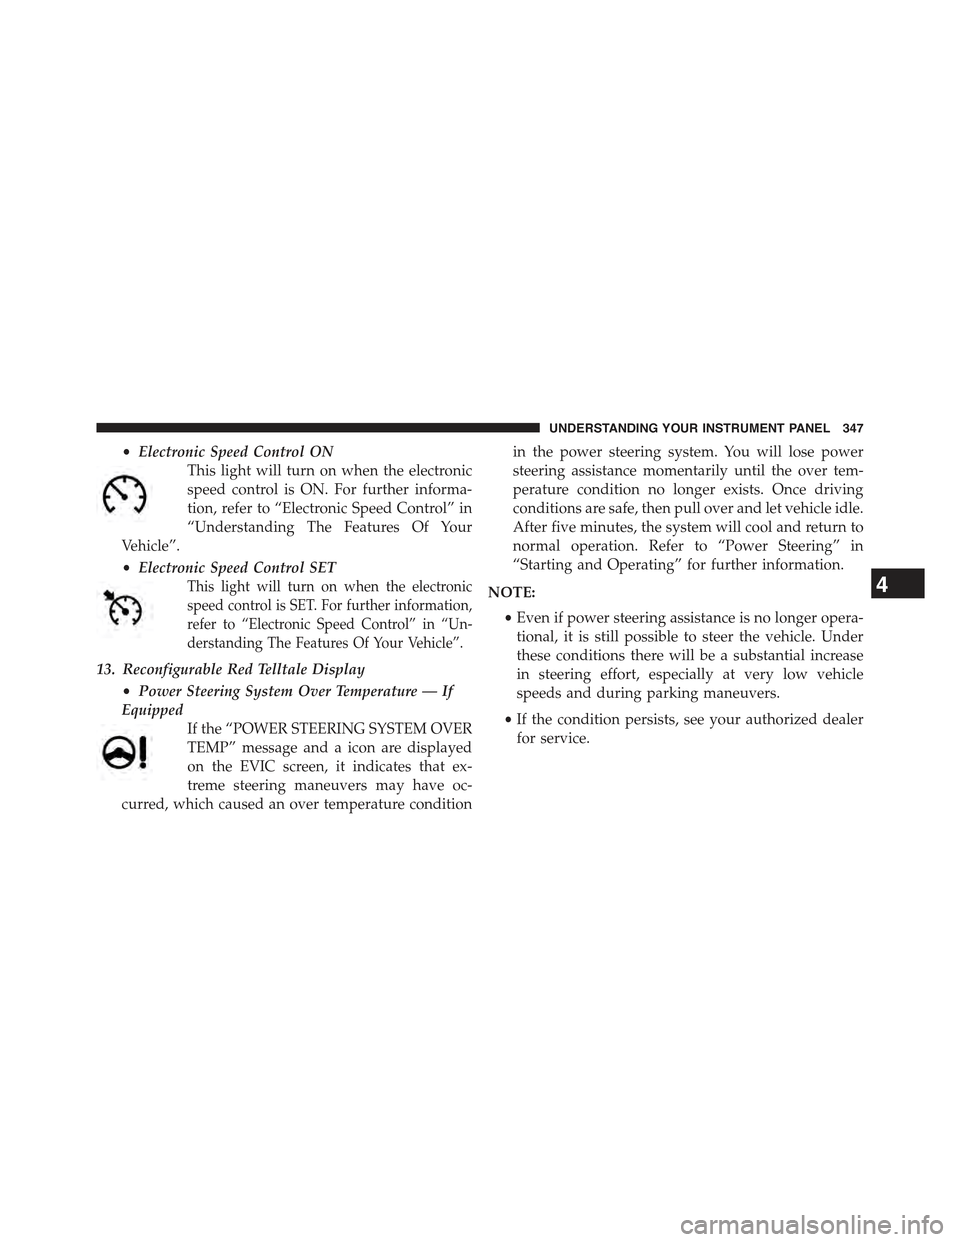
•Electronic Speed Control ON
This light will turn on when the electronic
speed control is ON. For further informa-
tion, refer to “Electronic Speed Control” in
“Understanding The Features Of Your
Vehicle”.
•Electronic Speed Control SET
This light will turn on when the electronic
speed control is SET. For further information,
refer to “Electronic Speed Control” in “Un-
derstanding The Features Of Your Vehicle”.
13. Reconfigurable Red Telltale Display
•Power Steering System Over Temperature — If
Equipped
If the “POWER STEERING SYSTEM OVER
TEMP” message and a icon are displayed
on the EVIC screen, it indicates that ex-
treme steering maneuvers may have oc-
curred, which caused an over temperature condition
in the power steering system. You will lose power
steering assistance momentarily until the over tem-
perature condition no longer exists. Once driving
conditions are safe, then pull over and let vehicle idle.
After five minutes, the system will cool and return to
normal operation. Refer to “Power Steering” in
“Starting and Operating” for further information.
NOTE:
•Even if power steering assistance is no longer opera-
tional, it is still possible to steer the vehicle. Under
these conditions there will be a substantial increase
in steering effort, especially at very low vehicle
speeds and during parking maneuvers.
•If the condition persists, see your authorized dealer
for service.
4
UNDERSTANDING YOUR INSTRUMENT PANEL 347
Page 365 of 772
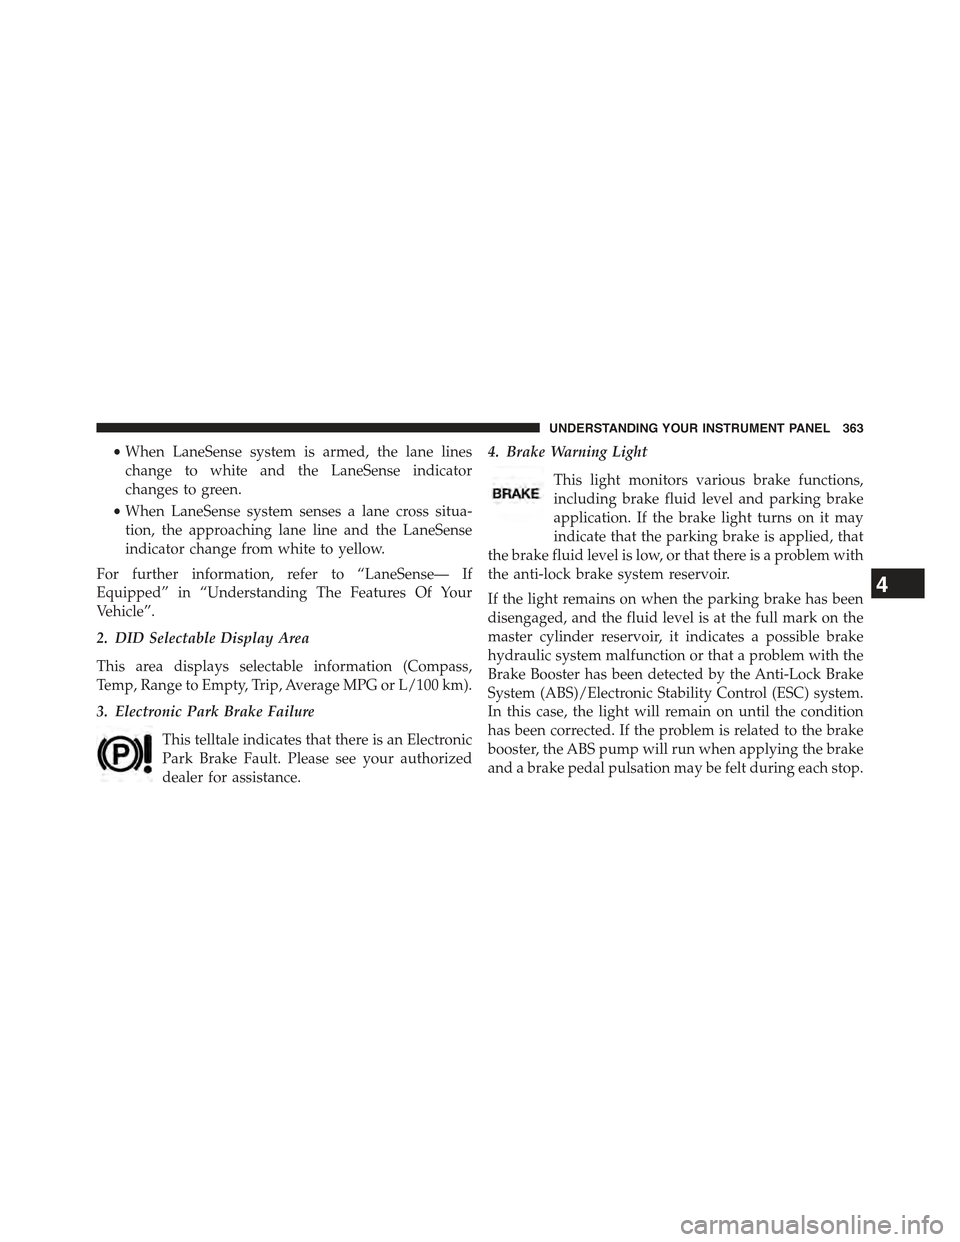
•When LaneSense system is armed, the lane lines
change to white and the LaneSense indicator
changes to green.
•When LaneSense system senses a lane cross situa-
tion, the approaching lane line and the LaneSense
indicator change from white to yellow.
For further information, refer to “LaneSense— If
Equipped” in “Understanding The Features Of Your
Vehicle”.
2. DID Selectable Display Area
This area displays selectable information (Compass,
Temp, Range to Empty, Trip, Average MPG or L/100 km).
3. Electronic Park Brake Failure
This telltale indicates that there is an Electronic
Park Brake Fault. Please see your authorized
dealer for assistance.
4. Brake Warning Light
This light monitors various brake functions,
including brake fluid level and parking brake
application. If the brake light turns on it may
indicate that the parking brake is applied, that
the brake fluid level is low, or that there is a problem with
the anti-lock brake system reservoir.
If the light remains on when the parking brake has been
disengaged, and the fluid level is at the full mark on the
master cylinder reservoir, it indicates a possible brake
hydraulic system malfunction or that a problem with the
Brake Booster has been detected by the Anti-Lock Brake
System (ABS)/Electronic Stability Control (ESC) system.
In this case, the light will remain on until the condition
has been corrected. If the problem is related to the brake
booster, the ABS pump will run when applying the brake
and a brake pedal pulsation may be felt during each stop.
4
UNDERSTANDING YOUR INSTRUMENT PANEL 363
Page 374 of 772
return to normal, turn the engine off immediately and
call for service. Refer to “If Your Engine Overheats”
in “What To Do In Emergencies” for more
information.
•Power Steering System Over Temperature — If
Equipped
If the “POWER STEERING SYSTEM OVER
TEMP” message and a icon are displayed
on the DID screen, it indicates that extreme
steering maneuvers may have occurred,
which caused an over temperature condition in the
power steering system. You will lose power steering
assistance momentarily until the over temperature
condition no longer exists. Once driving conditions
are safe, then pull over and let vehicle idle. After five
minutes, the system will cool and return to normal
operation. Refer to “Power Steering” in “Starting And
Operating” for further information.
NOTE:
•Even if power steering assistance is no longer opera-
tional, it is still possible to steer the vehicle. Under
these conditions there will be a substantial increase
in steering effort, especially at very low vehicle
speeds and during parking maneuvers.
•If the condition persists, see your authorized dealer
for service.
•Door Ajar
This light will turn on to indicate that one
or more doors may be ajar.
•Liftgate Ajar
This light will turn on to indicate that
liftgate may be ajar.
372 UNDERSTANDING YOUR INSTRUMENT PANEL
Page 392 of 772
Safety/Assistance
After pressing the “Safety/Assistance” button on the
touchscreen the following settings will be available:
•ParkSense®
The ParkSense® system will scan for objects behind the
vehicle when the transmission shift lever/gear selector is
in REVERSE and the vehicle speed is less than 11 mph (18
km/h). It will provide an alert (audible and/or visual) to
indicate the proximity to other objects. The system can be
enabled with Sound Only, or Sound and Display. To
change the ParkSense® status, press and release the
“Sound Only” or “Sounds and Display” button. Then
press the back arrow button on the touchscreen. Refer to
“ParkSense®” in “Understanding The Features Of Your
Vehicle” for system function and operating information.
•Tilt Mirrors In Reverse
When this feature is selected, the exterior sideview
mirrors will tilt downward when the ignition is in the
RUN position and the transmission shift lever/gear
selector is in the REVERSE position. The mirrors will
move back to their previous position when the transmis-
sion is shifted out of REVERSE. To make your selection,
press the “Tilt Mirrors In Reverse” button on the touch-
screen and make your selection. Press the back arrow
button on the touchscreen to return to the previous
menu.
•ParkView® Backup Camera Active Guidelines
Your vehicle may be equipped with the ParkView® Rear
Back Up Camera Active Guidelines that allows you to see
active guidelines over the ParkView Back up camera
display whenever the shift lever/gear selector is put into
REVERSE. The image will be displayed on the radio
touchscreen display along with a caution note to “check
390 UNDERSTANDING YOUR INSTRUMENT PANEL