ad blue JEEP CHEROKEE 2015 KL / 5.G Owners Manual
[x] Cancel search | Manufacturer: JEEP, Model Year: 2015, Model line: CHEROKEE, Model: JEEP CHEROKEE 2015 KL / 5.GPages: 772, PDF Size: 18.21 MB
Page 388 of 772
side of the Climate Controls in the center of the instru-
ment panel. Turn the control knob to scroll through
menus and change settings (i.e., 30, 60, 90), push the
center of the control knob one or more times to select or
change a setting (i.e., ON, OFF).
Your Uconnect® system may also have a Screen Off and
Back buttons located below the system.
Push the Screen Off button to turn off the Uconnect®
screen. Push the Screen Off button a second time to turn
the screen on.
Push the Back button to exit out of a Menu or certain
option on the Uconnect® system.
Buttons On The Touchscreen
Buttons on the touchscreen are accessible on the
Uconnect® display.
Customer Programmable Features/Personal
Settings — Uconnect® 5.0 Settings
Push the MORE button on the faceplate to display the
menu setting screen. In this mode the Uconnect® system
allows you to access programmable features that may be
equipped such as Display, Voice, Clock & Date, Safety &
Assistance, Lights, Doors & Locks, Auto-On Comfort,
Engine Off Options, Compass Settings, Audio, Phone/
Bluetooth®, Sirius Setup, Restore Settings, and Clear
Personal Data.
NOTE:Only one category may be selected at a time.
When making a selection, press the button on the touch-
screen to enter the desired mode. Once in the desired
mode, press and release the preferred setting and make
your selection. Once the setting is complete, either press
the Back Arrow/Done button on the touchscreen or the
Back button on the faceplate to return to the previous
menu or press the “X” button on the touchscreen to close
386 UNDERSTANDING YOUR INSTRUMENT PANEL
Page 402 of 772
Phone/Bluetooth®
After pressing the “Phone/Bluetooth” button on the
touchscreen the following settings will be available:
•Paired Devices
This feature shows which phones are paired to the
Phone/Bluetooth® system. For further information, refer
to your Uconnect® Supplement Manual.
SiriusXM Setup — If Equipped
After pressing the “SiriusXM Setup” button on the touch-
screen, the following settings will be available:
•Channel Skip
SiriusXM can be programmed to designate a group of
channels that are the most desirable to listen to or to
exclude undesirable channels while scanning. To make
your selection, press the “Channel Skip” button on the
touchscreen, select the channels you would like to skip
followed by pressing the back arrow button on the
touchscreen.
•Subscription Information
New vehicle purchasers or lessees will receive a free
limited time subscription to SiriusXM Satellite Radio
with your radio. Following the expiration of the free
services, it will be necessary to access the information on
the Subscription Information screen to re-subscribe.
Press the “Subscription Info” button on the touchscreen
to access the Subscription Information screen.
Write down the SIRIUS ID numbers for your receiver. To
reactivate your service, either call the number listed on
the screen or visit the provider online.
NOTE:SiriusXM Travel Link is a separate subscription
and is available for U.S. residents only.
400 UNDERSTANDING YOUR INSTRUMENT PANEL
Page 403 of 772
Restore Settings
After pressing the “Restore Settings” button on the
touchscreen the following settings will be available:
•Restore Settings
When this feature is selected it will reset the Display,
Clock, Audio, and Radio Settings to their default settings.
To restore the settings to their default setting, press the
Restore Settings button. A pop-up will appear asking
#Are you sure you want to reset your settings to default?”
select “Yes” to restore, or “Cancel” to exit. Once the
settings are restored, a pop up appears stating#settings
reset to default.#Press the back arrow button on the
touchscreen to exit.
Clear Personal Data
After pressing the “Clear Personal Data Settings” button
on the touchscreen the following settings will be avail-
able:
•Clear Personal Data
When this feature is selected it will remove personal data
including Bluetooth® devices and presets. To remove
personal information, press the “Clear Personal Data”
button and a pop-up will appear asking#Are you sure
you want to clear all personal data?” select “Yes” to Clear,
or “Cancel” to exit. Once the data has been cleared, a pop
up appears stating#Personal data cleared”. Press the back
arrow button on the touchscreen to return to the previous
menu.
Customer Programmable Features — Uconnect®
8.4 Personal Settings
Press the “Apps” or the “Controls” button on the touch-
screen, then press the “Settings” button on the touch-
screen to display the menu setting screen. In this mode
the Uconnect® system allows you to access program-
mable features that may be equipped such as Display,
Voice, Clock, Safety & Driving Assistance, Lights, Doors
4
UNDERSTANDING YOUR INSTRUMENT PANEL 401
Page 404 of 772
& Locks, Auto-On Comfort, Engine Off Options, Audio,
Phone/Bluetooth®, SiriusXM Setup, Restore Settings,
Clear Personal Data, and System Information.
NOTE:Only one category may be selected at a time.
To adjust the setting of a programmable feature, press the
desired setting option. Once in the desired setting option,
press and release the preferred setting until a check-mark
appears next to the setting, showing that the setting has
been selected.
Once the setting is complete, press the Back Arrow
button on the touchscreen to return to the previous menu
or press the X button on the touchscreen to close out of
the settings screen. Pressing the Up or Down Arrow
button on the right side of the screen will allow you to
toggle up or down through the list of available settings.
Display
After pressing the “Display” button on the touchscreen
the following settings will be available.
•Display Mode
When in this display you may select one of the auto
display settings. To change Mode status, select from
“Day,” “Night” or “Auto” until a check-mark appears
next to the setting, showing that setting has been se-
lected. Then press the arrow back button on the touch-
screen.
NOTE:When Day or Night is selected for the Display
Mode, the usage of the Parade Mode feature will cause
the radio to activate the Display Brightness Day control
even though the headlights are on.
402 UNDERSTANDING YOUR INSTRUMENT PANEL
Page 421 of 772

•Loudness — If Equipped
Loudness improves sound quality at lower volumes. To
make your selection, press the “Loudness” button on the
touchscreen, then choose “Yes” or “No.” Press the back
arrow button on the touchscreen to return to the previous
menu.
Phone/Bluetooth®
After pressing the “Phone/Bluetooth®” button on the
touchscreen the following settings will be available:
•Paired Phones
This feature shows which phones are paired to the
Phone/Bluetooth® system. For further information, refer
to the Uconnect® Supplement Manual.
•Paired Audio Sources
This feature shows which audio devices are paired to the
Phone/Bluetooth® system. For further information, refer
to the Uconnect® Supplement Manual.
SiriusXM Setup — If Equipped
After pressing the “SiriusXM Setup” button on the touch-
screen, the following settings will be available:
•Channel Skip
SiriusXM can be programmed to designate a group of
channels that are the most desirable to listen to or to
exclude undesirable channels while scanning. To make
your selection, press the “Channel Skip” button on the
touchscreen, select the channels you would like to skip
followed by pressing the back arrow button on the
touchscreen.
4
UNDERSTANDING YOUR INSTRUMENT PANEL 419
Page 423 of 772
Clear Personal Data
After pressing the “Clear Personal Data Settings” button
on the touchscreen the following settings will be avail-
able:
•Clear Personal Data
When this feature is selected it will remove personal data
including Bluetooth® devices and presets. To remove
personal information, press the “Clear Personal Data”
button and a pop-up will appear asking#Are you sure
you want to clear all personal data?” select “OK” to
Clear, or “Cancel” to exit. Once the data has been cleared,
a pop up appears stating#Personal data cleared.”
System Information
After pressing the “System Information” button on the
touchscreen the following settings will be available:
•System Information
When System Information is selected, a System Informa-
tion screen will appear displaying the system software
version.
Uconnect® RADIOS — IF EQUIPPED
For detailed information about your Uconnect® radio,
refer to your Uconnect® Supplement Manual.
4
UNDERSTANDING YOUR INSTRUMENT PANEL 421
Page 429 of 772
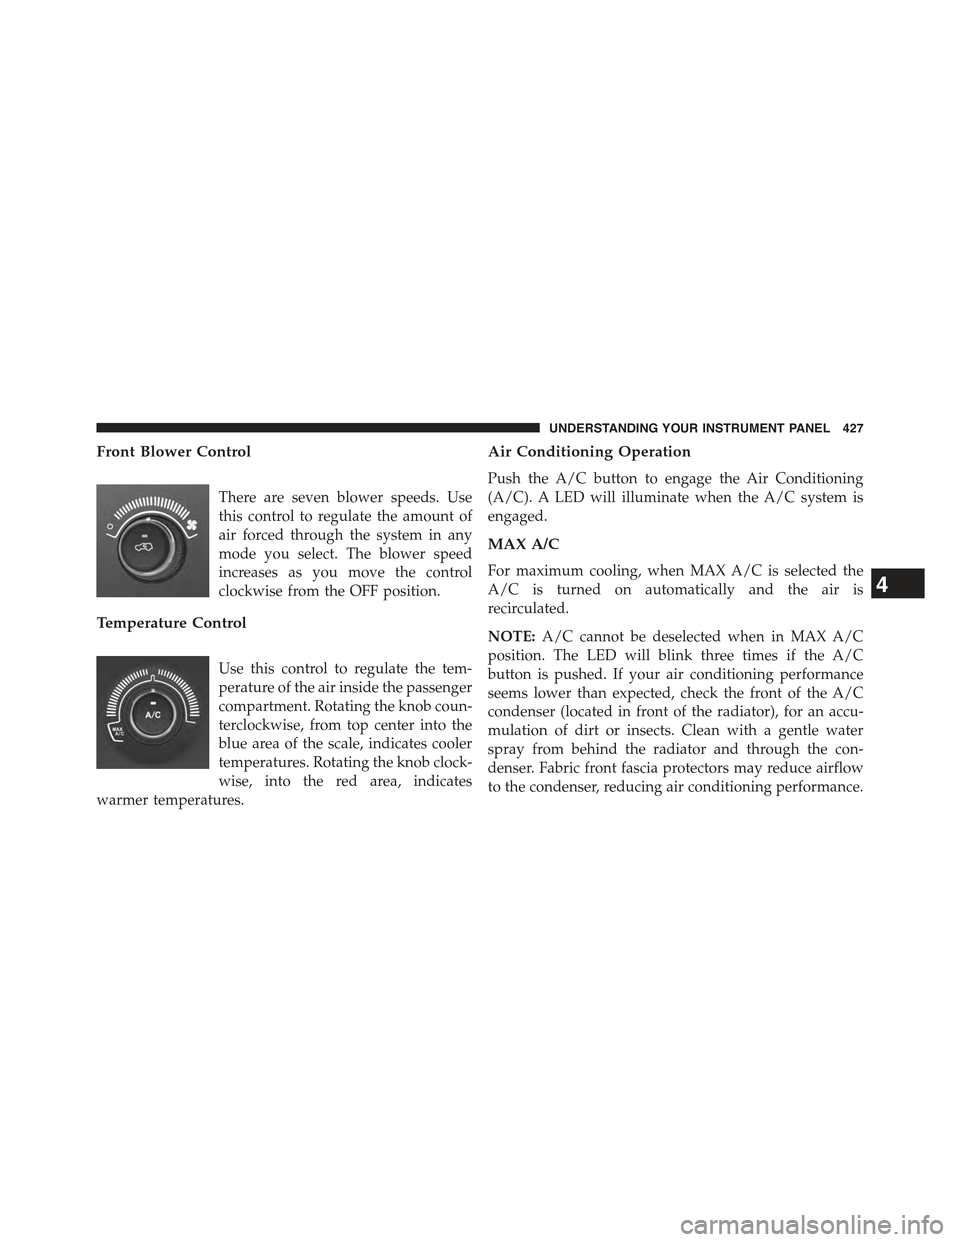
Front Blower Control
There are seven blower speeds. Use
this control to regulate the amount of
air forced through the system in any
mode you select. The blower speed
increases as you move the control
clockwise from the OFF position.
Temperature Control
Use this control to regulate the tem-
perature of the air inside the passenger
compartment. Rotating the knob coun-
terclockwise, from top center into the
blue area of the scale, indicates cooler
temperatures. Rotating the knob clock-
wise, into the red area, indicates
warmer temperatures.
Air Conditioning Operation
Push the A/C button to engage the Air Conditioning
(A/C). A LED will illuminate when the A/C system is
engaged.
MAX A/C
For maximum cooling, when MAX A/C is selected the
A/C is turned on automatically and the air is
recirculated.
NOTE:A/C cannot be deselected when in MAX A/C
position. The LED will blink three times if the A/C
button is pushed. If your air conditioning performance
seems lower than expected, check the front of the A/C
condenser (located in front of the radiator), for an accu-
mulation of dirt or insects. Clean with a gentle water
spray from behind the radiator and through the con-
denser. Fabric front fascia protectors may reduce airflow
to the condenser, reducing air conditioning performance.
4
UNDERSTANDING YOUR INSTRUMENT PANEL 427
Page 438 of 772
8. Climate Control OFF Button
Push and release this button to turn the Climate Control
ON/OFF.
9. Temperature Control Down Button (Uconnect® 8.4)
Provides temperature control. Push the button on the
faceplate for cooler temperature settings or on the touch-
screen, press and slide the button on the touchscreen
temperature bar towards the blue arrow button on the
touchscreen for cooler temperature settings.
10. Temperature Control Up Button (Uconnect® 8.4)
Provides temperature control. Push the button on the
faceplate for warmer temperature settings or on the
touchscreen, press and slide the button on the touch-
screen temperature bar towards the red arrow button on
the touchscreen for warmer temperature settings.
11. Temperature Control (Uconnect® 5.0)
Press the temperature button on the touchscreen to
regulate the temperature of the air inside the passenger
compartment. Moving the temperature bar into the red
area, indicates warmer temperatures. Moving the tem-
perature bar into the blue area indicates cooler tempera-
tures.
Dual Zone Automatic Climate Controls With
Touchscreen — If Equipped
Buttons On Your Uconnect® Faceplate
The buttons on the faceplate are located below the
Uconnect® screen.
436 UNDERSTANDING YOUR INSTRUMENT PANEL
Page 442 of 772
7. Passenger Temperature Control Up Button
(Uconnect® 8.4 Only)
Provides the passenger with independent temperature
control. Push the button on the faceplate for warmer
temperature settings or on the touchscreen, press and
slide the button on the touchscreen temperature bar
towards the red arrow button on the touchscreen for
warmer temperature settings.
NOTE:Pressing this button while in Sync mode will
automatically exit Sync.
8. Passenger Temperature Control Down Button
(Uconnect® 8.4 Only)
Provides the passenger with independent temperature
control. Push the button on the faceplate for cooler
temperature settings or on the touchscreen, press and
slide the button on the touchscreen temperature bar
towards the blue arrow button on the touchscreen for
cooler temperature settings.
NOTE:Pressing this button while in Sync mode will
automatically exit Sync.
9. SYNC
Press the Sync button on the touchscreen to toggle the
Sync feature On/Off. The Sync indicator is illuminated
when this feature is enabled. Sync is used to synchronize
the passenger temperature setting with the driver tem-
perature setting. Changing the passenger temperature
setting while in Sync will automatically exit this feature.
10. Blower Control
Blower control is used to regulate the amount of air
forced through the climate system. There are seven
blower speeds available. Adjusting the blower will cause
automatic mode to switch to manual operation. The
440 UNDERSTANDING YOUR INSTRUMENT PANEL
Page 444 of 772
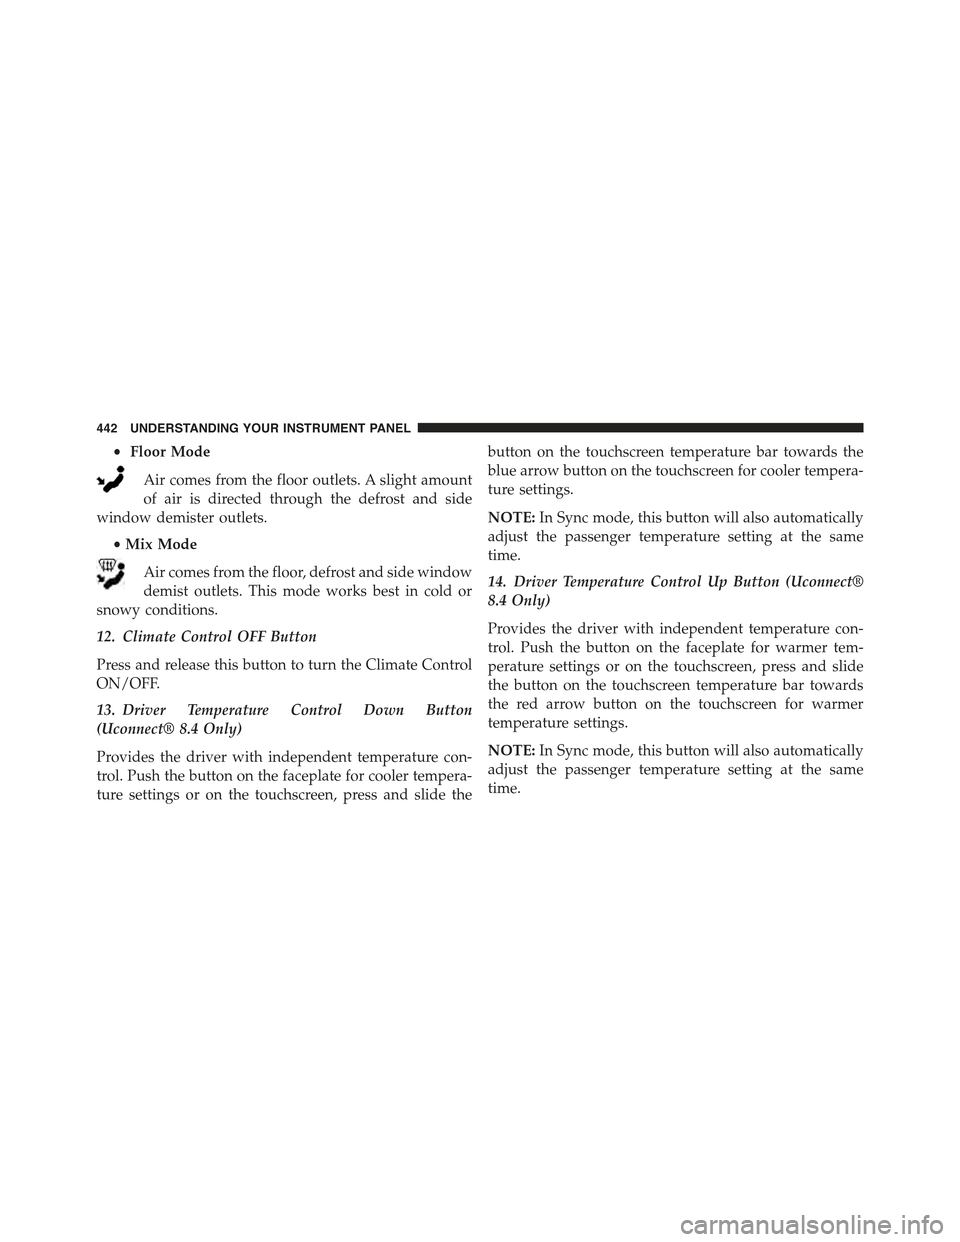
•Floor Mode
Air comes from the floor outlets. A slight amount
of air is directed through the defrost and side
window demister outlets.
•Mix Mode
Air comes from the floor, defrost and side window
demist outlets. This mode works best in cold or
snowy conditions.
12. Climate Control OFF Button
Press and release this button to turn the Climate Control
ON/OFF.
13. Driver Temperature Control Down Button
(Uconnect® 8.4 Only)
Provides the driver with independent temperature con-
trol. Push the button on the faceplate for cooler tempera-
ture settings or on the touchscreen, press and slide the
button on the touchscreen temperature bar towards the
blue arrow button on the touchscreen for cooler tempera-
ture settings.
NOTE:In Sync mode, this button will also automatically
adjust the passenger temperature setting at the same
time.
14. Driver Temperature Control Up Button (Uconnect®
8.4 Only)
Provides the driver with independent temperature con-
trol. Push the button on the faceplate for warmer tem-
perature settings or on the touchscreen, press and slide
the button on the touchscreen temperature bar towards
the red arrow button on the touchscreen for warmer
temperature settings.
NOTE:In Sync mode, this button will also automatically
adjust the passenger temperature setting at the same
time.
442 UNDERSTANDING YOUR INSTRUMENT PANEL