service schedule JEEP CHEROKEE 2015 KL / 5.G Owners Manual
[x] Cancel search | Manufacturer: JEEP, Model Year: 2015, Model line: CHEROKEE, Model: JEEP CHEROKEE 2015 KL / 5.GPages: 772, PDF Size: 18.21 MB
Page 376 of 772
If the light remains lit with the engine running, your
vehicle will usually be drivable. However, see an
authorized dealer for service as soon as possible. If
the light is flashing when the engine is running,
immediate service is required. You may experience
reduced performance, an elevated/rough idle or en-
gine stall and your vehicle may require towing.
•Oil Temperature Warning Light
This telltale indicates engine oil tempera-
ture is high. If the light turns on while
driving, stop the vehicle and shut off the
engine as soon as possible.
•Air Bag Warning Light
This light will turn on for four to eight
seconds as a bulb check when the ignition
switch is first turned to the ON/RUN po-
sition. If the light is either not on during
starting, stays on, or turns on while driving, have the
system inspected at an authorized dealer as soon as
possible. Refer to “Occupant Restraints” in “Things
To Know Before Starting Your Vehicle” for further
information.
Oil Change Reset
Oil Change Due
Your vehicle is equipped with an engine oil change
indicator system. The “Oil Change Due” message will
display in the DID for five seconds after a single chime
has sounded, to indicate the next scheduled oil change
interval. The engine oil change indicator system is duty
cycle based, which means the engine oil change interval
may fluctuate, dependent upon your personal driving
style.
Unless reset, this message will continue to display each
time you turn the ignition is cycled to the ON/RUN
position. To turn off the message temporarily, push and
374 UNDERSTANDING YOUR INSTRUMENT PANEL
Page 377 of 772
release the OK button. To reset the oil change indicator
system (after performing the scheduled maintenance)
refer to the following procedure.
1. Without pushing the brake pedal, push the ENGINE
START/STOP button and cycle the ignition to the
ON/RUN position (do not start the engine.)
2. Fully depress the accelerator pedal, slowly, three times
within 10 seconds.
3. Without pushing the brake pedal, push the ENGINE
START/STOP button once to return the ignition to the
OFF/LOCK position.
NOTE:If the indicator message illuminates when you
start the vehicle, the oil change indicator system did not
reset. If necessary, repeat this procedure.
DID Red Telltales
This area will show reconfigurable red telltales. These
telltales include:
•Charging System Light
This light shows the status of the electrical charg-
ing system. If the light stays on or comes on while
driving, turn off some of the vehicle’s non-essential
electrical devices or increase engine speed (if at idle). If
the charging system light remains on, it means that the
vehicle is experiencing a problem with the charging
system. Obtain SERVICE IMMEDIATELY. See an autho-
rized dealer.
If jump starting is required, refer to “Jump Starting
Procedures” in “What To Do In Emergencies”.
4
UNDERSTANDING YOUR INSTRUMENT PANEL 375
Page 564 of 772
These indicators are molded into the bottom of the tread
grooves. They will appear as bands when the tread depth
becomes 1/16” (2 mm). When the tread is worn to the
tread wear indicators, the tire should be replaced. Refer
to “Replacement Tires” in this section for further infor-
mation.
Life Of Tire
The service life of a tire is dependent upon varying
factors including, but not limited to:
•Driving style
•Tire pressure - Improper cold tire inflation pressures
can cause uneven wear patterns to develop across the
tire tread. These abnormal wear patterns will reduce
tread life, resulting in the need for earlier tire replace-
ment.
•Distance driven
•Performance tires, tires with a speed rating of V or
higher, and summer tires typically have a reduced
tread life. Rotation of these tires per the vehicle main-
tenance schedule is highly recommended.
WARNING!
Tires and the spare tire should be replaced after six
years, regardless of the remaining tread. Failure to
follow this warning can result in sudden tire failure.
You could lose control and have a collision resulting
in serious injury or death.
Keep dismounted tires in a cool, dry place with as little
exposure to light as possible. Protect tires from contact
with oil, grease, and gasoline.
Replacement Tires
The tires on your new vehicle provide a balance of many
characteristics. They should be inspected regularly for
562 STARTING AND OPERATING
Page 661 of 772
3. Approximately 15 seconds later, one of two things will
happen:
•The MIL will flash for about 10 seconds and then
return to being fully illuminated until you turn OFF
the ignition or start the engine. This means that your
vehicle’s OBD II system isnot readyand you should
notproceed to the I/M station.
•The MIL will not flash at all and will remain fully
illuminated until you turn OFF the ignition or start the
engine. This means that your vehicle’s OBD II system
isreadyand you can proceed to the I/M station.
If your OBD II system isnot ready,you should see your
authorized dealer or repair facility. If your vehicle was
recently serviced or had a battery failure or replacement,
you may need to do nothing more than drive your
vehicle as you normally would in order for your OBD II
system to update. A recheck with the above test routine
may then indicate that the system isnow ready.
Regardless of whether your vehicle’s OBD II system is
ready or not, if the MIL is illuminated during normal
vehicle operation you should have your vehicle serviced
before going to the I/M station. The I/M station can fail
your vehicle because the MIL is on with the engine
running.
REPLACEMENT PARTS
Use of genuine MOPAR® parts for normal/scheduled
maintenance and repairs is highly recommended to en-
sure the designed performance. Damage or failures
caused by the use of non-MOPAR® parts for mainte-
nance and repairs will not be covered by the New Vehicle
Limited Warranty.
DEALER SERVICE
Your authorized dealer has the qualified service person-
nel, special tools, and equipment to perform all service
operations in an expert manner. Service Manuals are
7
MAINTAINING YOUR VEHICLE 659
Page 662 of 772
available which include detailed service information for
your vehicle. Refer to these Service Manuals before
attempting any procedure yourself.
NOTE:Intentional tampering with emissions control
systems may void your warranty and could result in civil
penalties being assessed against you.
WARNING!
You can be badly injured working on or around a
motor vehicle. Only do service work for which you
have the knowledge and the proper equipment. If
you have any doubt about your ability to perform a
service job, take your vehicle to a competent me-
chanic.
MAINTENANCE PROCEDURES
The pages that follow contain therequiredmaintenance
services determined by the engineers who designed your
vehicle.
Besides those maintenance items specified in the fixed
“Maintenance Schedule”, there are other components
which may require servicing or replacement in the future.
CAUTION!
•Failure to properly maintain your vehicle or per-
form repairs and service when necessary could
result in more costly repairs, damage to other
components or negatively impact vehicle perfor-
mance. Immediately have potential malfunctions
examined by an authorized dealer or qualified
repair center.
(Continued)
660 MAINTAINING YOUR VEHICLE
Page 666 of 772
Disposing Of Used Engine Oil And Oil Filters
Care should be taken in disposing of used engine oil and
oil filters from your vehicle. Used oil and oil filters,
indiscriminately discarded, can present a problem to the
environment. Contact your authorized dealer, service
station or governmental agency for advice on how and
where used oil and oil filters can be safely discarded in
your area.
Engine Oil Filter
The engine oil filter should be replaced with a new filter
at every engine oil change.
NOTE:For best access to the oil filter, a drive on hoist
should be used instead of a chassis hoist.
Engine Oil Filter Selection
This manufacturer’s engines have a full-flow type dispos-
able oil filter. Use a filter of this type for replacement. The
quality of replacement filters varies considerably. Only
high quality filters should be used to assure most efficient
service. MOPAR® engine oil filters are high quality oil
filters and are recommended.
Engine Air Cleaner Filter
Refer to the “Maintenance Schedule” for the proper
maintenance intervals.
NOTE:Be sure to follow the “dusty or off-road condi-
tions” maintenance interval if applicable.
WARNING!
The air induction system (air cleaner, hoses, etc.) can
provide a measure of protection in the case of engine
backfire. Do not remove the air induction system (air
cleaner, hoses, etc.) unless such removal is necessary
for repair or maintenance. Make sure that no one is
near the engine compartment before starting the
(Continued)
664 MAINTAINING YOUR VEHICLE
Page 677 of 772
6. Install the A/C air filter with the air filter position
indicators pointing in the same direction as removal.
CAUTION!
The A/C air filter is identified with an arrow to
indicate airflow direction through the filter. Failure
to properly install the filter will result in the need to
replace it more often.
7. Install the passenger side hush panel under the dash
panel and console closeout.
Refer to the “Maintenance Schedule” for the proper
maintenance intervals.
Body Lubrication
Locks and all body pivot points, including such items as
seat tracks, door hinge pivot points and rollers, liftgate,
tailgate, decklid, sliding doors and hood hinges, should
be lubricated periodically with a lithium based grease,
such as MOPAR® Spray White Lube to assure quiet, easy
operation and to protect against rust and wear. Prior to
the application of any lubricant, the parts concerned
should be wiped clean to remove dust and grit; after
lubricating excess oil and grease should be removed.
Particular attention should also be given to hood latching
components to ensure proper function. When performing
other underhood services, the hood latch, release mecha-
nism and safety catch should be cleaned and lubricated.
The external lock cylinders should be lubricated twice a
year, preferably in the Fall and Spring. Apply a small
amount of a high quality lubricant, such as MOPAR®
Lock Cylinder Lubricant directly into the lock cylinder.7
MAINTAINING YOUR VEHICLE 675
Page 734 of 772
MAINTENANCE SCHEDULE
Your vehicle is equipped with an automatic oil change
indicator system. The oil change indicator system will
remind you that it is time to take your vehicle in for
scheduled maintenance.
Based on engine operation conditions, the oil change
indicator message will illuminate. This means that ser-
vice is required for your vehicle. Operating conditions
such as frequent short-trips, trailer tow, extremely hot or
cold ambient temperatures will influence when the “Oil
Change Required” message is displayed. Severe Operat-
ing Conditions can cause the change oil message to
illuminate as early as 3,500 miles (5,600 km) since last
reset. Have your vehicle serviced as soon as possible,
within the next 500 miles (805 km).
Your authorized dealer will reset the oil change indicator
message after completing the scheduled oil change. If a
scheduled oil change is performed by someone other
than your authorized dealer, the message can be reset by
referring to the steps described under “Electronic Vehicle
Information Center (EVIC)” or “Driver Information Dis-
play (DID)” in “Understanding Your Instrument Panel”
for further information.
NOTE:Under no circumstances should oil change inter-
vals exceed 10,000 miles (16,000 km) or twelve months,
whichever comes first.
Severe Duty All Models
Change Engine Oil at 4000 miles (6,500 km) if the vehicle
is operated in a dusty and off road environment. This
type of vehicle use is considered Severe Duty.
Once A Month Or Before A Long Trip:
•Check engine oil level.
•Check windshield washer fluid level.
8
MAINTENANCE
SCHEDULES
732 MAINTENANCE SCHEDULES
Page 738 of 772
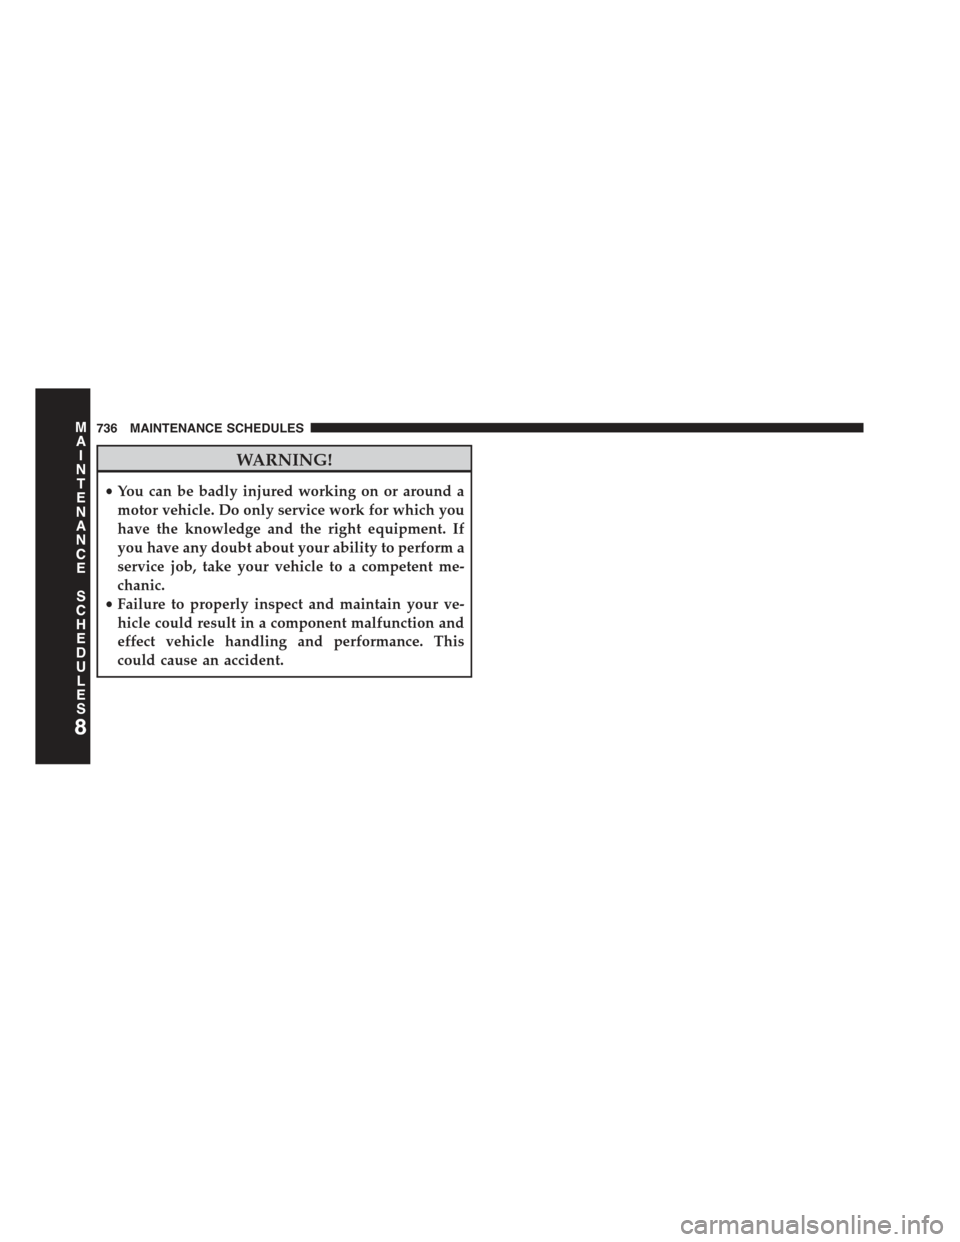
WARNING!
•You can be badly injured working on or around a
motor vehicle. Do only service work for which you
have the knowledge and the right equipment. If
you have any doubt about your ability to perform a
service job, take your vehicle to a competent me-
chanic.
•Failure to properly inspect and maintain your ve-
hicle could result in a component malfunction and
effect vehicle handling and performance. This
could cause an accident.
8
MAINTENANCE
SCHEDULES
736 MAINTENANCE SCHEDULES
Page 761 of 772
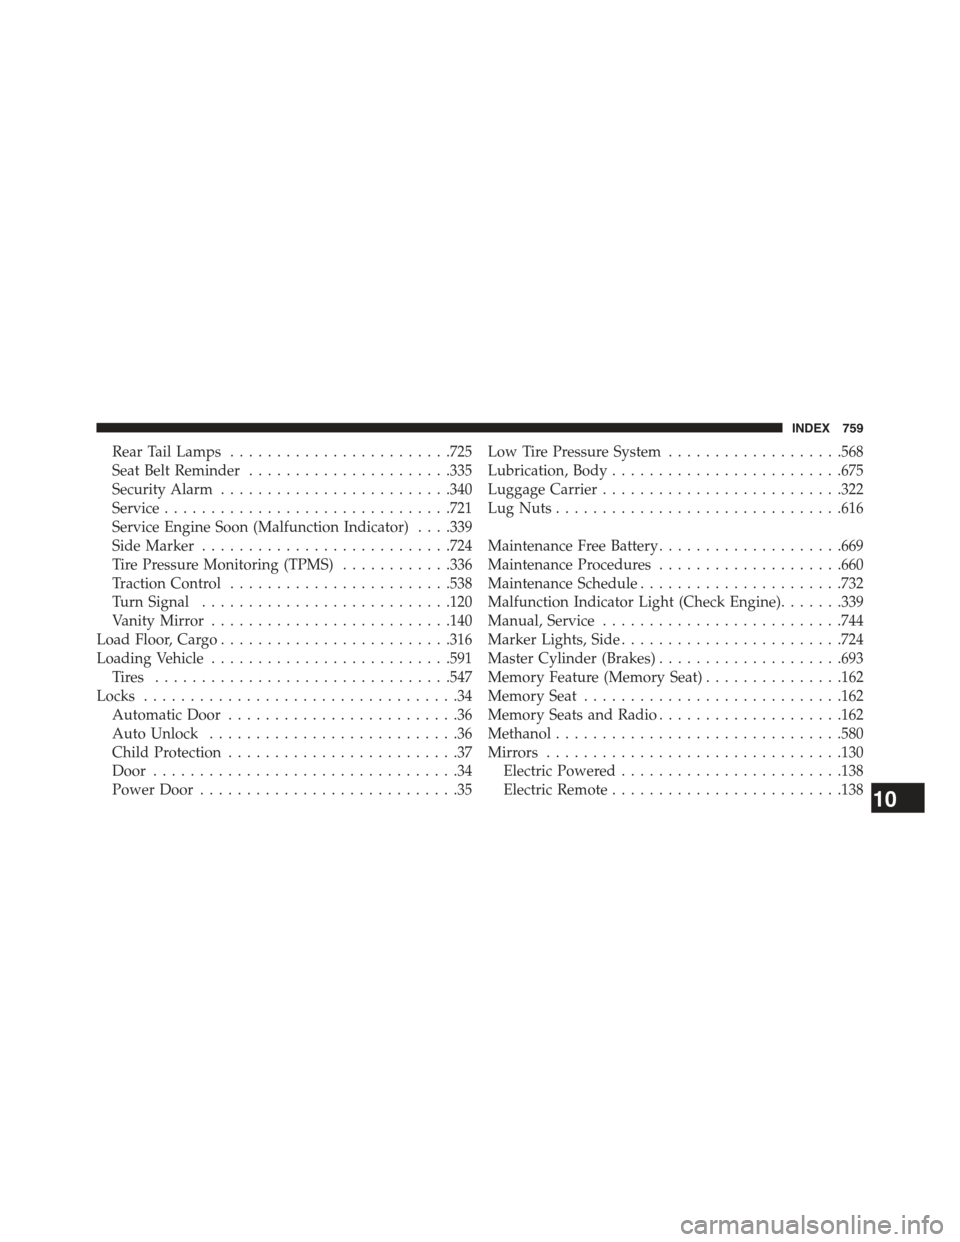
Rear Tail Lamps........................725
Seat Belt Reminder......................335
Security Alarm.........................340
Service...............................721
Service Engine Soon (Malfunction Indicator) . . . .339
Side Marker...........................724
Tire Pressure Monitoring (TPMS)............336
Traction Control........................538
Turn Signal...........................120
Vanity Mirror..........................140
Load Floor, Cargo.........................316
Loading Vehicle..........................591
Ti re s . . . . . . . . . . . . . . . . . . . . . . . . . . . . . . ..547
Locks..................................34
Automatic Door.........................36
Auto Unlock...........................36
Child Protection.........................37
Door.................................34
Power Door............................35
Low Tire Pressure System...................568
Lubrication, Body.........................675
Luggage Carrier..........................322
Lug Nuts...............................616
Maintenance Free Battery....................669
Maintenance Procedures....................660
Maintenance Schedule......................732
Malfunction Indicator Light (Check Engine).......339
Manual, Service..........................744
Marker Lights, Side........................724
Master Cylinder (Brakes)....................693
Memory Feature (Memory Seat)...............162
Memory Seat............................162
Memory Seats and Radio....................162
Methanol...............................580
Mirrors................................130
Electric Powered........................138
Electric Remote.........................13810
INDEX 759