clock JEEP CHEROKEE 2016 KL / 5.G User Guide
[x] Cancel search | Manufacturer: JEEP, Model Year: 2016, Model line: CHEROKEE, Model: JEEP CHEROKEE 2016 KL / 5.GPages: 236, PDF Size: 11.24 MB
Page 87 of 236
UCONNECT 5.0
CAUTION!
Do NOT attach any object to the touchscreen, doing so can result in damage to the
screen.
Clock Setting
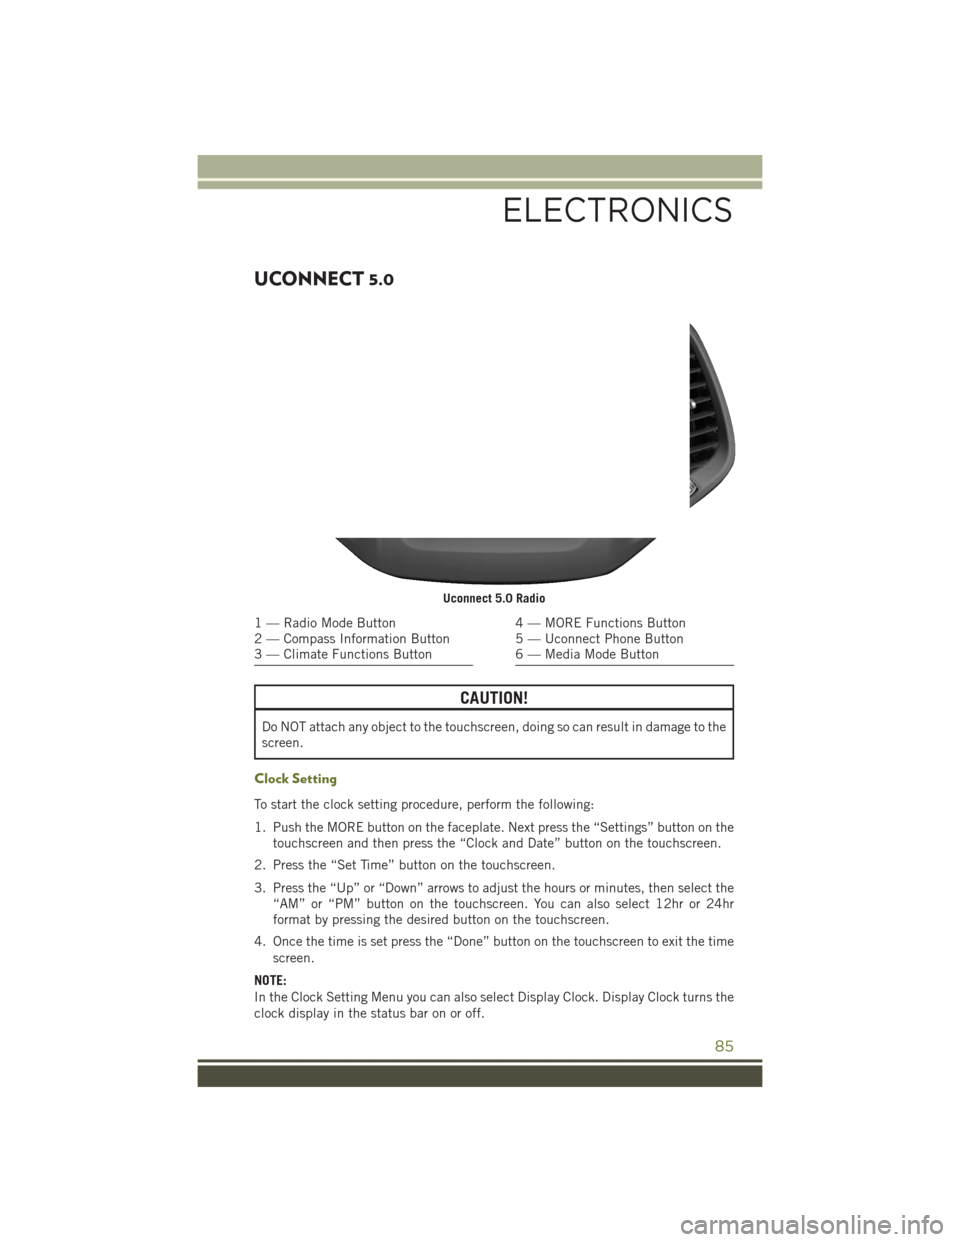
To start the clock setting procedure, perform the following:
1. Push the MORE button on the faceplate. Next press the “Settings” button on thetouchscreen and then press the “Clock and Date” button on the touchscreen.
2. Press the “Set Time” button on the touchscreen.
3. Press the “Up” or “Down” arrows to adjust the hours or minutes, then select the “AM” or “PM” button on the touchscreen. You can also select 12hr or 24hr
format by pressing the desired button on the touchscreen.
4. Once the time is set press the “Done” button on the touchscreen to exit the time screen.
NOTE:
In the Clock Setting Menu you can also select Display Clock. Display Clock turns the
clock display in the status bar on or off.
Uconnect 5.0 Radio
1 — Radio Mode Button
2 — Compass Information Button
3 — Climate Functions Button4 — MORE Functions Button
5 — Uconnect Phone Button
6 — Media Mode Button
ELECTRONICS
85
Page 99 of 236
UCONNECT 8.4A/8.4AN
Uconnect 8.4A/8.4AN AT A GLANCE
CAUTION!
Do NOT attach any object to the touchscreen, doing so can result in damage to the
screen.
Setting The Time
• Model 8.4AN synchronizes time automatically via GPS, so it should not require any time adjustment. If you do need to set the time manually, follow the
instructions below for Model 8.4A.
• For Model 8.4A, turn the unit on, then press the time display at the top of the screen. Press “Yes.”
• If the time is not displayed at the top of the screen, press the “Settings” button on the touchscreen. In the Settings screen, press the “Clock” button on the touch-
screen, then check or uncheck this option.
• Press “+” or “–” next to Set Time Hours and Set Time Minutes to adjust the time.
• If these features are not available, uncheck the Sync Time box.
• Press “X” to save your settings and exit out of the Clock Setting screen.
Uconnect 8.4AN Radio Screen
ELECTRONICS
97
Page 145 of 236
• Push theRIGHTarrow button to access the information screens or submenu
screens of a main menu item.
• Push the LEFT
arrow button to access the information screens or submenu
screens of a main menu item.
• Push the OKbutton to access/select the information screens or submenu screens
of a main menu item. Push and hold the OKarrow button for two seconds to reset
displayed/selected features that can be reset.
Compass Calibration
This compass is self-calibrating, which eliminates the need to set the compass
manually. When the vehicle is new, the compass may appear erratic, and the
EVIC/DID will display “CAL” until the compass is calibrated.
You may also calibrate the compass by completing one or more 360 degree turns (in
an area free from large metal or metallic objects) until the “CAL” message displayed
in the EVIC/DID turns off. The compass will now function normally.
PROGRAMMABLE FEATURES
Uconnect Customer Programmable Features
The Uconnect system allows you to access Customer Programmable feature settings
through buttons on the touchscreen.
•
Push the MORE or SETTINGS button (Uconnect 5.0), or press the “Apps” button
(Uconnect 8.4) located near the bottom of the touchscreen, then press the “Settings”
button on the touchscreen to access the Settings screen. When making a selection,
scroll up or down until the preferred setting is highlighted, then press and release the
preferred setting until a check-mark appears next to the setting, showing that setting
has been selected. The following feature settings are available:
• Display • Engine Off Options
• Voice • Audio
• Clock • Phone/Bluetooth
• Safety & Driving Assistance • SiriusXM Setup
• Lights • Restore Settings
• Compass (Uconnect 5.0) • Clear Personal Data
• Doors & Locks • System Information
• Auto-On Comfort
NOTE:
Depending on the vehicles options, feature settings may vary.
ELECTRONICS
143
Page 185 of 236
1. Remove the spare tire, jack, and wheel bolt wrench.
2. If equipped with aluminum wheels where the center cap covers the wheel bolts,use the wheel bolt wrench to pry the center cap off carefully before raising the
vehicle.
3. Before raising the vehicle, use the wheel bolt wrench to loosen, but not remove, the wheel bolts on the wheel with the flat tire. Turn the wheel bolts counterclock-
wise one turn while the wheel is still on the ground.
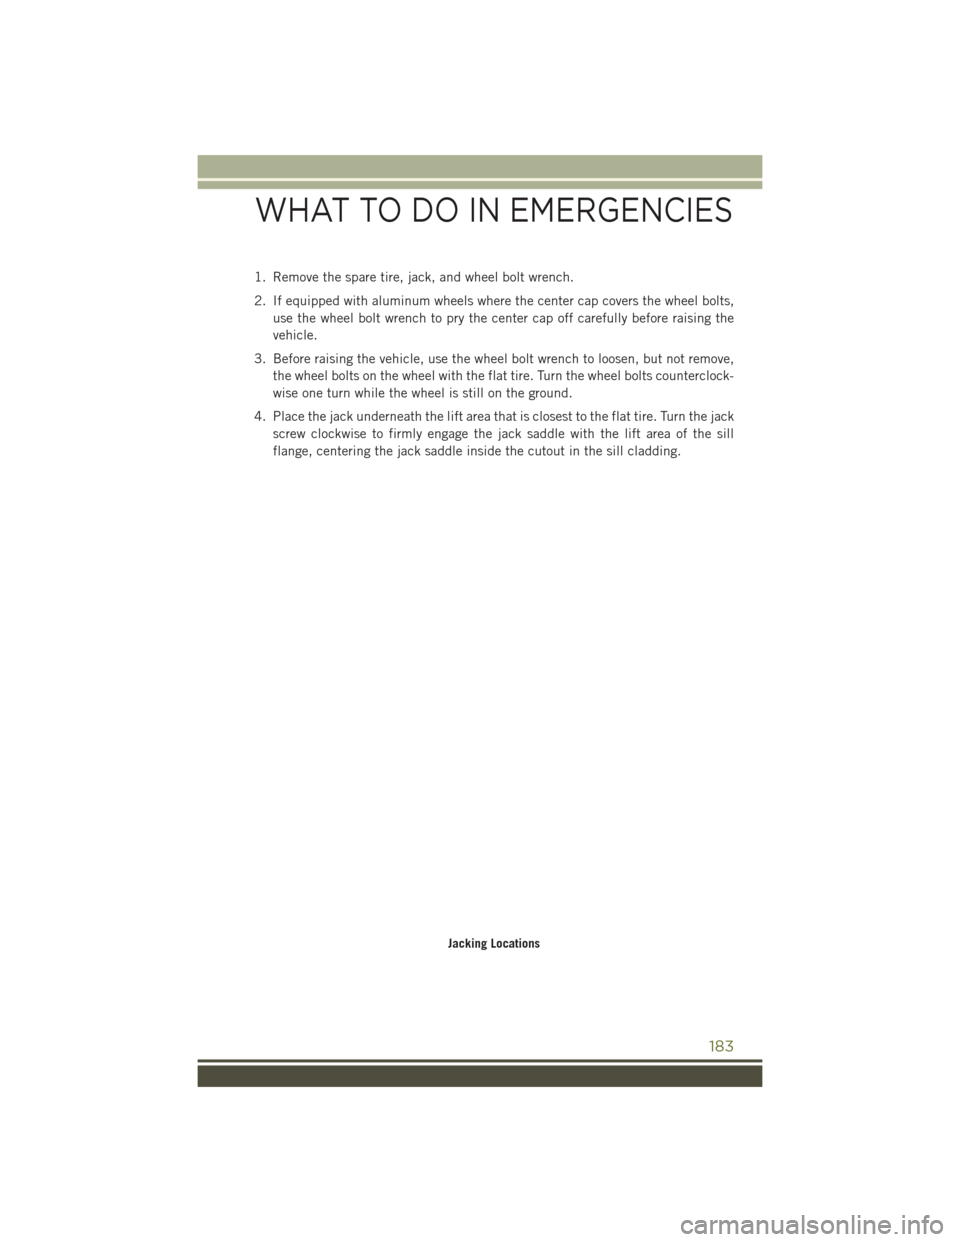
4. Place the jack underneath the lift area that is closest to the flat tire. Turn the jack screw clockwise to firmly engage the jack saddle with the lift area of the sill
flange, centering the jack saddle inside the cutout in the sill cladding.
Jacking Locations
WHAT TO DO IN EMERGENCIES
183
Page 187 of 236
8. Mount the spare tire.
CAUTION!
Be sure to mount the spare tire with the valve stem facing outward. The vehicle
could be damaged if the spare tire is mounted incorrectly.
NOTE: • For vehicles so equipped, do not attempt to install a center cap or wheel coveron the compact spare.
• Refer to “Compact Spare Tire” and to “Limited-Use Spare” under “Tires— General Information” in “Starting and Operating” in the Owner's Manual on the
DVD for additional warnings, cautions, and information about the spare tire, its
use, and operation.
9. Install the wheel bolts with the threaded end of the wheel bolt toward the wheel. Lightly tighten the wheel bolts.
WARNING!
To avoid the risk of forcing the vehicle off the jack, do not fully tighten the wheel
bolts until the vehicle has been lowered. Failure to follow this warning may result
in serious injury.
10. Lower the vehicle to the ground by turning the jack handle counterclockwise.
11. Finish tightening the lug bolts. Push down on the wrench while at the end of the handle for increased leverage. Tighten the lug bolts in a star pattern until each
nut has been tightened twice. The correct wheel bolt tightness is 100 ft lb
(135 N·m). If in doubt about the correct tightness, have them checked with a
torque wrench by your authorized dealer or at a service station.
12. Securely stow the jack, tools, chocks and flat tire.
WARNING!
A loose tire or jack thrown forward in a collision or hard stop could endanger the
occupants of the vehicle. Always stow the jack parts and the spare tire in the
places provided. Have the deflated (flat) tire repaired or replaced immediately.
WHAT TO DO IN EMERGENCIES
185
Page 188 of 236
Road Tire Installation
1. Mount the road tire on the axle.
2. Install the remaining wheel bolts with the threaded end of the wheel bolt towardthe wheel. Lightly tighten the wheel bolts.
WARNING!
To avoid the risk of forcing the vehicle off the jack, do not tighten the lug nuts fully
until the vehicle has been lowered. Failure to follow this warning may result in
serious injury.
3. Lower the vehicle to the ground by turning the jack handle counterclockwise.
4. Finish tightening the lug bolts. Push down on the wrench while at the end of the handle for increased leverage. Tighten the lug bolts in a star pattern until each nut
has been tightened twice. The correct wheel bolt tightness is 100 ft lb (135 N·m).
If in doubt about the correct tightness, have them checked with a torque wrench
by your authorized dealer or at a service station.
5. Lower the jack until it is free. Remove the wheel chocks. Reassemble the lug wrench to the jack assembly and stow it in the spare tire area. Secure the
assembly using the means provided. Release the parking brake before driving the
vehicle.
6. After 25 miles (40 km) check the wheel bolt torque with a torque wrench to ensure that all wheel bolts are properly seated against the wheel.
JUMP-STARTING PROCEDURES
If your vehicle has a discharged battery it can be jump-started using a set of jumper
cables and a battery in another vehicle or by using a portable battery booster pack.
Jump-starting can be dangerous if done improperly so please follow the procedures
in this section carefully.
NOTE:
When using a portable battery booster pack follow the manufacturer’s operating
instructions and precautions.
CAUTION!
Do not use a portable battery booster pack or any other booster source with a
system voltage greater than 12 Volts or damage to the battery, starter motor,
alternator or electrical system may occur.
WARNING!
Do not attempt jump-starting if the battery is frozen. It could rupture or explode
and cause personal injury.
WHAT TO DO IN EMERGENCIES
186
Page 221 of 236
FREQUENTLY ASKED QUESTIONS
GETTING STARTED
How do I install my LATCH Equipped Child Seat? pg. 27
How do I program my Front Seat Memory? pg. 33
ELECTRONICS
Which radio is in my vehicle?
• Uconnect 5.0 pg. 85
• Uconnect 8.4A/8.4AN pg. 97
How do I activate the Audio Jack?
• Uconnect 5.0 pg. 89
• Uconnect 8.4A/8.4AN pg. 104
How do I set the clock on my radio?
• Uconnect 5.0 pg. 85
• Uconnect 8.4A/8.4AN pg. 97
How do I use the Navigation feature?
• Uconnect 8.4A/8.4AN pg. 107
How do I configure my Universal Garage Door Opener (HomeLink)? pg. 144
How do I pair my cell phone via Bluetooth with the Uconnect Hands-Free Voice
Activation System? pg. 131
How do I improve the Bluetooth performance of my Uconnect System? pg. 140
OFF-ROAD CAPABILITIES
How do I shift into different four-wheel drive selections? pg. 153
UTILITY
How do I know how much I can tow with my Jeep Cherokee? pg. 158
WHAT TO DO IN EMERGENCIES
What do I do if my TPMS warning light is blinking? pg. 164
How do I change a flat tire? pg. 180
How do I Jump-Start my vehicle? pg. 186
MAINTAINING YOUR VEHICLE
Where is my Fuse Block located? pg. 204
What type of oil do I use? pg. 198
How often should I change my engine’s oil? pg. 200
What should my tire pressure be set at? pg. 212
FAQ’s
219
Page 223 of 236
Child Restraints............25
Lower Anchors And Tethers
ForChildren.............25
Lower Anchors And Tethers
ForChildren ............25
Child Seat Installation .........25
Cleaning Wheels ..............200
Windshield Wiper Blades ....200
Climate Control .....51,52,55,122
Clock...................85
Cluster Warning/Indicator Lights AirBagWarningLight ......164
Brake Warning Light .......167
Electronic Speed Control ON
Indicator ..............170
Electronic Speed Control
SET Indicator ...........170
FrontFogLightIndicator ....170
HighBeamIndicator ......170
Park/Headlight ON Indicator . .172
SeatBeltReminderLight ....166
Turn Signal Indicator ......170
Vehicle Security Light ......170
Clutch .................200
ClutchFluid..............200
Compact Spare Tire ..........213
Compass Calibration .........143
Cooling System ............200
Adding Coolant (Antifreeze) . .200
Coolant Capacity .........198
Coolant Level ...........200
Disposal Of Used Coolant ....200
Drain, Flush, And Refill .....200
Inspection ............200
Points To Remember ......200
Pressure Cap ...........200
Selection Of Coolant
(Antifreeze) ........198, 200
Corrosion Protection .........200
Cruise Control (Speed Control) ....43
CruiseLight...............43
Customer Assistance ......216, 217
Customer Programmable Features ..............143 Defects, Reporting
..........217
Defroster, Rear Window ......51,52
Defroster, Windshield .......51,52
DimmerControl.............41
Dimmer Switch, Headlight ......41
Disabled Vehicle Towing .......163
Disarming, Security System ......13
Disposal Antifreeze (Engine Coolant) . . .200
Disturb .................137
Driver Cockpit ..............6
Driver's Seat Back Tilt .........34
E-85Fuel...............200
Electric Parking Brake .........60
Electronics Your Vehicle's Sound System . . .70
Electronic Speed Control (Cruise Control) ...........43
Electronic Throttle Control WarningLight ...........164
Electronic Vehicle Information Center (EVIC) .........64,142
Emergency, In Case Of Brake Warning Light .......166
Jacking ..............180
Jump Starting ..........186
Overheating ............173
Towing ...............163
Engine Air Cleaner ............200
Break-In
Recommendations . . .40
Checking Oil Level ........200
Coolant (Antifreeze) .......198
Cooling ...............200
Jump Starting ..........186
Malfunction Indicator
(CheckEngine) ..........168
Oil .............. 198, 200
Oil Filler Cap ...........200
Oil Selection ........198, 200
Overheating ............173
Enhanced Accident Response Feature ...............192
Ethanol.................200
Exhaust System ............200
INDEX
221
Page 225 of 236
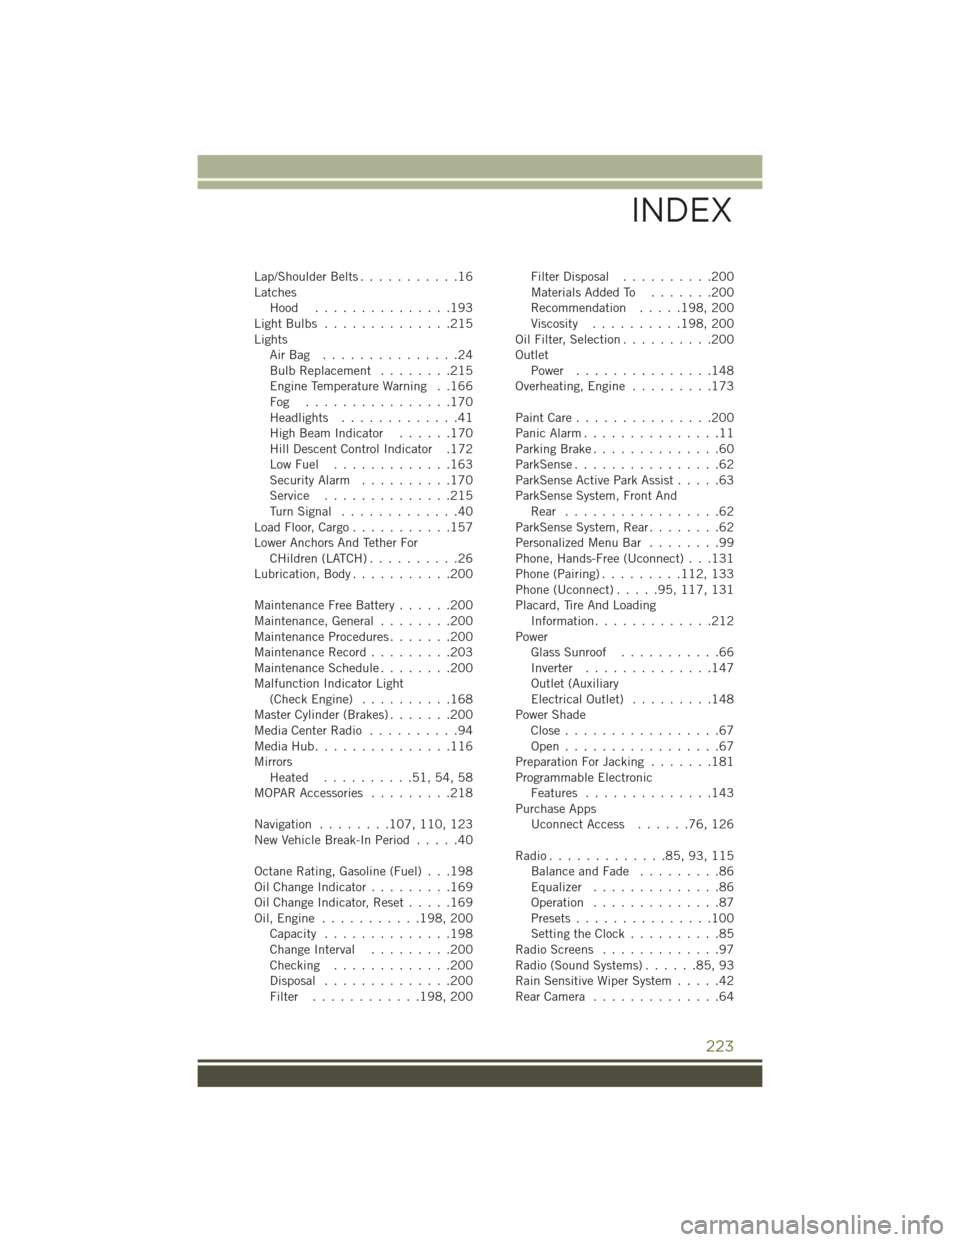
Lap/Shoulder Belts...........16
Latches Hood ...............193
LightBulbs ..............215
Lights AirBag ...............24
BulbReplacement ........215
Engine Temperature Warning . .166
Fog ................170
Headlights .............41
HighBeamIndicator ......170
Hill Descent Control Indicator .172
LowFuel .............163
Security Alarm ..........170
Service ..............215
TurnSignal .............40
Load Floor, Cargo ...........157
Lower Anchors And Tether For CHildren (LATCH) ..........26
Lubrication, Body ...........200
Maintenance Free Battery ......200
Maintenance,General ........200
MaintenanceProcedures.......200
Maintenance Record .........203
MaintenanceSchedule........200
Malfunction Indicator Light (CheckEngine) ..........168
Master Cylinder (Brakes) .......200
MediaCenterRadio ..........94
MediaHub...............116
Mirrors Heated ..........51,54,58
MOPAR Accessories .........218
Navigation ........ 107, 110, 123
New Vehicle Break-In Period .....40
Octane Rating, Gasoline (Fuel) . . .198
OilChangeIndicator.........169
Oil Change Indicator, Reset .....169
Oil,Engine ........... 198, 200
Capacity ..............198
Change Interval .........200
Checking .............200
Disposal ..............200
Filter ............ 198, 200 Filter Disposal
..........200
Materials Added To .......200
Recommendation .....198, 200
Viscosity .......... 198, 200
Oil Filter, Selection ..........200
Outlet Power ...............148
Overheating, Engine .........173
PaintCare...............200
Panic Alarm ...............11
Parking Brake ..............60
ParkSense................62
ParkSense Active Park Assist .....63
ParkSense System, Front And Rear .................62
ParkSense System, Rear ........62
Personalized Menu Bar ........99
Phone, Hands-Free (Uconnect) . . .131
Phone (Pairing) .........112, 133
Phone (Uconnect) .....95,117, 131
Placard, Tire And Loading Information .............212
Power Glass Sunroof ...........66
Inverter ..............147
Outlet (Auxiliary
Electrical Outlet) .........148
Power Shade Close .................67
O
pen.................67
Preparation For Jacking .......181
Programmable Electronic Features ..............143
Purchase Apps UconnectAccess ......76,126
Radio.............85,93,115 Balance and Fade .........86
Equalizer ..............86
Operation ..............87
Presets ...............100
Setting the Clock ..........85
Radio Screens .............97
Radio(SoundSystems)......85,93
Rain Sensitive Wiper System .....42
RearCamera ..............64
INDEX
223