spare wheel JEEP CHEROKEE 2016 KL / 5.G User Guide
[x] Cancel search | Manufacturer: JEEP, Model Year: 2016, Model line: CHEROKEE, Model: JEEP CHEROKEE 2016 KL / 5.GPages: 236, PDF Size: 11.24 MB
Page 182 of 236
JACKING AND TIRE CHANGING
WARNING!
• Do not attempt to change a tire on the side of the vehicle close to movingtraffic. Pull far enough off the road to avoid the danger of being hit when
operating the jack or changing the wheel.
• Being under a jacked-up vehicle is dangerous. The vehicle could slip off the
jack and fall on you. You could be crushed. Never put any part of your body
under a vehicle that is on a jack. If you need to get under a raised vehicle, take
it to a service center where it can be raised on a lift.
• Never start or run the engine while the vehicle is on a jack.
• The jack is designed to be used as a tool for changing tires only. The jack
should not be used to lift the vehicle for service purposes. The vehicle should
be jacked on a firm level surface only. Avoid ice or slippery areas.
Jack Location/Spare Tire Stowage
The jack, wheel chocks and spare tire are stowed under the load floor behind the rear
seat.
1. Open the liftgate.
2. Lift the access cover using the load floor handle.
3. Remove the hook from the stowed position on the back side of the load floor and place the hook over the top body in white flange and weather seal. This will hold
the load floor up while obtaining the jack and spare tire.
4. Remove the fastener securing the jack and spare tire.
5. Remove the chocks.
6. Remove the scissors jack and wheel bolt wrench from the spare wheel as an assembly. Turn the jack screw to the left to loosen the wheel bolt wrench, and
remove the wrench from the jack assembly.
NOTE:
The jack handle attaches to the side of the jack with two attachment points. When
the jack is partially expanded, the tension between the two attachment points holds
the jack handle in place.
7. Remove the spare tire.
WHAT TO DO IN EMERGENCIES
180
Page 183 of 236
WARNING!
A loose tire or jack thrown forward in a collision or hard stop could endanger the
occupants of the vehicle. Always stow the jack parts and the spare tire in the
places provided. Have the deflated (flat) tire repaired or replaced immediately.
Preparations For Jacking
1. Park the vehicle on a firm level surface as far from the edge of the roadway aspossible. Avoid icy or slippery areas.
WARNING!
Do not attempt to change a tire on the side of the vehicle close to moving traffic,
pull far enough off the road to avoid being hit when operating the jack or changing
the wheel.
2. Turn on the Hazard Warning flasher.
3. Set the parking brake.
4. Place the shift lever into PARK.
5. Turn the ignition off to the LOCK position.
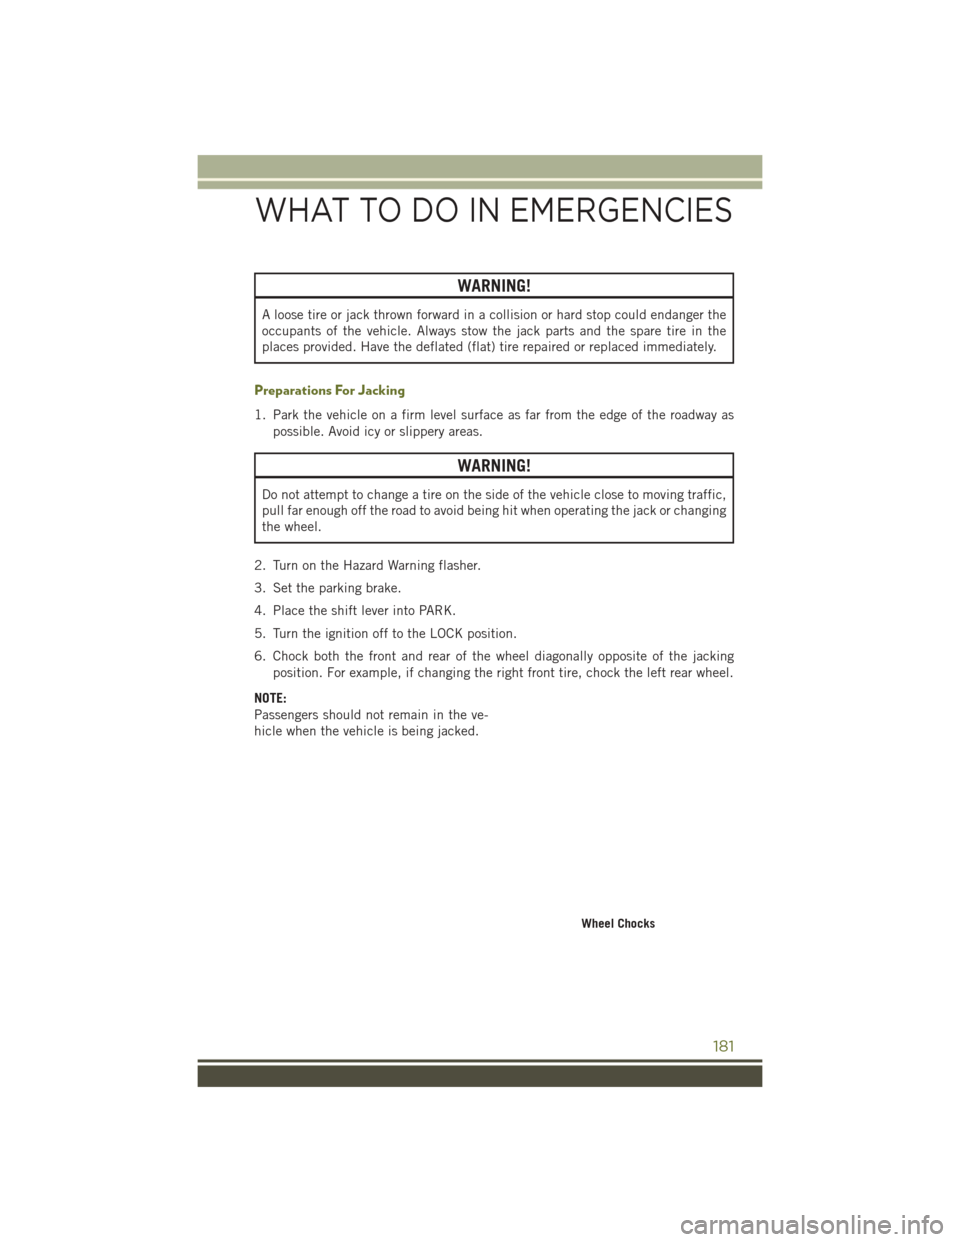
6. Chock both the front and rear of the wheel diagonally opposite of the jacking position. For example, if changing the right front tire, chock the left rear wheel.
NOTE:
Passengers should not remain in the ve-
hicle when the vehicle is being jacked.
Wheel Chocks
WHAT TO DO IN EMERGENCIES
181
Page 184 of 236
Jacking Instructions
WARNING!
Carefully follow these tire changing warnings to help prevent personal injury or
damage to your vehicle:
• Always park on a firm, level surface as far from the edge of the roadway aspossible before raising the vehicle.
• Turn on the Hazard Warning flasher.
• Chock the wheel diagonally opposite the wheel to be raised.
• Set the parking brake firmly and set the transmission in PARK.
• Never start or run the engine with the vehicle on a jack.
• Do not let anyone sit in the vehicle when it is on a jack.
• Do not get under the vehicle when it is on a jack. If you need to get under a
raised vehicle, take it to a service center where it can be raised on a lift.
• Only use the jack in the positions indicated and for lifting this vehicle during
a tire change.
• If working on or near a roadway, be extremely careful of motor traffic.
• To assure that spare tires, flat or inflated, are securely stowed, spares must be
stowed with the valve stem facing the ground.
CAUTION!
Do not attempt to raise the vehicle by jacking on locations other than those
indicated in the Jacking Instructions for this vehicle.
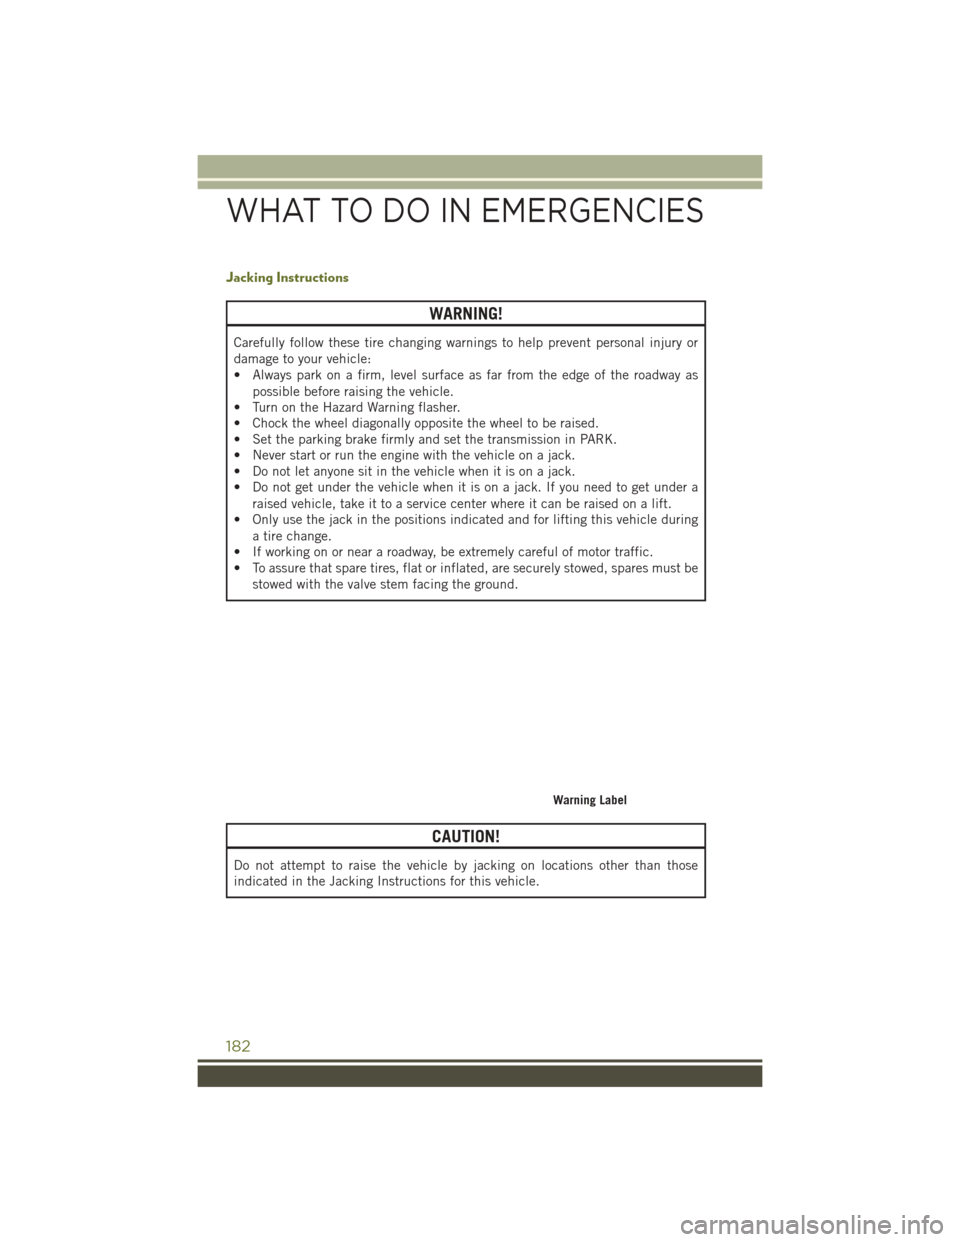
Warning Label
WHAT TO DO IN EMERGENCIES
182
Page 185 of 236
1. Remove the spare tire, jack, and wheel bolt wrench.
2. If equipped with aluminum wheels where the center cap covers the wheel bolts,use the wheel bolt wrench to pry the center cap off carefully before raising the
vehicle.
3. Before raising the vehicle, use the wheel bolt wrench to loosen, but not remove, the wheel bolts on the wheel with the flat tire. Turn the wheel bolts counterclock-
wise one turn while the wheel is still on the ground.
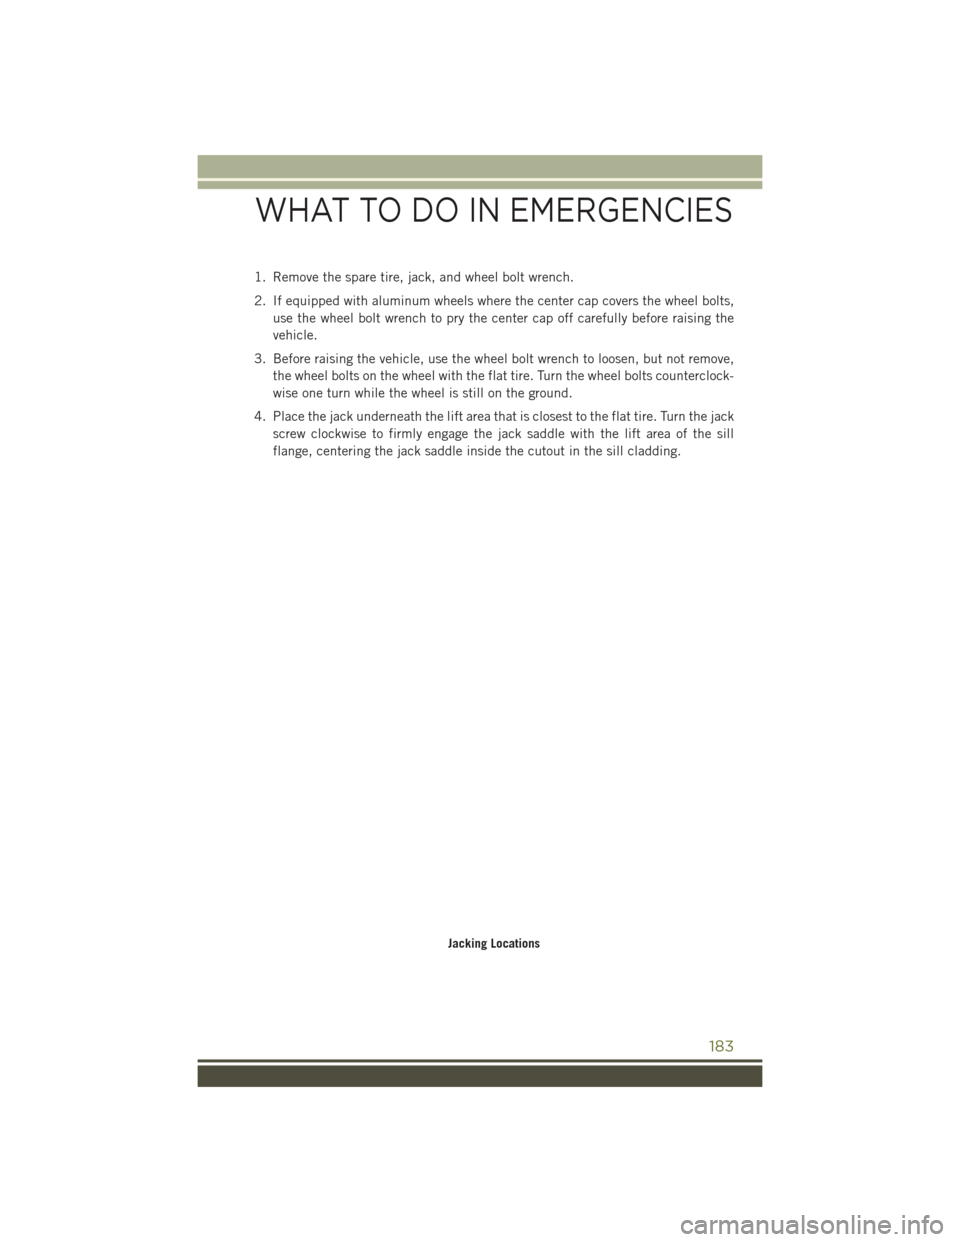
4. Place the jack underneath the lift area that is closest to the flat tire. Turn the jack screw clockwise to firmly engage the jack saddle with the lift area of the sill
flange, centering the jack saddle inside the cutout in the sill cladding.
Jacking Locations
WHAT TO DO IN EMERGENCIES
183
Page 186 of 236
5.Raise the vehicle just enough to remove
the flat tire.
WARNING!
Raising the vehicle higher than necessary can make the vehicle less stable. It
could slip off the jack and hurt someone near it. Raise the vehicle only enough to
remove the tire.
6. Remove the wheel bolts and tire.
7. Remove the alignment pin from the jack assembly and thread the pin into the wheel hub to assist in mounting the spare tire.
Rear Jack Location Engaged
Front Jack Location Engaged
WHAT TO DO IN EMERGENCIES
184
Page 187 of 236
8. Mount the spare tire.
CAUTION!
Be sure to mount the spare tire with the valve stem facing outward. The vehicle
could be damaged if the spare tire is mounted incorrectly.
NOTE: • For vehicles so equipped, do not attempt to install a center cap or wheel coveron the compact spare.
• Refer to “Compact Spare Tire” and to “Limited-Use Spare” under “Tires— General Information” in “Starting and Operating” in the Owner's Manual on the
DVD for additional warnings, cautions, and information about the spare tire, its
use, and operation.
9. Install the wheel bolts with the threaded end of the wheel bolt toward the wheel. Lightly tighten the wheel bolts.
WARNING!
To avoid the risk of forcing the vehicle off the jack, do not fully tighten the wheel
bolts until the vehicle has been lowered. Failure to follow this warning may result
in serious injury.
10. Lower the vehicle to the ground by turning the jack handle counterclockwise.
11. Finish tightening the lug bolts. Push down on the wrench while at the end of the handle for increased leverage. Tighten the lug bolts in a star pattern until each
nut has been tightened twice. The correct wheel bolt tightness is 100 ft lb
(135 N·m). If in doubt about the correct tightness, have them checked with a
torque wrench by your authorized dealer or at a service station.
12. Securely stow the jack, tools, chocks and flat tire.
WARNING!
A loose tire or jack thrown forward in a collision or hard stop could endanger the
occupants of the vehicle. Always stow the jack parts and the spare tire in the
places provided. Have the deflated (flat) tire repaired or replaced immediately.
WHAT TO DO IN EMERGENCIES
185
Page 188 of 236
Road Tire Installation
1. Mount the road tire on the axle.
2. Install the remaining wheel bolts with the threaded end of the wheel bolt towardthe wheel. Lightly tighten the wheel bolts.
WARNING!
To avoid the risk of forcing the vehicle off the jack, do not tighten the lug nuts fully
until the vehicle has been lowered. Failure to follow this warning may result in
serious injury.
3. Lower the vehicle to the ground by turning the jack handle counterclockwise.
4. Finish tightening the lug bolts. Push down on the wrench while at the end of the handle for increased leverage. Tighten the lug bolts in a star pattern until each nut
has been tightened twice. The correct wheel bolt tightness is 100 ft lb (135 N·m).
If in doubt about the correct tightness, have them checked with a torque wrench
by your authorized dealer or at a service station.
5. Lower the jack until it is free. Remove the wheel chocks. Reassemble the lug wrench to the jack assembly and stow it in the spare tire area. Secure the
assembly using the means provided. Release the parking brake before driving the
vehicle.
6. After 25 miles (40 km) check the wheel bolt torque with a torque wrench to ensure that all wheel bolts are properly seated against the wheel.
JUMP-STARTING PROCEDURES
If your vehicle has a discharged battery it can be jump-started using a set of jumper
cables and a battery in another vehicle or by using a portable battery booster pack.
Jump-starting can be dangerous if done improperly so please follow the procedures
in this section carefully.
NOTE:
When using a portable battery booster pack follow the manufacturer’s operating
instructions and precautions.
CAUTION!
Do not use a portable battery booster pack or any other booster source with a
system voltage greater than 12 Volts or damage to the battery, starter motor,
alternator or electrical system may occur.
WARNING!
Do not attempt jump-starting if the battery is frozen. It could rupture or explode
and cause personal injury.
WHAT TO DO IN EMERGENCIES
186
Page 215 of 236
SPARE TIRES — IF EQUIPPED
NOTE:
For vehicles equipped with Tire Service Kit instead of a spare tire, please refer to “Tire
Service Kit” in “What To Do In Emergencies” on your DVD for further information.
CAUTION!
Because of the reduced ground clearance, do not take your vehicle through an
automatic car wash with a compact or limited-use temporary spare installed.
Damage to the vehicle may result.
Spare Tire Matching Original Equipped Tire And Wheel — If Equipped
Your vehicle may be equipped with a spare tire and wheel equivalent in look and
function to the original equipment tire and wheel found on the front or rear axle of
your vehicle. This spare tire may be used in the tire rotation for your vehicle. If your
vehicle has this option, refer to an authorized tire dealer for the recommended tire
rotation pattern.
Compact Spare Tire — If Equipped
The compact spare is for temporary emergency use only. You can identify if your
vehicle is equipped with a compact spare by looking at the spare tire description on
the Tire and Loading Information Placard located on the driver’s side door opening or
on the sidewall of the tire. Compact spare tire descriptions begin with the letter “T”
or “S” preceding the size designation. Example: T145/80D18 103M.
T,S=Temporary Spare Tire
Since this tire has limited tread life, the original equipment tire should be repaired
(or replaced) and reinstalled on your vehicle at the first opportunity.
Do not install a wheel cover or attempt to mount a conventional tire on the compact
spare wheel, since the wheel is designed specifically for the compact spare tire. Do not
install more than one compact spare tire and wheel on the vehicle at any given time.
WARNING!
Compact spares are for temporary emergency use only. With these spares, do not
drive more than 50 mph (80 km/h). Temporary use spares have limited tread life.
When the tread is worn to the tread wear indicators, the temporary use spare tire
needs to be replaced. Be sure to follow the warnings, which apply to your spare.
Failure to do so could result in spare tire failure and loss of vehicle control.
MAINTAINING YOUR VEHICLE
213
Page 216 of 236
Full Size Spare — If Equipped
The full size spare is for temporary emergency use only. This tire may look like the
originally equipped tire on the front or rear axle of your vehicle, but it is not. This
spare tire may have limited tread life. When the tread is worn to the tread wear
indicators, the temporary use full size spare tire needs to be replaced. Since it is not
the same as your original equipment tire, replace (or repair) the original equipment
tire and reinstall on the vehicle at the first opportunity.
Limited-Use Spare — If Equipped
The limited-use spare tire is for temporary emergency use only. This tire is identified
by a label located on the limited-use spare wheel. This label contains the driving
limitations for this spare. This tire may look like the original equipped tire on the front
or rear axle of your vehicle, but it is not. Installation of this limited-use spare tire
affects vehicle handling. Since it is not the same as your original equipment tire,
replace (or repair) the original equipment tire and reinstall on the vehicle at the first
opportunity.
WARNING!
Limited-use spares are for emergency use only. Installation of this limited-use
spare tire affects vehicle handling. With this tire, do not drive more than the speed
listed on the limit-use spare wheel. Keep inflated to the cold tire inflation
pressures listed on your Tire and Loading Information Placard located on the
driver’s side B-Pillar or the rear edge of the driver’s side door. Replace (or repair)
the original equipment tire at the first opportunity and reinstall it on your vehicle.
Failure to do so could result in loss of vehicle control.
WHEEL AND WHEEL TRIM CARE
All wheels and wheel trim, especially aluminum and chrome plated wheels, should
be cleaned regularly with a mild soap and water to prevent corrosion.
To remove heavy soil and/or excessive brake dust, use MOPAR Wheel Cleaner or
equivalent or select a non-abrasive, non-acidic cleaner.
CAUTION!
Do not use scouring pads, steel wool, a bristle brush, or metal polishes. Do not use
oven cleaner. These products may damage the wheel's protective finish. Avoid
automatic car washes that use acidic solutions or harsh brushes that may damage
the wheel's protective finish. Only MOPAR Wheel Cleaner or equivalent is
recommended.
MAINTAINING YOUR VEHICLE
214
Page 223 of 236
Child Restraints............25
Lower Anchors And Tethers
ForChildren.............25
Lower Anchors And Tethers
ForChildren ............25
Child Seat Installation .........25
Cleaning Wheels ..............200
Windshield Wiper Blades ....200
Climate Control .....51,52,55,122
Clock...................85
Cluster Warning/Indicator Lights AirBagWarningLight ......164
Brake Warning Light .......167
Electronic Speed Control ON
Indicator ..............170
Electronic Speed Control
SET Indicator ...........170
FrontFogLightIndicator ....170
HighBeamIndicator ......170
Park/Headlight ON Indicator . .172
SeatBeltReminderLight ....166
Turn Signal Indicator ......170
Vehicle Security Light ......170
Clutch .................200
ClutchFluid..............200
Compact Spare Tire ..........213
Compass Calibration .........143
Cooling System ............200
Adding Coolant (Antifreeze) . .200
Coolant Capacity .........198
Coolant Level ...........200
Disposal Of Used Coolant ....200
Drain, Flush, And Refill .....200
Inspection ............200
Points To Remember ......200
Pressure Cap ...........200
Selection Of Coolant
(Antifreeze) ........198, 200
Corrosion Protection .........200
Cruise Control (Speed Control) ....43
CruiseLight...............43
Customer Assistance ......216, 217
Customer Programmable Features ..............143 Defects, Reporting
..........217
Defroster, Rear Window ......51,52
Defroster, Windshield .......51,52
DimmerControl.............41
Dimmer Switch, Headlight ......41
Disabled Vehicle Towing .......163
Disarming, Security System ......13
Disposal Antifreeze (Engine Coolant) . . .200
Disturb .................137
Driver Cockpit ..............6
Driver's Seat Back Tilt .........34
E-85Fuel...............200
Electric Parking Brake .........60
Electronics Your Vehicle's Sound System . . .70
Electronic Speed Control (Cruise Control) ...........43
Electronic Throttle Control WarningLight ...........164
Electronic Vehicle Information Center (EVIC) .........64,142
Emergency, In Case Of Brake Warning Light .......166
Jacking ..............180
Jump Starting ..........186
Overheating ............173
Towing ...............163
Engine Air Cleaner ............200
Break-In
Recommendations . . .40
Checking Oil Level ........200
Coolant (Antifreeze) .......198
Cooling ...............200
Jump Starting ..........186
Malfunction Indicator
(CheckEngine) ..........168
Oil .............. 198, 200
Oil Filler Cap ...........200
Oil Selection ........198, 200
Overheating ............173
Enhanced Accident Response Feature ...............192
Ethanol.................200
Exhaust System ............200
INDEX
221