turn signal JEEP CHEROKEE 2016 KL / 5.G User Guide
[x] Cancel search | Manufacturer: JEEP, Model Year: 2016, Model line: CHEROKEE, Model: JEEP CHEROKEE 2016 KL / 5.GPages: 236, PDF Size: 11.24 MB
Page 3 of 236
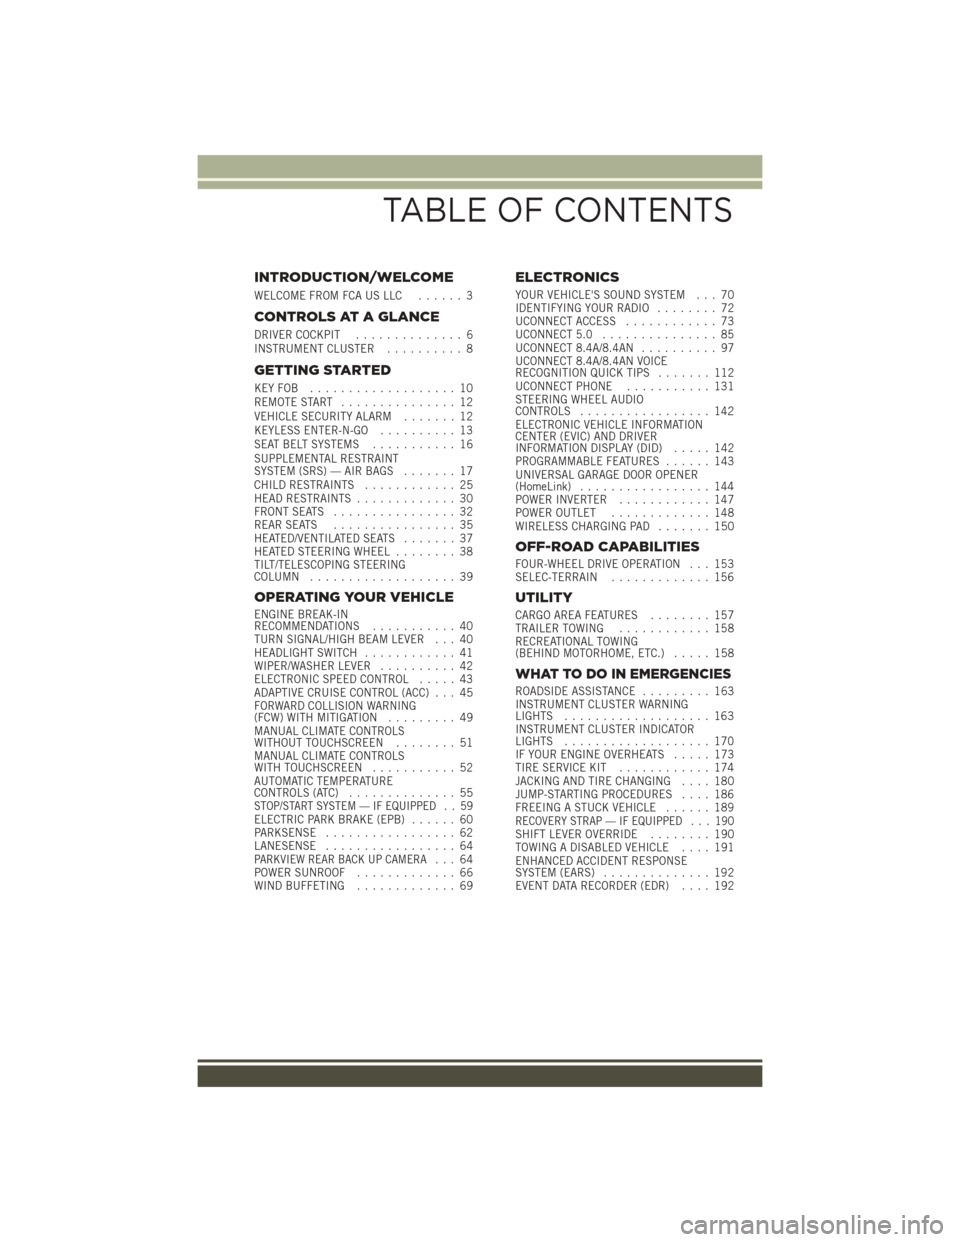
INTRODUCTION/WELCOME
WELCOME FROM FCA US LLC...... 3
CONTROLS AT A GLANCE
DRIVER COCKPIT.............. 6
INSTRUMENT CLUSTER .......... 8
GETTING STARTED
KEYFOB ................... 10
REMOTE START............... 12
VEHICLE SECURITY ALARM ....... 12
KEYLESS ENTER-N-GO .......... 13
SEAT BELT SYSTEMS ........... 16
SUPPLEMENTAL RESTRAINT
SYSTEM (SRS) — AIR BAGS ....... 17
CHILD RESTRAINTS ............ 25
HEAD RESTRAINTS ............. 30
FRONT SEATS ................ 32
REAR SEATS ................ 35
HEATED/VENTILATED SEATS ....... 37
HEATED STEERING WHEEL ........ 38
TILT/TELESCOPING STEERING
COLUMN ................... 39
OPERATING YOUR VEHICLE
ENGINE BREAK-IN
RECOMMENDATIONS ........... 40
TURN SIGNAL/HIGH BEAM LEVER . . . 40
HEADLIGHT SWITCH ............ 41
WIPER/WASHER LEVER .......... 42
ELECTRONIC SPEED CONTROL ..... 43
ADAPTIVE CRUISE CONTROL (ACC) . . . 45
FORWARD COLLISION WARNING
(FCW) WITH MITIGATION ......... 49
MANUAL CLIMATE CONTROLS
WITHOUT TOUCHSCREEN ........ 51
MANUAL CLIMATE CONTROLS
WITH TOUCHSCREEN ........... 52
AUTOMATIC TEMPERATURE
CONTROLS (ATC) .............. 55
STOP/START SYSTEM — IF EQUIPPED . . 59ELECTRIC PARK BRAKE (EPB) ...... 60
PARKSENSE ................. 62
LANESENSE ................. 64
PARKVIEW REAR BACK UP CAMERA... 64
POWER SUNROOF ............. 66
WIND BUFFETING ............. 69
ELECTRONICS
YOUR VEHICLE'S SOUND SYSTEM . . . 70
IDENTIFYING YOUR RADIO ........ 72
UCONNECT ACCESS ............ 73
UCONNECT 5.0 ............... 85
UCONNECT 8.4A/8.4AN .......... 97
UCONNECT 8.4A/8.4AN VOICE
RECOGNITION QUICK TIPS ....... 112
UCONNECT PHONE ........... 131
STEERING WHEEL AUDIO
CONTROLS ................. 142
ELECTRONIC VEHICLE INFORMATION
CENTER (EVIC) AND DRIVER
INFORMATION DISPLAY (DID) ..... 142
PROGRAMMABLE FEATURES ...... 143
UNIVERSAL GARAGE DOOR OPENER
(HomeLink) ................. 144
POWER INVERTER ............ 147
POWER OUTLET ............. 148
WIRELESS CHARGING PAD ....... 150
OFF-ROAD CAPABILITIES
FOUR-WHEEL DRIVE OPERATION . . . 153
SELEC-TERRAIN............. 156
UTILITY
CARGO AREA FEATURES ........ 157
TRAILER TOWING ............ 158
RECREATIONAL TOWING
(BEHIND MOTORHOME, ETC.) ..... 158
WHAT TO DO IN EMERGENCIES
ROADSIDE ASSISTANCE......... 163
INSTRUMENT CLUSTER WARNING
LIGHTS ................... 163
INSTRUMENT CLUSTER INDICATOR
LIGHTS ................... 170
IF YOUR ENGINE OVERHEATS ..... 173
TIRESERVICEKIT ............ 174
JACKING AND TIRE CHANGING .... 180
JUMP-STARTING PROCEDURES .... 186
FREEING A STUCK VEHICLE ...... 189
RECOVERY STRAP — IF EQUIPPED . . . 190SHIFT LEVER OVERRIDE........ 190
TOWING A DISABLED VEHICLE .... 191
ENHANCED ACCIDENT RESPONSE
SYSTEM (EARS) .............. 192
EVENT DATA RECORDER (EDR) .... 192
TABLE OF CONTENTS
Page 8 of 236
DRIVER COCKPIT
1. Driver Memory Seat pg. 33
2. Headlight Switch pg. 41
3. Turn Signal/Light Lever pg. 40
4. Tachometer pg. 8
5. Electronic Vehicle Information Center (EVIC) Or Driver Information Display (DID)pg. 142
6. Speedometer pg. 8
7. Your Vehicle’s Sound System pg. 70
8. Switch Panel
• ParkSense pg. 62
9. Climate Controls pg. 55
CONTROLS AT A GLANCE
6
Page 14 of 236
REMOTE START
• Push REMOTE START buttonon the Key Fob twice within five seconds.
Pushing the REMOTE START button a third time shuts the engine off.
• To drive the vehicle, push UNLOCK button, insert the key in the ignition and turn to the ON/RUN position.
• With remote start, the engine will only run for 15 minutes (timeout) unless the ignition key is placed in the ON/RUN position.
• The vehicle must be started with the key after two consecutive timeouts.
WARNING!
• Do not start or run an engine in a closed garage or confined area. Exhaust gas contains Carbon Monoxide (CO) which is odorless and colorless. Carbon
Monoxide is poisonous and can cause serious injury or death when inhaled.
• Keep Key Fob transmitters away from children. Operation of the Remote Start
System, windows, door locks or other controls could cause serious injury or
death.
Remote Start Windshield Wiper De–icer Activation — If Equipped
When Remote Start is active and the outside ambient temperature is less than 40° F
(4.4° C), the wiper De-Icer will be enabled. On exiting remote start resume previous
operation except, if the De-Icer is active, the De-Icer timer and operation will continue.
VEHICLE SECURITY ALARM
The Vehicle Security Alarm monitors the vehicle doors for unauthorized entry and the
ignition for unauthorized operation. While the Vehicle Security Alarm is armed,
interior switches for door locks and decklid release are disabled. If something triggers
the alarm, the Vehicle Security Alarm will provide the following audible and visible
signals: the horn will pulse, the park lamps and/or turn signals will flash, and the
Vehicle Security Light in the instrument cluster will flash.
To Arm The System:
Lock the door using either the power door lock switch (one door must be open) or the
LOCK button on the Remote Keyless Entry (RKE) transmitter (doors can be open or
closed), and close all doors.
The Vehicle Security Light in the instrument cluster will flash for 16 seconds. This
shows that the Vehicle Security Alarm is arming. During this period, if a door is
opened, the ignition is cycled to ON/RUN, or the power door locks are unlocked in any
manner, the Vehicle Security Alarm will automatically disarm.
GETTING STARTED
12
Page 23 of 236
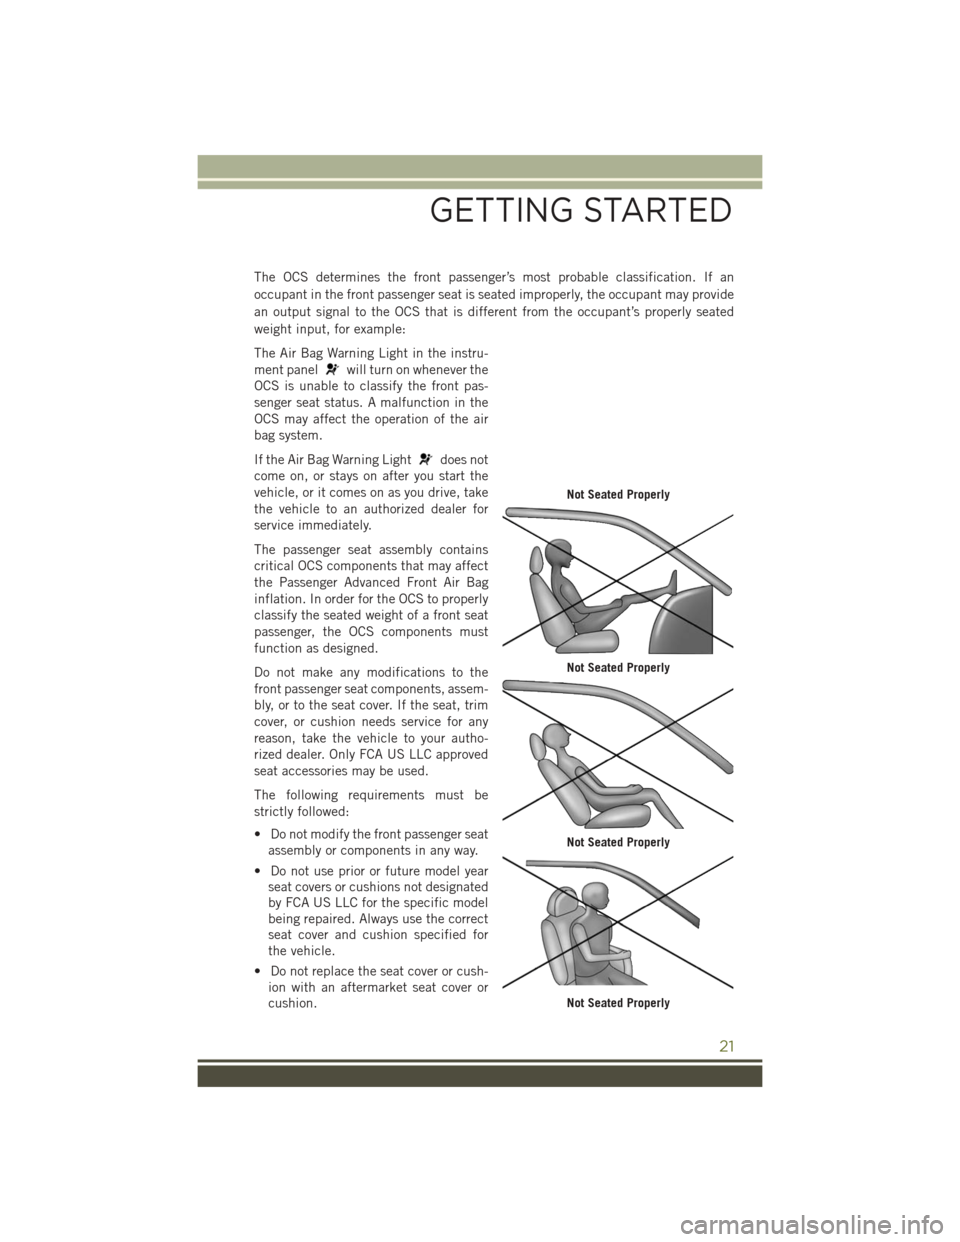
The OCS determines the front passenger’s most probable classification. If an
occupant in the front passenger seat is seated improperly, the occupant may provide
an output signal to the OCS that is different from the occupant’s properly seated
weight input, for example:
The Air Bag Warning Light in the instru-
ment panel
will turn on whenever the
OCS is unable to classify the front pas-
senger seat status. A malfunction in the
OCS may affect the operation of the air
bag system.
If the Air Bag Warning Light
does not
come on, or stays on after you start the
vehicle, or it comes on as you drive, take
the vehicle to an authorized dealer for
service immediately.
The passenger seat assembly contains
critical OCS components that may affect
the Passenger Advanced Front Air Bag
inflation. In order for the OCS to properly
classify the seated weight of a front seat
passenger, the OCS components must
function as designed.
Do not make any modifications to the
front passenger seat components, assem-
bly, or to the seat cover. If the seat, trim
cover, or cushion needs service for any
reason, take the vehicle to your autho-
rized dealer. Only FCA US LLC approved
seat accessories may be used.
The following requirements must be
strictly followed:
• Do not modify the front passenger seat assembly or components in any way.
• Do not use prior or future model year seat covers or cushions not designated
by FCA US LLC for the specific model
being repaired. Always use the correct
seat cover and cushion specified for
the vehicle.
• Do not replace the seat cover or cush- ion with an aftermarket seat cover or
cushion.
Not Seated Properly
Not Seated Properly
Not Seated Properly
Not Seated Properly
GETTING STARTED
21
Page 42 of 236
ENGINE BREAK-IN RECOMMENDATIONS
A long break-in period is not required for the engine and drivetrain (transmission and
axle) in your vehicle.
Drive moderately during the first 300 miles (500 km). After the initial 60 miles (100 km),
speeds up to 50 or 55 mph (80 or 90 km/h) are desirable.
While cruising, brief full-throttle acceleration within the limits of local traffic laws
contributes to a good break-in. Wide-open throttle acceleration in low gear can be
detrimental and should be avoided.
The engine oil installed in the engine at the factory is a high-quality energy
conserving type lubricant. Oil changes should be consistent with anticipated climate
conditions under which vehicle operations will occur. Refer to “Maintaining Your
Vehicle,” for the recommended viscosity and quality grades.
NOTE:
A new engine may consume some oil during its first few thousand miles (kilometers)
of operation. This should be considered a normal part of the break-in and not
interpreted as an indication of an engine problem or malfunction.
CAUTION!
Never use Non-Detergent Oil or Straight Mineral Oil in the engine or damage may
result.
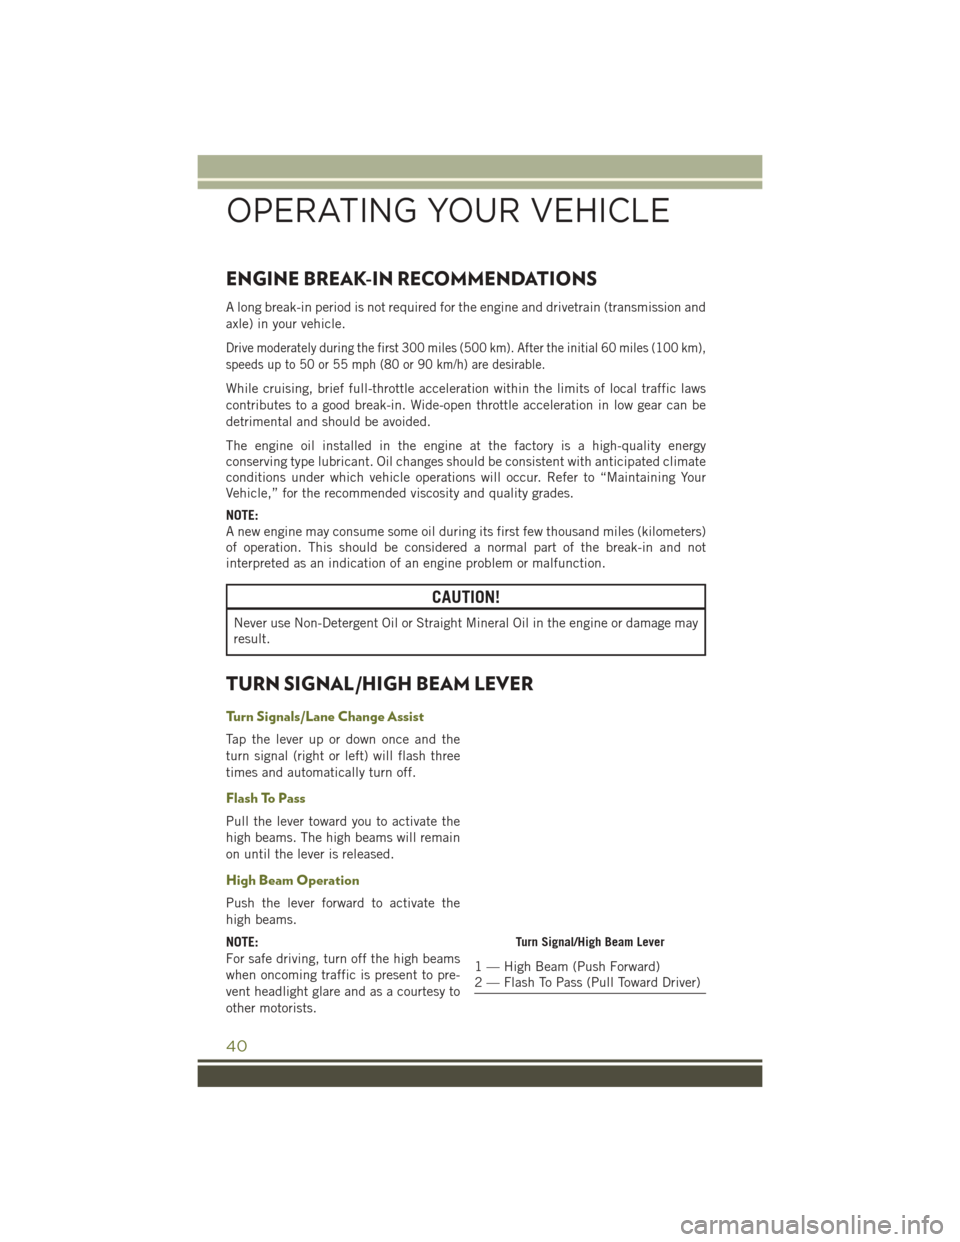
TURN SIGNAL/HIGH BEAM LEVER
Turn Signals/Lane Change Assist
Tap the lever up or down once and the
turn signal (right or left) will flash three
times and automatically turn off.
Flash To Pass
Pull the lever toward you to activate the
high beams. The high beams will remain
on until the lever is released.
High Beam Operation
Push the lever forward to activate the
high beams.
NOTE:
For safe driving, turn off the high beams
when oncoming traffic is present to pre-
vent headlight glare and as a courtesy to
other motorists.
Turn Signal/High Beam Lever
1 — High Beam (Push Forward)
2 — Flash To Pass (Pull Toward Driver)
OPERATING YOUR VEHICLE
40
Page 66 of 236
LANESENSE
The LaneSense system can be enabled and disabled with the LaneSense button
located on the switch panel below the Uconnect display.
• Push the LaneSense button to turn the system ON (LED turns off).
The LaneSense system is operational at speeds above 37 mph (60 km/h) and below
112 mph (180 km/h). The LaneSense system uses a forward looking camera to
detect lane markings and measure vehicle position within the lane boundaries.
When both lane markings are detected and the driver unintentionally drifts out of the
lane (no turn signal applied), the LaneSense system provides a haptic warning in the
form of torque applied to the steering wheel to prompt the driver to remain within the
lane boundaries. If the driver continues to unintentionally drift out of the lane, the
LaneSense system provides a visual warning through the Electronic Vehicle Informa-
tion Center (EVIC) or Driver Information Display (DID) to prompt the driver to remain
within the lane boundaries.
The driver may manually override the haptic warning by applying torque into the
steering wheel at any time.
When only a single lane marking is detected and the driver unintentionally drifts
across the lane marking (no turn signal applied), the LaneSense system provides a
visual warning through the Electronic Vehicle Information Center (EVIC) or Driver
Information Display (DID) to prompt the driver to remain within the lane. When only
a single lane marking is detected, a haptic (torque) warning will not be provided.
Refer to your Owner's Manual on the DVD for further details.
NOTE:
When operating conditions have been met, the LaneSense system will monitor if the
driver’s hands are on the steering wheel and provides an audible warning to the driver
when the driver’s hands are not detected on the steering wheel. The system will
cancel if the driver does not return their hands to the wheel.
PARKVIEW REAR BACK UP CAMERA
Your vehicle may be equipped with the ParkView Rear Back Up Camera that allows
you to see an on-screen image of the rear surroundings of your vehicle whenever the
shift lever is put into REVERSE. The image will be displayed in the touchscreen
display along with a caution note to “check entire surroundings” across the top of the
screen. After five seconds this note will disappear. The ParkView camera is located on
the rear of the vehicle above the rear License plate.
OPERATING YOUR VEHICLE
64
Page 81 of 236
Built-In Features
WARNING!
• ALWAYS obey traffic laws and pay attention to the road. Some UconnectAccess services, including 9-1-1 and Assist, will NOT work without an operable
1X (voice/data) or 3G (data) network connection.
• ALWAYS drive safely with your hands on the steering wheel. You have full
responsibility and assume all risks related to the use of the Uconnect features
and applications in this vehicle. Only use Uconnect when it is safe to do so.
Failure to do so may result in an accident involving serious injury or death.
• Ignoring the rearview mirror light could mean you may not have 9-1-1 Call
service if needed. If the rearview mirror light is illuminated, have an authorized
dealer service the 9-1-1 Call system immediately.
• The Occupant Restraint Controller (ORC) turns on the Air Bag Warning Light on
the instrument panel if a malfunction is detected in any part of the airbag
system. If the Air Bag Warning Light is illuminated, the air bag system may not
be working properly and the 9-1-1 system may not send a signal to a 9-1-1
operator if an air bag is deployed. If the Air Bag Warning Light is illuminated,
have an authorized dealer service your vehicle immediately.
• If anyone in the vehicle could be in danger (e.g., fire or smoke is visible,
dangerous road conditions or location), do not wait for voice contact from a
9-1-1 operator. All occupants should exit the vehicle immediately and move to
a safe location.
• The 9-1-1 Call system is embedded into the vehicle’s electrical system. Do not
add aftermarket electrical equipment to the vehicle’s electrical system. This
may prevent your vehicle from sending a signal to initiate an emergency call. To
avoid interference that can cause the 9-1-1 Call system to fail, never add
aftermarket equipment (e.g., two-way mobile radio, CB radio, data recorder,
etc.) to your vehicle’s electrical system or modify the antennas on your vehicle.
• IF YOUR VEHICLE LOSES BATTERY POWER FOR ANY REASON (INCLUDING
DURING OR AFTER AN ACCIDENT), the Uconnect features, apps and ser-
vices, among others, will not operate.
NOTE:
Your vehicle may be transmitting data as authorized by the subscriber.
ELECTRONICS
79
Page 83 of 236
and may share information obtained through such recording and monitoring in
accordance with regulatory requirements. You acknowledge, agree and consent to
any recording, monitoring or sharing of information obtained through any such
call recordings.
4. Yelp —
Customers have the ability to search for nearby destinations or a Point Of
Interest (POI) either by category or custom search by using keywords (for example,
“Italian restaurant”). Searching can be done by either voice or by using the
touchscreen keypad. Using the touchscreen, launch Yelp by selecting the “Apps
”
icon, then press “Yelp.” To use voice recognition, push the VR button on the steering
wheel and say “launch Yelp,” then follow the instructions on the Teleprompter.
5. Security Alarm Notification — The Security Alarm Notification feature notifies you
via email or text (SMS) message when the vehicle’s factory-installed security
alarm system has been set-off. There are a number of reasons why your alarm may
have been triggered, one of which could be that your vehicle was stolen. If so,
please see the details of the Stolen Vehicle Assistance service below. When you
register, Security Alarm Notification is automatically set to send you an email at
the mail address you provide should the alarm go off. You may also opt to have a
text message sent to your device.
6. Stolen Vehicle Assistance — If your vehicle is stolen, contact local law enforce-
ment immediately to file a stolen vehicle report. Once this report has been filed,
Uconnect care can help locate your vehicle. The Uconnect Care agent will ask for
the stolen vehicle report number issued by local law enforcement. As long as your
vehicle has an operable 1X (voice/data) or 3G (data) network connection, the
Uconnect Care Agent may be able to locate the stolen vehicle and work with law
enforcement to help recover it. Your vehicle must have an operable 1X (voice/
data) or 3G (data) network connection and must be registered with Uconnect
Access with an active subscription that includes the applicable feature.
7. WiFi Hotspot — WiFi Hotspot is an in-vehicle feature that connects your device to
an operable 1X (voice/data) or 3G (data) network using Uconnect Access and is
ready to go where ever you are. Once your vehicle is registered for Uconnect
Access, you can purchase a Wifi Hotspot subscription at the Uconnect Store.
After you've made your purchase, turn on your signal and connect your passengers
devices. It's never been easier to bring your home or office with you.
WARNING!
NEVER use the WiFi Hotspot when you are driving the vehicle. As the driver, you
should only use the WiFi Hotspot when the vehicle is parked in a safe location.
Failure to do so may result in an accident involving serious injury or death.
NOTE:
Your vehicle must have a working electrical system for any of the in vehicle Uconnect
features to operate.
ELECTRONICS
81
Page 147 of 236
Programming A Rolling Code
NOTE:
For programming Garage Door Openers that were manufactured after 1995. These
Garage Door Openers can be identified by the “LEARN” or “TRAIN” button located
where the hanging antenna is attached to the Garage Door Opener. It is NOT the
button that is normally used to open and close the door. The name and color of the
button may vary by manufacturer.
1. Place the ignition switch into the ON/RUN position.
2. Place the hand-held transmitter 1 to 3 inches (3 to 8 cm) away from theHomeLink button you wish to program while keeping the HomeLink indicator light
in view.
3. Push and hold the HomeLink button you want to program while you push and hold the hand-held transmitter button.
4. Continue to hold both buttons and observe the indicator light. The HomeLink indicator will flash slowly and then rapidly after HomeLink has received the
frequency signal from the hand-held transmitter. Release both buttons after the
indicator light changes from slow to rapid.
5.
At the garage door opener motor (in the garage), locate the “LEARN” or “TRAINING”
button. This can usually be found where the hanging antenna wire is attached to the
garage door opener motor. Firmly push and release the “LEARN” or “TRAINING”
button.
NOTE:
You have 30 seconds in which to initiate the next step after the LEARN button has
been pushed.
6. Return to the vehicle and push the programmed HomeLink button twice (holding the button for two seconds each time). If the device is plugged in and activates,
programming is complete.
NOTE:
If the device does not activate, push the button a third time (for two seconds) to
complete the training.
7. To program the remaining two HomeLink buttons, repeat each step for each remaining button. DO NOT erase the channels.
ELECTRONICS
145
Page 148 of 236
Programming A Non-Rolling Code
NOTE:
For programming Garage Door Openers manufactured before 1995.
1. Turn the ignition switch to the ON/RUN position.
2.
Place the hand-held transmitter 1 to 3 inches (3 to 8 cm) away from the HomeLink
button you wish to program while keeping the HomeLink indicator light in view.
3. Push and hold the HomeLink button you want to program while you push and hold the hand-held transmitter button.
4. Continue to hold both buttons and observe the indicator light. The HomeLink indicator will flash slowly and then rapidly after HomeLink has received the
frequency signal from the hand-held transmitter. Release both buttons after the
indicator light changes from slow to rapid.
5. Push and hold the programmed HomeLink button and observe the indicator light. If the indicator light stays on constantly, programming is complete and the garage
door (or device) should activate when the HomeLink button is pushed.
6. To program the two remaining HomeLink buttons, repeat each step for each remaining button. DO NOT erase the channels.
Using HomeLink
To operate, push and release the programmed HomeLink button. Activation will now
occur for the programmed device (i.e., garage door opener, gate operator, security
system, entry door lock, home/office lighting, etc.,). The hand-held transmitter of the
device may also be used at any time.
WARNING!
• Your motorized door or gate will open and close while you are programming theuniversal transceiver. Do not program the transceiver if people or pets are in the
path of the door or gate.
• Do not run your vehicle in a closed garage or confined area while programming
the transceiver. Exhaust gas from your vehicle contains Carbon Monoxide (CO)
which is odorless and colorless. Carbon Monoxide is poisonous when inhaled
and can cause you and others to be severely injured or killed.
ELECTRONICS
146