check engine light JEEP CHEROKEE 2017 KL / 5.G Owner's Manual
[x] Cancel search | Manufacturer: JEEP, Model Year: 2017, Model line: CHEROKEE, Model: JEEP CHEROKEE 2017 KL / 5.GPages: 615, PDF Size: 5.72 MB
Page 256 of 615
that is securely attached using the floor mat fasteners so it
cannot slip out of position and interfere with the accelera-
tor, brake or clutch pedals or impair safe operation of your
vehicle in other ways.
WARNING!
An improperly attached, damaged, folded, or stacked
floor mat, or damaged floor mat fasteners may cause
your floor mat to interfere with the accelerator, brake,
or clutch pedals and cause a loss of vehicle control. To
prevent SERIOUS INJURY or DEATH:
•ALWAYS securely attach
your floor mat using
the floor mat fasteners. DO NOT install your floor
mat upside down or turn your floor mat over.
Lightly pull to confirm mat is secured using the
floor mat fasteners on a regular basis.
• ALWAYS REMOVE THE EXISTING FLOOR MAT
FROM THE VEHICLE
before installing any
other floor mat. NEVER install or stack an addi-
tional floor mat on top of an existing floor mat.
(Continued)
WARNING! (Continued)
•ONLY install floor mats designed to fit your vehicle.
NEVER install a floor mat that cannot be properly
attached and secured to your vehicle. If a floor mat
needs to be replaced, only use a FCA approved floor
mat for the specific make, model, and year of your
vehicle.
•
ONLY use the driver ’s side floor mat on the driver ’s
side floor area. To check for interference, with the
vehicle properly parked with the engine off, fully
depress the accelerator, the brake, and the clutch pedal
(if present) to check for interference. If your floor mat
interferes with the operation of any pedal, or is not
secure to the floor, remove the floor mat from the
vehicle and place the floor mat in your trunk.
• ONLY use the passenger ’s side floor mat on the
passenger ’s side floor area.
• ALWAYS make sure objects cannot fall or slide into
the driver ’s side floor area when the vehicle is
moving. Objects can become trapped under accelera-
tor, brake, or clutch pedals and could cause a loss of
vehicle control.
(Continued)
254 SAFETY
Page 257 of 615
WARNING!(Continued)
•NEVER place any objects under the floor mat (e.g.,
towels, keys, etc.). These objects could change the
position of the floor mat and may cause interference
with the accelerator, brake, or clutch pedals.
• If the vehicle carpet has been removed and re-
installed, always properly attach carpet to the floor
and check the floor mat fasteners are secure to the
vehicle carpet. Fully depress each pedal to check for
interference with the accelerator, brake, or clutch
pedals then re-install the floor mats.
• It is recommended to only use mild soap and water
to clean your floor mats. After cleaning, always check
your floor mat has been properly installed and is
secured to your vehicle using the floor mat fasteners
by lightly pulling mat.
Periodic Safety Checks You Should Make Outside
The Vehicle
Tires
Examine tires for excessive tread wear and uneven wear
patterns. Check for stones, nails, glass, or other objects
lodged in the tread or sidewall. Inspect the tread for cuts
and cracks. Inspect sidewalls for cuts, cracks, and bulges.
Check the wheel nuts for tightness. Check the tires (includ-
ing spare) for proper cold inflation pressure.
Lights
Have someone observe the operation of brake lights and
exterior lights while you work the controls. Check turn signal
and high beam indicator lights on the instrument panel.
Door Latches
Check for proper closing, latching, and locking.
Fluid Leaks
Check area under vehicle after overnight parking for fuel,
engine coolant, oil, or other fluid leaks. Also, if gasoline
fumes are detected or if fuel, power steering fluid (if
equipped), or brake fluid leaks are suspected. The cause
should be located and corrected immediately.
5
SAFETY 255
Page 292 of 615
To Manually Turn On The Stop/Start System
Push the STOP/START Off switch (located on the switch
bank). The light on the switch will turn off.
System Malfunction
If there is a malfunction in the STOP/START system, the
system will not shut down the engine. A “SERVICE STOP/
START SYSTEM” message will appear in the instrument
cluster display. Refer to “Instrument Cluster Display” in
“Getting To Know Your Instrument Panel” for further
information.
If the “SERVICE STOP/START SYSTEM” message appears
in the instrument cluster display, have the system checked
by your authorized dealer.
ELECTRONIC SPEED CONTROL — IF EQUIPPED
When engaged, the Electronic Speed Control takes over
accelerator operations at speeds greater than 25 mph
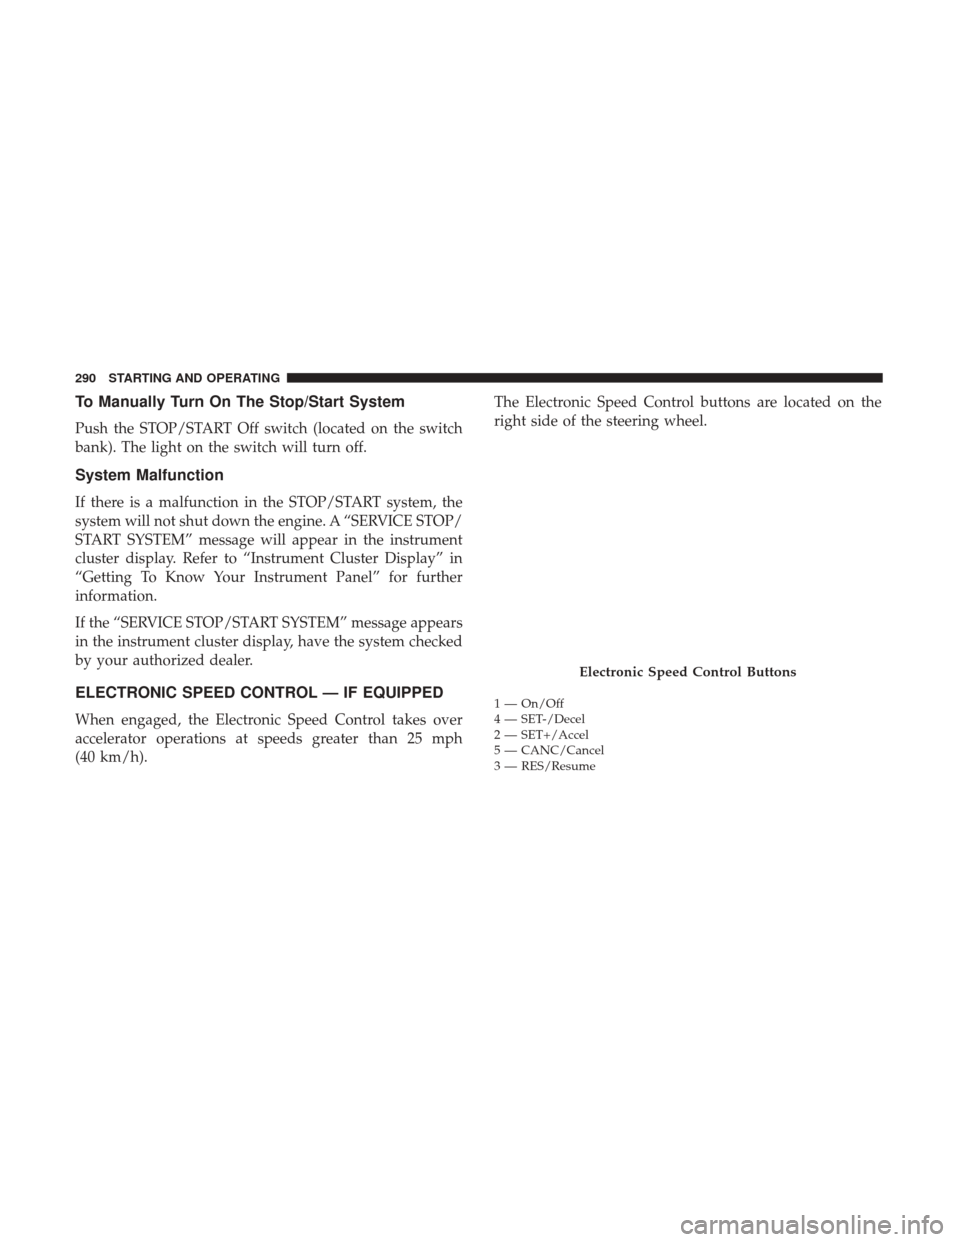
(40 km/h).The Electronic Speed Control buttons are located on the
right side of the steering wheel.
Electronic Speed Control Buttons
1 — On/Off
4 — SET-/Decel
2 — SET+/Accel
5 — CANC/Cancel
3 — RES/Resume
290 STARTING AND OPERATING
Page 387 of 615
10. Release the brake pedal.
11. Disconnect vehicle from the tow vehicle.
12. Start the engine.
13. Press and hold the brake pedal.
14. Release the parking brake.
15. Shift the transmission into DRIVE, release the brakepedal, and check that the vehicle operates normally.
16. Re-enable the Auto Park Brake feature, if desired.
NOTE:
• Steps 1 through 5 are requirements that must be met
before pushing the NEUTRAL (N) button, and must
continue to be met until the shift has been completed. If
any of these requirements are not met before pushing
the NEUTRAL (N) button or are no longer met during
the shift, the NEUTRAL (N) indicator light will flash
continuously until all requirements are met or until the
NEUTRAL (N) button is released.
• The ignition must be in the ON/RUN mode for a shift to
take place and for the position indicator lights to be operable. If the ignition is not in the ON/RUN mode, the
shift will not take place and no position indicator lights
will be on or flashing.
• A flashing NEUTRAL (N) position indicator light indi-
cates that shift requirements have not been met.
DRIVING TIPS
On-Road Driving Tips
Utility vehicles have higher ground clearance and a nar-
rower track to make them capable of performing in a wide
variety of off-road applications. Specific design character-
istics give them a higher center of gravity than conven-
tional passenger cars.
An advantage of the higher ground clearance is a better
view of the road, allowing you to anticipate problems.
They are not designed for cornering at the same speeds as
conventional passenger cars any more than low-slung
sports cars are designed to perform satisfactorily in off-
road conditions. Avoid sharp turns or abrupt maneuvers.
As with other vehicles of this type, failure to operate this
vehicle correctly may result in loss of control or vehicle
rollover.6
STARTING AND OPERATING 385
Page 449 of 615
SCHEDULED SERVICING
Your vehicle is equipped with an automatic oil change
indicator system. The oil change indicator system will
remind you that it is time to take your vehicle in for
scheduled maintenance.
Based on engine operation conditions, the oil change
indicator message will illuminate. This means that service
is required for your vehicle. Operating conditions such as
frequent short-trips, trailer tow, extremely hot or cold
ambient temperatures will influence when the “Oil Change
Required” message is displayed. Severe Operating Condi-
tions can cause the change oil message to illuminate as
early as 3,500 miles (5,600 km) since last reset. Have your
vehicle serviced as soon as possible, within the next 500
miles (805 km).
Your authorized dealer will reset the oil change indicator
message after completing the scheduled oil change. If a
scheduled oil change is performed by someone other than
your authorized dealer, the message can be reset by
referring to the steps described under “Instrument Cluster
Display” in “Understanding Your Instrument Panel” for
further information.NOTE:
Under no circumstances should oil change inter-
vals exceed 10,000 miles (16,000 km), twelve months or 350
hours of engine run time, whichever comes first. The 350
hours of engine run or idle time is generally only a concern
for fleet customers.
Severe Duty All Models
Change Engine Oil at 4,000 miles (6,500 km) if the vehicle
is operated in a dusty and off road environment or is
operated predominately at idle or only very low engine
RPM’s. This type of vehicle use is considered Severe Duty.
Once A Month Or Before A Long Trip:
• Check engine oil level.
• Check windshield washer fluid level.
• Check tire pressure and look for unusual wear or
damage. Rotate tires at the first sign of irregular wear,
even if it occurs before the oil indicator system turns on.
• Check the fluid levels of the coolant reservoir and brake
master cylinder, fill as needed.
• Check function of all interior and exterior lights.
8
SERVICING AND MAINTENANCE 447
Page 480 of 615
•Maintain engine coolant (antifreeze) concentration at a
minimum of 50% OAT coolant (conforming to
MS.90032) and distilled water for proper corrosion pro-
tection of your engine which contains aluminum com-
ponents.
• Make sure that the coolant expansion bottle overflow
hoses are not kinked or obstructed.
• Keep the front of the radiator clean. If your vehicle is
equipped with air conditioning, keep the front of the
condenser clean.
• Do not change the thermostat for Summer or Winter
operation. If replacement is ever necessary, install ONLY
the correct type thermostat. Other designs may result in
unsatisfactory engine coolant (antifreeze) performance,
poor gas mileage, and increased emissions.
Brake System
In order to assure brake system performance, all brake
system components should be inspected periodically. Refer
to the “Maintenance Plan” in this section for the proper
maintenance intervals.
WARNING!
Riding the brakes can lead to brake failure and possi-
bly a collision. Driving with your foot resting or riding
on the brake pedal can result in abnormally high brake
temperatures, excessive lining wear, and possible
brake damage. You would not have your full braking
capacity in an emergency.
Fluid Level Check — Brake Master Cylinder
The fluid level of the master cylinder should be checked
whenever the vehicle is serviced, or immediately if the
brake system warning light is on. If necessary, add fluid to
bring level to the full mark on the side of the reservoir of
the brake master cylinder. Be sure to clean the top of the
master cylinder area before removing cap. With disc
brakes, fluid level can be expected to fall as the brake pads
wear. Brake fluid level should be checked when pads are
replaced. If the brake fluid is abnormally low, check system
for leaks.
Refer to “Fluids And Lubricants” in “Technical Specifica-
tions” for further information.
478 SERVICING AND MAINTENANCE
Page 506 of 615
WARNING!
The temperature grade for this tire is established for a
tire that is properly inflated and not overloaded. Ex-
cessive speed, under-inflation, or excessive loading,
either separately or in combination, can cause heat
buildup and possible tire failure.
STORING THE VEHICLE
If the vehicle should remain stationary for more than a
month, observe the following precautions:
•Park your vehicle in a covered, dry and possibly airy
location the windows open slightly.
• Check that the Electric Park Brake is not engaged.
• Disconnect the negative (-) terminal from the battery
post and be sure that the battery is fully charged. During
storage check battery charge quarterly.
• If you do not disconnect the battery from the electrical
system, check the battery charge every thirty days.
• Clean and protect the painted parts by applying protec-
tive waxes. •
Clean and protect polished metal parts by applying
protective waxes.
• Apply talcum powder to the front and rear wiper blades
and leave raised from the glass.
• Cover the vehicle with an appropriate cover taking care
not to damage the painted surface by dragging across
dirty surfaces. Do not use plastic sheeting which will not
allow the evaporation of moisture present on the surface
of the vehicle.
• Inflate the tires at a pressure of +7.25 psi (+0.5 bar)
higher than recommended on the tire placard and check
it periodically.
• Do not drain the engine cooling system.
•
Whenever you leave the vehicle is stationary for two
weeks or more, run idle the engine for approximately five
minutes, with the air conditioning system on and high fan
speed. This will ensure a proper lubrication of the system,
thus minimizing the possibility of damage to the compres-
sor when the vehicle is put back into operation.
504 SERVICING AND MAINTENANCE
Page 516 of 615
After 25 miles (40 km) check the lug nut/bolt torque to be
sure that all the lug nuts/bolts are properly seated against
the wheel.
WARNING!
To avoid the risk of forcing the vehicle off the jack, do
not tighten the lug nuts fully until the vehicle has been
lowered. Failure to follow this warning may result in
personal injury.
FUEL REQUIREMENTS
2.4L and 3.2L EnginesThese engines are designed to meet all
emissions regulations and provide opti-
mum fuel economy and performance
when using high quality unleaded
“Regular” gasoline having a posted oc-
tane number of 87 as specified by the
(R+M)/2 method. The use of higher
octane “Premium” gasoline is not required, as it will not
provide any benefit over “Regular” gasoline in these
engines.
While operating on gasoline with an octane number of 87,
hearing a light knocking sound from the engine is not a
cause for concern. However, if the engine is heard making
a heavy knocking sound, see your dealer immediately. Use
of gasoline with an octane number lower than 87 can cause
engine failure and may void or not be covered by the New
Vehicle Limited Warranty.
Poor quality gasoline can cause problems such as hard
starting, stalling, and hesitations. If you experience these
symptoms, try another brand of gasoline before consider-
ing service for the vehicle.
Torque Patterns
514 TECHNICAL SPECIFICATIONS
Page 551 of 615
Customer Programmable Features/Personal
Settings — Uconnect 8.4 Personal Settings
Press the “Apps” or the “Controls” button on the touchscreen,
then press the “Settings” button on the touchscreen to display
the menu setting screen. In this mode the Uconnect system
allows you to access programmable features that may be
equipped such as Display, Voice, Clock, Safety & Driving
Assistance, Lights, Doors & Locks, Auto-On Comfort, Engine
Off Options, Audio, Phone/Bluetooth, SiriusXM Setup, Re-
store Settings, Clear Personal Data, and System Information.
NOTE:Only one category may be selected at a time. To adjust the setting of a programmable feature, press the
desired setting option. Once in the desired setting option,
press and release the preferred setting until a check-mark
appears next to the setting, showing that the setting has
been selected.
Once the setting is complete, press the Back Arrow button
on the touchscreen to return to the previous menu or press
the X button on the touchscreen to close out of the settings
screen. Pressing the Up or Down Arrow button on the right
side of the screen will allow you to toggle up or down
through the list of available settings.
10
MULTIMEDIA 549
Page 601 of 615
Fluid Change.......................... .481
Fluid Level Check .....................479, 480
Fluid Type ............................ .479
Special Additives ........................ .480
Torque Converter ....................... .277
Auto Unlock, Doors .........................42
Auto Up Power Windows .....................96
Auxiliary Electrical Outlet (Power Outlet) .........119
Auxiliary Power Outlet ......................119
Battery .............................. .148, 454
Charging System Light ....................148
Keyless Key Fob Replacement ................22
Belts, Seat ............................... .253
Blind Spot Monitoring ...................... .184
Body Mechanism Lubrication ..................466
B-Pillar Location .......................... .485
Brake Assist System ........................ .170
Brake Control System, Electronic ................169
Brake Fluid .............................. .478
Brake System ......................... .478, 512
Anti-Lock (ABS) ........................ .512
Fluid Check ........................... .478
Master Cylinder ........................ .478Parking
.............................. .264
Warning Light .......................... .144
Brake/Transmission Interlock ..................270
Brightness, Interior Lights .....................68
Bulbs, Light ............................. .255
Camera, Rear ............................ .363
Capacities, Fluid .......................... .521
Caps, Filler Fuel .............................. .365, 435
Oil (Engine) ..................... .451, 452, 456
Radiator (Coolant Pressure) .................476
Carbon Monoxide Warning ................252, 517
Cargo Area Features ....................... .107
Cargo Compartment ....................... .107
Car
go Load Floor ......................... .107
Cargo Tie-Downs .......................... .107
Car Washes .............................. .506
Cellular Phone ........................... .569
Certification Label ......................... .367
Changing A Flat Tire .....................414, 481
Check Engine Light (Malfunction Indicator Light). . . .164
Checking Your Vehicle For Safety ...............252
Checks, Safety ............................ .252
Child Restraint ........................... .234
12
INDEX 599