JEEP CHEROKEE LIMITED 2019 Owners Manual
CHEROKEE LIMITED 2019
JEEP
JEEP
https://www.carmanualsonline.info/img/16/56011/w960_56011-0.png
JEEP CHEROKEE LIMITED 2019 Owners Manual
Page 330 of 638
Cleaning The ParkSense System
Clean the ParkSense sensors with water, car wash soap and
a soft cloth. Do not use rough or hard cloths. Do not scratch
or poke the sensors. Otherwise, you could damage the
sensors.
ParkSense System Usage Precautions
NOTE:
•Ensure that the front and rear bumper are free of snow,
ice, mud, dirt and debris to keep the ParkSense system
operating properly.
• Jackhammers, large trucks, and other vibrations could
affect the performance of ParkSense.
• When you turn ParkSense off, the instrument cluster
will display “PARKSENSE OFF.” Furthermore, once you
turn ParkSense off, it remains off until you turn it on
again, even if you cycle the ignition.
• When you move the gear selector to the REVERSE
position and ParkSense is turned off, the instrument
cluster will display “PARKSENSE OFF” for as long as
the vehicle is in REVERSE.
• ParkSense, when on, will reduce the volume of the radio
when it is sounding a tone. •
Clean the ParkSense sensors regularly, taking care not to
scratch or damage them. The sensors must not be
covered with ice, snow, slush, mud, dirt or debris.
Failure to do so can result in the system not working
properly. The ParkSense system might not detect an
obstacle behind or in front of the fascia/bumper, or it
could provide a false indication that an obstacle is
behind or in front of the fascia/bumper.
• Use the ParkSense switch to turn the ParkSense system
off if objects such as bicycle carriers, trailer hitches, etc.
are placed within 12 inches (30 cm) from the rear
fascia/bumper. Failure to do so can result in the system
misinterpreting a close object as a sensor problem,
causing the “PARKSENSE UNAVAILABLE SERVICE
REQUIRED” message to be displayed in the instrument
cluster.
• ParkSense should be disabled when the liftgate is in the
open position. An opened liftgate could provide a false
indication that an obstacle is behind the vehicle.
Page 414 of 638
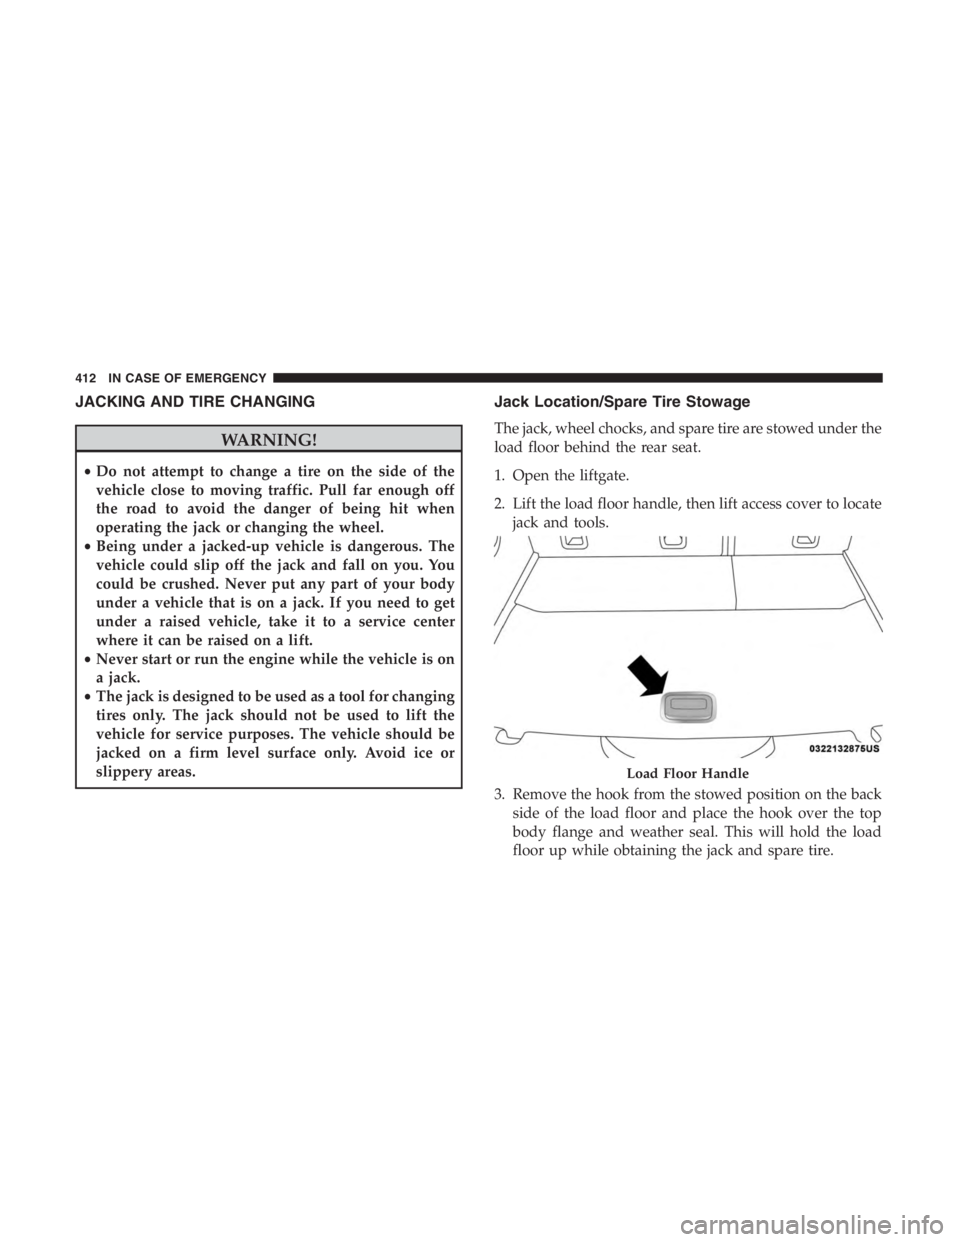
JACKING AND TIRE CHANGING
Page 415 of 638
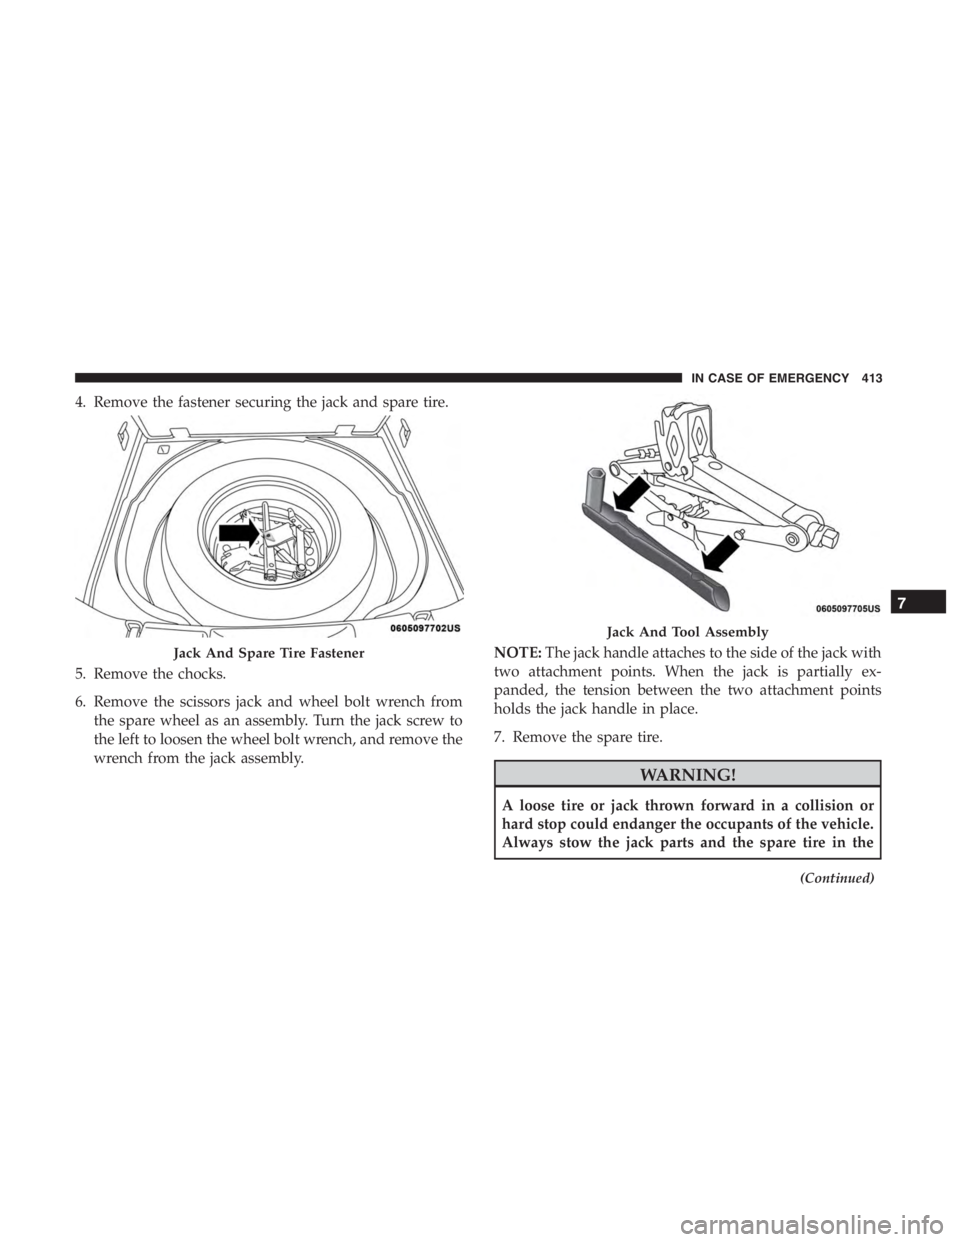
4. Remove the fastener securing the jack and spare tire.
5. Remove the chocks.
6. Remove the scissors jack and wheel bolt wrench fromthe spare wheel as an assembly. Turn the jack screw to
the left to loosen the wheel bolt wrench, and remove the
wrench from the jack assembly. NOTE:
The jack handle attaches to the side of the jack with
two attachment points. When the jack is partially ex-
panded, the tension between the two attachment points
holds the jack handle in place.
7. Remove the spare tire.
Jack And Tool Assembly
7
IN CASE OF EMERGENCY 413
Page 416 of 638
WARNING!(Continued)
places provided. Have the deflated (flat) tire repaired
or replaced immediately.
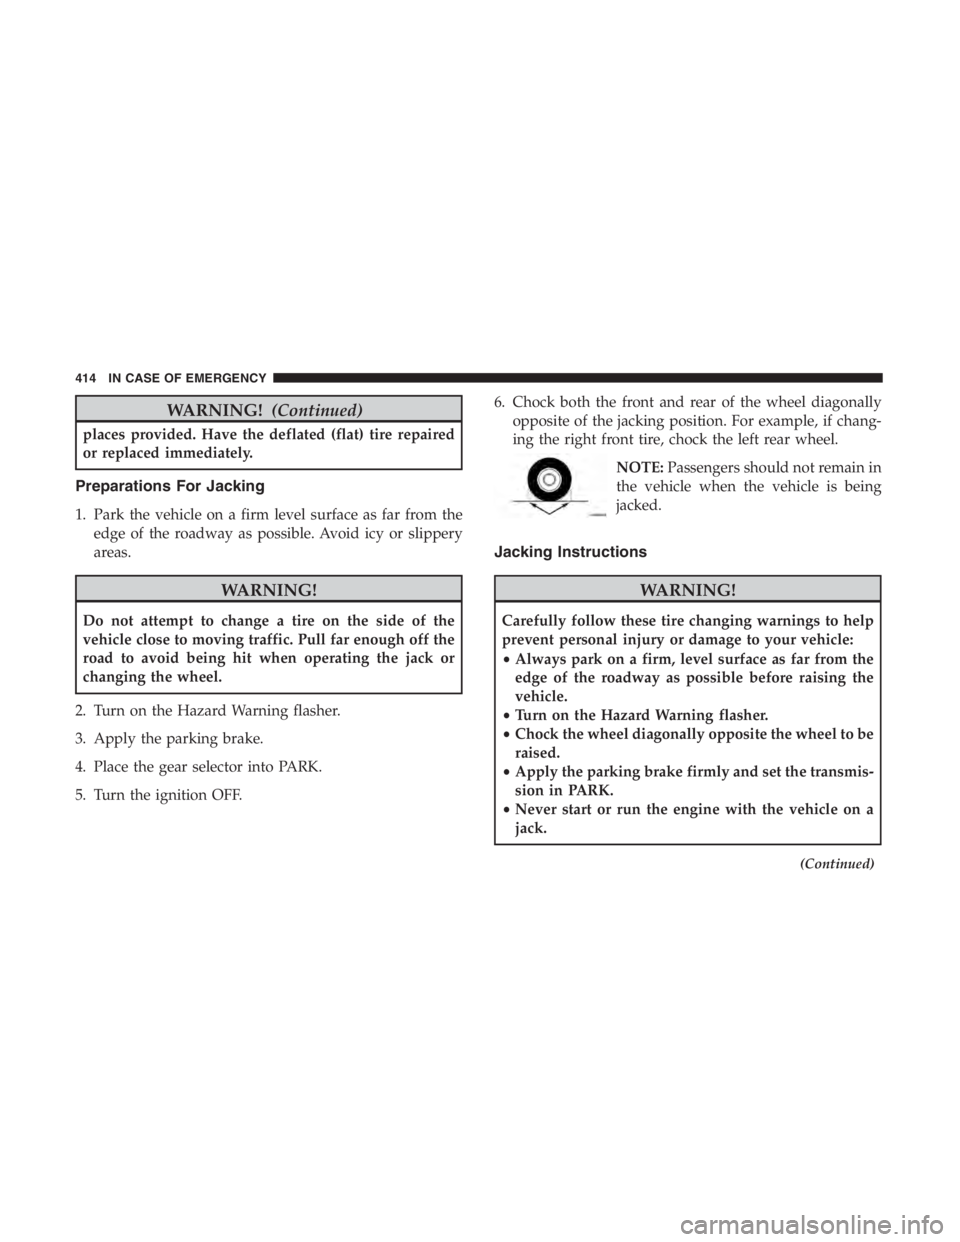
Preparations For Jacking
1. Park the vehicle on a firm level surface as far from the
edge of the roadway as possible. Avoid icy or slippery
areas.
Page 417 of 638
WARNING!(Continued)
•Do not let anyone sit in the vehicle when it is on a
jack.
• Do not get under the vehicle when it is on a jack. If
you need to get under a raised vehicle, take it to a
service center where it can be raised on a lift.
• Only use the jack in the positions indicated and for
lifting this vehicle during a tire change.
• If working on or near a roadway, be extremely
careful of motor traffic.
• To assure that spare tires, flat or inflated, are securely
stowed, spares must be stowed with the valve stem
facing the ground.
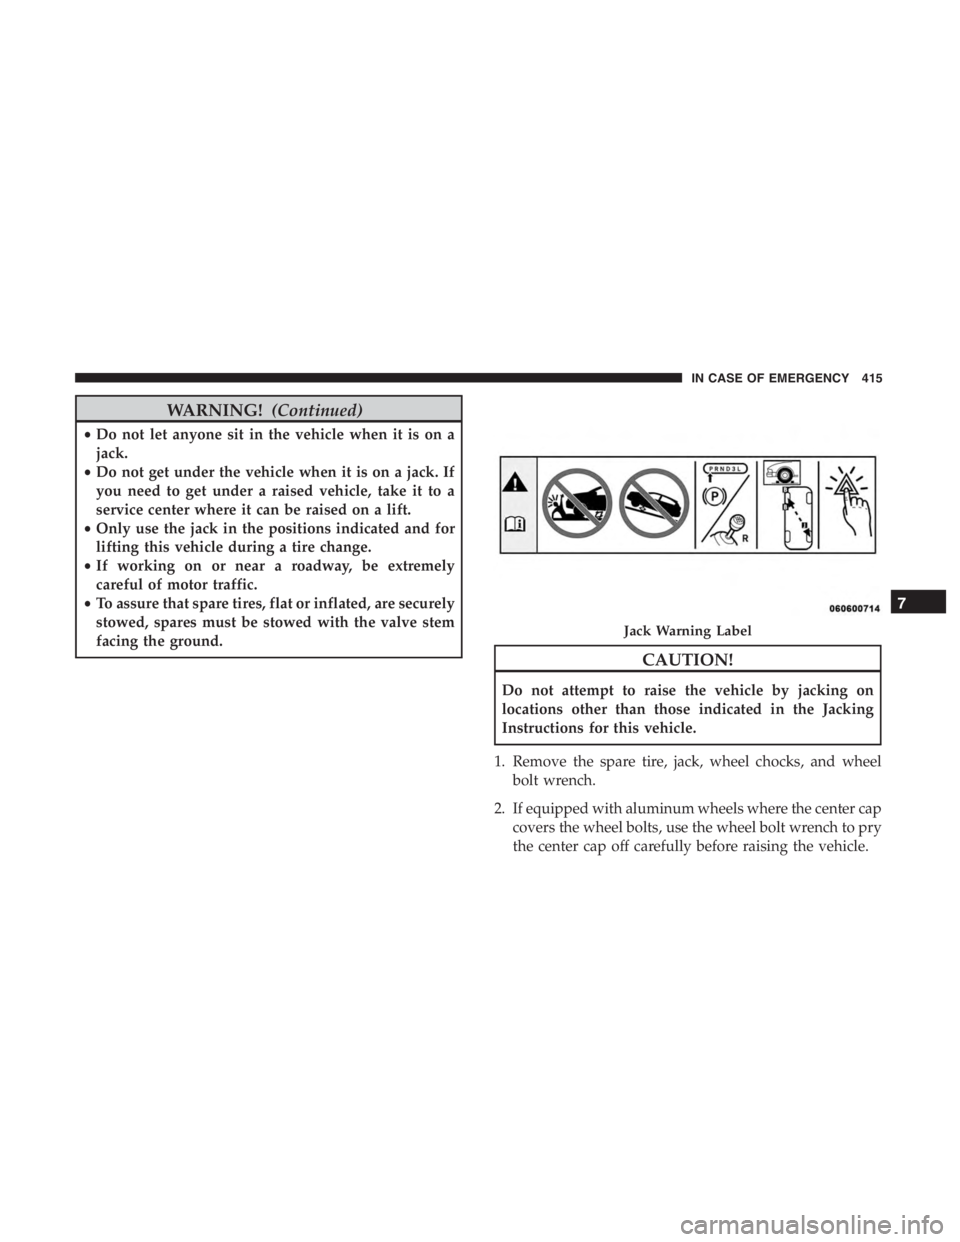
CAUTION!
Do not attempt to raise the vehicle by jacking on
locations other than those indicated in the Jacking
Instructions for this vehicle.
1. Remove the spare tire, jack, wheel chocks, and wheel bolt wrench.
2. If equipped with aluminum wheels where the center cap covers the wheel bolts, use the wheel bolt wrench to pry
the center cap off carefully before raising the vehicle.
Page 418 of 638
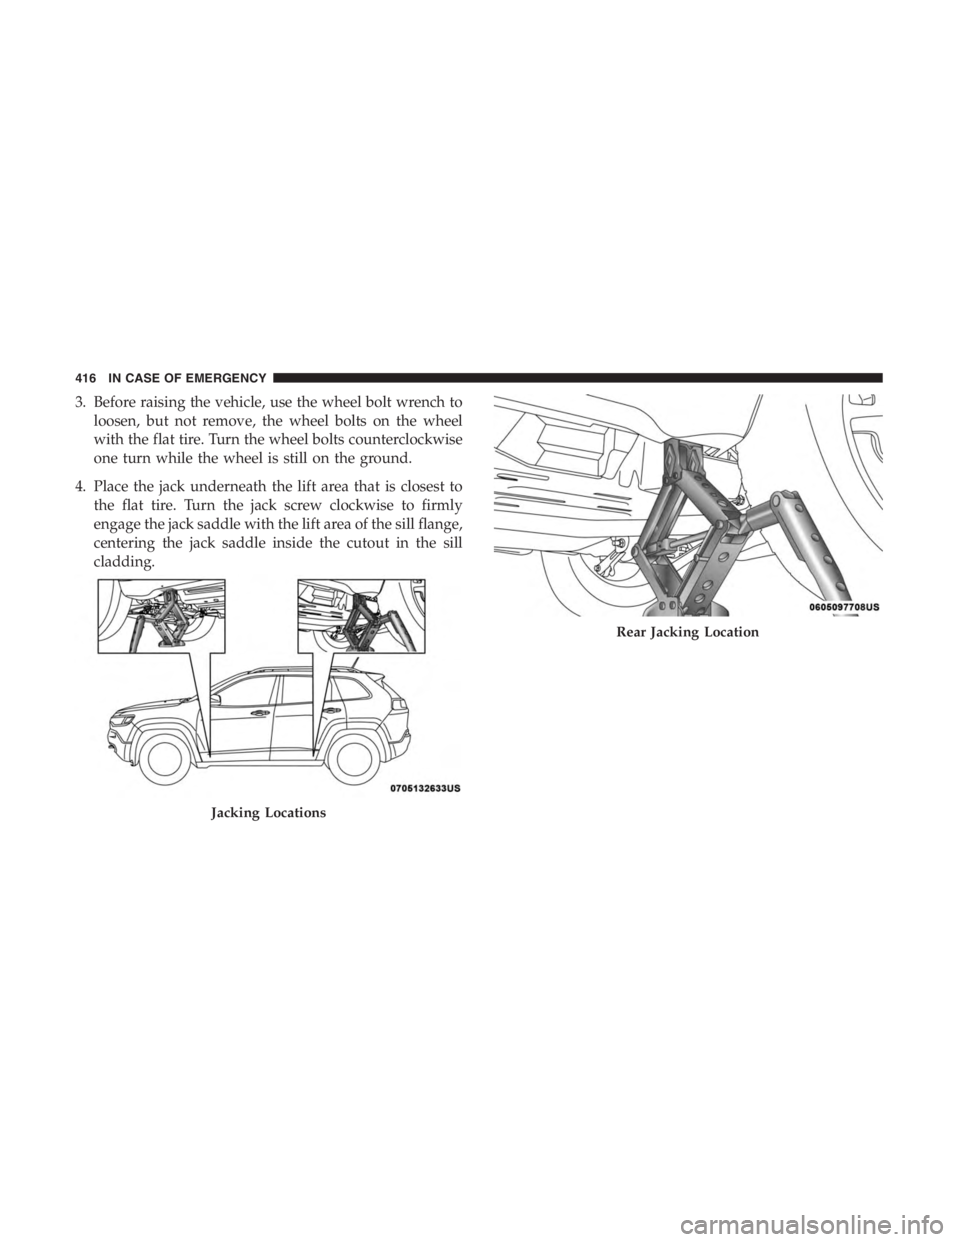
Rear Jacking Location
416 IN CASE OF EMERGENCY
Page 419 of 638
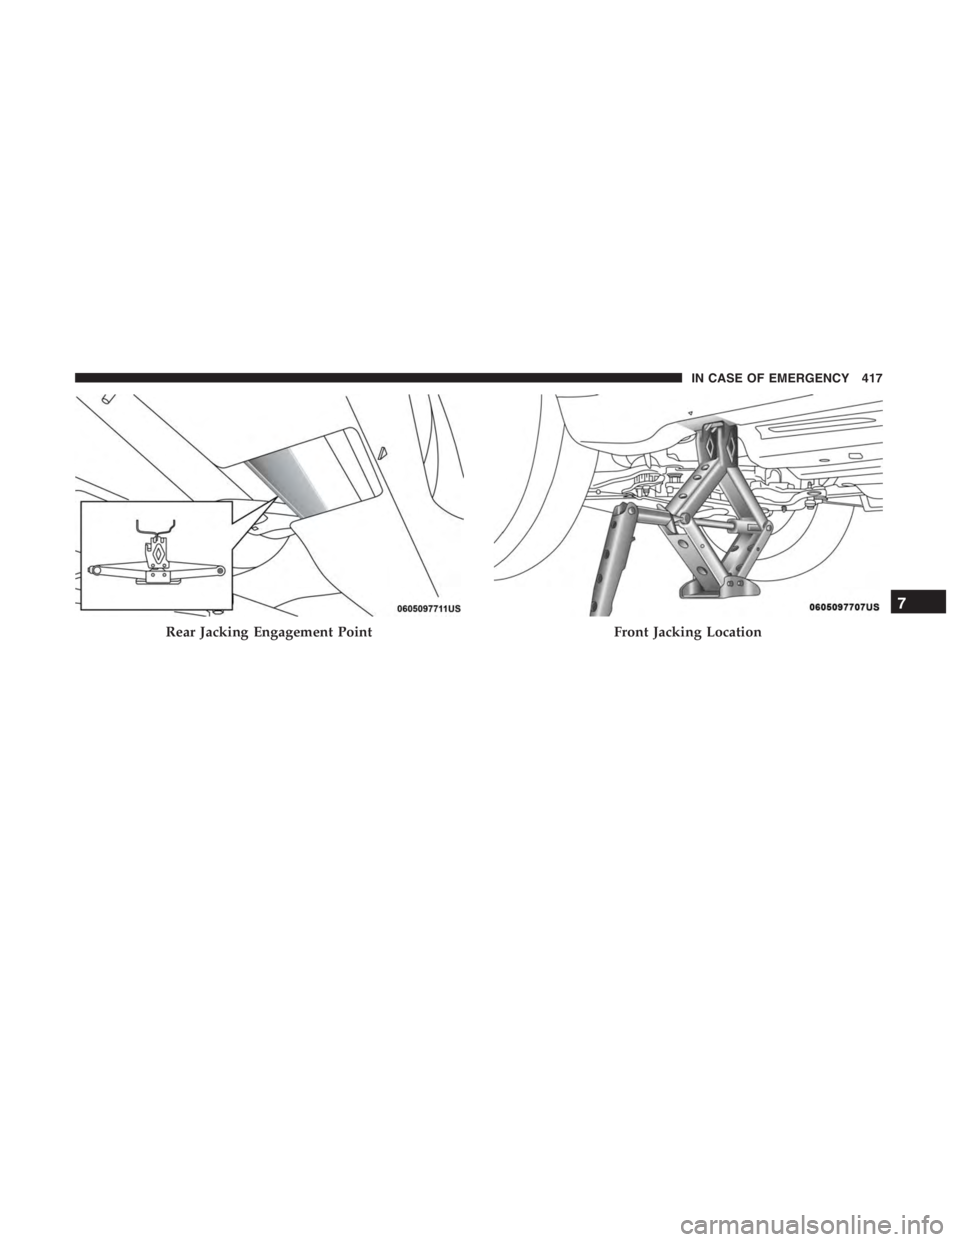
Front Jacking Location
7
IN CASE OF EMERGENCY 417
Page 420 of 638
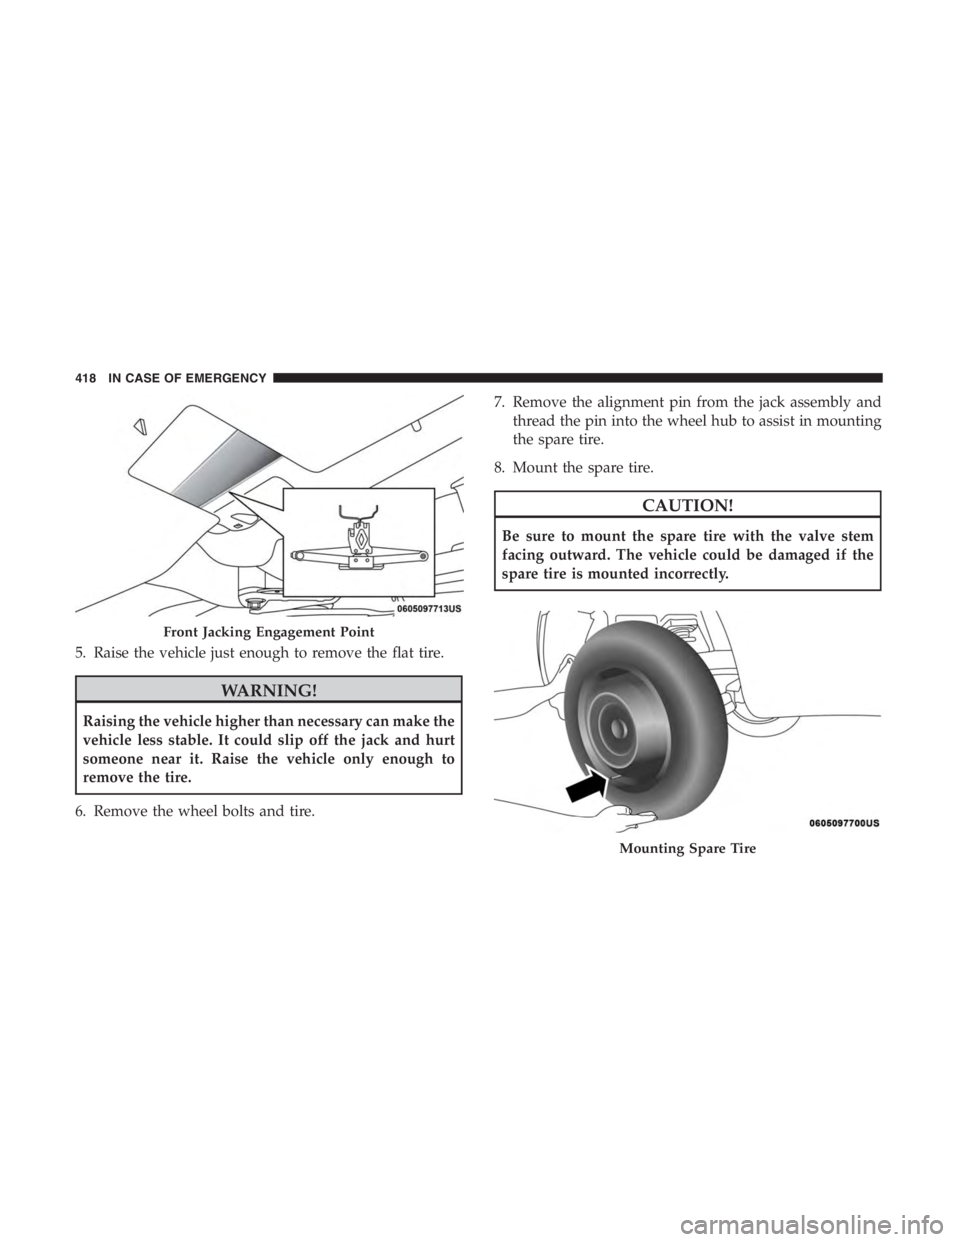
5. Raise the vehicle just enough to remove the flat tire.
Front Jacking Engagement Point
Mounting Spare Tire
418 IN CASE OF EMERGENCY
Page 422 of 638
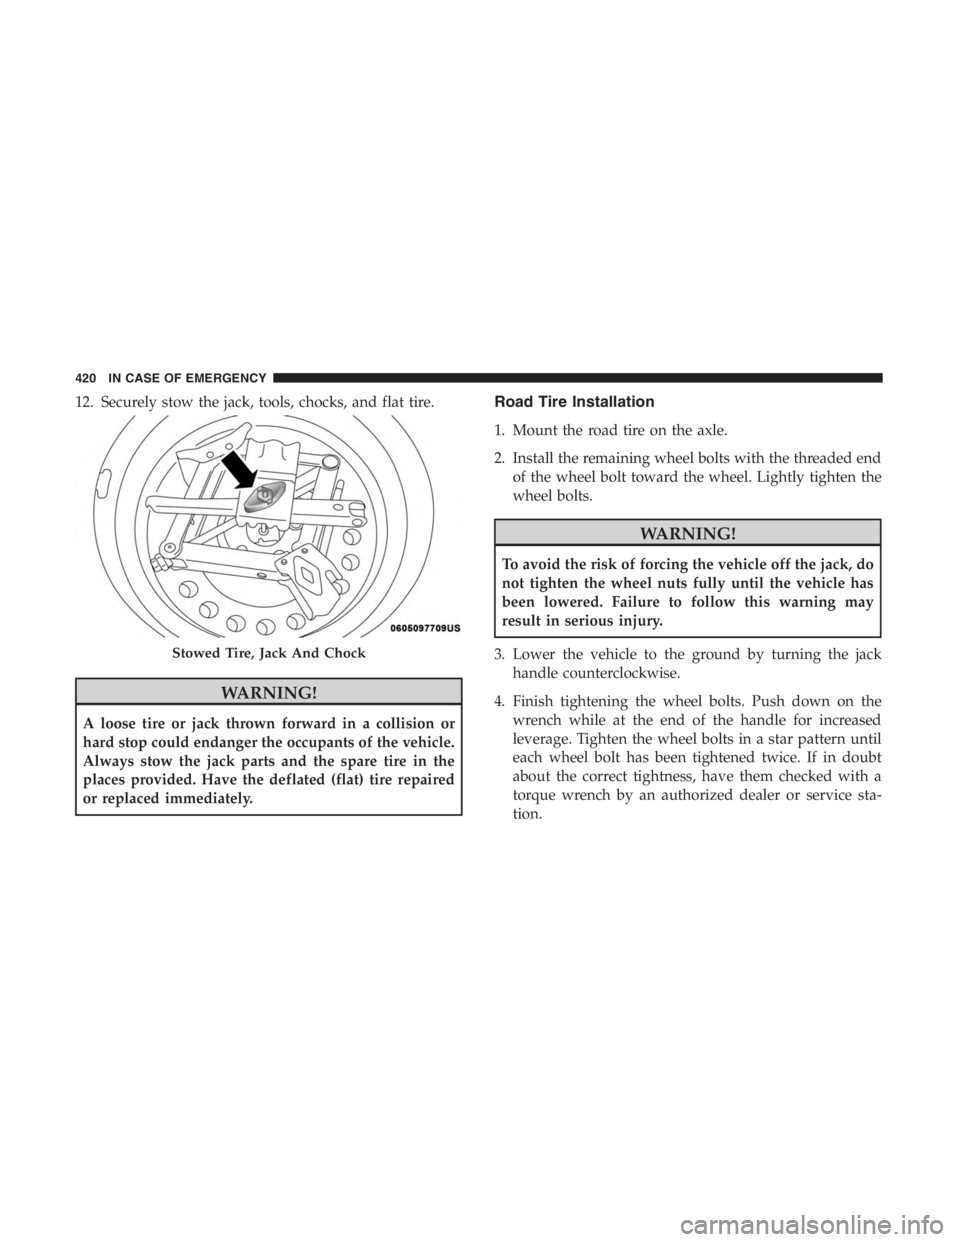
12. Securely stow the jack, tools, chocks, and flat tire.