seats JEEP CHEROKEE TRAILHAWK 2018 Owners Manual
[x] Cancel search | Manufacturer: JEEP, Model Year: 2018, Model line: CHEROKEE TRAILHAWK, Model: JEEP CHEROKEE TRAILHAWK 2018Pages: 580, PDF Size: 5.68 MB
Page 45 of 580
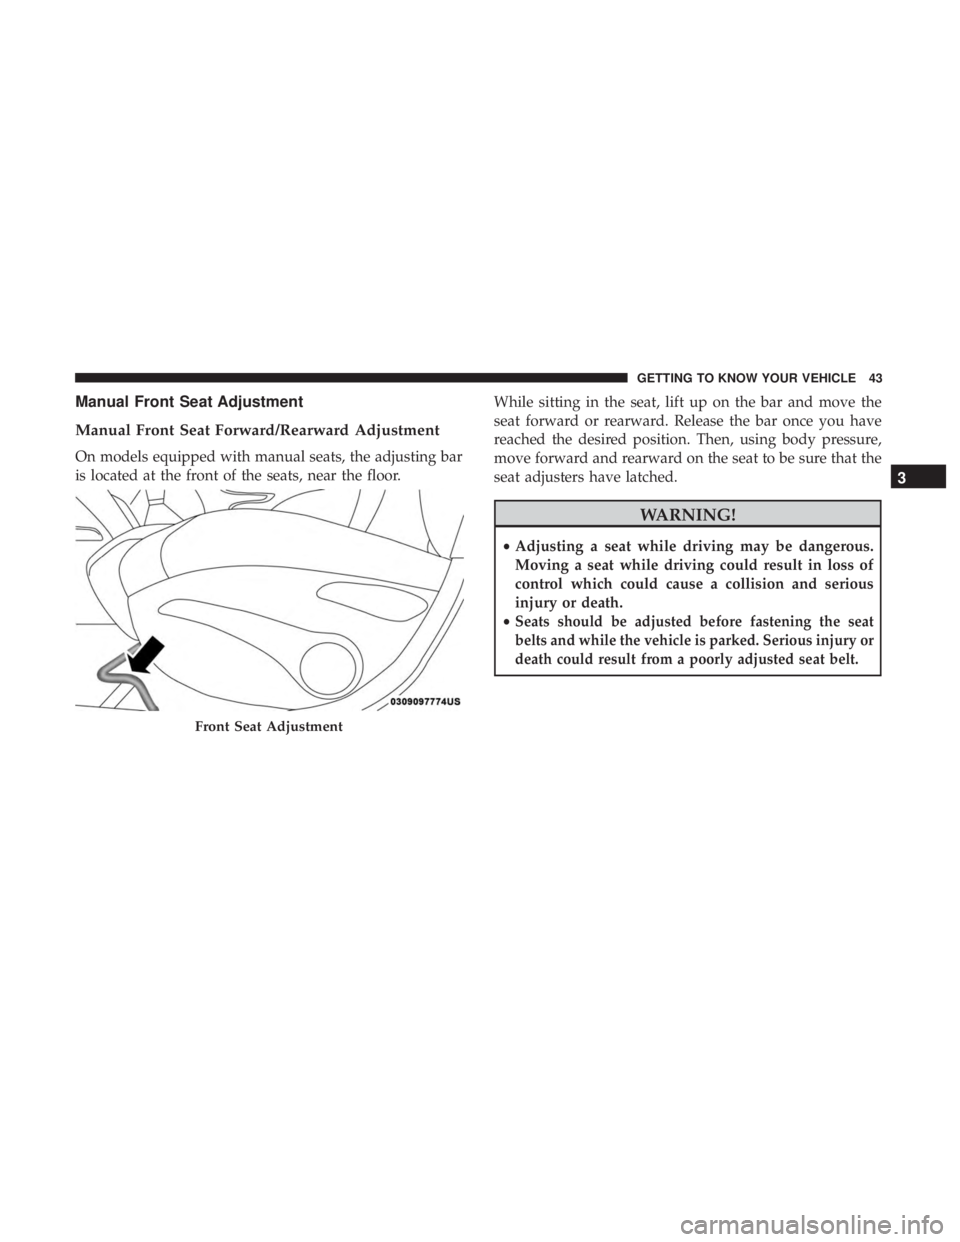
Manual Front Seat Adjustment
Manual Front Seat Forward/Rearward Adjustment
On models equipped with manual seats, the adjusting bar
is located at the front of the seats, near the floor.While sitting in the seat, lift up on the bar and move the
seat forward or rearward. Release the bar once you have
reached the desired position. Then, using body pressure,
move forward and rearward on the seat to be sure that the
seat adjusters have latched.
Page 47 of 580
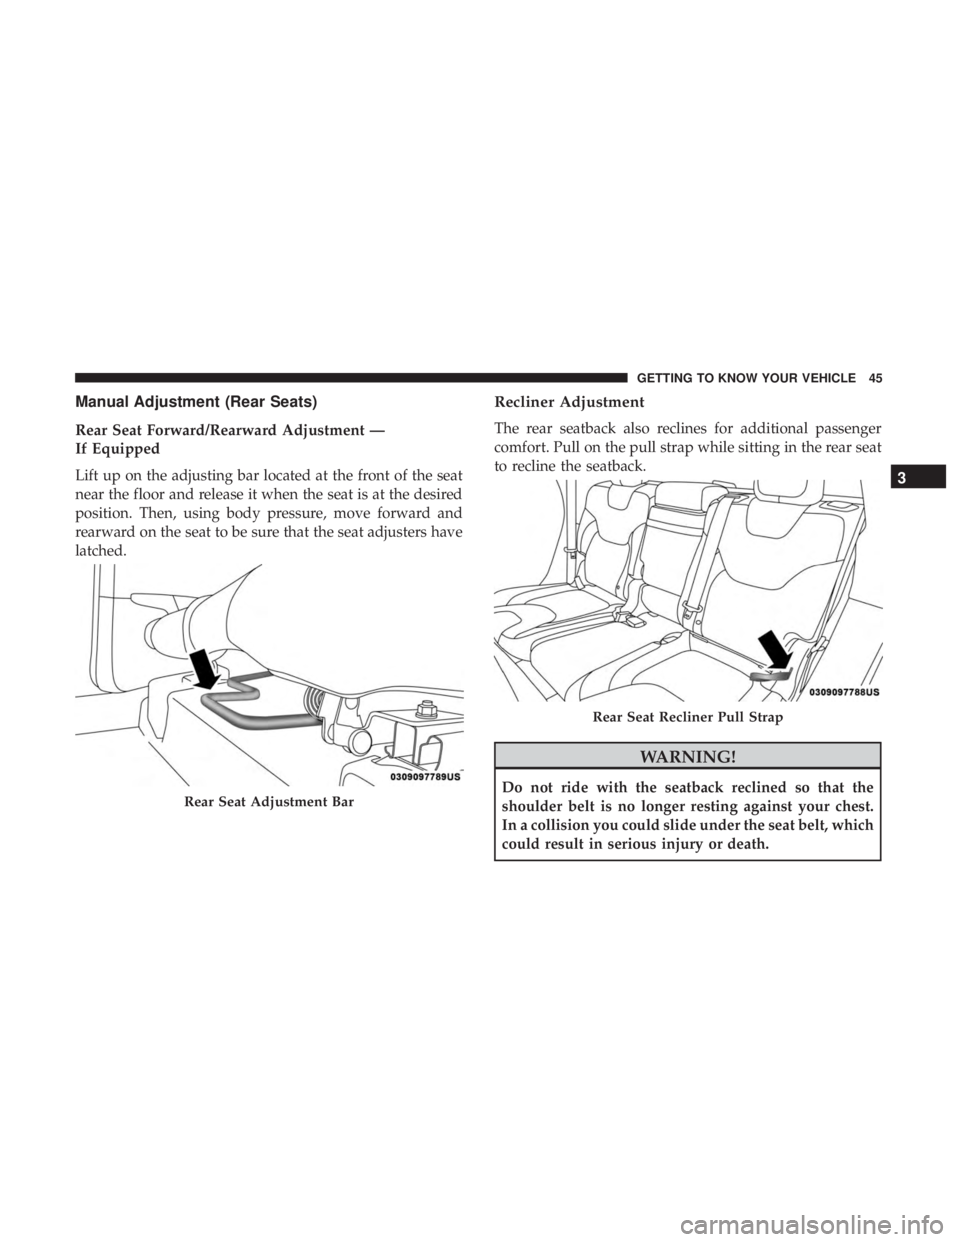
Manual Adjustment (Rear Seats)
Rear Seat Forward/Rearward Adjustment —
If Equipped
Lift up on the adjusting bar located at the front of the seat
near the floor and release it when the seat is at the desired
position. Then, using body pressure, move forward and
rearward on the seat to be sure that the seat adjusters have
latched.
Recliner Adjustment
The rear seatback also reclines for additional passenger
comfort. Pull on the pull strap while sitting in the rear seat
to recline the seatback.
Page 49 of 580
WARNING!
Do not ride with the seatback reclined so that the
shoulder belt is no longer resting against your chest. In
a collision you could slide under the seat belt, which
could result in serious injury or death.
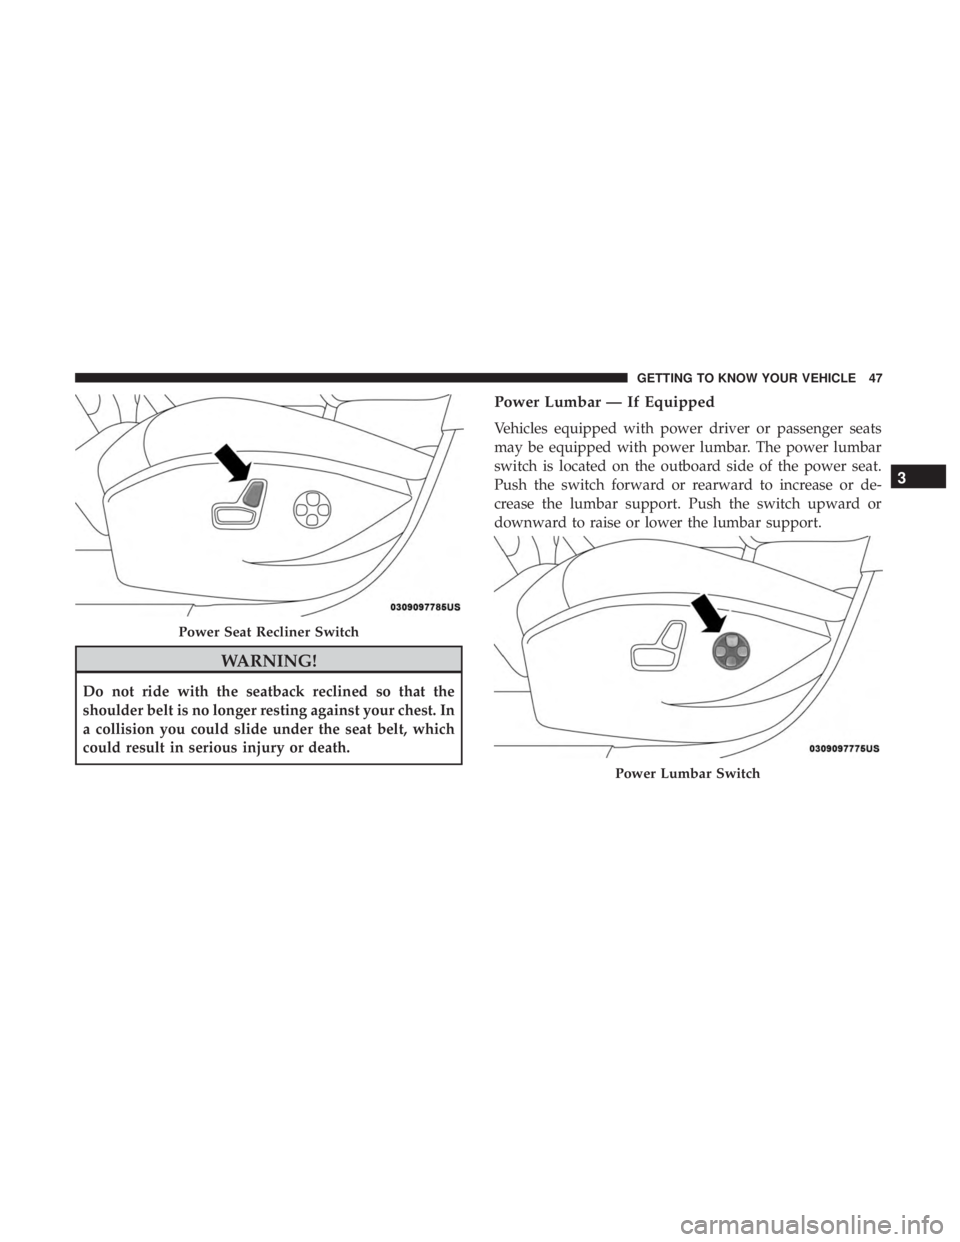
Power Lumbar — If Equipped
Vehicles equipped with power driver or passenger seats
may be equipped with power lumbar. The power lumbar
switch is located on the outboard side of the power seat.
Push the switch forward or rearward to increase or de-
crease the lumbar support. Push the switch upward or
downward to raise or lower the lumbar support.
Page 53 of 580
NOTE:The engine must be running for the heated seats to
operate.
Vehicles Equipped With Remote Start
On models that are equipped with remote start, the heated
seats can be programmed to come on during a remote start.
This feature can be programmed through the Uconnect
system. Refer to “Uconnect Settings” in “Multimedia” for
further information.
Page 54 of 580
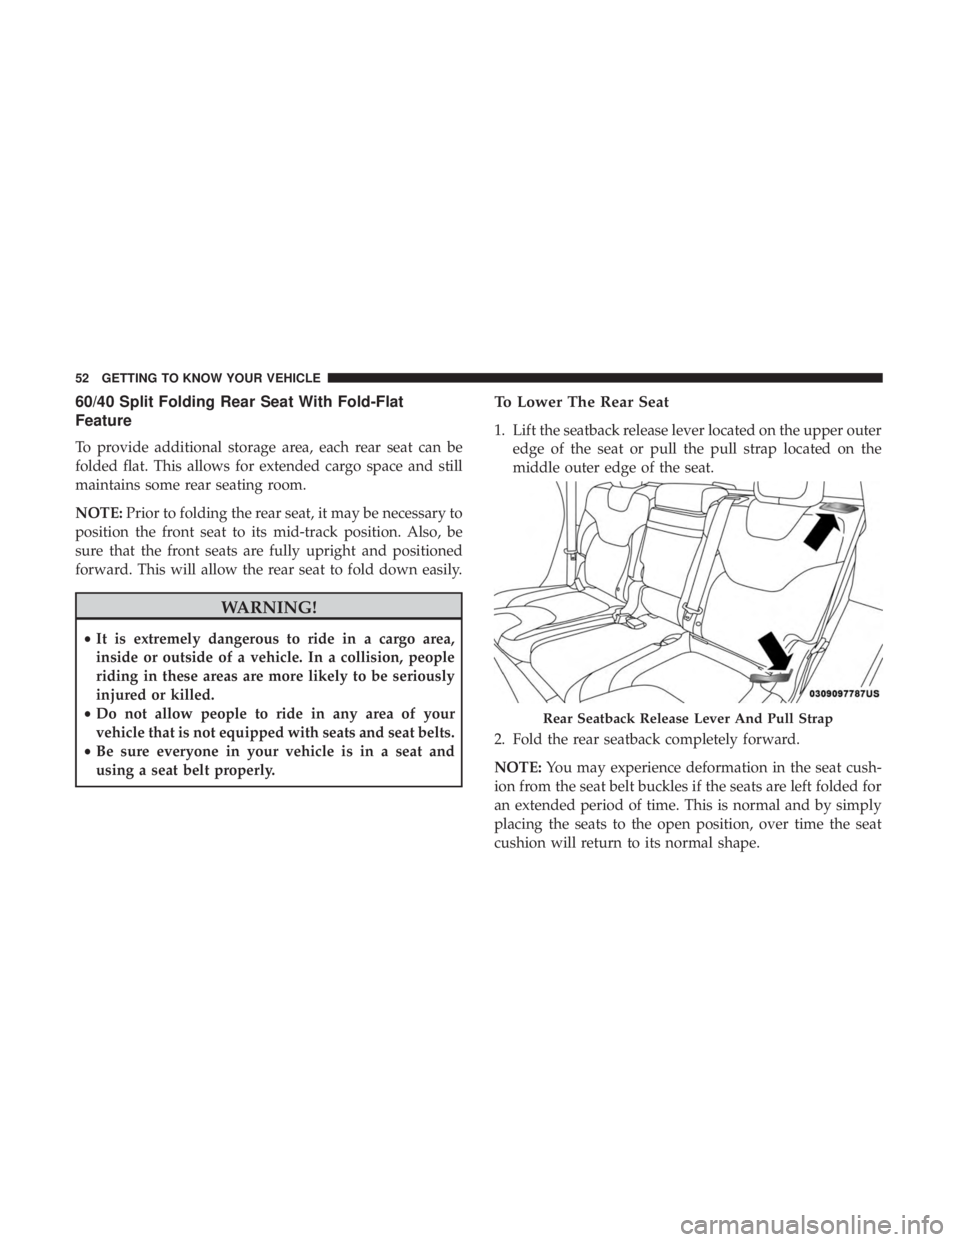
60/40 Split Folding Rear Seat With Fold-Flat
Feature
To provide additional storage area, each rear seat can be
folded flat. This allows for extended cargo space and still
maintains some rear seating room.
NOTE:Prior to folding the rear seat, it may be necessary to
position the front seat to its mid-track position. Also, be
sure that the front seats are fully upright and positioned
forward. This will allow the rear seat to fold down easily.
Page 104 of 580
Closing
Grasp the liftgate closing handle and initiate lowering the
liftgate. Release the handle when the liftgate takes over the
closing effort.
To Lock The Liftgate
With a valid Passive Entry key fob within 5 ft (1.5 m) of the
liftgate, pushing the Keyless Enter-N-Go — Passive Entry
lock button located to the left of the outside handle release
will lock the vehicle.
The power liftgate may be closed by pushing the button,
located in the upper left trim in the liftgate opening.
Pushing button will only close the liftgate. This button
cannot be used to open the liftgate.
NOTE:The liftgate unlock feature is built into the elec-
tronic liftgate release.
Cargo Area Features
Cargo Load Floor
The cargo load floor system has a load capacity of 400 lbs
(181 kg). To provide additional storage area, each rear seat can be
folded flat. This allows for extended cargo space and still
maintains some rear seating room. Refer to “Seats” in this
section for further information.
Cargo Extension Panels
Cargo extension panels can be folded and unfolded. When
the rear seats are moved to the more forward positions and
the rear seat backs are folded down, the extension panels
(2) can be unfolded manually by hand. The extension
panels can be used to extend the load floor to the rear seats
and/or hide the gap between the load floor and rear seats
or to assist in loading large items into the cargo area.
Cargo Tie-Down Hooks And Loops
The tie-downs located on the cargo area floor should be
used to secure loads safely when the vehicle is moving.
Cargo tie-down loops are located on the trim panels.
Page 105 of 580
WARNING!(Continued)
loose. A child could be badly injured. Use only the
anchors provided for child seat tethers.
• To help protect against personal injury, passengers
should not be seated in the rear cargo area. The rear
cargo space is intended for load carrying purposes
only, not for passengers, who should sit in seats and
use seat belts.
The weight and position of cargo and passengers can
change the vehicle center of gravity and vehicle han-
dling. To avoid loss of control resulting in personal
injury, follow these guidelines for loading your vehicle:
•Do not carry loads that exceed the load limits de-
scribed on the label attached to the left door or left
door center pillar.
• Always place cargo evenly on the cargo floor. Put
heavier objects as low and as far forward as possible.
• Place as much cargo as possible in front of the rear
axle. Too much weight or improperly placed weight
over or behind the rear axle can cause the vehicle to
sway.
(Continued)
Page 197 of 580
WARNING!(Continued)
•Do not use the Automatic Locking Mode to restrain
occupants who are wearing the seat belt or children
who are using booster seats. The locked mode is only
used to install rear-facing or forward-facing child
restraints that have a harness for restraining the
child.
Supplemental Restraint Systems (SRS)
Some of the safety features described in this section may be
standard equipment on some models, or may be optional
equipment on others. If you are not sure, ask your autho-
rized dealer.
The air bag system must be ready to protect you in a
collision. The Occupant Restraint Controller (ORC) moni-
tors the internal circuits and interconnecting wiring asso-
ciated with the electrical Air Bag System Components.
Your vehicle may be equipped with the following Air Bag
System Components:
Air Bag System Components
• Occupant Restraint Controller (ORC)
• Air Bag Warning Light
5
SAFETY 195
Page 209 of 580

WARNING!
•Do not drill, cut, or tamper with the knee impact
bolsters in any way.
• Do not mount any accessories to the knee impact
bolsters such as alarm lights, stereos, citizen band
radios, etc.
Supplemental Driver And Front Passenger Knee Air
Bags
This vehicle is equipped with a Supplemental Driver Knee
Air Bag mounted in the instrument panel below the steering
column and a Supplemental Passenger Knee Air Bag
mounted in the instrument panel below the glove compart-
ment. The Supplemental Knee Air Bags provide enhanced
protection during a frontal impact by working together with
the seat belts, pretensioners, and front air bags.
Supplemental Side Air Bags
Supplemental Seat-Mounted Side Air Bags (SABs)
This vehicle is equipped with Supplemental Seat-Mounted
Side Air Bags (SABs). Supplemental Seat-Mounted Side Air Bags (SABs) are
located in the outboard side of the front seats and rear (in
vehicles equipped with outboard rear seat SABs) seats. The
SABs are marked with “SRS AIRBAG” or “AIRBAG” on a
label or on the seat trim on the outboard side of the seats.
The SABs may help to reduce the risk of occupant injury
during certain side impacts, in addition to the injury
reduction potential provided by the seat belts and body
structure.
Page 210 of 580
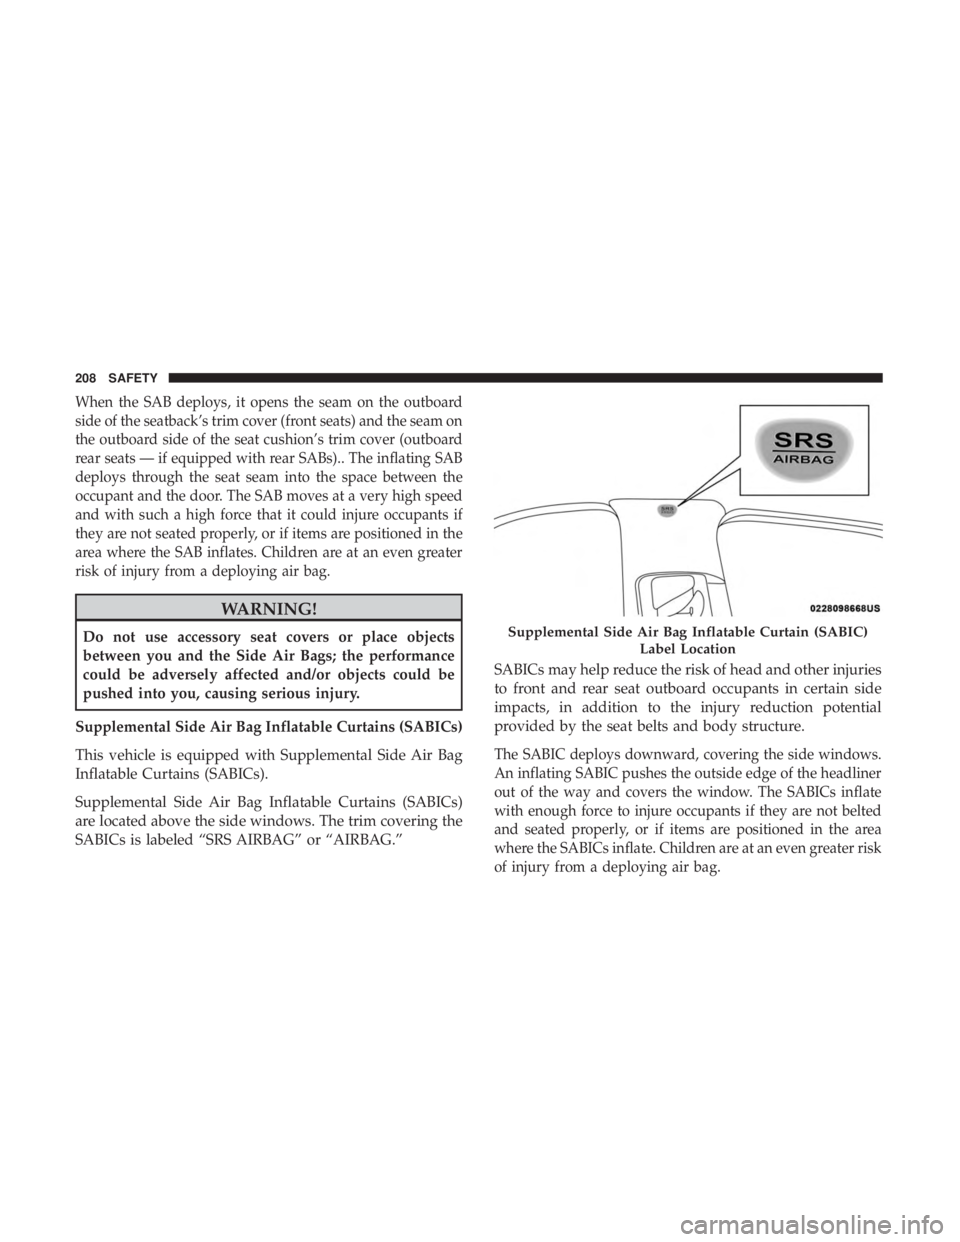
When the SAB deploys, it opens the seam on the outboard
side of the seatback’s trim cover (front seats) and the seam on
the outboard side of the seat cushion’s trim cover (outboard
rear seats — if equipped with rear SABs).. The inflating SAB
deploys through the seat seam into the space between the
occupant and the door. The SAB moves at a very high speed
and with such a high force that it could injure occupants if
they are not seated properly, or if items are positioned in the
area where the SAB inflates. Children are at an even greater
risk of injury from a deploying air bag.