instrument cluster JEEP COMMANDER 2007 1.G User Guide
[x] Cancel search | Manufacturer: JEEP, Model Year: 2007, Model line: COMMANDER, Model: JEEP COMMANDER 2007 1.GPages: 456, PDF Size: 6.85 MB
Page 175 of 456

INSTRUMENT CLUSTER
UNDERSTANDING YOUR INSTRUMENT PANEL 175
4
Page 176 of 456
INSTRUMENT CLUSTER DESCRIPTION
1. Speedometer
Indicates vehicle speed.
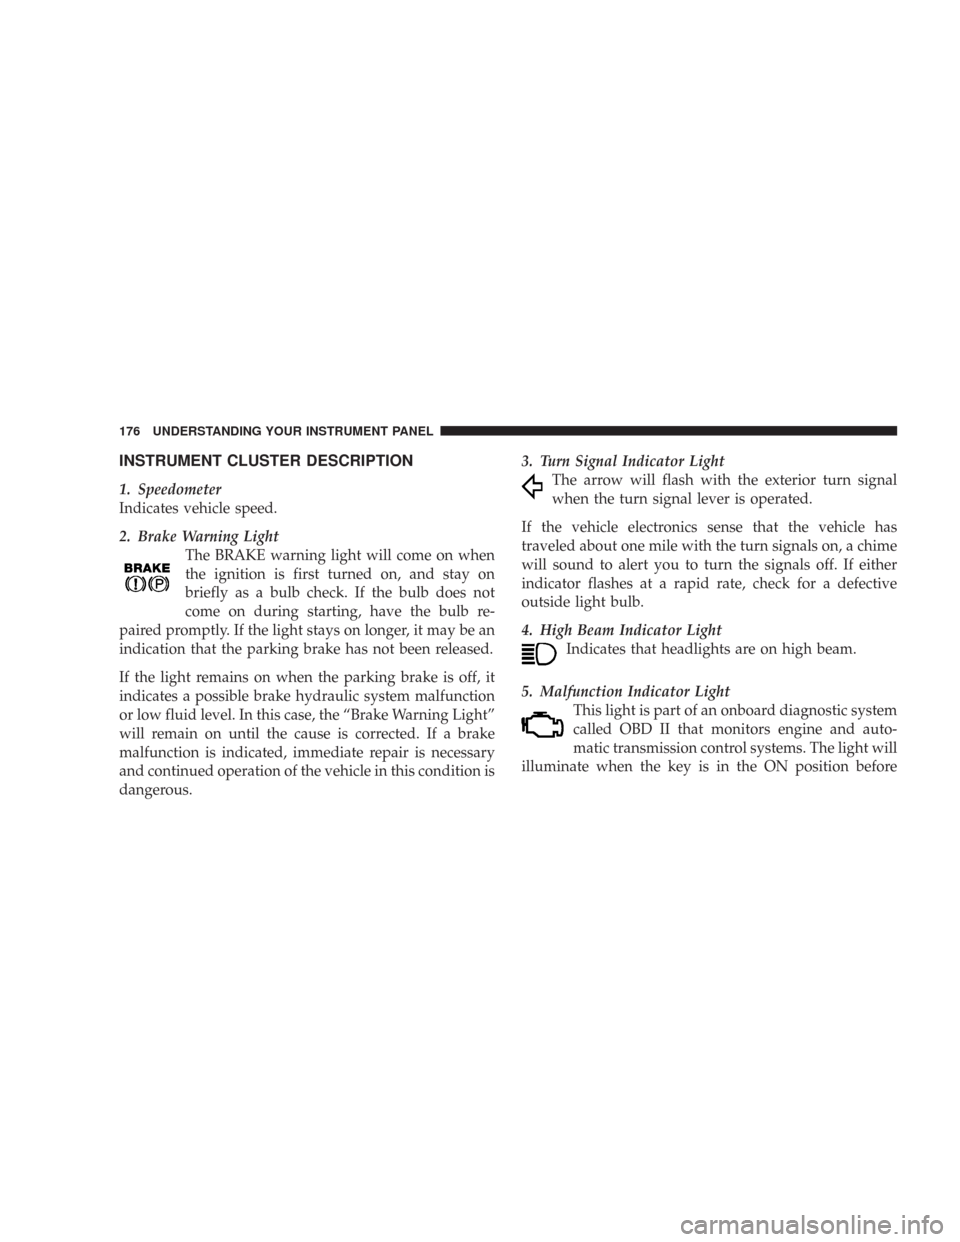
2. Brake Warning Light
The BRAKE warning light will come on when
the ignition is first turned on, and stay on
briefly as a bulb check. If the bulb does not
come on during starting, have the bulb re-
paired promptly. If the light stays on longer, it may be an
indication that the parking brake has not been released.
If the light remains on when the parking brake is off, it
indicates a possible brake hydraulic system malfunction
or low fluid level. In this case, the “Brake Warning Light”
will remain on until the cause is corrected. If a brake
malfunction is indicated, immediate repair is necessary
and continued operation of the vehicle in this condition is
dangerous.3. Turn Signal Indicator Light
The arrow will flash with the exterior turn signal
when the turn signal lever is operated.
If the vehicle electronics sense that the vehicle has
traveled about one mile with the turn signals on, a chime
will sound to alert you to turn the signals off. If either
indicator flashes at a rapid rate, check for a defective
outside light bulb.
4. High Beam Indicator Light
Indicates that headlights are on high beam.
5. Malfunction Indicator Light
This light is part of an onboard diagnostic system
called OBD II that monitors engine and auto-
matic transmission control systems. The light will
illuminate when the key is in the ON position before
176 UNDERSTANDING YOUR INSTRUMENT PANEL
Page 179 of 456
12. Tire Pressure Monitoring Telltale Light
Each tire, including the spare (if provided),
should be checked monthly when cold and
inflated to the inflation pressure recommended
by the vehicle manufacturer on the vehicle
placard or tire inflation pressure label. (If your vehicle
has tires of a different size than the size indicated on the
vehicle placard or tire inflation pressure label, you should
determine the proper tire inflation pressure for those
tires.)
As an added safety feature, your vehicle has been
equipped with a tire pressure monitoring system (TPMS)
that illuminates the “Tire Pressure Monitoring Telltale
Light” when one or more of your tires is significantly
under-inflated. Accordingly, when the “Tire Pressure
Monitoring Telltale Light” illuminates, you should stop
and check your tires as soon as possible, and inflate them
to the proper pressure. Driving on a significantly under-
inflated tire causes the tire to overheat and can lead to tirefailure. Under-inflation also reduces fuel efficiency and
tire tread life, and may affect the vehicle’s handling and
stopping ability.
Please note that the TPMS is not a substitute for proper
tire maintenance, and it is the driver ’s responsibility to
maintain correct tire pressure, even if under-inflation has
not reached the level to trigger illumination of the “Tire
Pressure Monitoring Telltale Light.”
The “Tire Pressure Monitoring Telltale Light” will illumi-
nate in the instrument cluster, and an audible chime will
be activated when one or more tire pressures is low. The
“Tire Pressure Monitoring Telltale Light” will flash on
and off for 60 seconds when a system fault is detected.
The flash cycle will repeat every ten minutes or until the
fault condition is removed and reset.
UNDERSTANDING YOUR INSTRUMENT PANEL 179
4
Page 181 of 456
WARNING!
A hot engine cooling system is dangerous. You or
others could be badly burned by steam or boiling
coolant. If you decide to look under the hood your-
self, refer to Section 7 of this manual. Follow the
warnings under “Cooling System Pressure Cap.”
14. Electronic Vehicle Information Center Display
When the appropriate conditions exist, this display
shows the Electronic Vehicle Information Center (EVIC)
messages. Refer to “Electronic Vehicle Information Cen-
ter” later in this section.
15. TOW/HAUL Indicator Light
This light will illuminate when the TOW/
HAUL button has been selected. The TOW/
HAUL button is located in the center of the
instrument panel (below the climate controls).16. Electronic Stability Program (ESP) Warning
Light/Brake Assist System (BAS) Warning Light
The ESP/BAS warning light in the instrument
cluster comes on when the ignition switch is
turned to the “ON” position. The light should
go out with the engine running. If the ESP/
BAS warning light comes on continuously with the
engine running, a malfunction has been detected in either
the ESP or the BAS system. If this light stays illuminated,
have the ESP and BAS checked at your authorized dealer
as soon as possible.
17. 4WD LOW Mode Indicator Light — If Equipped
This light alerts the driver that the vehicle is in
the 4WD LOW mode. The front and rear drive-
shafts are mechanically locked together forcing
the front and rear wheels to rotate at the same
speed.
UNDERSTANDING YOUR INSTRUMENT PANEL 181
4
Page 184 of 456
ELECTRONIC VEHICLE INFORMATION
CENTER — IF EQUIPPED
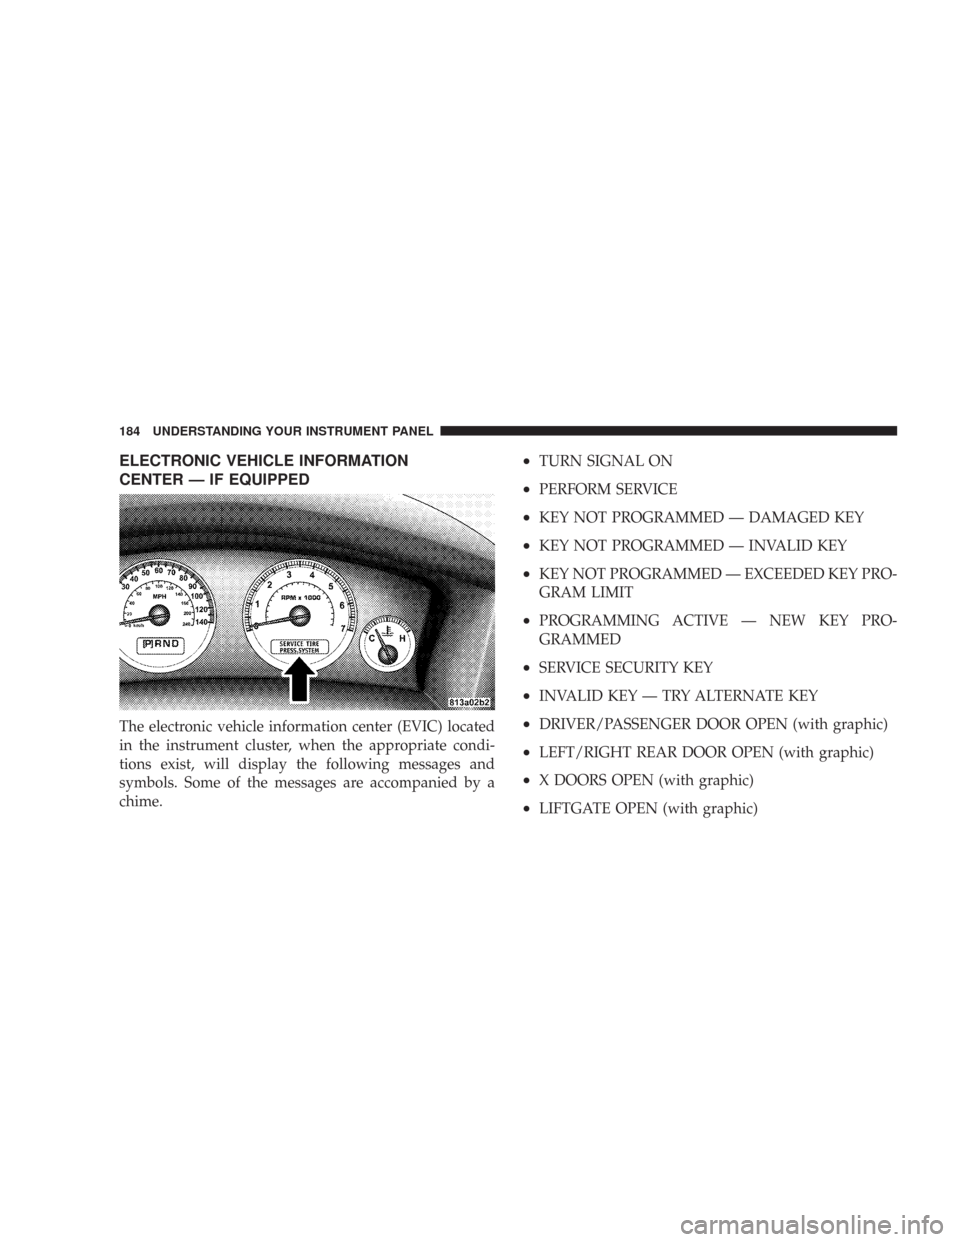
The electronic vehicle information center (EVIC) located
in the instrument cluster, when the appropriate condi-
tions exist, will display the following messages and
symbols. Some of the messages are accompanied by a
chime.
•TURN SIGNAL ON
•PERFORM SERVICE
•KEY NOT PROGRAMMED — DAMAGED KEY
•KEY NOT PROGRAMMED — INVALID KEY
•KEY NOT PROGRAMMED — EXCEEDED KEY PRO-
GRAM LIMIT
•PROGRAMMING ACTIVE — NEW KEY PRO-
GRAMMED
•SERVICE SECURITY KEY
•INVALID KEY — TRY ALTERNATE KEY
•DRIVER/PASSENGER DOOR OPEN (with graphic)
•LEFT/RIGHT REAR DOOR OPEN (with graphic)
•X DOORS OPEN (with graphic)
•LIFTGATE OPEN (with graphic)
184 UNDERSTANDING YOUR INSTRUMENT PANEL
Page 193 of 456
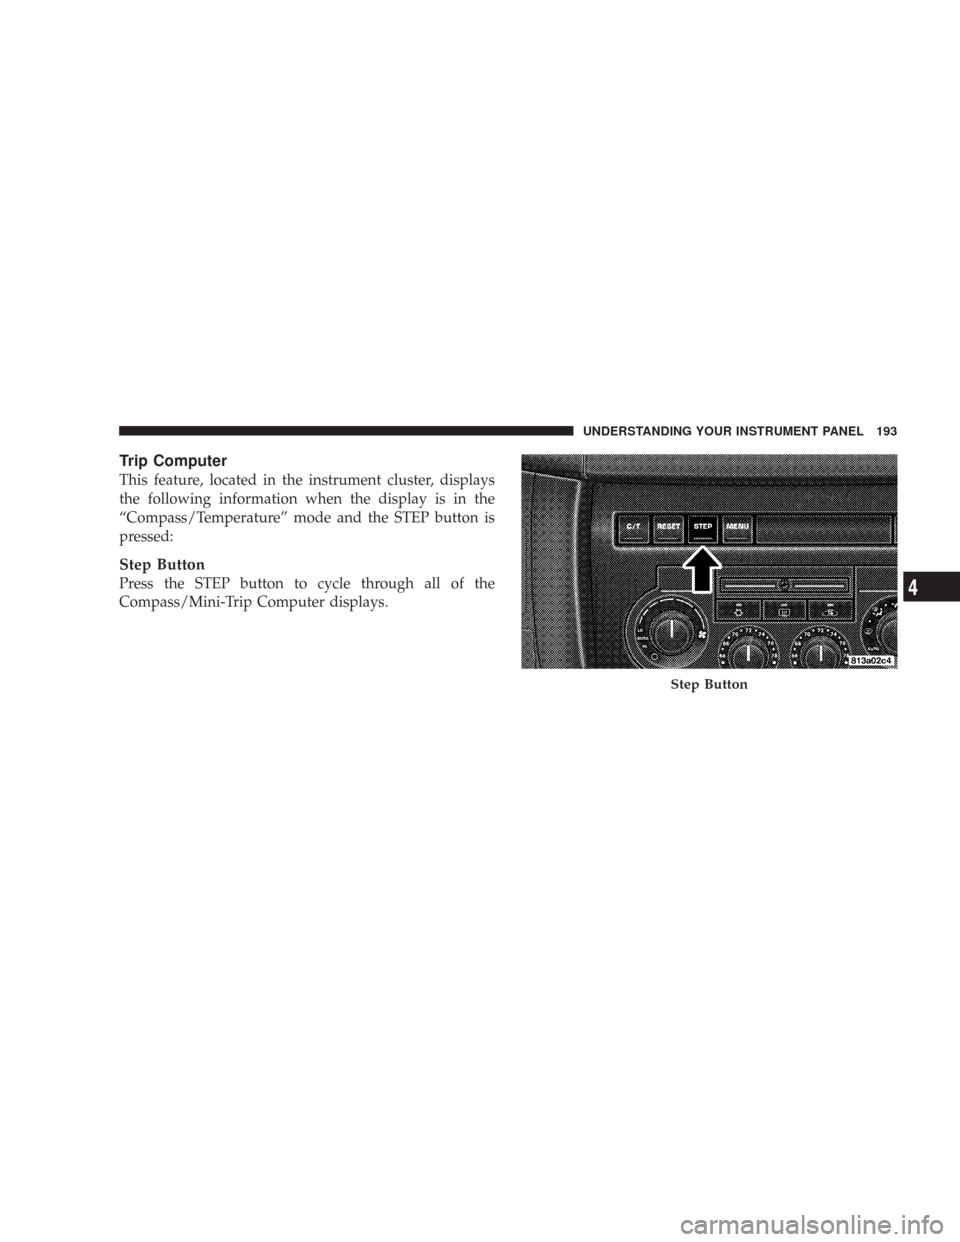
Trip Computer
This feature, located in the instrument cluster, displays
the following information when the display is in the
“Compass/Temperature” mode and the STEP button is
pressed:
Step Button
Press the STEP button to cycle through all of the
Compass/Mini-Trip Computer displays.
Step Button
UNDERSTANDING YOUR INSTRUMENT PANEL 193
4
Page 266 of 456
N (Neutral)
Neutral — Disengages both the front and rear driveshafts
from the powertrain. To be used for flat towing behind
another vehicle. Refer to “Recreational Towing” in Sec-
tion 5 of this manual.
4 LOW
Four Wheel Drive Low Range — Low speed 4 wheel
drive. Locks the front and rear driveshafts together.
Forces the front and rear wheels to rotate at the same
speed. Additional traction and maximum pulling power
for loose, slippery road surfaces only. Do not exceed 25
mph (40 km/h).
Shifting Procedures
4HIto4LOW
With the vehicle at speeds of 0 to 3 mph (0 to 5 km/h),
key ON or engine running, shift the transmission into N
(Neutral), and raise the transfer case T-handle. “The 4WD
LOW Indicator Lamp” in the instrument cluster will
begin to flash and remain on solid when the shift is
complete. Release the T-handle.
NOTE:If shift conditions/interlocks are not met, or a
transfer case motor temperature protection condition
exists, a “CHECK SHIFT PROCEDURES” message will
flash from the EVIC (Electronic Vehicle Information Cen-
ter). Refer to “Electronic Vehicle Information Center
(EVIC)” in Section 4 of this manual. (See page 184 for
more information.)
266 STARTING AND OPERATING
Page 267 of 456
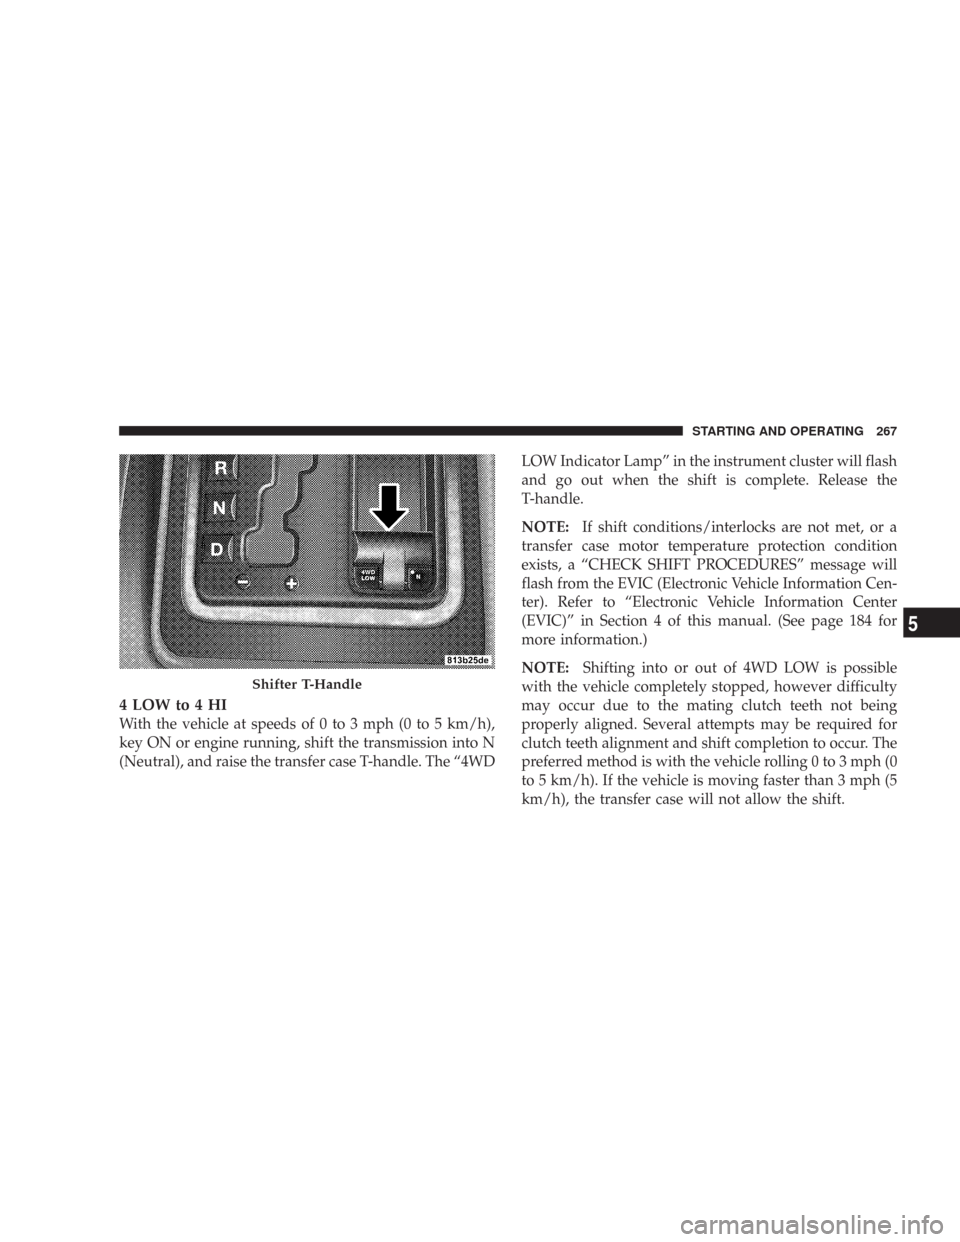
4 LOW to 4 HI
With the vehicle at speeds of 0 to 3 mph (0 to 5 km/h),
key ON or engine running, shift the transmission into N
(Neutral), and raise the transfer case T-handle. The “4WDLOW Indicator Lamp” in the instrument cluster will flash
and go out when the shift is complete. Release the
T-handle.
NOTE:If shift conditions/interlocks are not met, or a
transfer case motor temperature protection condition
exists, a “CHECK SHIFT PROCEDURES” message will
flash from the EVIC (Electronic Vehicle Information Cen-
ter). Refer to “Electronic Vehicle Information Center
(EVIC)” in Section 4 of this manual. (See page 184 for
more information.)
NOTE:Shifting into or out of 4WD LOW is possible
with the vehicle completely stopped, however difficulty
may occur due to the mating clutch teeth not being
properly aligned. Several attempts may be required for
clutch teeth alignment and shift completion to occur. The
preferred method is with the vehicle rolling 0 to 3 mph (0
to 5 km/h). If the vehicle is moving faster than 3 mph (5
km/h), the transfer case will not allow the shift.
Shifter T-Handle
STARTING AND OPERATING 267
5
Page 274 of 456
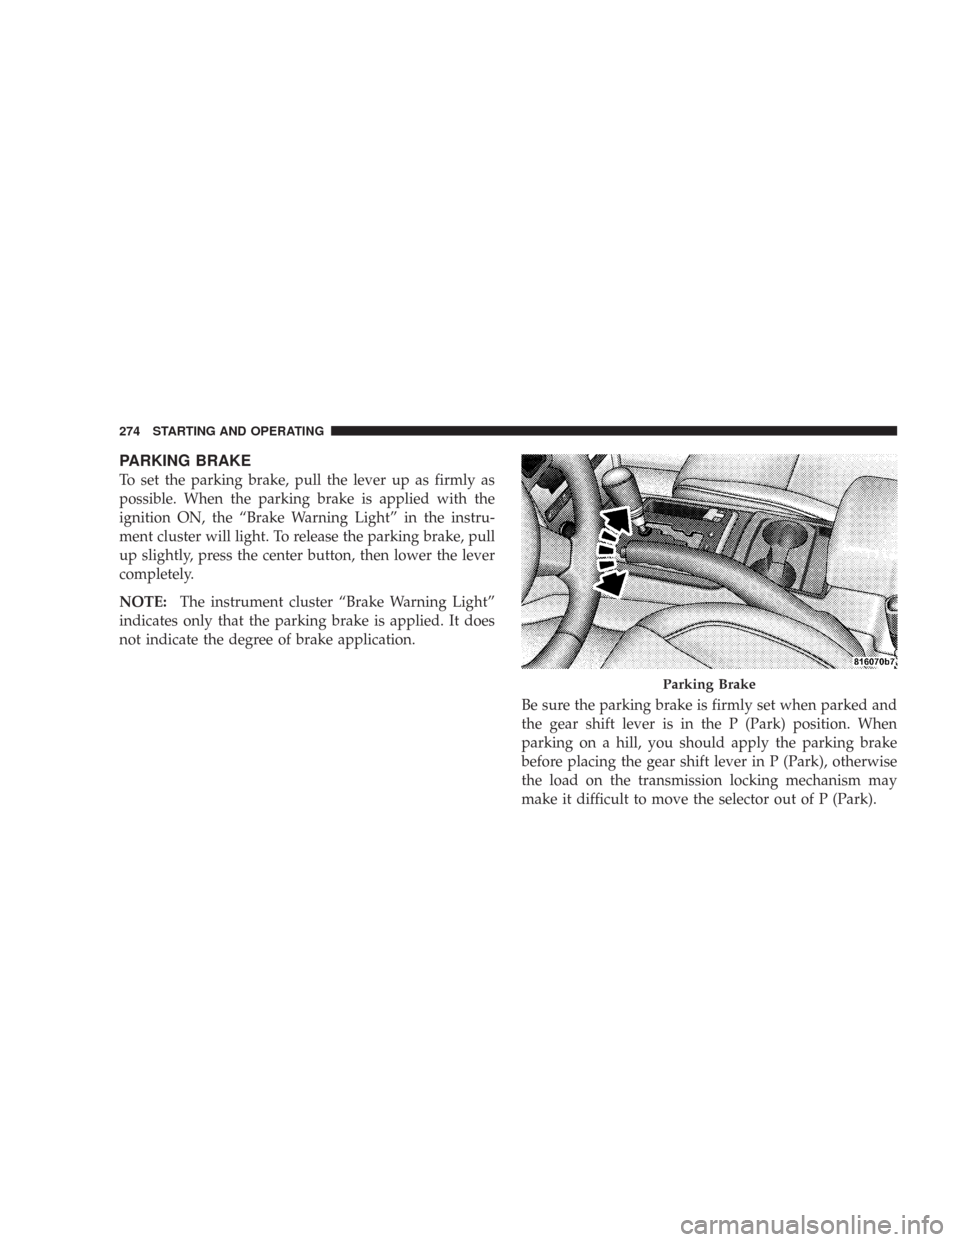
PARKING BRAKE
To set the parking brake, pull the lever up as firmly as
possible. When the parking brake is applied with the
ignition ON, the “Brake Warning Light” in the instru-
ment cluster will light. To release the parking brake, pull
up slightly, press the center button, then lower the lever
completely.
NOTE:The instrument cluster “Brake Warning Light”
indicates only that the parking brake is applied. It does
not indicate the degree of brake application.
Be sure the parking brake is firmly set when parked and
the gear shift lever is in the P (Park) position. When
parking on a hill, you should apply the parking brake
before placing the gear shift lever in P (Park), otherwise
the load on the transmission locking mechanism may
make it difficult to move the selector out of P (Park).
Parking Brake
274 STARTING AND OPERATING
Page 299 of 456
A tire pressure monitoring sensor is located in the spare
wheel if the vehicle is equipped with a matching full size
spare wheel and tire assembly. The matching full size spare
tire can be used in place of any of the four road tires.
The “Tire Pressure Monitoring Telltale Light” will
illuminate in the instrument cluster, and an au-
dible chime will be activated when one or more of
the four active road tire pressures are low. The audible
chime will sound once every ignition cycle for each
condition that it detects. Should this occur, you should
stop as soon as possible, check the inflation pressure of
each tire on your vehicle, and inflate each tire to the
vehicle’s recommended cold tire pressure. The system
will automatically update and the “Tire Pressure Moni-
toring Light” will extinguish once the updated tire pres-
sures have been received. The vehicle may need to be
driven for up to 10 minutes above 15 mph (24 km/h) to
receive this information. A low spare tire will not cause
the “Tire Pressure Monitoring Telltale Light” to illumi-
nate or the chime to sound.The “Tire Pressure Monitoring Telltale Light” will flash
on and off for 60 seconds, and an audible chime will
sound when a system fault is detected. The flash cycle
will repeat every ten minutes, without an audible chime,
until the fault condition no longer exists. If the ignition
key is cycled, this sequence will repeat, providing the
system fault still exists.
NOTE:If your vehicle is equipped with a matching full
size spare tire, it has a tire pressure monitoring sensor,
and can be monitored by the Tire Pressure Monitoring
System (TPMS). In the event that the matching full size
spare tire is swapped with a low pressure road tire, the
next ignition key cycle will still show the “Tire Pressure
Monitoring Telltale Light” to be ON, and a chime to
sound. Driving the vehicle for up to 10 minutes above 15
mph (24 km/h) will turn OFF the “Tire Pressure Moni-
toring Telltale Light” as long as the spare tire or any other
road tire(s) are not below the low pressure warning
threshold.
STARTING AND OPERATING 299
5