tow JEEP COMPASS 2011 1.G User Guide
[x] Cancel search | Manufacturer: JEEP, Model Year: 2011, Model line: COMPASS, Model: JEEP COMPASS 2011 1.GPages: 490, PDF Size: 4.21 MB
Page 113 of 490
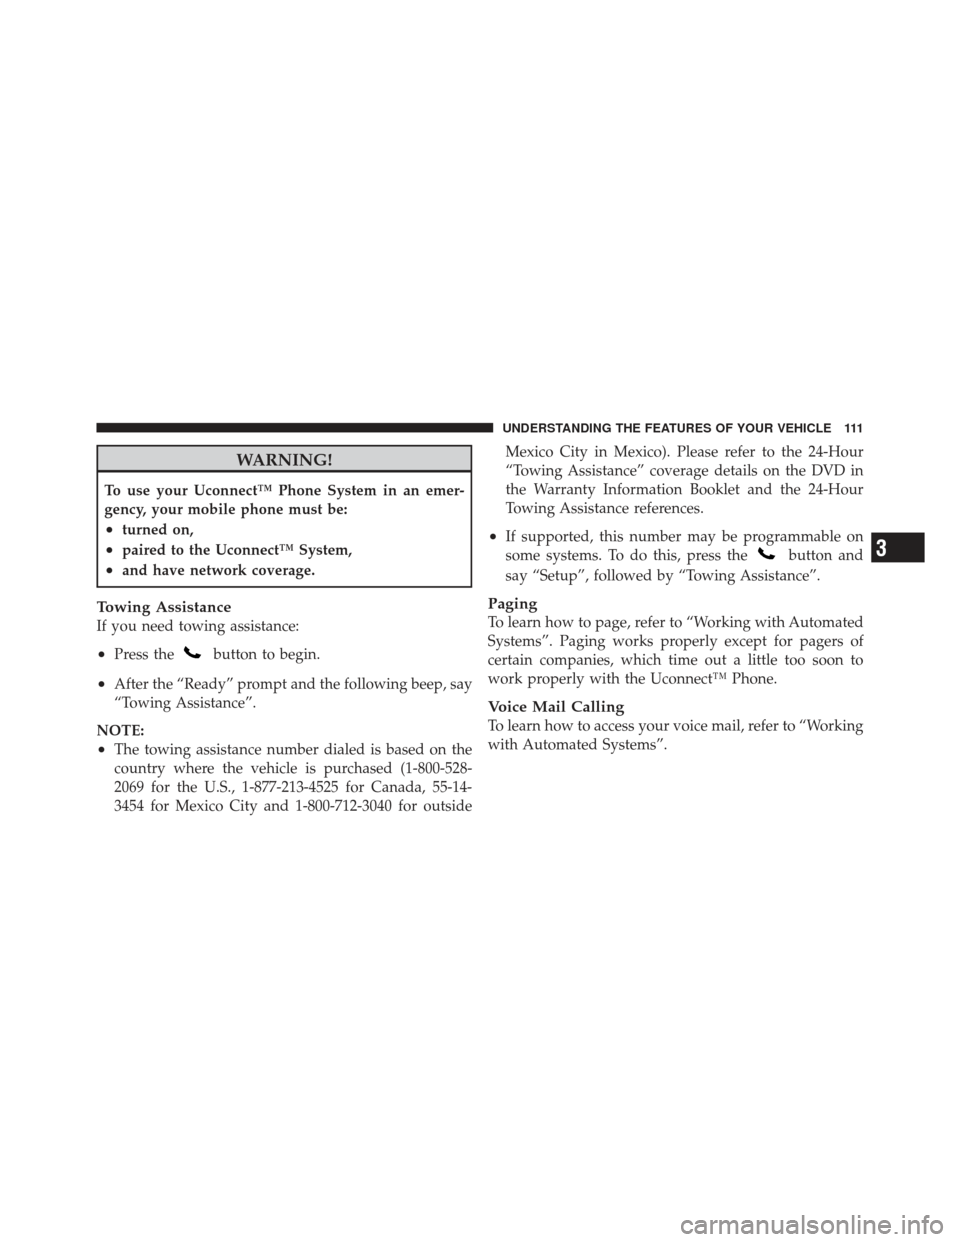
WARNING!
To use your Uconnect™ Phone System in an emer-
gency, your mobile phone must be:
•turned on,
•paired to the Uconnect™ System,
•and have network coverage.
Towing Assistance
If you need towing assistance:
•Press thebutton to begin.
•After the “Ready” prompt and the following beep, say
“Towing Assistance”.
NOTE:
•The towing assistance number dialed is based on the
country where the vehicle is purchased (1-800-528-
2069 for the U.S., 1-877-213-4525 for Canada, 55-14-
3454 for Mexico City and 1-800-712-3040 for outside Mexico City in Mexico). Please refer to the 24-Hour
“Towing Assistance” coverage details on the DVD in
the Warranty Information Booklet and the 24-Hour
Towing Assistance references.
•If supported, this number may be programmable on
some systems. To do this, press the
button and
say “Setup”, followed by “Towing Assistance”.
Paging
To learn how to page, refer to “Working with Automated
Systems”. Paging works properly except for pagers of
certain companies, which time out a little too soon to
work properly with the Uconnect™ Phone.
Voice Mail Calling
To learn how to access your voice mail, refer to “Working
with Automated Systems”.
3
UNDERSTANDING THE FEATURES OF YOUR VEHICLE 111
Page 128 of 490
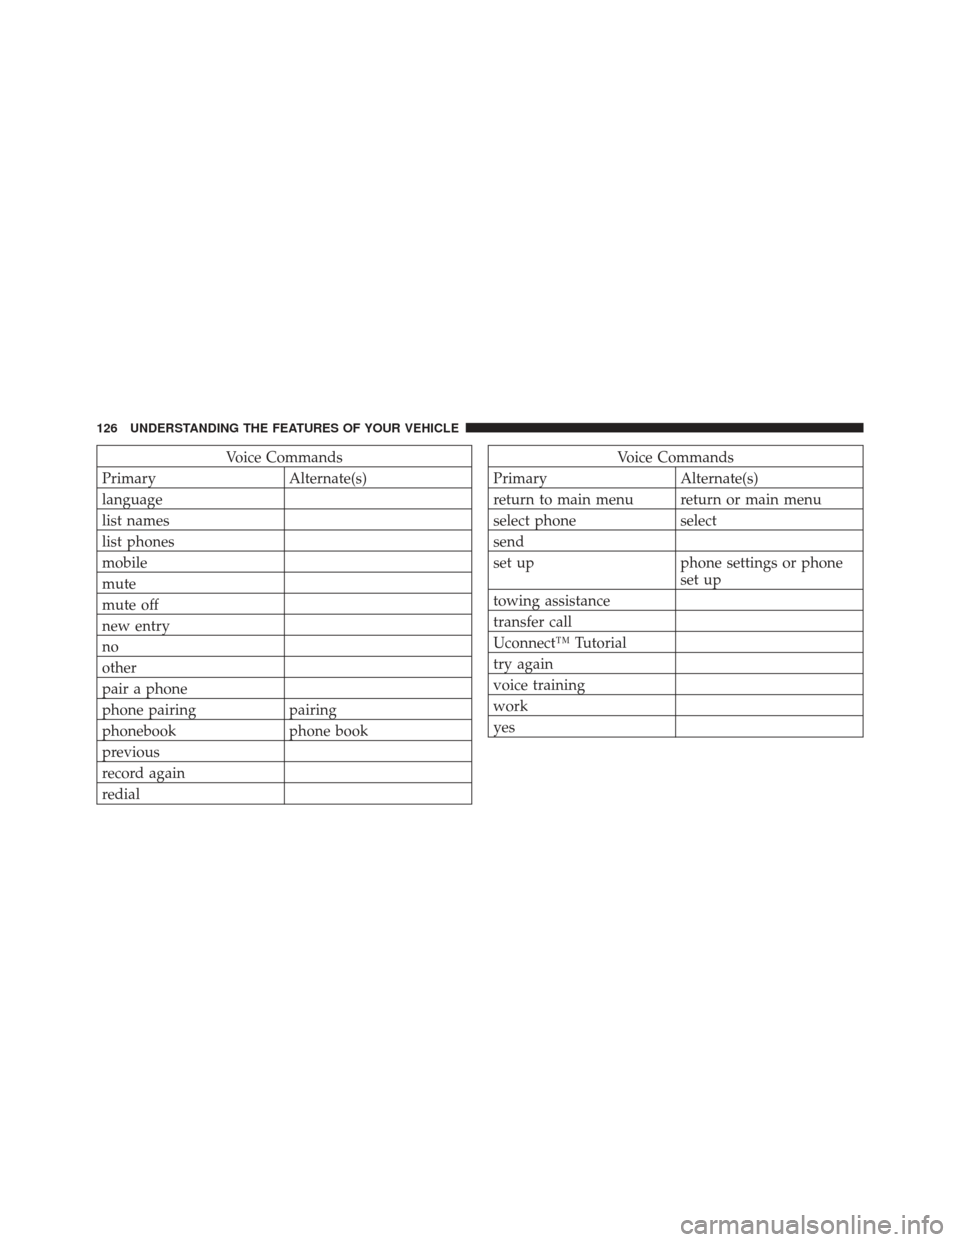
Voice Commands
Primary Alternate(s)
language
list names
list phones
mobile
mute
mute off
new entry
no
other
pair a phone
phone pairing pairing
phonebook phone book
previous
record again
redialVoice Commands
Primary Alternate(s)
return to main menu return or main menu
select phone select
send
set up phone settings or phone set up
towing assistance
transfer call
Uconnect™ Tutorial
try again
voice training
work
yes
126 UNDERSTANDING THE FEATURES OF YOUR VEHICLE
Page 148 of 490
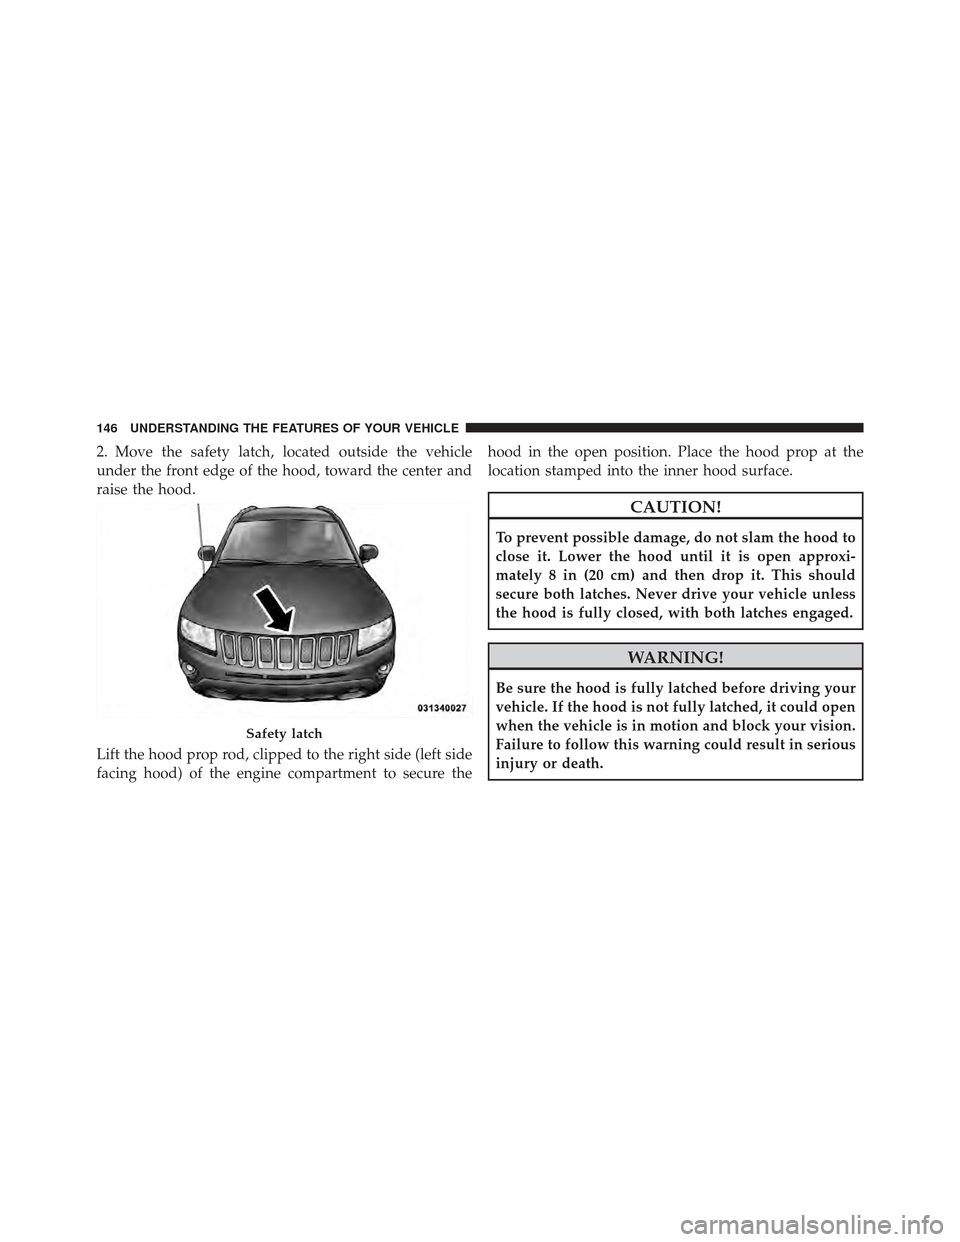
2. Move the safety latch, located outside the vehicle
under the front edge of the hood, toward the center and
raise the hood.
Lift the hood prop rod, clipped to the right side (left side
facing hood) of the engine compartment to secure thehood in the open position. Place the hood prop at the
location stamped into the inner hood surface.
CAUTION!
To prevent possible damage, do not slam the hood to
close it. Lower the hood until it is open approxi-
mately 8 in (20 cm) and then drop it. This should
secure both latches. Never drive your vehicle unless
the hood is fully closed, with both latches engaged.
WARNING!
Be sure the hood is fully latched before driving your
vehicle. If the hood is not fully latched, it could open
when the vehicle is in motion and block your vision.
Failure to follow this warning could result in serious
injury or death.
Safety latch
146 UNDERSTANDING THE FEATURES OF YOUR VEHICLE
Page 151 of 490
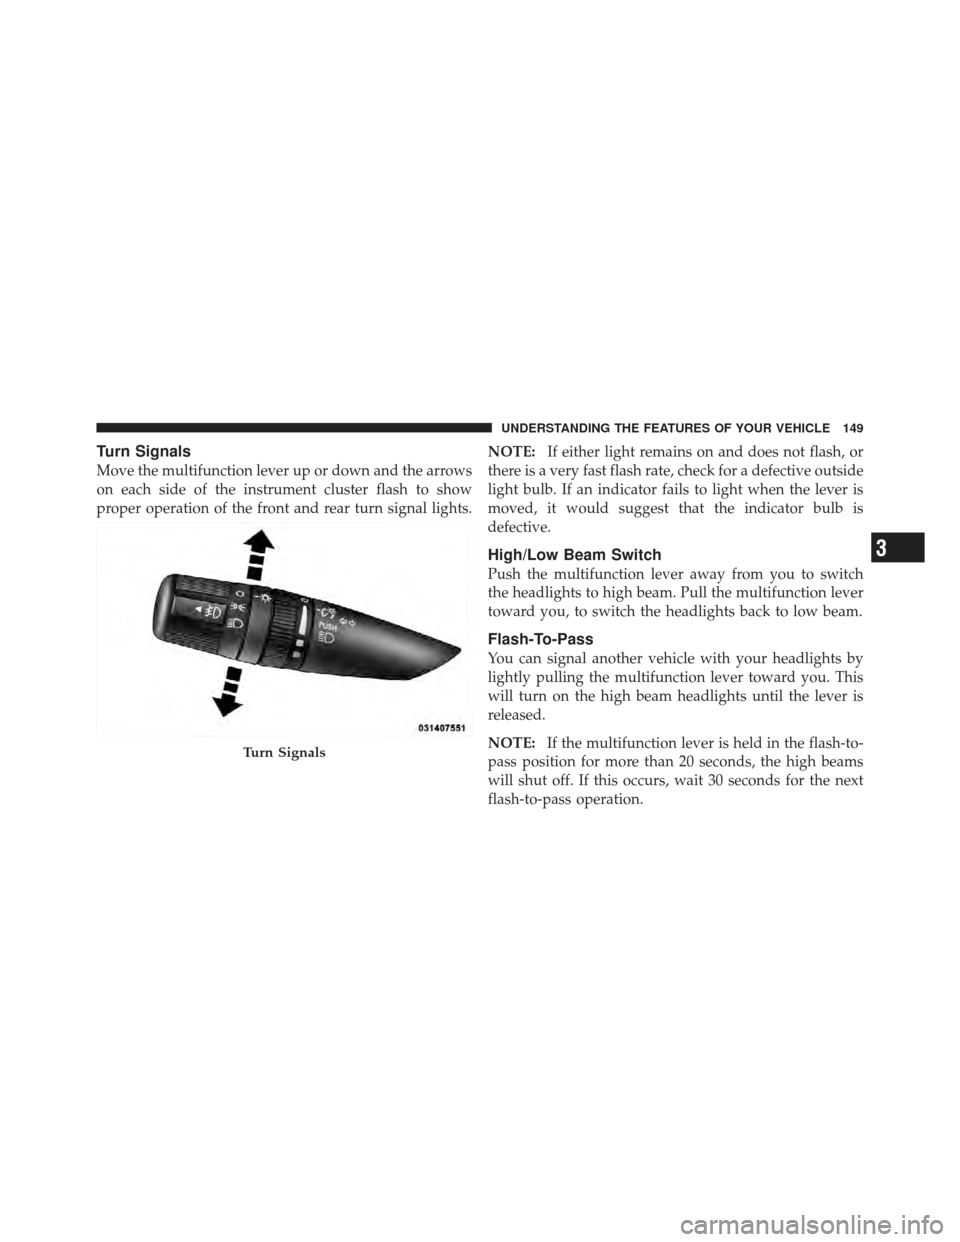
Turn Signals
Move the multifunction lever up or down and the arrows
on each side of the instrument cluster flash to show
proper operation of the front and rear turn signal lights.NOTE:
If either light remains on and does not flash, or
there is a very fast flash rate, check for a defective outside
light bulb. If an indicator fails to light when the lever is
moved, it would suggest that the indicator bulb is
defective.
High/Low Beam Switch
Push the multifunction lever away from you to switch
the headlights to high beam. Pull the multifunction lever
toward you, to switch the headlights back to low beam.
Flash-To-Pass
You can signal another vehicle with your headlights by
lightly pulling the multifunction lever toward you. This
will turn on the high beam headlights until the lever is
released.
NOTE: If the multifunction lever is held in the flash-to-
pass position for more than 20 seconds, the high beams
will shut off. If this occurs, wait 30 seconds for the next
flash-to-pass operation.
Turn Signals
3
UNDERSTANDING THE FEATURES OF YOUR VEHICLE 149
Page 155 of 490
Intermittent Wiper System
Use the intermittent wiper when weather conditions
make a single wiping cycle, with a variable pause be-
tween cycles, desirable. Select the delay interval by
turning the end of the lever. Rotate the end of the lever
upward (clockwise) to decrease the delay time and
downward (counterclockwise) to increase the delay time.
The delay can be regulated from a maximum of approxi-
mately 18 seconds between cycles, to a cycle every
second.
NOTE:The wiper delay times depend on vehicle speed.
If the vehicle is moving less than 10 mph (16 km/h),
delay times will be doubled.
Windshield Washers
To use the washer, pull the control lever toward you and
hold while spray is desired. If the lever is pulled while in
the delay range, the wiper will operate in low-speed
while the lever is pulled and for two wipe cycles after the
lever is released, and then resume the intermittent inter-
val previously selected.
If the lever is pulled while in the off position, the wipers
will operate for two wipe cycles, then turn off.
WARNING!
Sudden loss of visibility through the windshield
could lead to a collision. You might not see other
vehicles or other obstacles. To avoid sudden icing of
the windshield during freezing weather, warm the
windshield with the defroster before and during
windshield washer use.
3
UNDERSTANDING THE FEATURES OF YOUR VEHICLE 153
Page 179 of 490
WARNING!
Do not operate this vehicle with a console compart-
ment lid in the open position. Cellular phones, music
players, and other handheld electronic devices
should be stowed while driving. Use of these devices
while driving can cause an accident due to distrac-
tion, resulting in death or injury.
CARGO AREA FEATURES
Cargo Light/Removable Self-Recharging
Flashlight
The dual-function light is mounted in the headliner
above the cargo area to illuminate the cargo area, and
part of it snaps out of the bezel to serve as a flashlight
when needed. The flashlight features two bright LED
light bulbs and is powered by rechargeable lithiumbatteries that recharge when snapped back into place for
convenience.
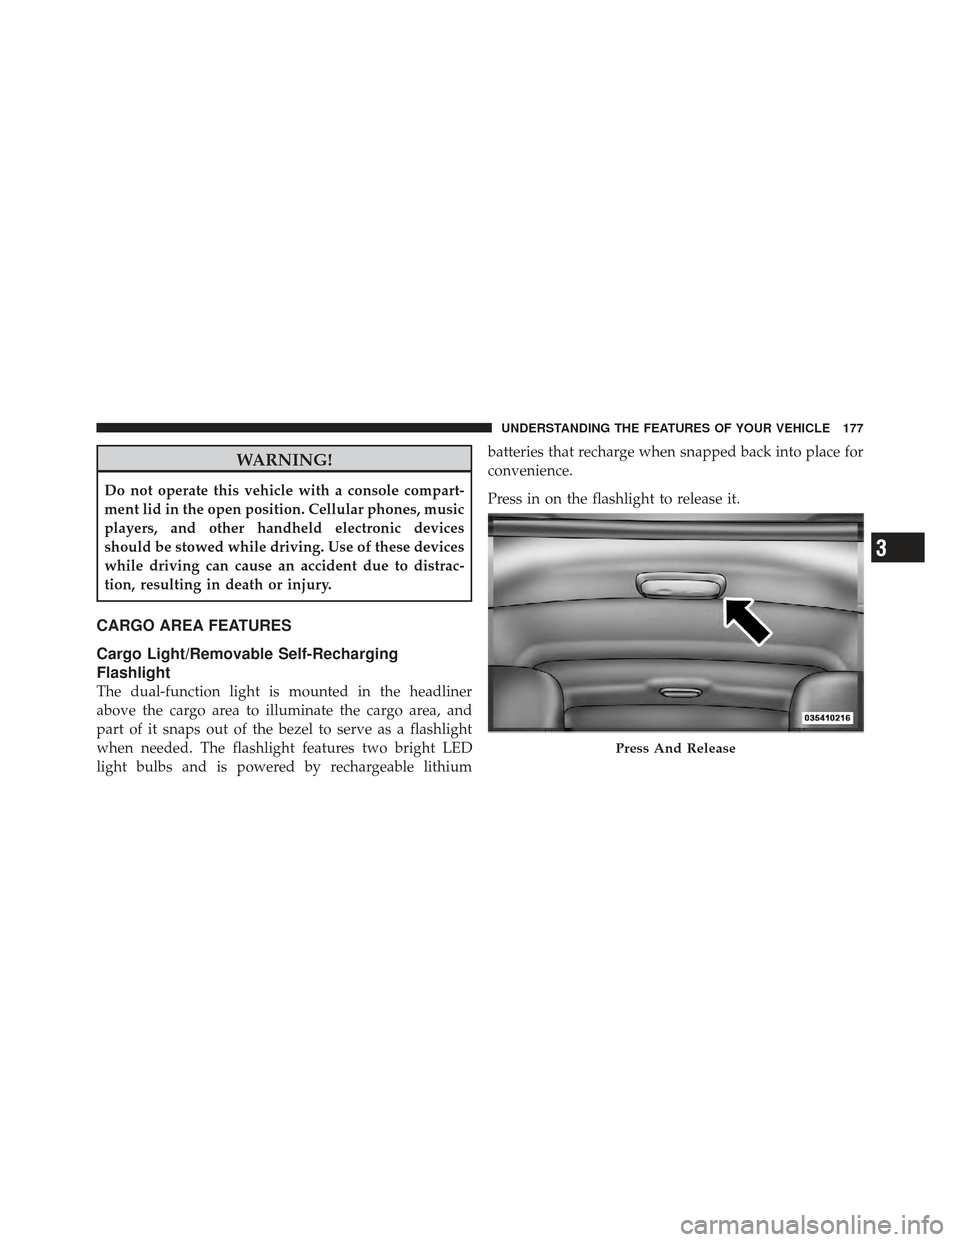
Press in on the flashlight to release it.
Press And Release
3
UNDERSTANDING THE FEATURES OF YOUR VEHICLE 177
Page 181 of 490
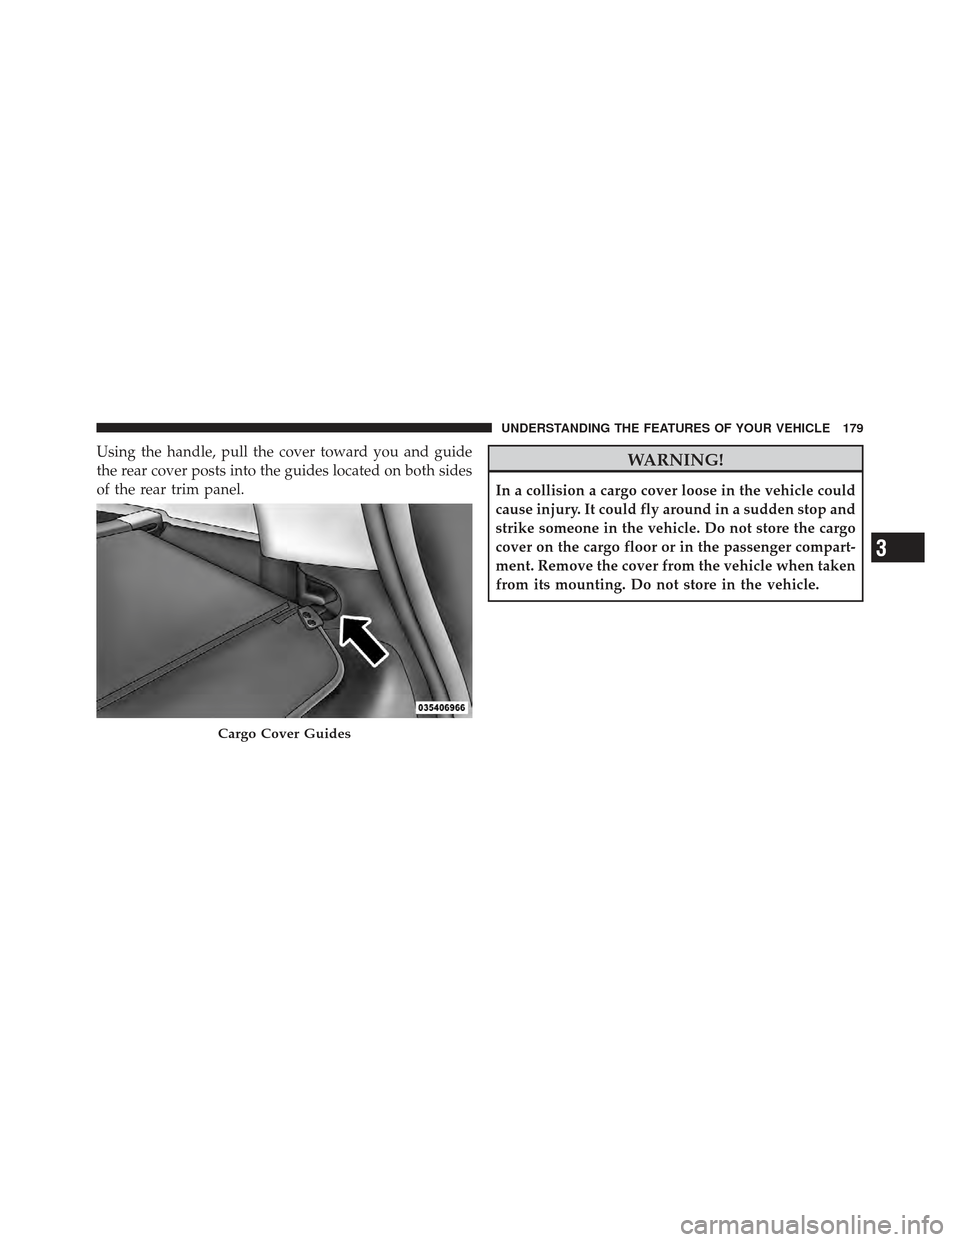
Using the handle, pull the cover toward you and guide
the rear cover posts into the guides located on both sides
of the rear trim panel.WARNING!
In a collision a cargo cover loose in the vehicle could
cause injury. It could fly around in a sudden stop and
strike someone in the vehicle. Do not store the cargo
cover on the cargo floor or in the passenger compart-
ment. Remove the cover from the vehicle when taken
from its mounting. Do not store in the vehicle.
Cargo Cover Guides
3
UNDERSTANDING THE FEATURES OF YOUR VEHICLE 179
Page 194 of 490
INSTRUMENT CLUSTER DESCRIPTIONS
1. Fuel Gauge / Fuel Door ReminderWhen the ignition switch is in the ON/RUN
position, the pointer will show the level of fuel
remaining in the fuel tank. The fuel pump
symbol points to the side of the vehicle where
the fuel door is located.
2. Charging System Light This light shows the status of the electrical charg-
ing system. The light should come on when the
ignition switch is first turned to ON/RUN and remain on
briefly as a bulb check. If the light stays on or comes on
while driving, turn off some of the vehicle’s non-essential
electrical devices or increase engine speed (if at idle). If
the charging system light remains on, it means that the
vehicle is experiencing a problem with the charging
system. Obtain SERVICE IMMEDIATELY. See an autho-
rized dealer. If jump starting is required, refer to “Jump Starting
Procedures” in “What To Do In Emergencies”.
3. Electronic Throttle Control (ETC) Light
This light informs you of a problem with the
Electronic Throttle Control (ETC) system. If a
problem is detected, the light will come on
while the engine is running. Cycle the ignition
key when the vehicle has completely stopped and the
shift lever is placed in the PARK position. The light
should turn off. If the light remains lit with the engine
running, your vehicle will usually be drivable; however,
see an authorized dealer for service as soon as possible. If
the light is flashing when the engine is running, imme-
diate service is required and you may experience reduced
performance, an elevated/rough idle or engine stall and
your vehicle may require towing. The light will come on
when the ignition is first turned to ON/RUN and remain
192 UNDERSTANDING YOUR INSTRUMENT PANEL
Page 196 of 490
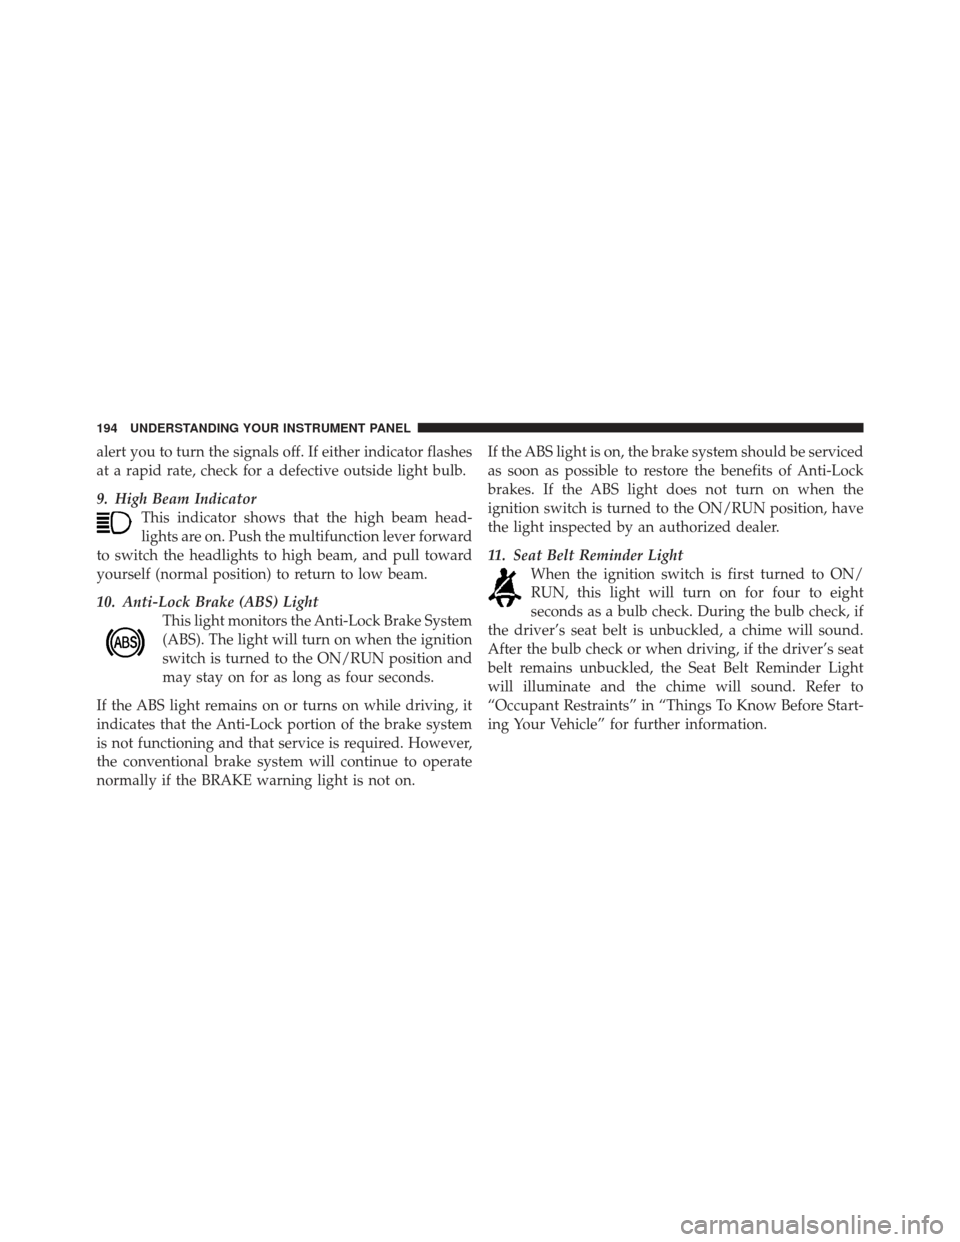
alert you to turn the signals off. If either indicator flashes
at a rapid rate, check for a defective outside light bulb.
9. High Beam IndicatorThis indicator shows that the high beam head-
lights are on. Push the multifunction lever forward
to switch the headlights to high beam, and pull toward
yourself (normal position) to return to low beam.
10. Anti-Lock Brake (ABS) Light This light monitors the Anti-Lock Brake System
(ABS). The light will turn on when the ignition
switch is turned to the ON/RUN position and
may stay on for as long as four seconds.
If the ABS light remains on or turns on while driving, it
indicates that the Anti-Lock portion of the brake system
is not functioning and that service is required. However,
the conventional brake system will continue to operate
normally if the BRAKE warning light is not on. If the ABS light is on, the brake system should be serviced
as soon as possible to restore the benefits of Anti-Lock
brakes. If the ABS light does not turn on when the
ignition switch is turned to the ON/RUN position, have
the light inspected by an authorized dealer.
11. Seat Belt Reminder Light
When the ignition switch is first turned to ON/
RUN, this light will turn on for four to eight
seconds as a bulb check. During the bulb check, if
the driver’s seat belt is unbuckled, a chime will sound.
After the bulb check or when driving, if the driver’s seat
belt remains unbuckled, the Seat Belt Reminder Light
will illuminate and the chime will sound. Refer to
“Occupant Restraints” in “Things To Know Before Start-
ing Your Vehicle” for further information.
194 UNDERSTANDING YOUR INSTRUMENT PANEL
Page 199 of 490
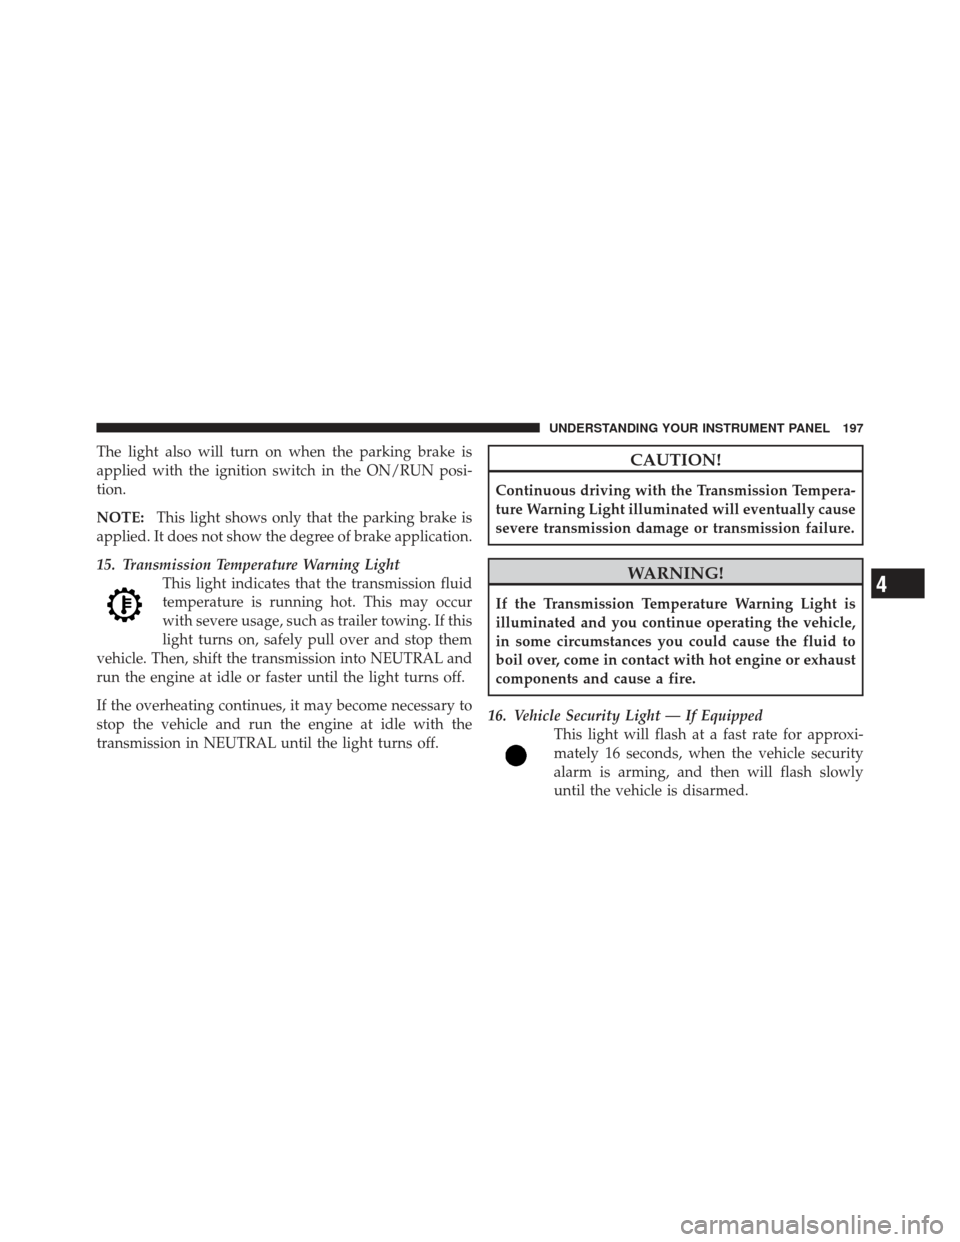
The light also will turn on when the parking brake is
applied with the ignition switch in the ON/RUN posi-
tion.
NOTE:This light shows only that the parking brake is
applied. It does not show the degree of brake application.
15. Transmission Temperature Warning Light This light indicates that the transmission fluid
temperature is running hot. This may occur
with severe usage, such as trailer towing. If this
light turns on, safely pull over and stop them
vehicle. Then, shift the transmission into NEUTRAL and
run the engine at idle or faster until the light turns off.
If the overheating continues, it may become necessary to
stop the vehicle and run the engine at idle with the
transmission in NEUTRAL until the light turns off.CAUTION!
Continuous driving with the Transmission Tempera-
ture Warning Light illuminated will eventually cause
severe transmission damage or transmission failure.
WARNING!
If the Transmission Temperature Warning Light is
illuminated and you continue operating the vehicle,
in some circumstances you could cause the fluid to
boil over, come in contact with hot engine or exhaust
components and cause a fire.
16. Vehicle Security Light — If Equipped This light will flash at a fast rate for approxi-
mately 16 seconds, when the vehicle security
alarm is arming, and then will flash slowly
until the vehicle is disarmed.
4
UNDERSTANDING YOUR INSTRUMENT PANEL 197