battery JEEP COMPASS 2011 1.G User Guide
[x] Cancel search | Manufacturer: JEEP, Model Year: 2011, Model line: COMPASS, Model: JEEP COMPASS 2011 1.GPages: 80, PDF Size: 3.09 MB
Page 38 of 80
Changing The Volume
• Start a dialogue by pressing the Voice Command button,thensaya
command (for example, “tutorial”).
• Use the radio ON/OFF VOLUME rotary knob to adjust the volume to a comfortable level while the Voice Command system is speaking. The volume setting for Voice
Command is different than the audio system.
• For vehicles equipped with Video Entertainment System (VES)™, refer to the Uconnect™ Voice Command section of the Uconnect™ User's Manual on the DVD
for further details.
• For vehicles not equipped with VES™, refer to your vehicle Owner's Manual on the DVD for Uconnect™ Voice Command information.
NOTE: To access the tutorial, press the Voice Command button
. After the
BEEP, say “tutorial”. Press any hard-key/button or touch the display (Touch-Screen radio)
to cancel the tutorial.
WARNING!
Any voice commanded system should be used only in safe driving conditions
following local laws and phone use. All attention should be kept on the roadway
ahead. Failure to do so may result in a collision causing you and others to be
severely injured or killed.
iPod®/USB/MP3 CONTROL
• There are many ways to play music from iPod®players or other portable devices
through your vehicle's speakers. Your choices depend on what radio your vehicle is
equipped with.
• The radio sales code is located on the lower right side of the radio faceplate.
If Equipped With Media Center 130 with Satellite Radio (Sales
Code RES + RSC) Or Media Center 430/430N (Sales Code
RBZ/RHB)
• The USB port, located within the glove box, allows you to plug an iPod®into the
vehicle's sound system.
• To hear audio from devices connected to this port from a non-touch-screen radio, press the AUX button on the radio faceplate. From a touch-screen radio, press the
MEDIA hard-key, then touch the AUX or iPod
®soft-key.
• When connected to this feature: • The iPod
®can be controlled using the radio buttons to Play, Browse, and List the
iPod®or external devices contents. Refer to the Owner's Manual on the DVD for
details.
• The iPod
®battery charges when plugged into the USB port (if supported by the
specific audio device).
ELECTRONICS
36
Page 55 of 80
JUMP-STARTING
• If your vehicle has a discharged battery it can be jumpstarted using a set of jumpercables and a battery in another vehicle or by using a portable battery booster pack.
• Jump-starting can be dangerous if done improperly so please follow the procedures in this section carefully.
NOTE: When using a portable battery booster pack follow the manufacturer’s operating
instructions and precautions.
Preparations for Jump-Start
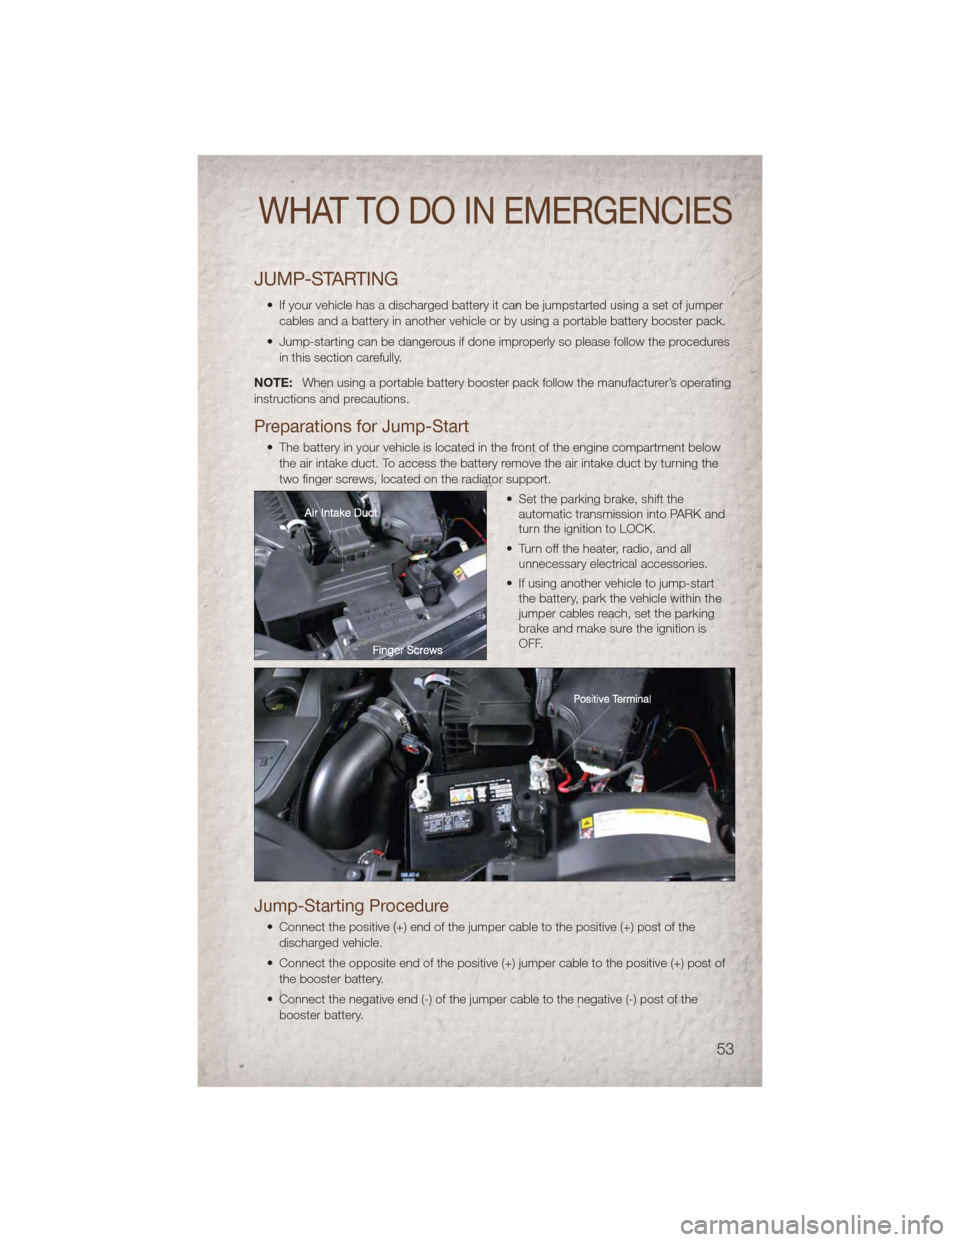
• The battery in your vehicle is located in the front of the engine compartment below the air intake duct. To access the battery remove the air intake duct by turning the
two finger screws, located on the radiator support.
• Set the parking brake, shift theautomatic transmission into PARK and
turn the ignition to LOCK.
• Turn off the heater, radio, and all unnecessary electrical accessories.
• If using another vehicle to jump-start the battery, park the vehicle within the
jumper cables reach, set the parking
brake and make sure the ignition is
OFF.
Jump-Starting Procedure
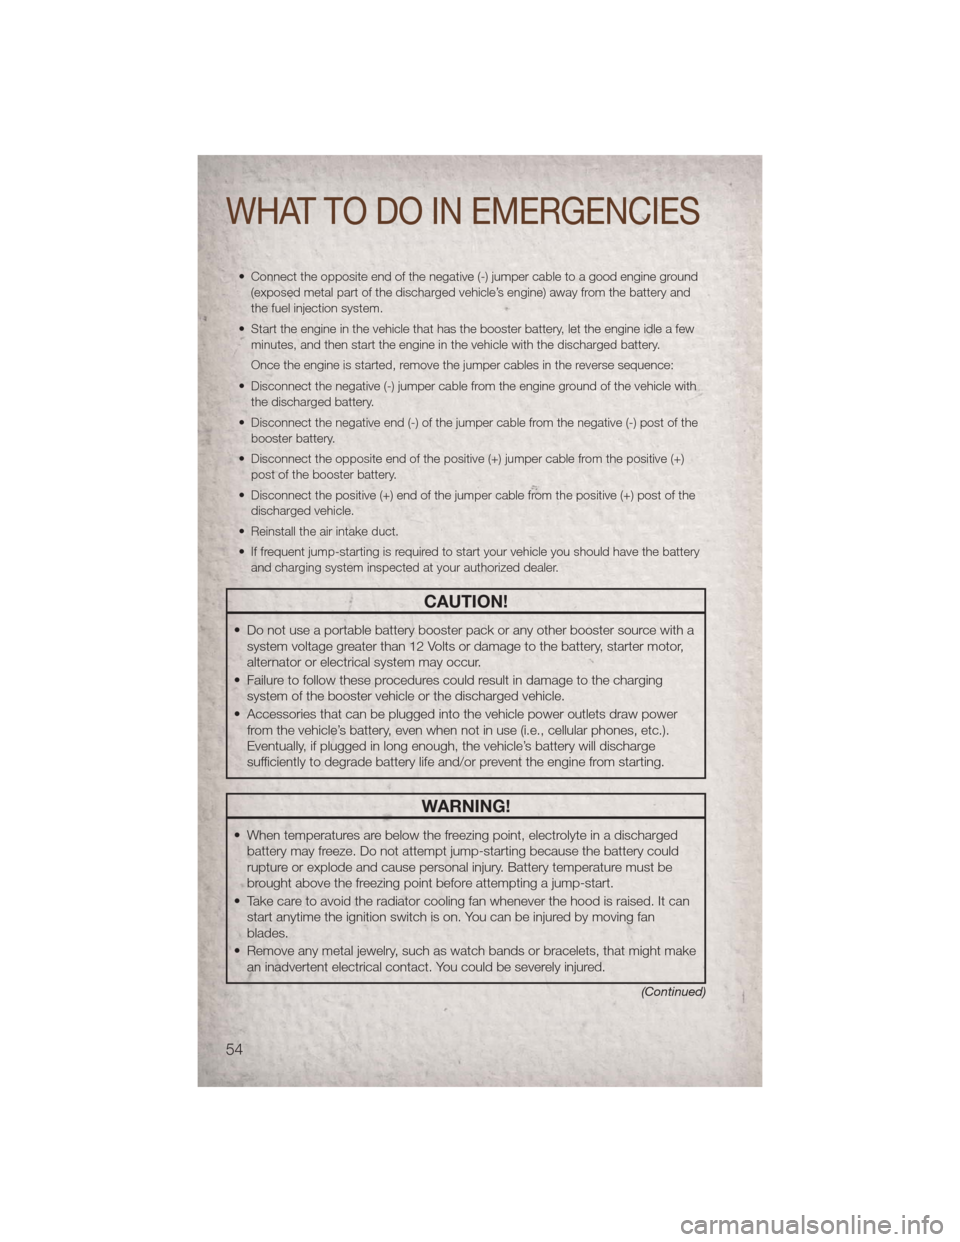
• Connect the positive (+) end of the jumper cable to the positive (+) post of the
discharged vehicle.
• Connect the opposite end of the positive (+) jumper cable to the positive (+) post of the booster battery.
• Connect the negative end (-) of the jumper cable to the negative (-) post of the booster battery.
WHAT TO DO IN EMERGENCIES
53
Page 56 of 80
• Connect the opposite end of the negative (-) jumper cable to a good engine ground(exposed metal part of the discharged vehicle’s engine) away from the battery and
the fuel injection system.
• Start the engine in the vehicle that has the booster battery, let the engine idle a few minutes, and then start the engine in the vehicle with the discharged battery.
Once the engine is started, remove the jumper cables in the reverse sequence:
• Disconnect the negative (-) jumper cable from the engine ground of the vehicle with the discharged battery.
• Disconnect the negative end (-) of the jumper cable from the negative (-) post of the booster battery.
• Disconnect the opposite end of the positive (+) jumper cable from the positive (+) post of the booster battery.
• Disconnect the positive (+) end of the jumper cable from the positive (+) post of the discharged vehicle.
• Reinstall the air intake duct.
• If frequent jump-starting is required to start your vehicle you should have the battery and charging system inspected at your authorized dealer.
CAUTION!
• Do not use a portable battery booster pack or any other booster source with asystem voltage greater than 12 Volts or damage to the battery, starter motor,
alternator or electrical system may occur.
• Failure to follow these procedures could result in damage to the charging system of the booster vehicle or the discharged vehicle.
• Accessories that can be plugged into the vehicle power outlets draw power from the vehicle’s battery, even when not in use (i.e., cellular phones, etc.).
Eventually, if plugged in long enough, the vehicle’s battery will discharge
sufficiently to degrade battery life and/or prevent the engine from starting.
WARNING!
• When temperatures are below the freezing point, electrolyte in a dischargedbattery may freeze. Do not attempt jump-starting because the battery could
rupture or explode and cause personal injury. Battery temperature must be
brought above the freezing point before attempting a jump-start.
• Take care to avoid the radiator cooling fan whenever the hood is raised. It can start anytime the ignition switch is on. You can be injured by moving fan
blades.
• Remove any metal jewelry, such as watch bands or bracelets, that might make an inadvertent electrical contact. You could be severely injured.
(Continued)
WHAT TO DO IN EMERGENCIES
54
Page 57 of 80
WARNING!(Continued)
• Batteries contain sulfuric acid that can burn your skin or eyes and generatehydrogen gas which is flammable and explosive. Keep open flames or sparks
away from the battery.
• Do not allow vehicles to touch each other as this could establish a ground connection and personal injury could result.
• Failure to follow this procedure could result in personal injury or property damage due to battery explosion.
• Do not connect the cable to the negative post (-) of the discharged battery. The resulting electrical spark could cause the battery to explode and could
result in personal injury.
SHIFT LEVER OVERRIDE
• If a malfunction occurs and the shift lever cannot be moved out of the PARKposition, you can use the following procedure to temporarily move the shift lever:
• To access the shift lever override, locate and remove the removable plug in the
right side of the shift lever housing.
• Firmly set the parking brake.
• Turn the ignition switch to the ACC or ON position without starting the engine.
• Press and maintain firm pressure on the brake pedal.
• Using a screwdriver or similar tool, press and hold the override tab through the access port on the center console.
• Move the shift lever into the NEUTRAL position.
• The vehicle may then be started in NEUTRAL.
• Reinstall the override cover.
WHAT TO DO IN EMERGENCIES
55
Page 69 of 80
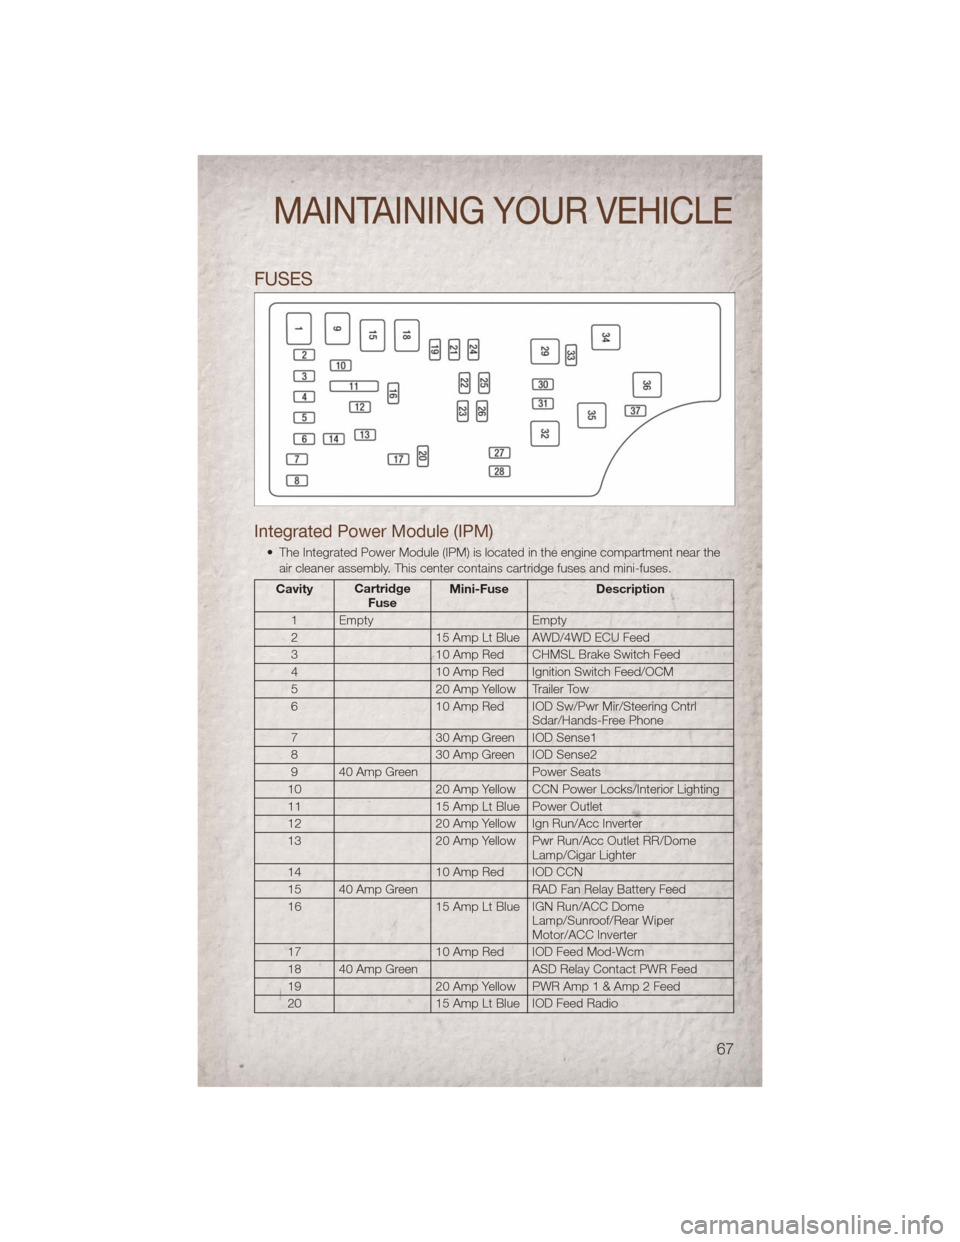
FUSES
Integrated Power Module (IPM)
• The Integrated Power Module (IPM) is located in the engine compartment near theair cleaner assembly. This center contains cartridge fuses and mini-fuses.
Cavity Cartridge
Fuse Mini-Fuse
Description
1 Empty Empty
2 15 Amp Lt Blue AWD/4WD ECU Feed
3 10 Amp Red CHMSL Brake Switch Feed
4 10 Amp Red Ignition Switch Feed/OCM
5 20 Amp Yellow Trailer Tow
6 10 Amp Red IOD Sw/Pwr Mir/Steering Cntrl
Sdar/Hands-Free Phone
7 30 Amp Green IOD Sense1
8 30 Amp Green IOD Sense2
9 40 Amp Green Power Seats
10 20 Amp Yellow CCN Power Locks/Interior Lighting
11 15 Amp Lt Blue Power Outlet
12 20 Amp Yellow Ign Run/Acc Inverter
13 20 Amp Yellow Pwr Run/Acc Outlet RR/Dome
Lamp/Cigar Lighter
14 10 Amp Red IOD CCN
15 40 Amp Green RAD Fan Relay Battery Feed
16 15 Amp Lt Blue IGN Run/ACC Dome
Lamp/Sunroof/Rear Wiper
Motor/ACC Inverter
17 10 Amp Red IOD Feed Mod-Wcm
18 40 Amp Green ASD Relay Contact PWR Feed
19 20 Amp Yellow PWR Amp 1 & Amp 2 Feed
20 15 Amp Lt Blue IOD Feed Radio
MAINTAINING YOUR VEHICLE
67